

Latest & Greatest
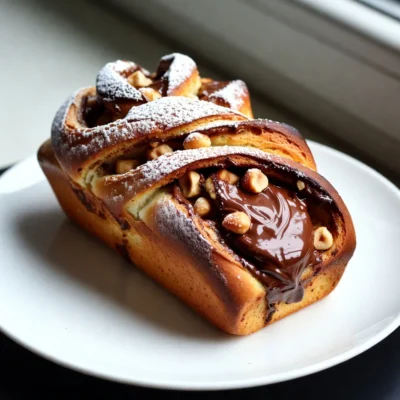
Chocolate Hazelnut Babka Delightful and Easy Recipe
Craving a sweet treat? You’ll love this Chocolate Hazelnut Babka! This recipe is simple and fun, perfect for both beginners
Read more…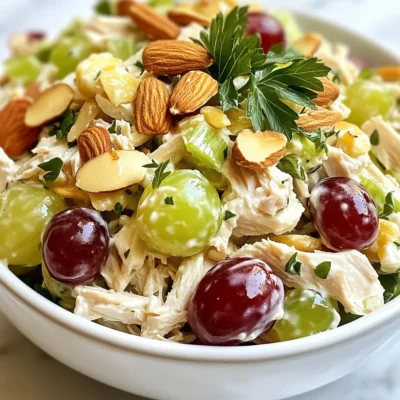
Greek Yogurt Chicken Salad Fresh and Flavorful Meal
Looking for a tasty meal that’s both fresh and quick to make? Greek Yogurt Chicken Salad is your answer! This
Read more…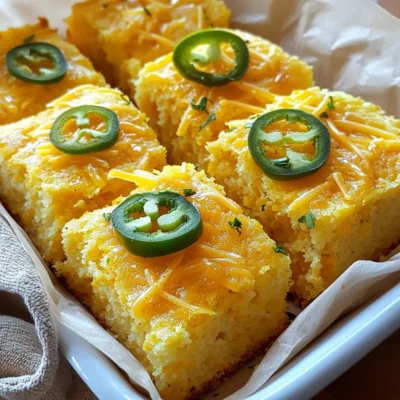
Jalapeño Cheddar Cornbread Simple and Savory Recipe
If you’re craving a warm, savory treat, this Jalapeño Cheddar Cornbread recipe is for you! It’s easy to make and
Read more…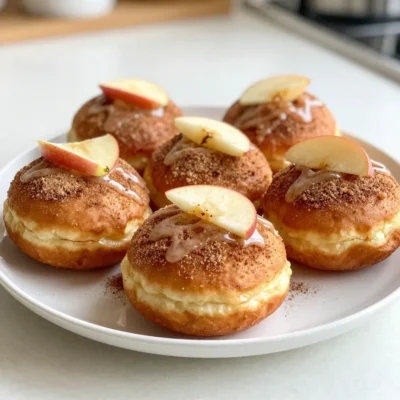
Baked Apple Cider Donuts Easy and Tasty Treat
Baked apple cider donuts are a delightful treat that can warm any chilly day. If you love fall flavors, you’ll
Read more…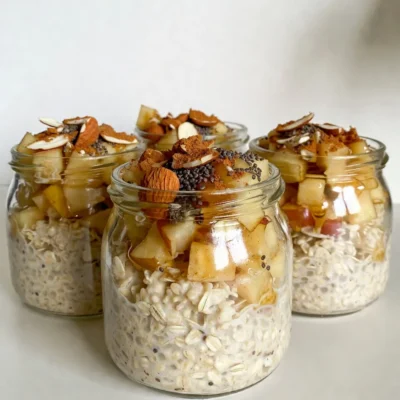
Apple Cinnamon Overnight Oats Tasty Healthy Breakfast
Start your day with a smile! Apple Cinnamon Overnight Oats are not just tasty; they are also healthy. In this
Read more…
Salted Caramel Pretzel Bark Irresistible Delight
If you’re craving a treat that combines sweet, salty, and crunchy, I have the perfect recipe for you: Salted Caramel
Read more…
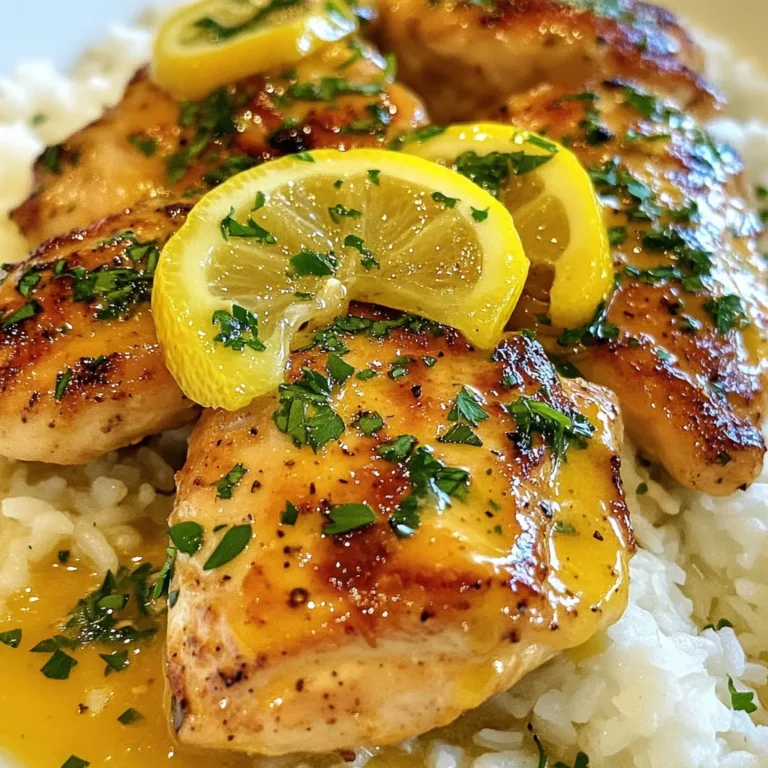
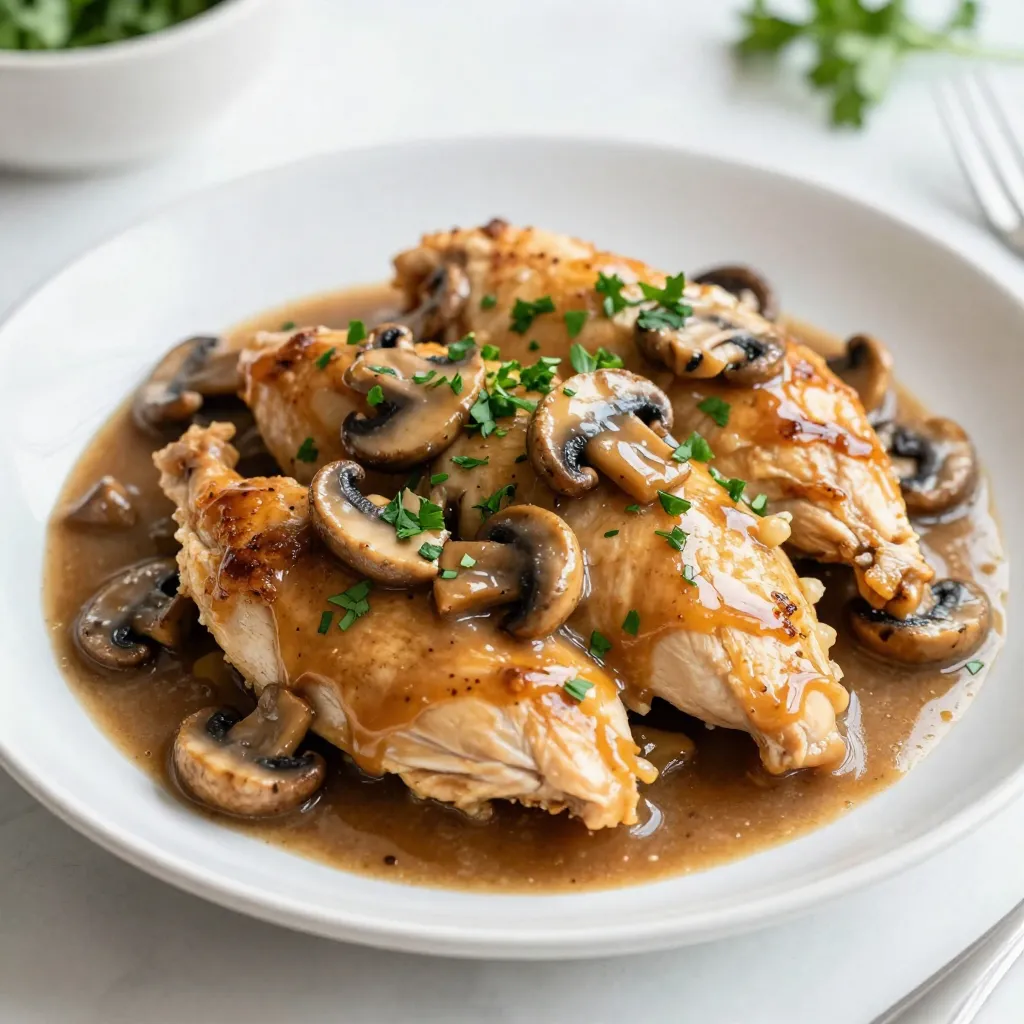
Chicken Marsala Flavorful Recipe for Dinner Delight
Looking to impress at dinner tonight? This Chicken Marsala recipe is both flavorful and simple! You’ll love the tender chicken
Read more…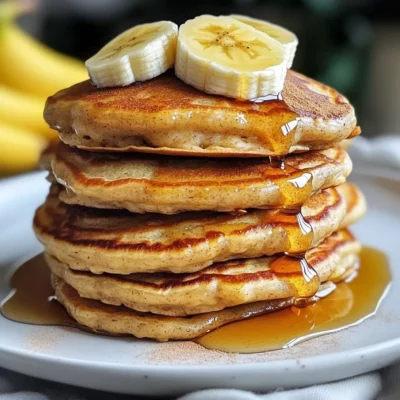
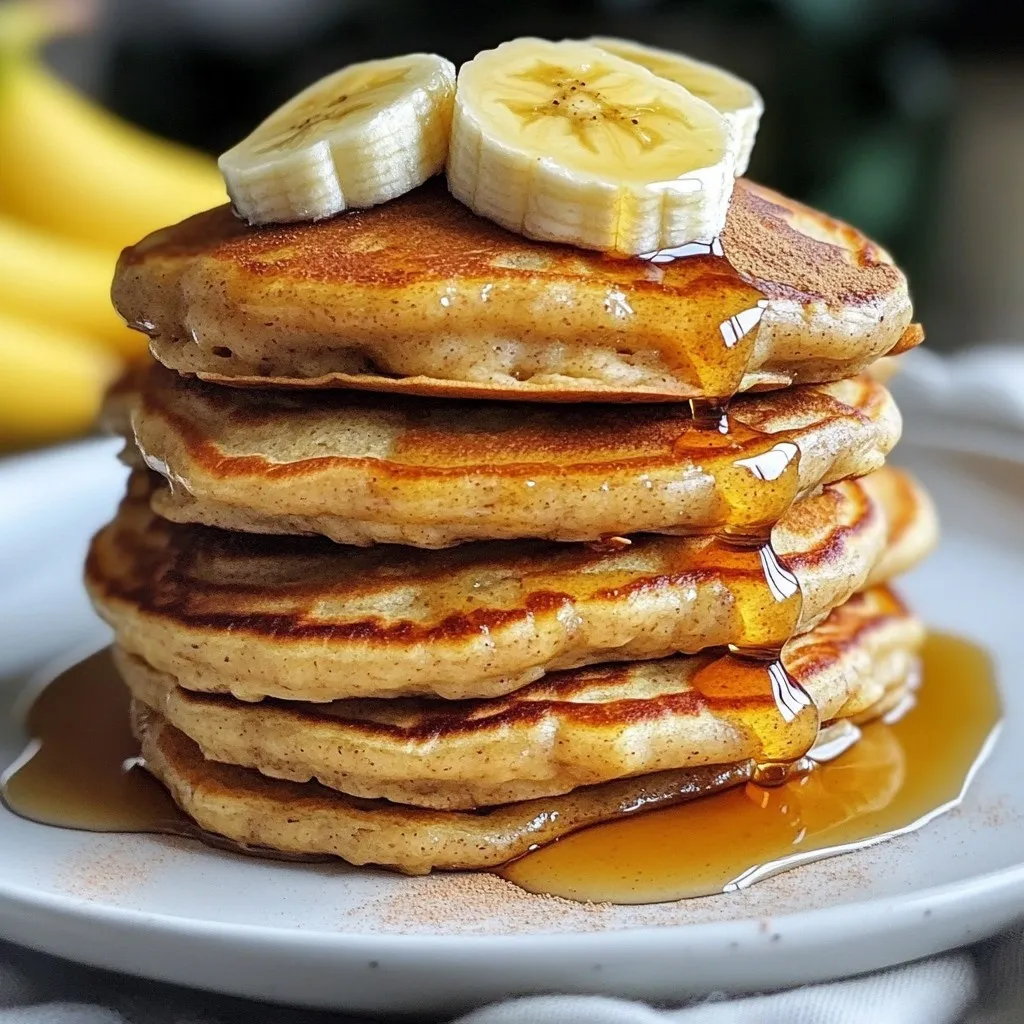
One-Bowl Banana Oat Pancakes Easy and Tasty Recipe
Do you crave a simple yet delicious breakfast? Try my One-Bowl Banana Oat Pancakes! They are easy to make and
Read more…browse recipes


Cookie Dough Ice Cream Sandwiches Delightful Treats
If you love cookie dough and ice cream, you’re in for a treat! I’ll show you how to make delicious Cookie Dough Ice Cream…
My Latest Drinks

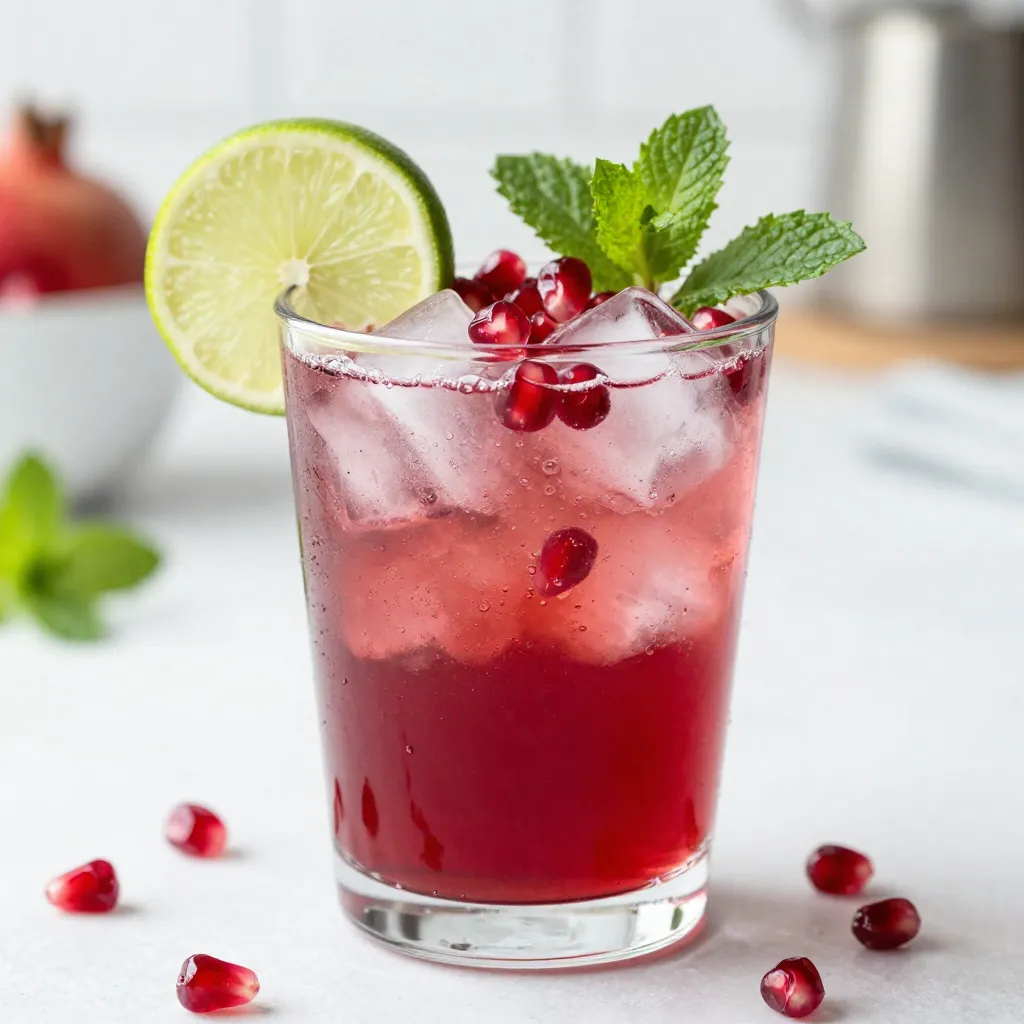
Sparkling Pomegranate Mocktail Refreshing Drink Recipe
Looking for a refreshing drink that impresses? Try my Sparkling Pomegranate Mocktail! This vibrant drink blends the tartness of pomegranate Read Full Recipe-
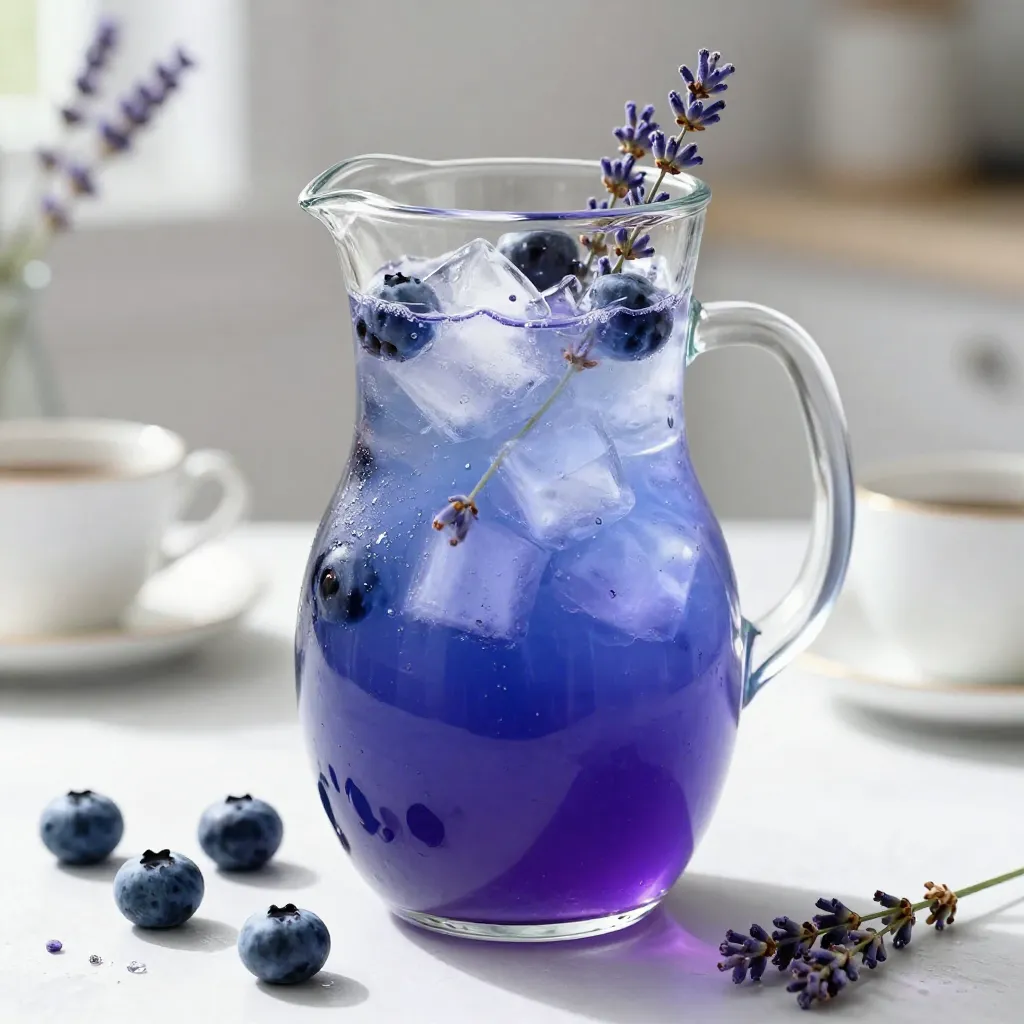
Blueberry Lavender Lemonade Refreshing Summer Drink
Looking for a refreshing drink that embodies summer? You’ll love this Blueberry Lavender Lemonade! This bright and fruity blend will Read Full Recipe -
Pineapple Coconut Smoothie Refreshing and Nourishing Drink
Looking for a tasty and healthy drink? The Pineapple Coconut Smoothie is both refreshing and nourishing! With just a few Read Full Recipe -
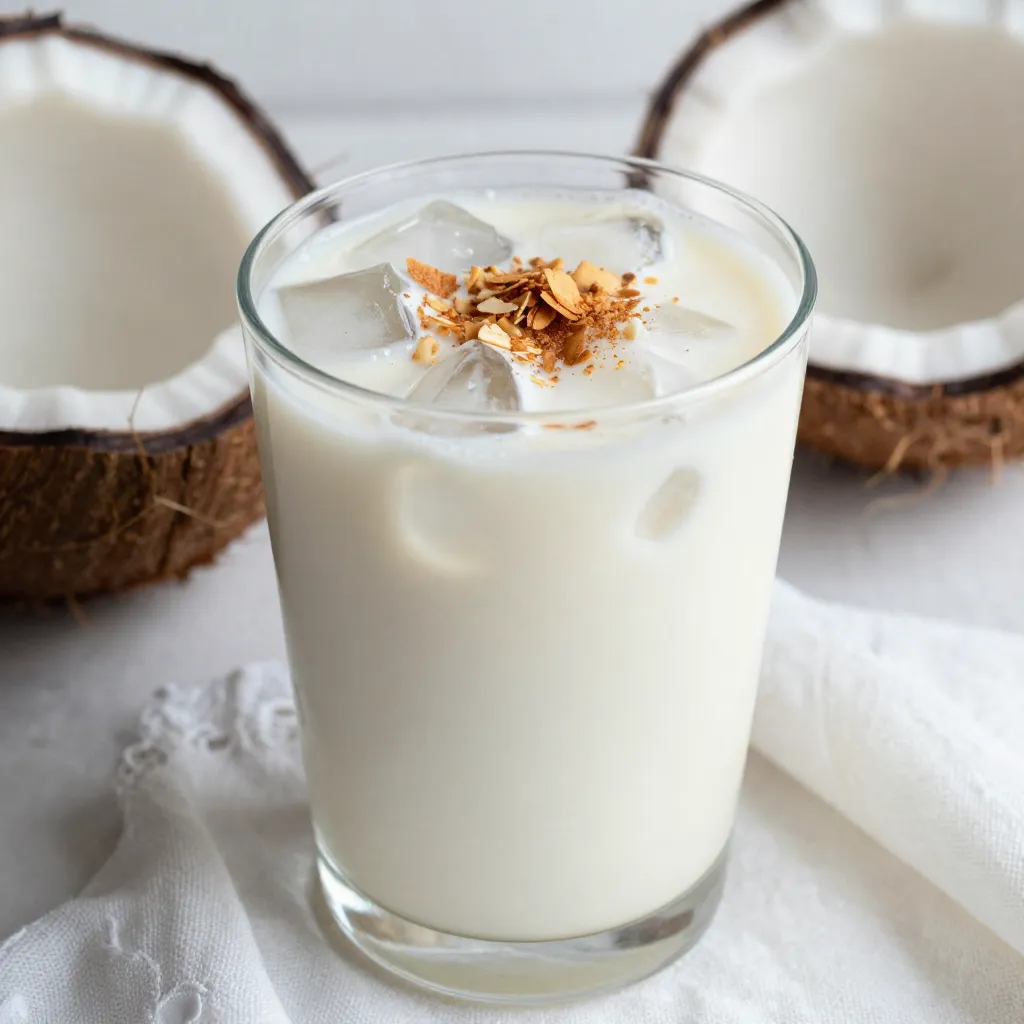
Creamy Coconut Horchata Refreshing Summer Drink
Hot summer days call for a refreshing drink, and creamy coconut horchata fits the bill! This tasty treat combines rich Read Full Recipe -
Strawberry Cheesecake Smoothie Creamy Refreshing Treat
Craving something delicious and cool? The Strawberry Cheesecake Smoothie is your answer! It blends creamy cheesecake flavors with sweet strawberries Read Full Recipe 
Honey Lavender Lemonade Refreshing Summer Drink
Looking to beat the heat this summer? Honey Lavender Lemonade is your perfect refreshing drink. This simple recipe combines fresh Read Full Recipe


My Latest Dinners
-
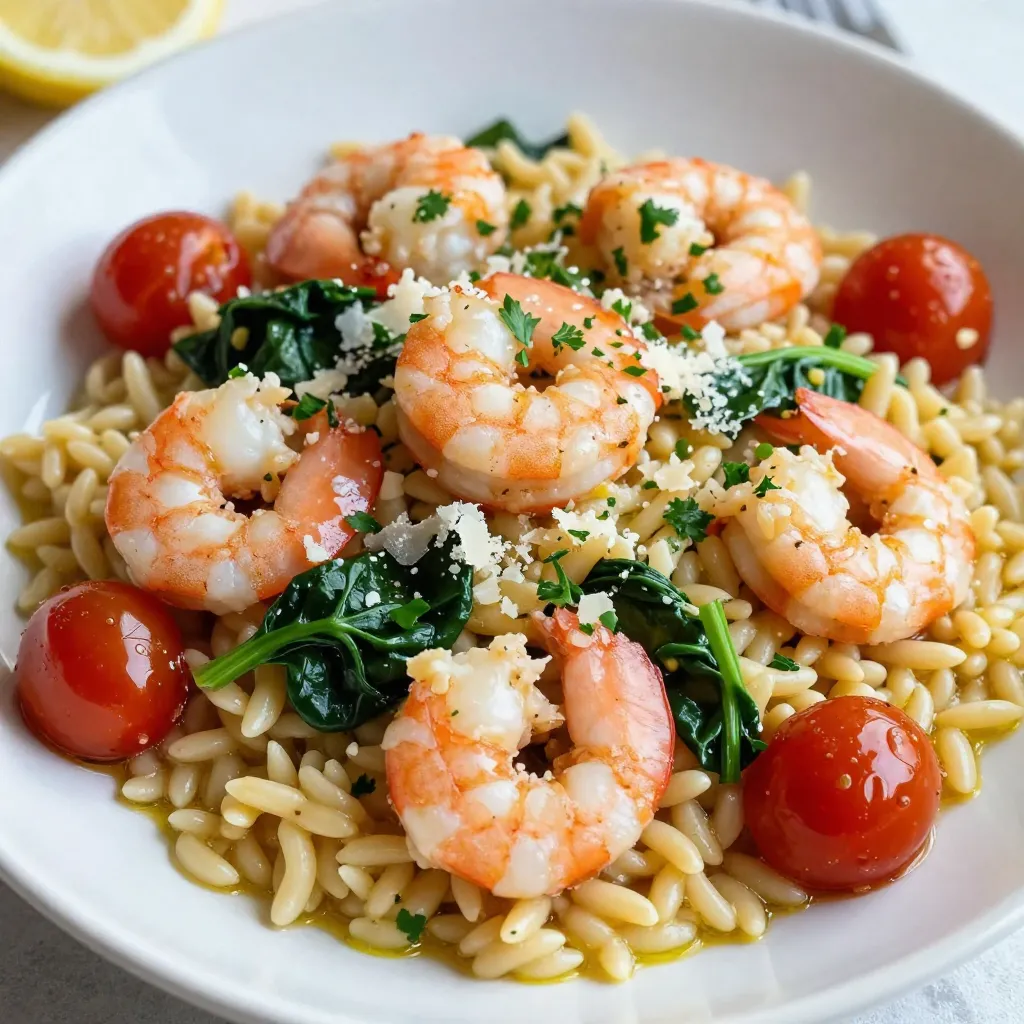
Lemon Garlic Shrimp Orzo Simple and Flavorful Recipe
If you’re looking for a delicious meal that’s quick and easy, Lemon Garlic Shrimp Orzo is a must-try! This dish Read Full Recipe -
Greek Yogurt Chicken Salad Fresh and Flavorful Meal
Looking for a tasty meal that’s both fresh and quick to make? Greek Yogurt Chicken Salad is your answer! This Read Full Recipe -
Jalapeño Cheddar Cornbread Simple and Savory Recipe
If you’re craving a warm, savory treat, this Jalapeño Cheddar Cornbread recipe is for you! It’s easy to make and Read Full Recipe -
Chicken Marsala Flavorful Recipe for Dinner Delight
Looking to impress at dinner tonight? This Chicken Marsala recipe is both flavorful and simple! You’ll love the tender chicken Read Full Recipe -
One-Bowl Banana Oat Pancakes Easy and Tasty Recipe
Do you crave a simple yet delicious breakfast? Try my One-Bowl Banana Oat Pancakes! They are easy to make and Read Full Recipe -
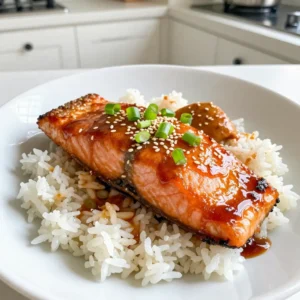
Ginger Soy Glazed Salmon Flavorful and Simple Dish
If you want a meal bursting with flavor yet easy to make, you’ve found it! This Ginger Soy Glazed Salmon Read Full Recipe


hey,
i’m !
I’m so happy you’re here!
Every dish I share is made with love and care. I hope they bring you the same comfort and joy they bring me. Let’s make memories, one recipe at a time.

![- Cold brew coffee - Milk options - Sweeteners and spices - Toppings and garnishes For the perfect Cinnamon Roll Cold Brew, you need just a few simple ingredients. First, start with cold brew coffee. It gives you that smooth, rich flavor, perfect for this drink. Next, choose your milk options. You can use dairy milk, almond milk, or oat milk. Each adds a unique taste. Next, you’ll need sweeteners and spices. I recommend brown sugar for that warm, caramel flavor. Add vanilla extract and ground cinnamon to bring in that cinnamon roll vibe. You can adjust these based on your taste. Finally, consider your toppings and garnishes. Whipped cream is a must for that rich, creamy finish. A light dusting of a cinnamon and sugar mixture on top is key to replicating the taste of a warm cinnamon roll. If you want extra crunch, sprinkle on some crushed pecans or walnuts. You now have all the ingredients for a delicious drink. For the full recipe, check out the details above. To make your Cinnamon Roll Cold Brew, follow these easy steps: 1. Mix the Ingredients: In a pitcher, add the cold brew coffee, milk, brown sugar, vanilla extract, and ground cinnamon. Stir well until the sugar dissolves completely. A smooth mix makes a big difference. 2. Prepare Your Glass: Take a tall glass and fill it with ice cubes. The ice keeps your drink cool and refreshing. 3. Pour the Mixture: Slowly pour the cinnamon coffee mix over the ice. Watch the layers blend together. It’s a treat for your eyes! 4. Add Toppings: Top your drink with a generous dollop of whipped cream. This adds creaminess and sweetness. 5. Garnish: Lightly sprinkle a mix of ground cinnamon and sugar over the whipped cream. This gives the drink that sweet cinnamon roll taste. 6. Optional Crunch: If you like, add crushed pecans or walnuts for an exciting crunch. This extra texture makes each sip fun. 7. Serve and Enjoy: Serve your drink immediately. Use a straw or a cinnamon stick for stirring. Sip and enjoy this delightful treat! - If you like it sweeter, add more brown sugar. Start with one extra teaspoon and mix again. - For less sweetness, cut back on sugar. You can also use a sugar substitute. - Taste as you go! Adjusting sweetness is all about your personal preference. For the full recipe, refer to the section above! To make your Cinnamon Roll Cold Brew shine, start with blending flavors well. Mix cold brew, milk, and spices in a pitcher. Stir until smooth. This helps each sip taste just right. When it comes to milk, you have choices. Dairy milk gives a rich flavor. Almond or oat milk adds a nutty twist. Experiment to find what you like best. Some readers enjoy a creamier texture, while others prefer a lighter taste. Next, focus on the whipped cream. Whip it until it holds peaks. This means it should stand up strong. A good whip adds a soft touch to your drink. It makes every sip feel special. For the best look, add a sprinkle of cinnamon and sugar on top. This tiny step makes your drink pop. If you want a crunch, consider crushed pecans or walnuts. They add fun texture and flavor. Overall, these tips will help you create a perfect drink. The sweet and spicy blend will keep you coming back for more. For the full recipe, check out the details above. {{image_2}} You can change the flavors in your Cinnamon Roll Cold Brew for fun. - Dairy-free options: Use almond, oat, or coconut milk instead of regular milk. They add a nice twist. - Flavor infusions: Try adding caramel or chocolate syrup for extra sweetness. Just mix it in with the other ingredients. - Seasonal variations: In fall, add pumpkin spice for warmth. In winter, mix in peppermint for a festive taste. These alternatives make the drink your own. You can create something unique to match your mood or season. Want the full recipe? Check out the [Full Recipe] for all the details! To keep your Cinnamon Roll Cold Brew fresh, follow these tips: - Use an airtight container. This helps keep the cold brew from losing flavor. - Store in the fridge. Cold brew stays good for up to two weeks when chilled. If you have leftovers, pour them into a clean jar. Seal it tight and put it in the fridge. That way, you can enjoy it later. For reheating, avoid the microwave. Instead, pour it into a pot and warm it gently on the stove. Stir it often to avoid burning. You can also repurpose it into a smoothie or dessert. Just mix it with ice cream or yogurt for a tasty treat. This way, you can enjoy your Cinnamon Roll Cold Brew even after the first sip! What is the best cold brew coffee to use? I suggest using a smooth, medium roast cold brew. Look for one with rich flavor and low acidity. This helps the cinnamon and vanilla shine. If you make your own, steep coarsely ground coffee in cold water for 12-24 hours. Strain and enjoy a fresh brew. Can I make it vegan? Yes, you can easily make this drink vegan. Use a non-dairy milk like almond, oat, or soy. They all blend well with the coffee and spices. Use a vegan whipped cream for the topping. This way, you keep the taste without dairy. How can I sweeten my cold brew without sugar? You can use natural sweeteners like maple syrup or agave. They add a nice flavor without refined sugar. You could also try dates or stevia for a low-calorie option. Adjust to your taste as you mix the flavors together. For the full recipe, check out the details above! In this blog post, I shared how to make a delicious cinnamon roll cold brew. You learned about the essential ingredients like cold brew coffee, milk options, and tasty toppings. I detailed the preparation steps and offered tips for perfecting your drink. We explored fun variations and storage tips to keep your cold brew fresh. In my final thoughts, enjoy experimenting with flavors and making each cup unique!](https://easycookingbite.com/wp-content/uploads/2025/06/46a08dc6-7d1c-4ca3-86c7-79f8d7bca2ff-300x300.webp)
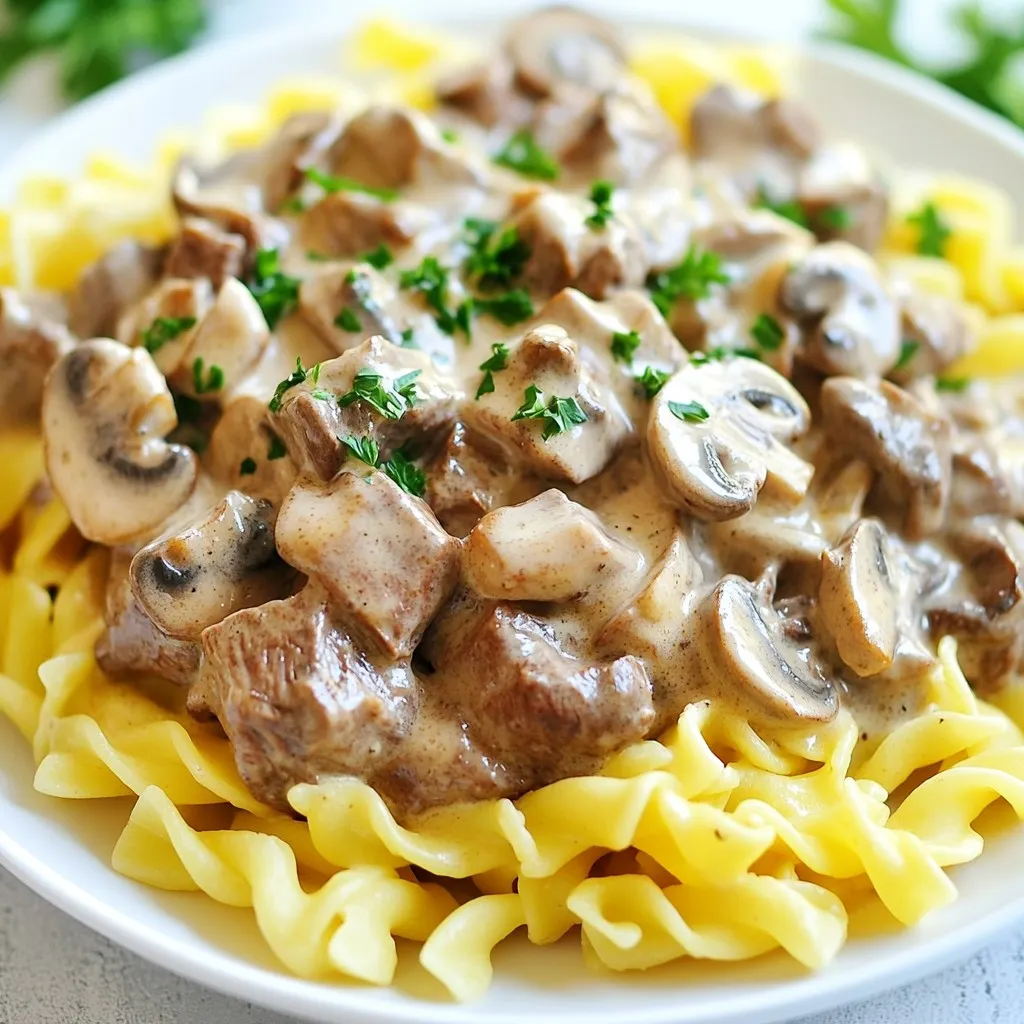
Instant Pot Beef Stroganoff Flavorful and Quick Meal
Looking for a tasty, quick meal? This Instant Pot Beef Stroganoff recipe has you covered! I’ll guide you through easy steps to make a…