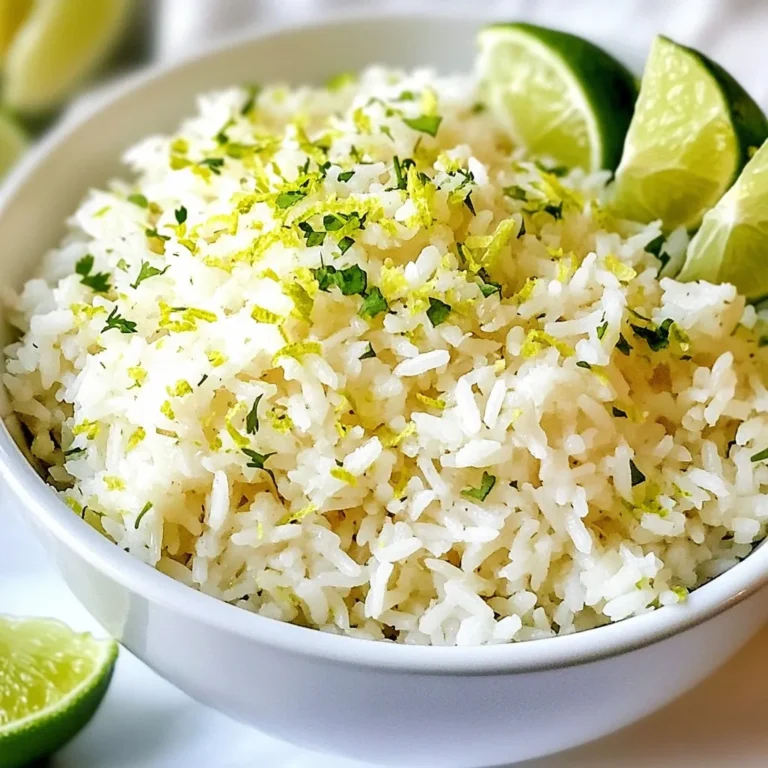

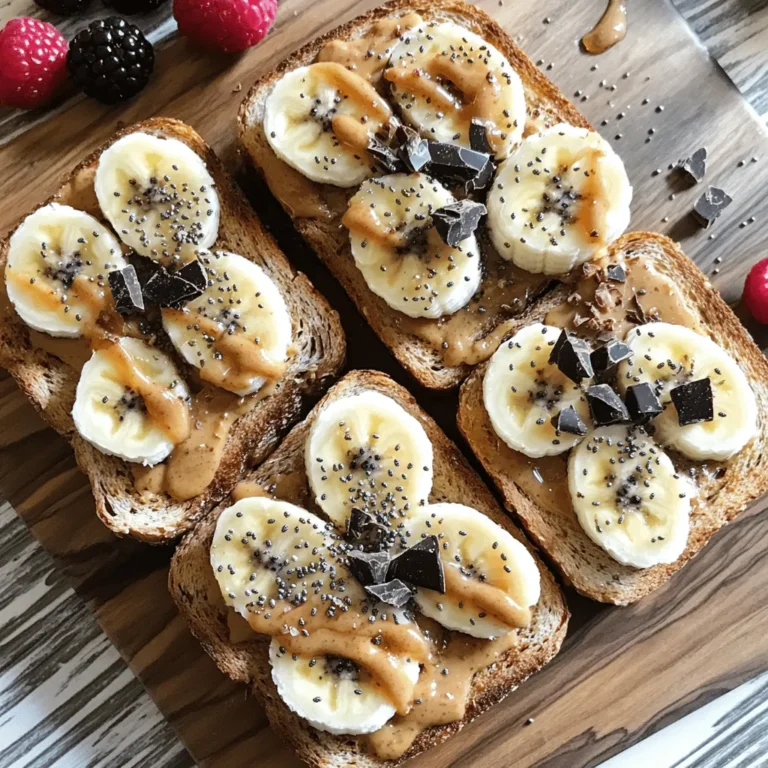
Latest & Greatest
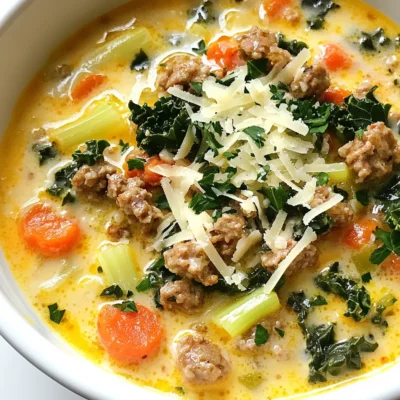
Parmesan Italian Sausage Soup Comforting and Easy Meal
Looking for a meal that warms the soul and is easy to make? Allow me to introduce you to Parmesan
Read more…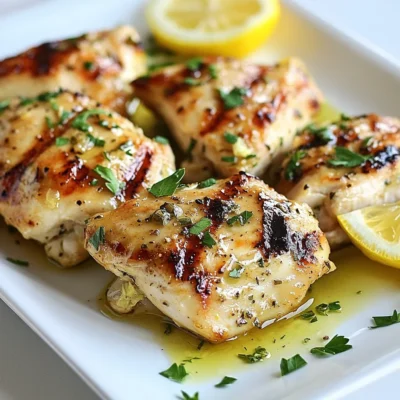
Greek Lemon Chicken Flavorful Recipe You’ll Love
If you’re craving a burst of flavor, this Greek Lemon Chicken recipe is for you! With just a few simple
Read more…
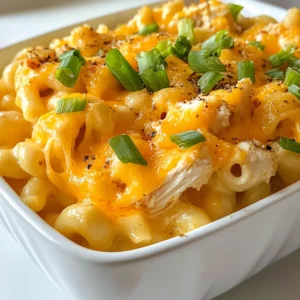
Low Carb Crack Chicken Soup Creamy and Flavorful Meal
Craving a creamy, flavorful meal? This Low Carb Crack Chicken Soup ticks all the boxes! Packed with savory chicken and
Read more…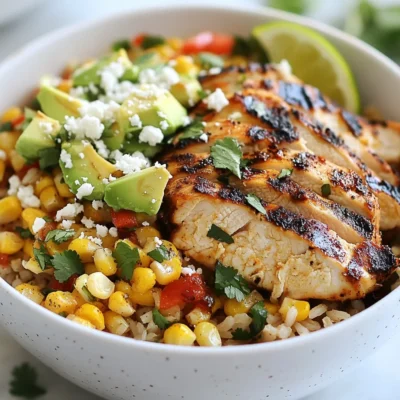
Mexican Street Corn Chicken Bowls Flavorful Feast
Are you ready to dive into a bowl of flavor? My Mexican Street Corn Chicken Bowls are the perfect blend
Read more…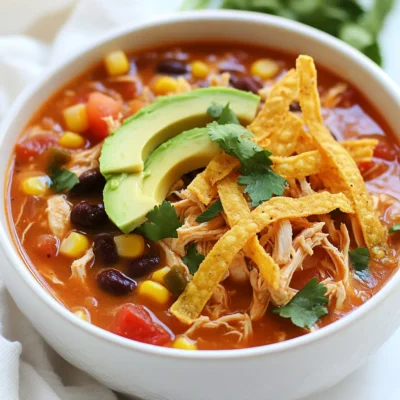
Instant Pot Chicken Tortilla Soup Flavor Boost
Ready for a warm, hearty meal that’s quick and easy? This Instant Pot Chicken Tortilla Soup packs a punch of
Read more…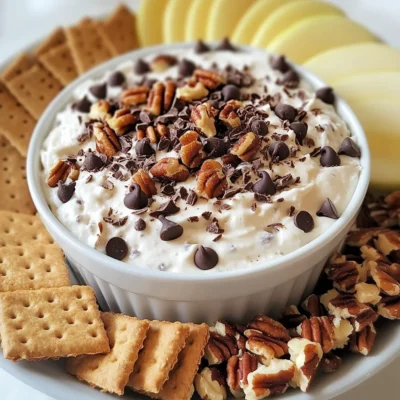
Chocolate Chip Cookie Dough Dip Irresistible Treat
Are you ready for a sweet treat that’s sure to impress? This Chocolate Chip Cookie Dough Dip is an easy,
Read more…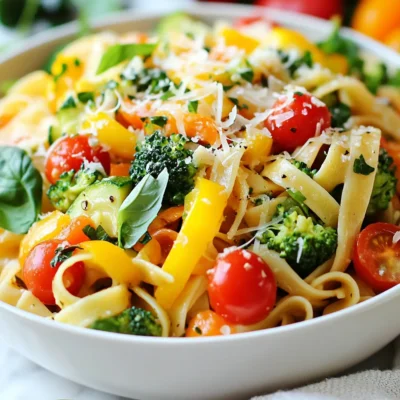
Pasta Primavera Flavorful and Easy Dinner Recipe
Looking for a quick, tasty dinner? Pasta Primavera is here to save your night! This dish combines fresh veggies with
Read more…
Philly Cheesesteak Pasta Flavorful and Simple Recipe
Craving a hearty meal that’s quick to prepare? Look no further than Philly Cheesesteak Pasta! This flavorful dish combines tender
Read more…browse recipes


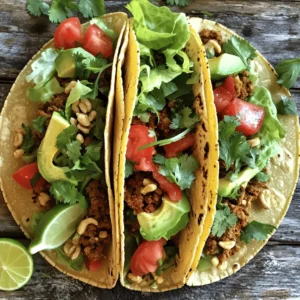
Crock Pot Birria Tacos Flavorful and Easy Recipe
Love tacos? Get ready to spice up your meals with my easy Crock Pot Birria Tacos! This flavorful recipe features tender beef and rich…
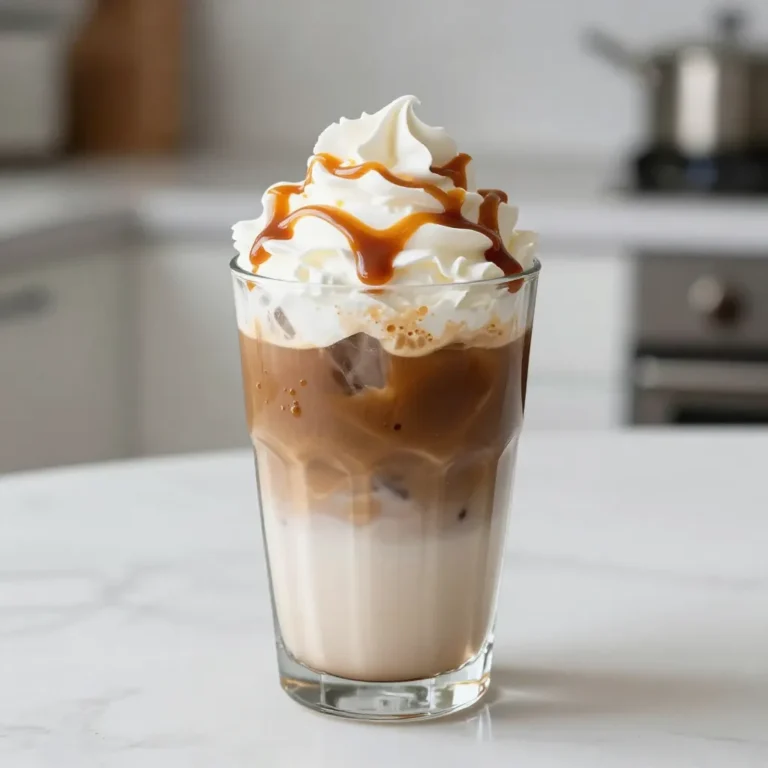
My Latest Drinks

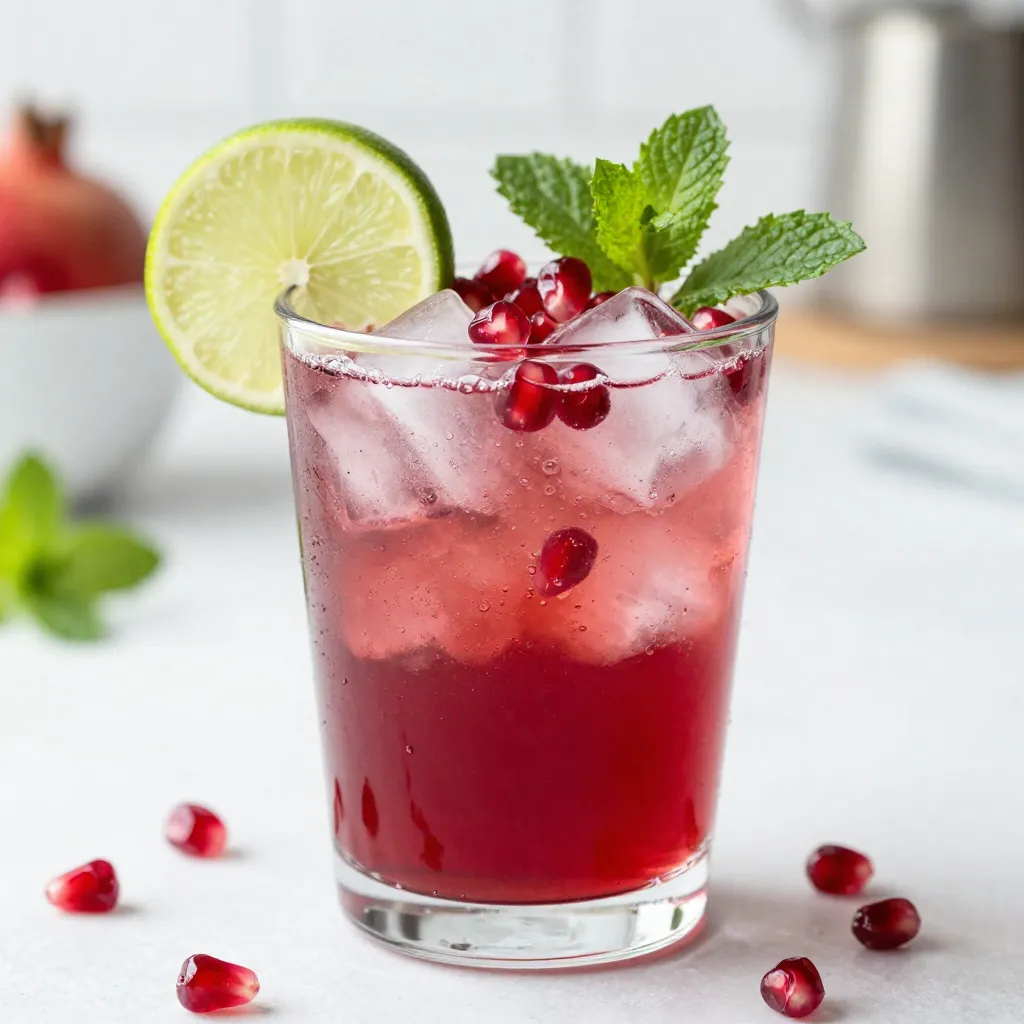
Sparkling Pomegranate Mocktail Refreshing Drink Recipe
Looking for a refreshing drink that impresses? Try my Sparkling Pomegranate Mocktail! This vibrant drink blends the tartness of pomegranate Read Full Recipe-
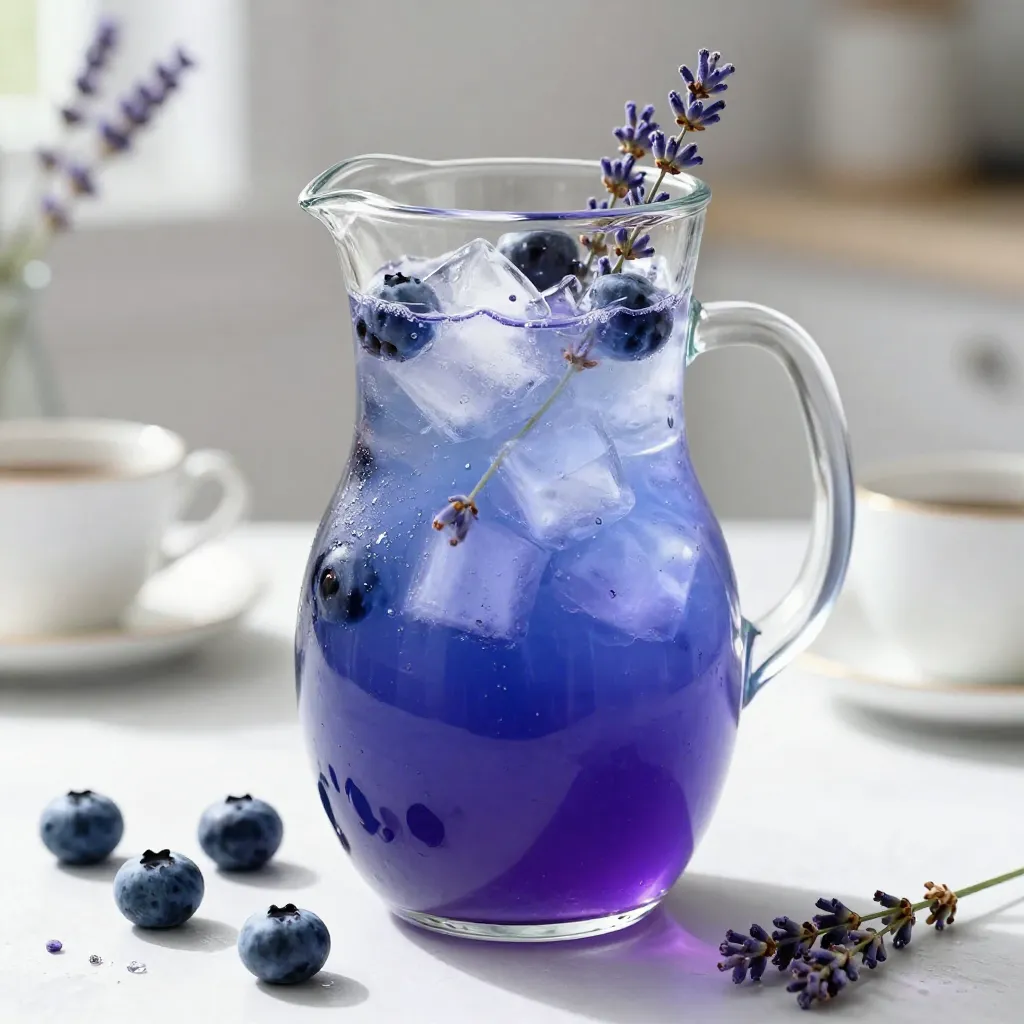
Blueberry Lavender Lemonade Refreshing Summer Drink
Looking for a refreshing drink that embodies summer? You’ll love this Blueberry Lavender Lemonade! This bright and fruity blend will Read Full Recipe -
Pineapple Coconut Smoothie Refreshing and Nourishing Drink
Looking for a tasty and healthy drink? The Pineapple Coconut Smoothie is both refreshing and nourishing! With just a few Read Full Recipe -
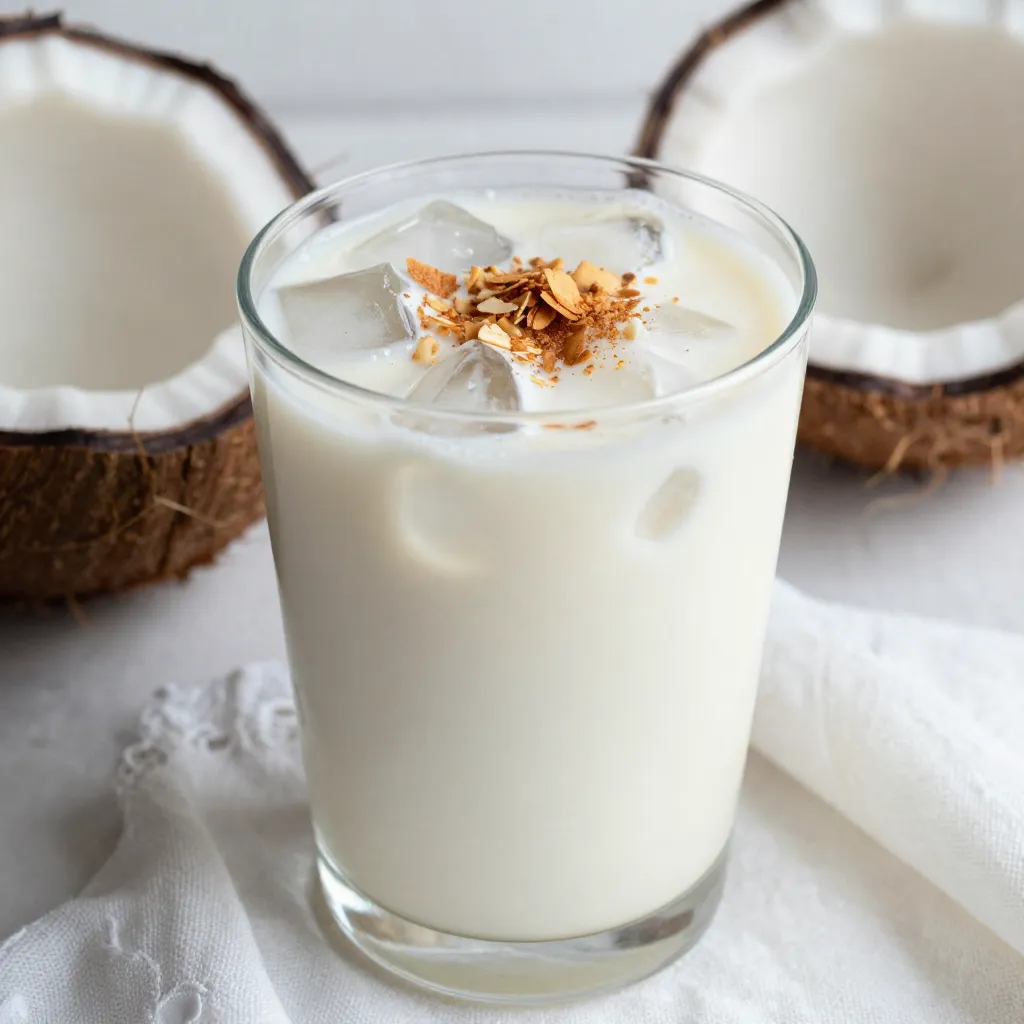
Creamy Coconut Horchata Refreshing Summer Drink
Hot summer days call for a refreshing drink, and creamy coconut horchata fits the bill! This tasty treat combines rich Read Full Recipe -
Strawberry Cheesecake Smoothie Creamy Refreshing Treat
Craving something delicious and cool? The Strawberry Cheesecake Smoothie is your answer! It blends creamy cheesecake flavors with sweet strawberries Read Full Recipe 
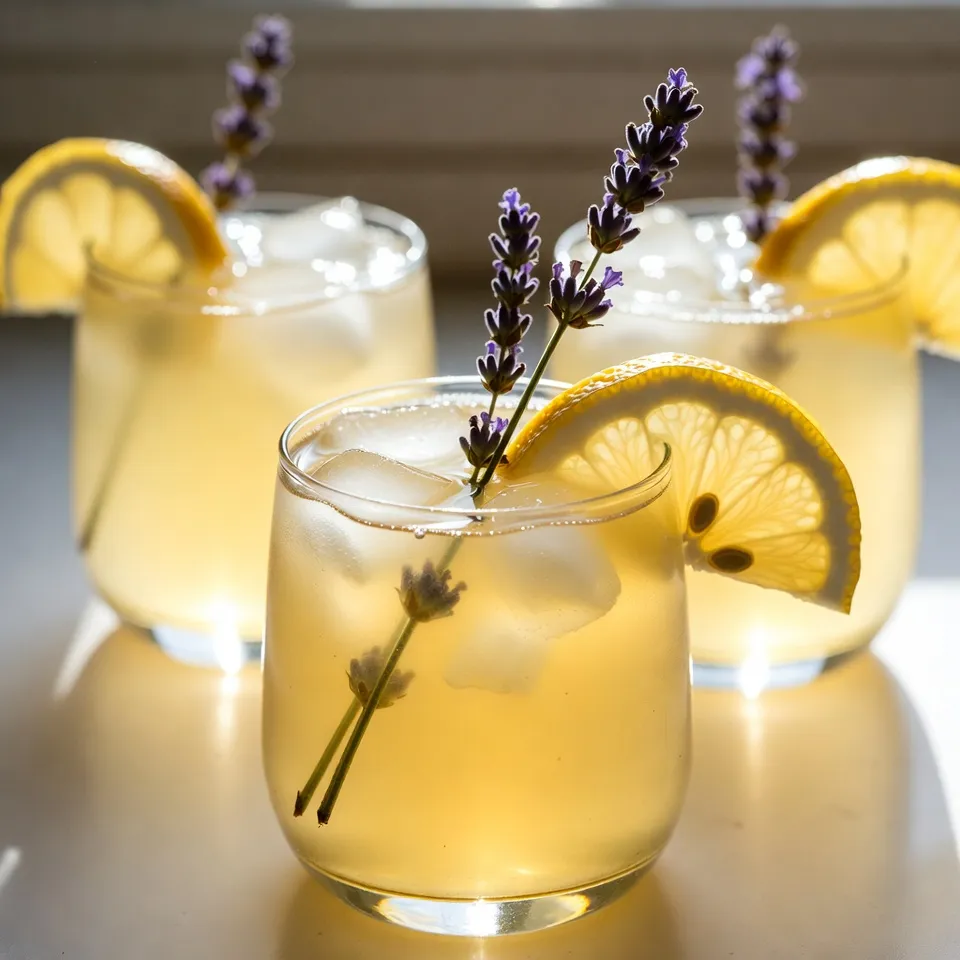
Honey Lavender Lemonade Refreshing Summer Drink
Looking to beat the heat this summer? Honey Lavender Lemonade is your perfect refreshing drink. This simple recipe combines fresh Read Full Recipe


My Latest Dinners
-
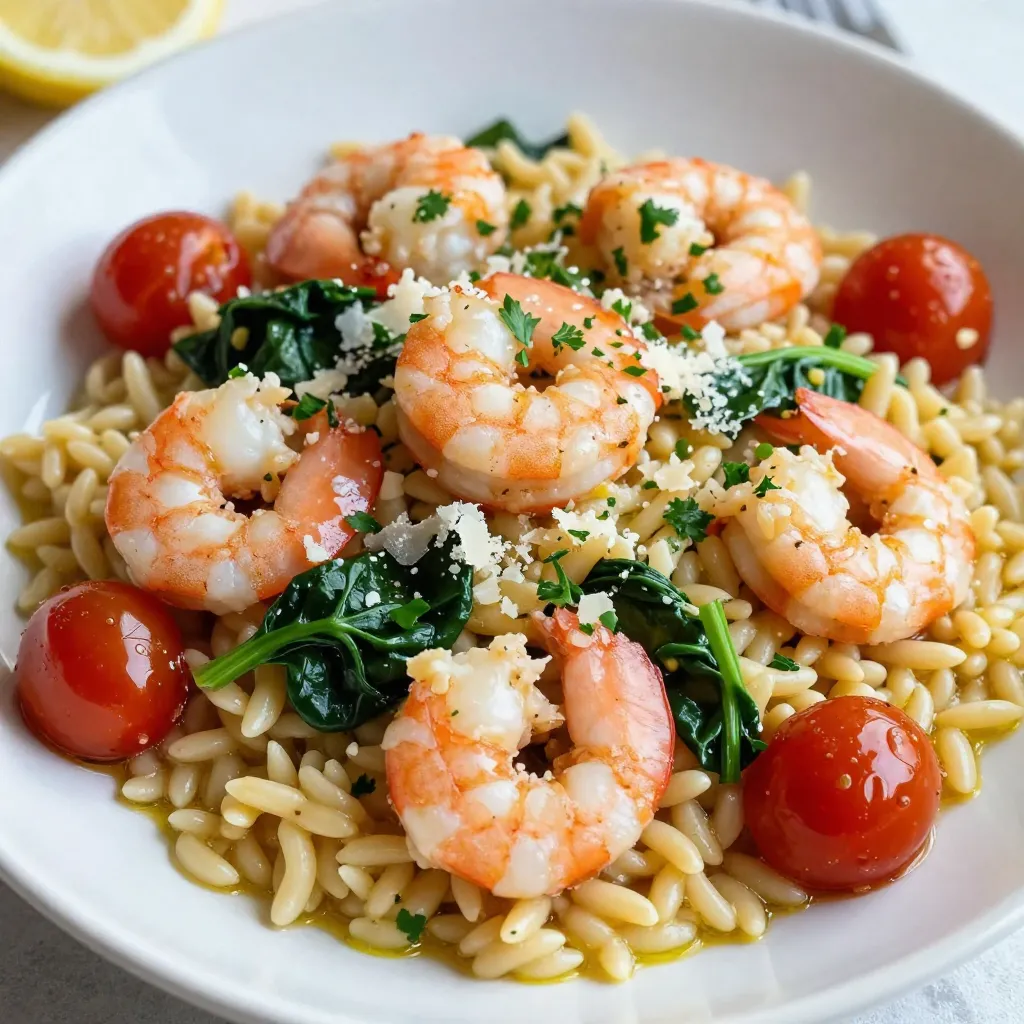
Lemon Garlic Shrimp Orzo Simple and Flavorful Recipe
If you’re looking for a delicious meal that’s quick and easy, Lemon Garlic Shrimp Orzo is a must-try! This dish Read Full Recipe -
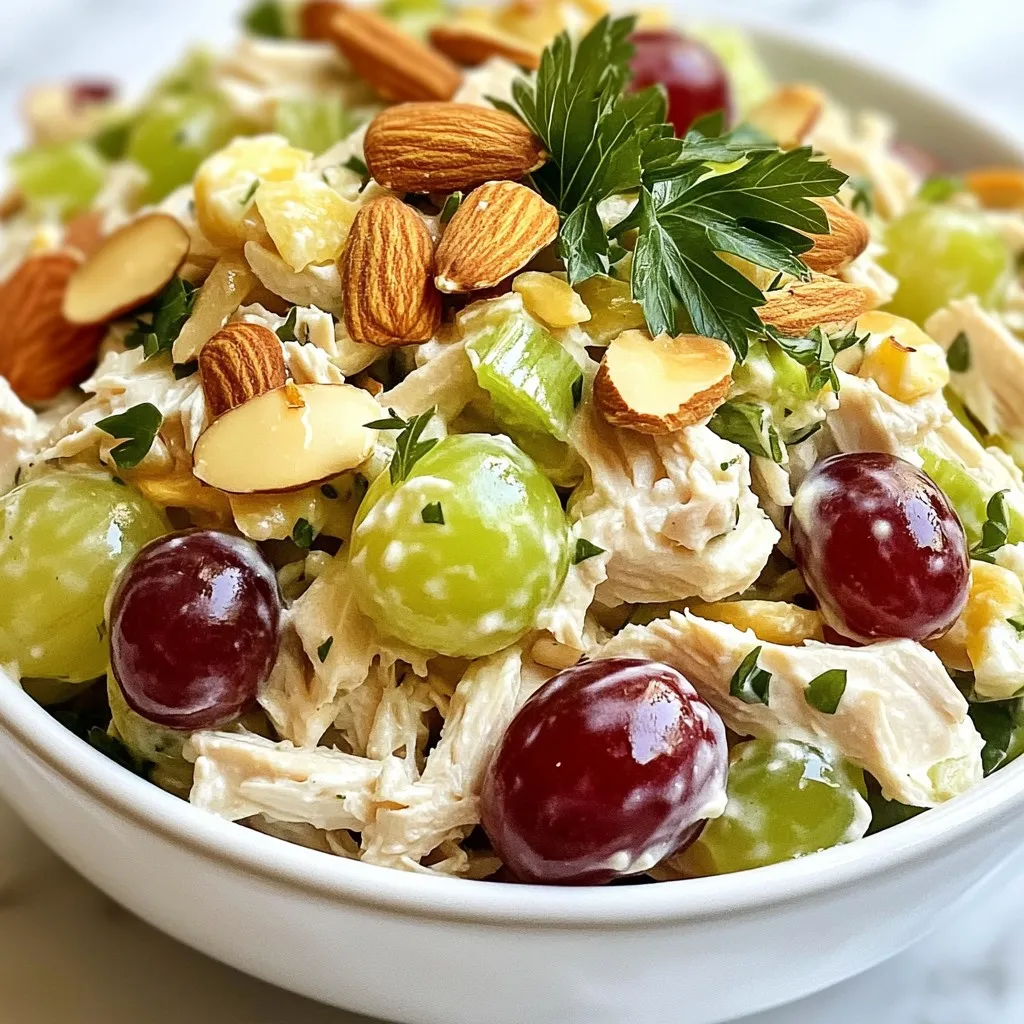
Greek Yogurt Chicken Salad Fresh and Flavorful Meal
Looking for a tasty meal that’s both fresh and quick to make? Greek Yogurt Chicken Salad is your answer! This Read Full Recipe -
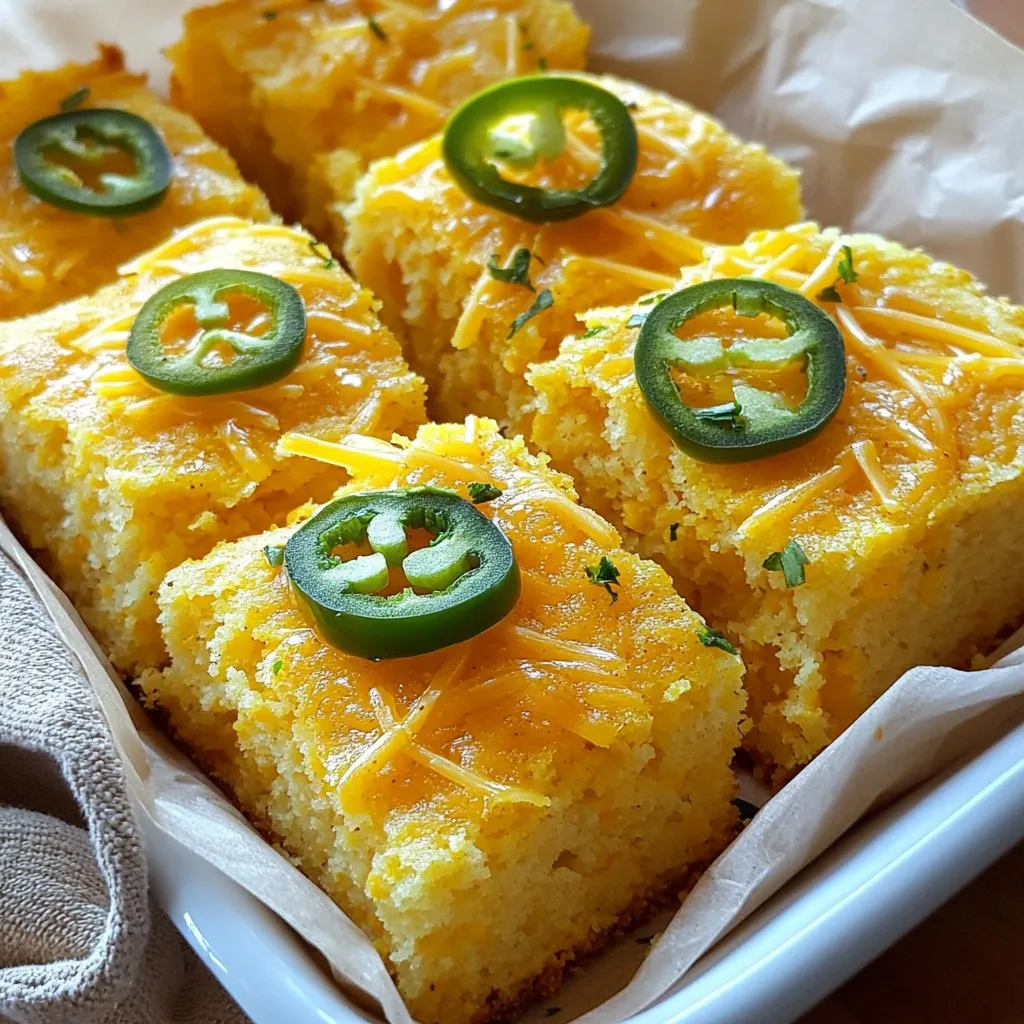
Jalapeño Cheddar Cornbread Simple and Savory Recipe
If you’re craving a warm, savory treat, this Jalapeño Cheddar Cornbread recipe is for you! It’s easy to make and Read Full Recipe -
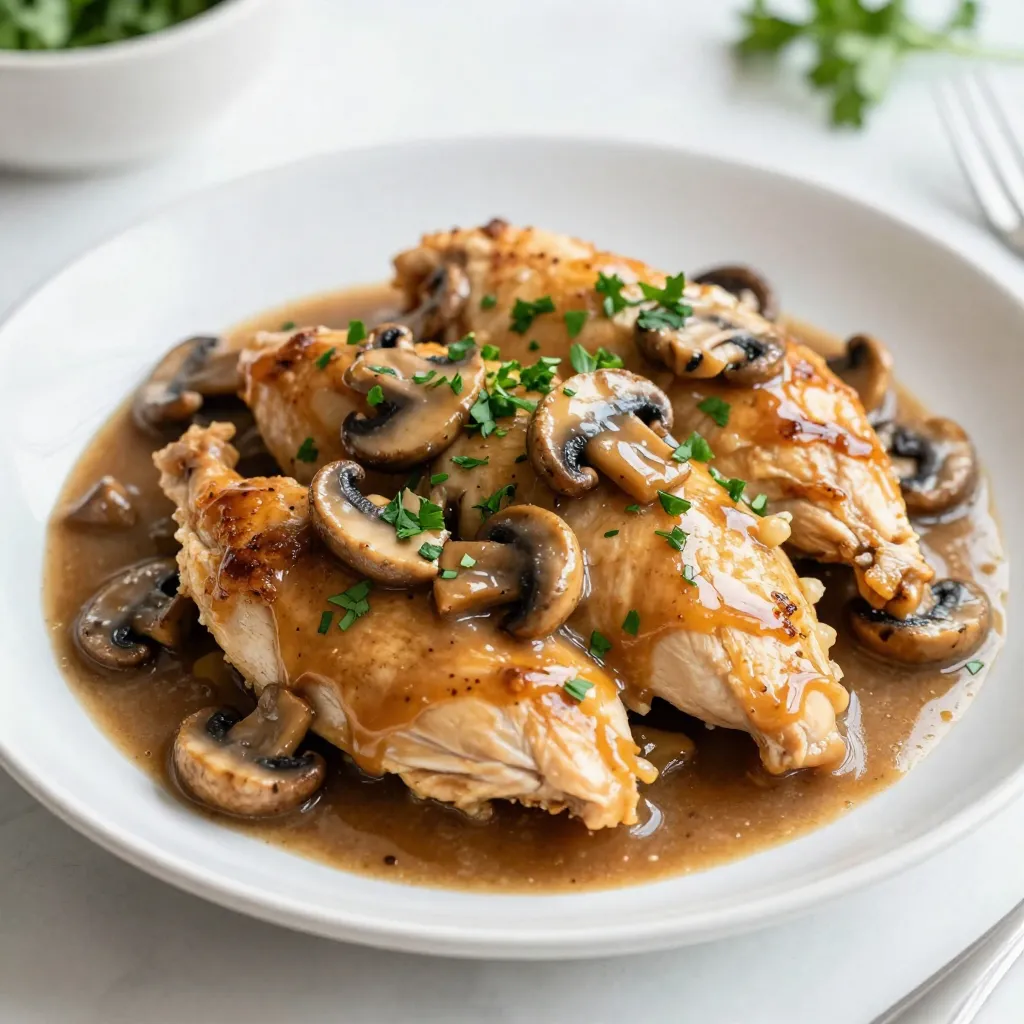
Chicken Marsala Flavorful Recipe for Dinner Delight
Looking to impress at dinner tonight? This Chicken Marsala recipe is both flavorful and simple! You’ll love the tender chicken Read Full Recipe -
One-Bowl Banana Oat Pancakes Easy and Tasty Recipe
Do you crave a simple yet delicious breakfast? Try my One-Bowl Banana Oat Pancakes! They are easy to make and Read Full Recipe -
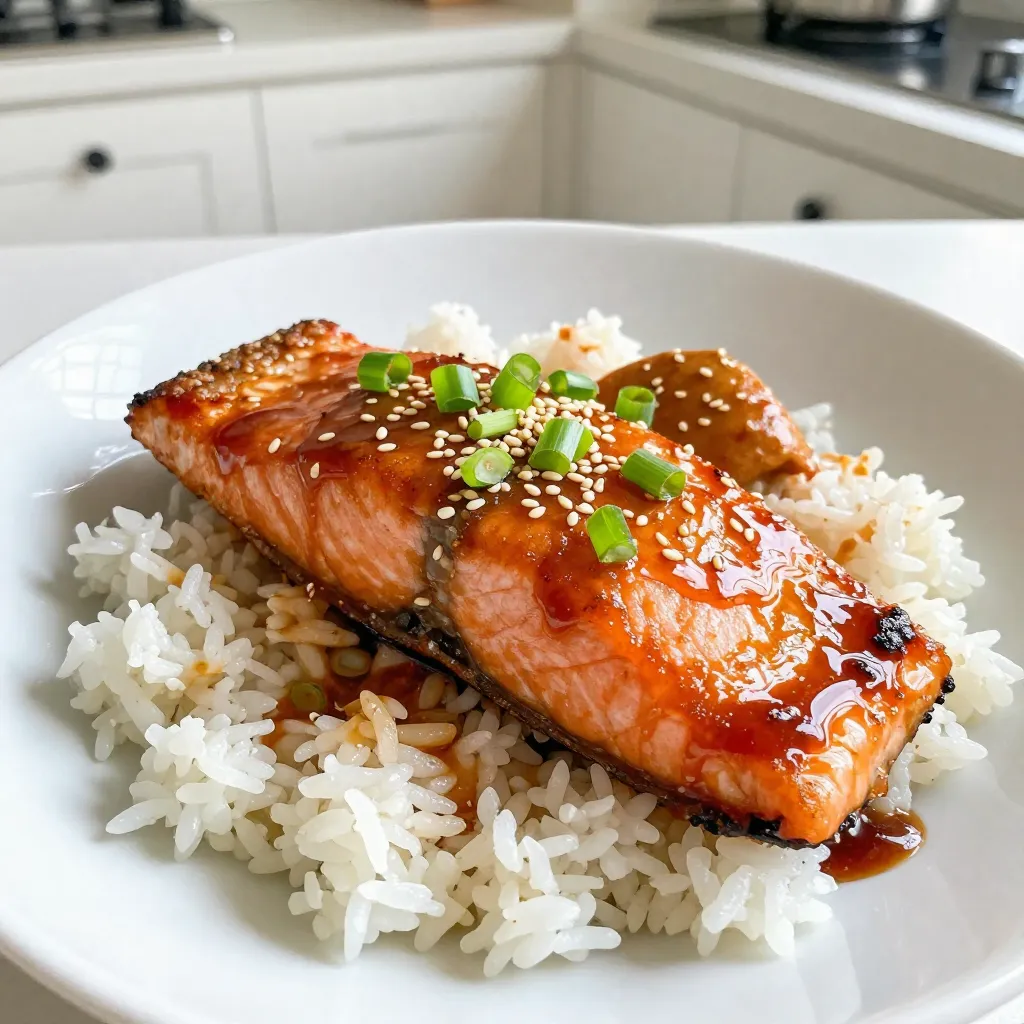
Ginger Soy Glazed Salmon Flavorful and Simple Dish
If you want a meal bursting with flavor yet easy to make, you’ve found it! This Ginger Soy Glazed Salmon Read Full Recipe


hey,
i’m !
I’m so happy you’re here!
Every dish I share is made with love and care. I hope they bring you the same comfort and joy they bring me. Let’s make memories, one recipe at a time.
![- 1 pound large shrimp - 4 tablespoons unsalted butter - 3 tablespoons olive oil - 4 cloves garlic, minced The main ingredients set the stage for great flavor. Large shrimp give a good bite and cook quickly. Butter and olive oil create a rich base. Garlic adds a savory kick that makes this dish shine. - 1/4 teaspoon red pepper flakes - Juice and zest of 1 lemon - 1 cup cherry tomatoes, halved Flavor enhancers are key to making this dish special. Red pepper flakes add a nice heat. Lemon juice and zest bring brightness that balances the richness. Cherry tomatoes add a sweet touch and freshness. - 8 ounces linguine or spaghetti - Optional ingredients: Salt, pepper, fresh parsley, grated Parmesan cheese I like linguine for its shape, but spaghetti works too. The pasta soaks up the sauce well. Salt and pepper elevate the flavors. Fresh parsley gives a pop of color and fresh taste. Grated Parmesan is a great optional touch for cheese lovers. For the full recipe, you will find everything you need to enjoy this delightful dish. - Start by boiling a large pot of salted water. - Add 8 ounces of linguine and cook until al dente. - Reserve 1 cup of pasta water, then drain the linguine and set it aside. - In a large skillet, melt 4 tablespoons of butter with 3 tablespoons of olive oil over medium heat. - Add 4 minced garlic cloves and 1/4 teaspoon of red pepper flakes. Cook until fragrant for about 1 minute. - Place the shrimp in the skillet in a single layer. Cook for 2-3 minutes until they turn pink, then flip them. Cook for another 1-2 minutes until fully cooked, seasoning with salt and pepper. - Stir in 1 cup of halved cherry tomatoes and the juice and zest of 1 lemon. Let the tomatoes soften for about 2 minutes. - Add the cooked linguine to the skillet. Toss the pasta with the shrimp mixture. Add reserved pasta water a little at a time to create a light sauce that coats the pasta and shrimp. Mix until everything is heated through. To check if shrimp are done, look for a pink color. They should curl into a C shape. If they stay straight, they are overcooked. This can make them tough. Cook shrimp for 2-3 minutes per side. Remove them once they turn pink. The sauce should be light and silky. To get this, add reserved pasta water slowly. This helps bind the sauce to the shrimp and pasta. If you want, you can use broth instead of pasta water. Broth adds depth and flavor. Fresh parsley adds a bright pop of color. Chop it finely and sprinkle on top. For an extra touch, use grated cheese. Parmesan melts nicely and enhances flavor. Just add it before serving for the best taste. For the full recipe, check out the [Full Recipe]. {{image_2}} You can switch the shrimp for other proteins. Scallops make a great choice. They add a sweet taste and cook fast. Chicken is another good option. Cut it into pieces and cook it until golden brown. You can even add cooked crab or lobster. These options bring a rich flavor to the dish. Not a fan of seafood? You can still enjoy this dish. Try using mushrooms or tofu instead. Both are great at soaking up flavor. For added crunch, consider veggies like bell peppers or zucchini. These will give your dish more color and texture. Want to boost the flavor? Add white wine to the sauce. It adds depth and a nice zing. Fresh herbs can also change the taste. Try basil or thyme for a fresh twist. Mix and match these ideas to create your own version of Easy Shrimp Scampi. You can find the full recipe to get started. To keep shrimp scampi fresh, store it in an airtight container. Make sure it cools down before sealing. It stays good in the fridge for 2 to 3 days. This way, you can enjoy it later without losing flavors. To reheat shrimp scampi, use the stove or microwave. On the stove, warm it over low heat. Stir occasionally to heat evenly. In the microwave, use a low power setting. Heat in short intervals, checking often. This prevents rubbery shrimp, which can ruin the dish. Yes, you can freeze shrimp scampi. However, it’s best to freeze it without pasta. For freezing, place the shrimp mixture in a freezer-safe bag. Remove as much air as possible. It keeps for up to 3 months. When ready to eat, thaw overnight in the fridge. Then, reheat and add fresh pasta. This method helps keep the texture nice. The total cooking time for shrimp scampi is about 25 minutes. You need 10 minutes for prep and 15 minutes for cooking. This quick meal is perfect for busy nights when you want something tasty without a long wait. Yes, you can use frozen shrimp for this recipe. Just make sure to thaw them properly. Place the frozen shrimp in cold water and let them sit for 15-20 minutes. Pat them dry before cooking. This way, your shrimp will cook evenly and taste great. Shrimp scampi pairs well with several side dishes. Here are some great options: - Garlic bread for soaking up the sauce - Steamed broccoli for a healthy crunch - Caesar salad for a light and fresh taste - Rice or quinoa to add some heartiness These sides will enhance your meal and make it more filling. You can mix and match based on your taste! For the full recipe, check out the section above. In this post, we explored how to make easy shrimp scampi with simple ingredients. You learned about the main components, cooking steps, and fun variations. Timing and proper techniques ensure the shrimp stay tender and flavorful. With tips for storage and reheating, you can enjoy leftovers without losing taste. I hope this guide helps you create a delicious dish that impresses friends and family alike. Enjoy your cooking adventure!](https://easycookingbite.com/wp-content/uploads/2025/06/49d72d46-1f41-4a1d-8a61-6d0f56f3372e-300x300.webp)

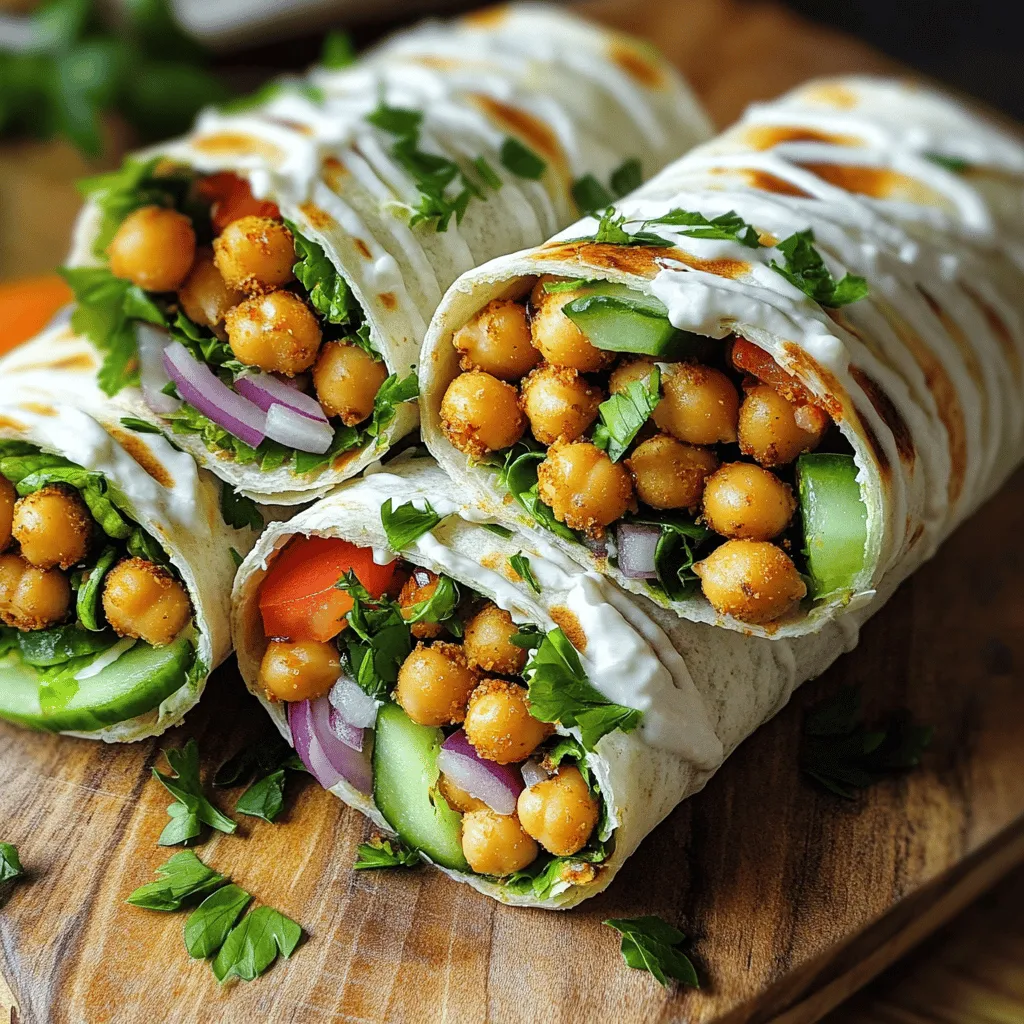
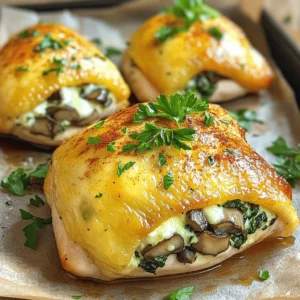
Chickpea Shawarma Wraps Flavorful and Fresh Meal
Looking for a fresh and tasty meal that’s easy to make? Chickpea shawarma wraps are your answer! Packed with spiced chickpeas and crisp veggies,…