

Latest & Greatest

Bakery Style Blueberry Lemon Muffins Delightful Treat
Do you crave a warm, sweet treat that reminds you of your favorite bakery? These Bakery Style Blueberry Lemon Muffins
Read more…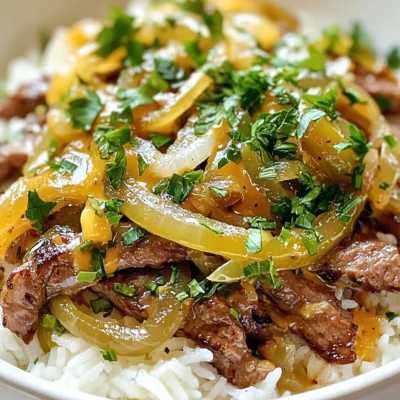
Philly Cheesesteak Rice Bowls Flavorful Comfort Meal
Craving a hearty meal that packs a punch? Look no further! These Philly Cheesesteak Rice Bowls combine tender ribeye steak
Read more…
Min Shrimp Pad Thai Savory and Simple Recipe Guide
Craving a quick and tasty meal? My Min Shrimp Pad Thai brings bold flavors to your table in no time!
Read more…
Air Fryer Teriyaki Meatballs Tasty and Easy Recipe
Craving a tasty dinner that’s easy enough to whip up on a busy night? You’ll love these Air Fryer Teriyaki
Read more…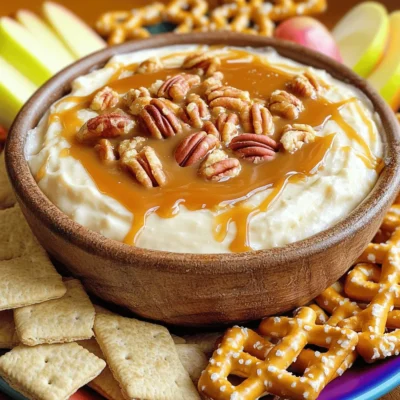
Caramel Pecan Cheesecake Dip Easy and Delicious Treat
Looking for a sweet treat that’s easy to make? You’ve come to the right place! This Caramel Pecan Cheesecake Dip
Read more…
Maple Roasted Sweet Potato Salad Flavorful and Fresh
Looking for a refreshing and flavorful dish that’s perfect for any occasion? Dive into this Maple Roasted Sweet Potato Salad!
Read more…
Avocado Egg Breakfast Quesadillas Simple and Quick Recipe
Looking for a quick and tasty breakfast? You’ll love these Avocado Egg Breakfast Quesadillas! They are simple to make, packed
Read more…
Jalapeño Cheddar Cornbread Muffins Flavorful Treat
Looking for a tasty addition to your meals? Try my Jalapeño Cheddar Cornbread Muffins! These muffins pack a punch with
Read more…browse recipes


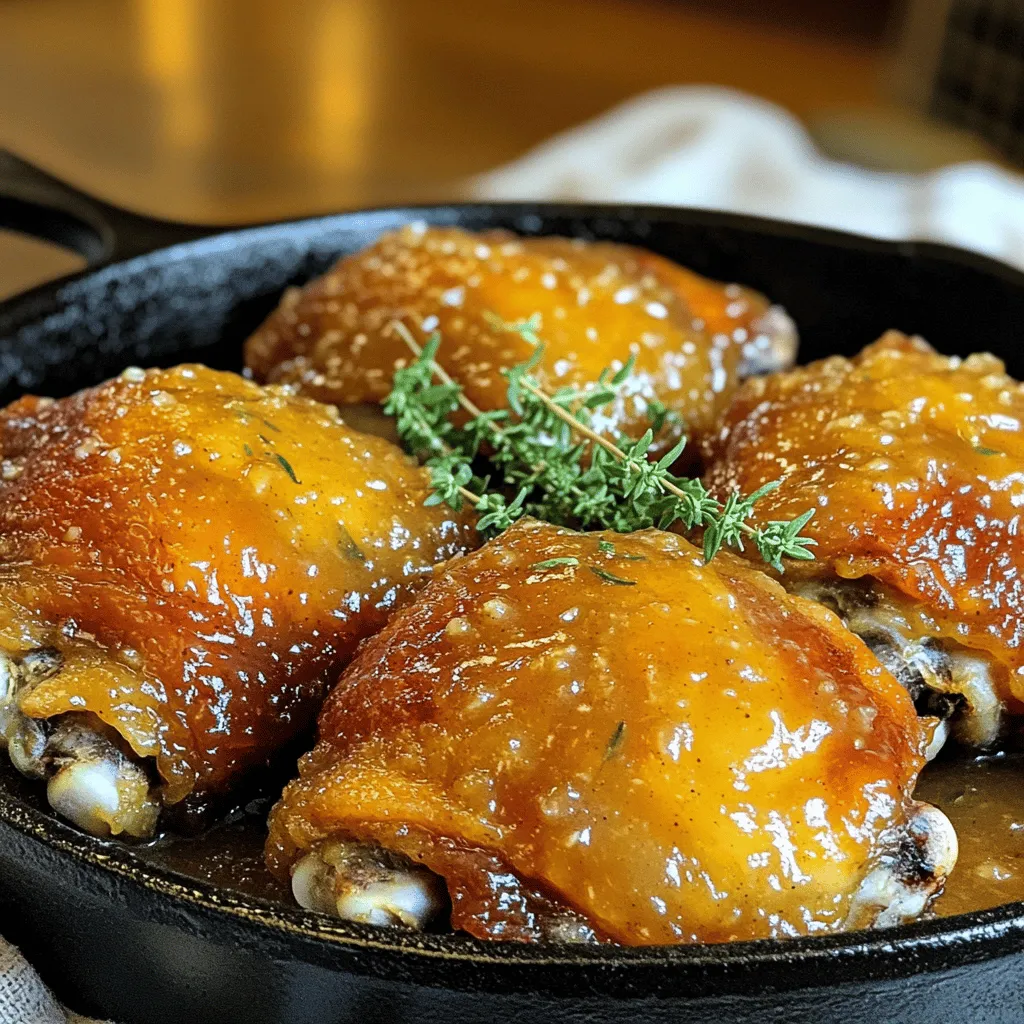
Savory Apple Butter Glazed Chicken Thighs Delight
Are you ready to elevate your dinner game? This Savory Apple Butter Glazed Chicken Thighs Delight is the answer. With a perfect blend of…
My Latest Drinks

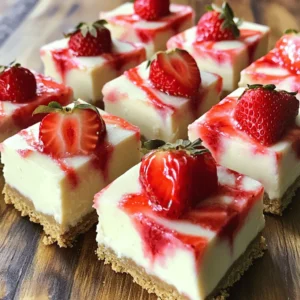
Strawberry Cheesecake Smoothie Creamy Refreshing Treat
Craving something delicious and cool? The Strawberry Cheesecake Smoothie is your answer! It blends creamy cheesecake flavors with sweet strawberries Read Full Recipe-
Mocktail Pink Punch Refreshing and Easy Recipe
Are you ready to impress your guests with a delightful drink? This Mocktail Pink Punch recipe is both refreshing and Read Full Recipe -
Blue Lagoon Tropical Lemonade Refreshing and Zesty Drink
Looking for a drink that’s both refreshing and fun? Say hello to Blue Lagoon Tropical Lemonade! This colorful beverage packs Read Full Recipe -
Pumpkin Spice Coffee Creamer Flavorful Fall Treat
Are you ready to embrace the cozy vibes of autumn? In this blog post, I’ll guide you through making your Read Full Recipe -
Apple Cider Margarita Mocktail Refreshing Fall Drink
Fall is here, and that means it’s the perfect time for a cozy drink! The Apple Cider Margarita Mocktail offers Read Full Recipe -
Pumpkin Spice Latte Copycat Cozy and Comforting Recipe
Craving that warm, cozy feeling of fall? You can enjoy a delicious Pumpkin Spice Latte at home! In this article, Read Full Recipe


My Latest Dinners
-
White Bean Soup Simple and Hearty Delight
Looking for a warm and filling meal? Let me introduce you to white bean soup! This simple and hearty delight Read Full Recipe -
Garlic Herb Roasted Sweet Potatoes Flavorful Side Dish
Looking for a side dish that’s both tasty and easy to make? Garlic Herb Roasted Sweet Potatoes are the answer! Read Full Recipe -
One Pot Beef Taco Pasta Easy and Flavorful Meal
Looking for a quick and tasty meal? One Pot Beef Taco Pasta is the perfect dish! This recipe packs bold Read Full Recipe -
Garlic Chicken Zucchini Noodles Stir Fry Delight
Are you ready for a tasty twist on dinner? My Garlic Chicken Zucchini Noodles Stir Fry is a quick and Read Full Recipe -
Stuffed Italian Meatloaf Easy and Tasty Recipe
Are you ready to elevate your dinner game? This Stuffed Italian Meatloaf is both easy and tasty! In this article, Read Full Recipe -
One Pot French Onion Pasta Flavorful Comfort Dish
Looking for a cozy dinner that warms your soul? Try my One Pot French Onion Pasta! This creamy, rich dish Read Full Recipe


hey,
i’m !
I’m so happy you’re here!
Every dish I share is made with love and care. I hope they bring you the same comfort and joy they bring me. Let’s make memories, one recipe at a time.

![To make the best Garlic Parmesan Roasted Potatoes, you need fresh ingredients. Start with 2 pounds of baby potatoes. These small potatoes cook evenly and taste great. Use 4 cloves of garlic, minced finely to bring out the flavor. Fresh herbs like thyme and rosemary add depth, so grab 1 teaspoon of each. You will also need some pantry staples. Use 1/4 cup of olive oil for roasting. This oil helps the potatoes crisp up nicely. You will need salt and pepper to taste. A teaspoon of paprika adds a bit of color and flavor to the dish. Garnishing makes the dish look nice. You can add fresh parsley, chopped, for a pop of color. If you want more flavor, consider adding a squeeze of lemon juice or a dash of chili flakes. These are optional but can make a big difference. For the full recipe, check the earlier mention. Start by washing the baby potatoes. Cut them in half. This gives them a nice shape. Place the halved potatoes in a large bowl. Add 1/4 cup of olive oil. Next, add 4 cloves of minced garlic. Don't skip the garlic; it adds great flavor! Toss in 1 teaspoon each of dried thyme and dried rosemary. For some warmth, include 1 teaspoon of paprika. Season with salt and pepper to taste. Mix everything well until the potatoes are fully coated. Preheat your oven to 425°F (220°C). While the oven heats up, line a baking sheet with parchment paper. This makes cleanup easy. Spread the seasoned potatoes on the baking sheet in a single layer. Make sure they aren’t crowded; this helps them roast nicely. Roast the potatoes for 25 minutes. Halfway through, give them a turn. This helps them cook evenly and get crispy. After 25 minutes, take the baking sheet out of the oven. Now, sprinkle 1/2 cup of grated Parmesan cheese over the potatoes. The cheese will melt and add a lovely crust. Return the baking sheet to the oven for another 10-15 minutes. Keep an eye on them! They should turn golden brown and crispy. Once done, let them cool for a few minutes. Finally, garnish with fresh chopped parsley before serving. Try this Full Recipe for a delightful dish! To get your potatoes crispy, start with dry potatoes. After washing, pat them dry with a towel. A hot oven helps, so preheat it to 425°F (220°C). Spread the potatoes in a single layer on your baking sheet. This allows the heat to circulate around each potato piece. Flip them halfway through roasting for even browning. Adding the Parmesan near the end gives it time to melt without burning. Use high-quality extra virgin olive oil for the best taste. It adds a rich flavor and enhances the roasted flavor of the potatoes. Light olive oils work too, but they lack the robust taste. If you want a twist, try flavored olive oils, like garlic or herb-infused. These can elevate your dish and add extra depth. For the best garlic flavor, use fresh cloves. Minced garlic releases oils that infuse the potatoes beautifully. You can roast the garlic with the potatoes for a milder taste. When it comes to Parmesan, always choose block cheese and grate it yourself. Pre-grated cheese often lacks flavor and can be drier. Add the cheese in the last 10-15 minutes of cooking for a perfect crust. Check out the Full Recipe for detailed instructions and enjoy making these tasty Garlic Parmesan Roasted Potatoes! {{image_2}} You can change the flavor with different seasonings. Try adding Italian seasoning for a taste twist. You can also use chili powder for heat. A touch of lemon zest adds bright flavor too. For a smoky kick, consider smoked paprika. Experimenting with spices brings new life to the dish. If you want to save time, use an air fryer. Set it to 400°F and cook for about 20 minutes. Shake the basket halfway for even cooking. The Instant Pot is great for quick meals too. Cook the potatoes on high for 8 minutes with a cup of water. After, crisp them in a hot oven for a few minutes. Adding crispy bacon gives a savory crunch. Just chop fresh bacon and mix it in before roasting. Fresh herbs like rosemary or thyme boost the flavor. Toss them in right before serving for a fresh taste. You can even add cheese varieties like cheddar for a different twist. Each of these enhancements makes your Garlic Parmesan Roasted Potatoes special. Check the [Full Recipe] for the base you can adapt! After you enjoy your Garlic Parmesan Roasted Potatoes, store any leftovers in an airtight container. Keep them in the fridge. They stay fresh for up to three days. Let the potatoes cool before sealing the container. This helps prevent moisture buildup, which can make them soggy. To reheat, use your oven for the best taste. Preheat your oven to 350°F (175°C). Spread the potatoes on a baking sheet. Bake for about 10-15 minutes. This method keeps them crispy. You can also use a microwave, but the potatoes may become soft. If you choose the microwave, heat in short bursts for about 1-2 minutes. You can freeze these potatoes, but they may lose some crunch. To freeze, let the potatoes cool completely. Place them in a single layer on a baking sheet and freeze for 1-2 hours. Once frozen, transfer them to a freezer bag. They can stay in the freezer for up to three months. When ready to eat, thaw in the fridge overnight before reheating. For the best taste, refer to the Full Recipe for cooking instructions. Yes, you can use many types of potatoes. Red potatoes, Yukon Gold, or fingerlings work well. Each type gives a unique taste and texture. Choose what you like best. Just ensure they are cut into even pieces for even cooking. To make this recipe dairy-free, skip the Parmesan cheese. You can replace it with nutritional yeast for a cheesy flavor. Alternatively, use a dairy-free cheese option. Both swaps keep the dish tasty without dairy. These roasted potatoes pair well with many dishes. Serve them with grilled chicken or fish for a complete meal. They also work great with salads or roasted veggies. You can even serve them alongside your favorite dipping sauce for a fun twist. For the full recipe, check out the details above! You learned about making Garlic Parmesan Roasted Potatoes in this guide. We covered key ingredients, step-by-step instructions, and helpful tips for crispiness. You discovered tasty variations and how to store leftovers. In closing, this dish is easy to enjoy with family and friends. Now, you can create a delicious side anytime. Happy cooking!](https://easycookingbite.com/wp-content/uploads/2025/06/160d3efe-ff78-4d66-a517-f98f2811083c-300x300.webp)
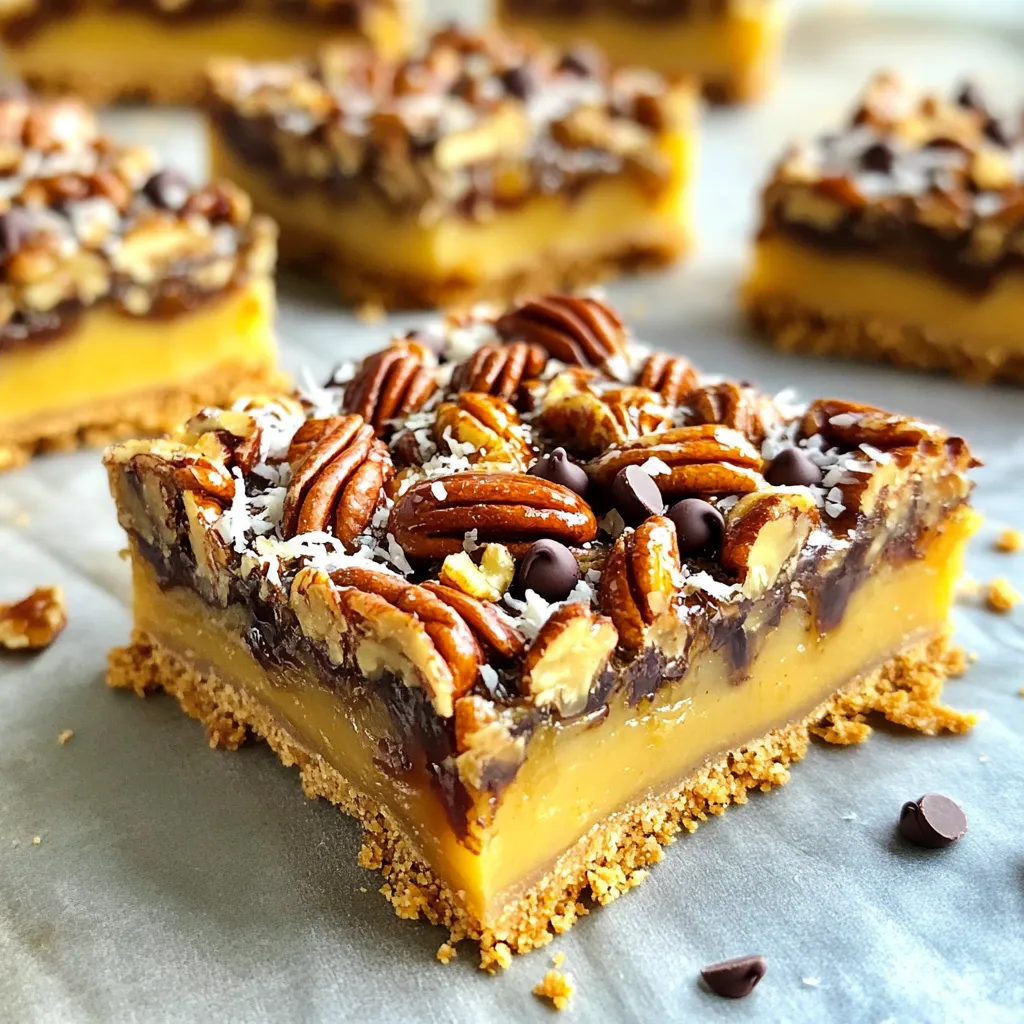
No-Bake Maple Pecan Pie Bars Easy and Delicious Treat
Looking for an easy and tasty dessert? You’ve found it with these No-Bake Maple Pecan Pie Bars! They combine rich flavors, simple ingredients, and…