
Latest & Greatest
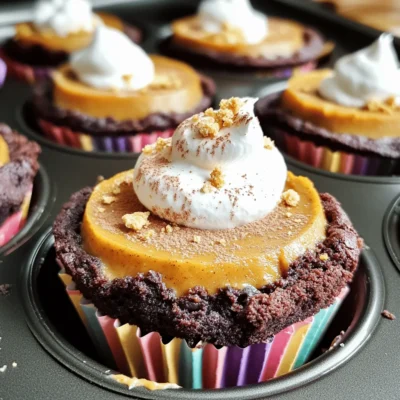
Pumpkin Cheesecake Brownie Cups Irresistible Delight
Get ready to fall in love with Pumpkin Cheesecake Brownie Cups! These bite-sized delights blend rich chocolate brownies and creamy
Read more…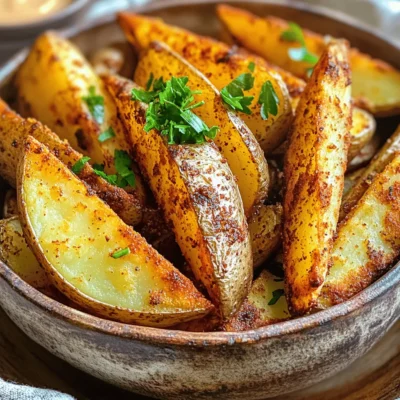
Air Fryer Cajun Potato Wedges Crisp and Flavorful Dish
Get ready to spice up your meals with Air Fryer Cajun Potato Wedges! These crispy, flavorful bites are easy to
Read more…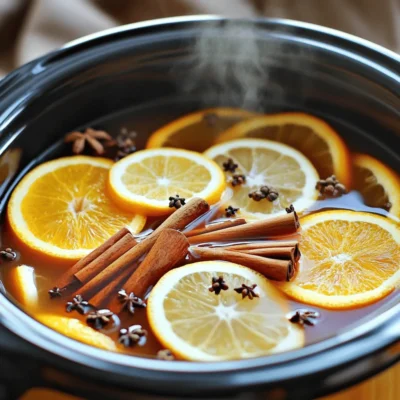
Slow Cooker Spiced Apple Cider Flavorful Holiday Treat
As the holiday season approaches, the cozy aroma of spiced apple cider can turn any gathering into a festive celebration.
Read more…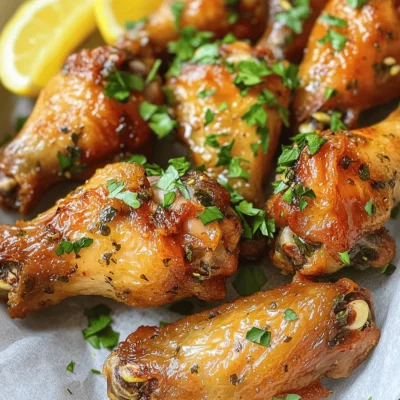
Air Fryer Garlic Herb Chicken Wings Flavorful Delight
If you’re craving a tasty snack, look no further! Air Fryer Garlic Herb Chicken Wings are the perfect blend of
Read more…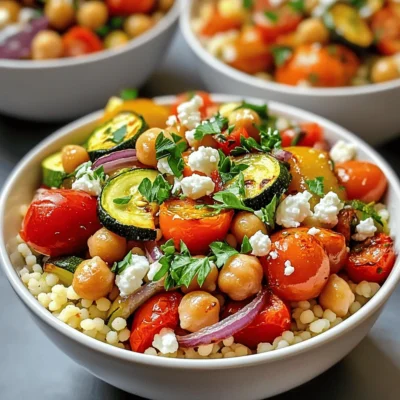
Roasted Veggie Couscous Bowls Simple and Flavorful Meal
If you’re looking for a simple and tasty meal, roasted veggie couscous bowls are perfect! In this post, I’ll guide
Read more…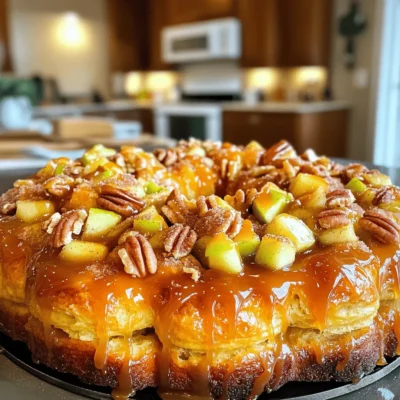
Caramel Apple Monkey Bread Irresistible Sweet Treat
Are you ready to indulge in a sweet treat that’s perfect for any occasion? Caramel Apple Monkey Bread combines warm,
Read more…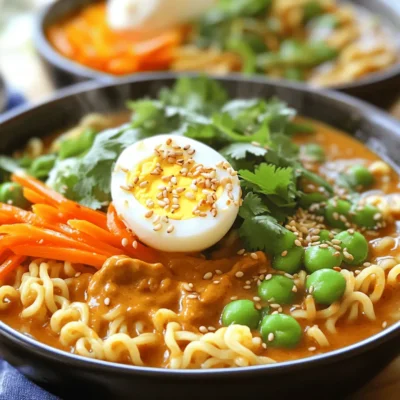
Chili Crisp Peanut Butter Ramen Tasty and Quick Meal
If you’re craving a meal that’s quick, tasty, and a little different, you’ve come to the right place! Today, I’m
Read more…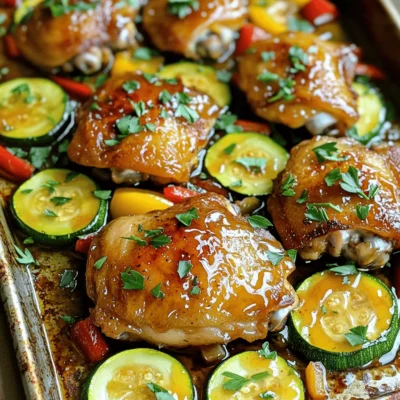
Honey Garlic Chicken Zucchini Sheet Pan Delight
Looking for a quick, tasty dinner idea? Try my Honey Garlic Chicken Zucchini Sheet Pan Delight! This easy recipe features
Read more…browse recipes
![- 4 large bell peppers (any color) - 1 cup quinoa, rinsed - 2 cups vegetable broth (or water) - 1 can (15 oz) black beans, rinsed and drained - 1 cup corn kernels (fresh or frozen) - 1 cup cherry tomatoes, halved - 1 teaspoon cumin - 1 teaspoon smoked paprika - 1 teaspoon garlic powder - Salt and pepper to taste - 1 avocado, diced (for topping) - Fresh cilantro or parsley for garnish - Lime wedges for serving These ingredients give your stuffed peppers a great mix of flavors and textures. Quinoa serves as a hearty base, while black beans add protein. The corn and tomatoes bring in a touch of sweetness. Cumin, smoked paprika, and garlic powder add depth. You can also customize the dish with your favorite toppings. Avocado and fresh herbs make a lovely finish. If you want more zing, lime wedges work great! For a full recipe, check out the details above. - Preheat your oven to 375°F (190°C). - Cut the tops off and remove seeds from the bell peppers. Start by choosing your bell peppers. I love using a mix of colors for a vibrant dish. Each pepper should stand upright in your baking dish. This helps keep the filling in place. - Combine quinoa and vegetable broth in a medium saucepan. - Bring to a boil then simmer until liquid is absorbed. Quinoa is a great base for this recipe. Rinse it well before cooking. This removes any bitter taste. Once you have it in the pot, let it boil. Then reduce the heat. Cover it and watch it puff up into fluffy goodness. - Mix cooked quinoa with black beans, corn, cherry tomatoes, and spices. - Spoon the mixture into each bell pepper. In a large bowl, combine your cooked quinoa with black beans, corn, and cherry tomatoes. The colors and textures will make your dish pop. Add in your spices—cumin, smoked paprika, and garlic powder. These add depth and flavor. Use a spoon to fill each pepper, packing the mixture gently. - Pour broth into the baking dish for steaming. - Cover with foil and bake, then uncover and bake again for tenderness. After filling the peppers, add a splash of vegetable broth to the baking dish. This helps steam the peppers. Cover the dish with foil and bake it for 25 minutes. This keeps the peppers moist. After that, uncover and bake for another 10-15 minutes. You want your peppers to be tender but not mushy. Try this recipe [Full Recipe] for all the details, and you will have a delicious and colorful meal ready to enjoy! To make these vegan stuffed bell peppers shine, adjust the spices to fit your taste. If you love heat, add a pinch of cayenne pepper. If you prefer milder flavors, use less cumin. This helps the dish match your palate perfectly. Cooking the quinoa just right is key for the best texture. Rinse it well before cooking to remove any bitterness. When you simmer it, make sure all the liquid is absorbed. You want fluffy quinoa that holds together in the peppers. These stuffed peppers taste great with a fresh salad or crispy tortilla chips. The crunch of the chips adds a fun texture. You can also serve them with a squeeze of lime. This gives a bright burst of flavor that elevates each bite. This recipe is naturally gluten-free, making it a great choice for many diets. If you want to swap out any ingredients, consider using brown rice or lentils instead of quinoa. Each option brings its own flavor and texture. The ingredients in these peppers pack a nutritional punch. Quinoa is high in protein and fiber, while black beans add even more protein. Bell peppers are rich in vitamins A and C. This meal is not just tasty; it’s also good for you! {{image_2}} You can change the filling to keep things fresh. Lentils or brown rice work well as bases. They both add texture and flavor. You can also mix in sautéed vegetables like zucchini or mushrooms. Tofu is a great option for extra protein. Simply crumble it and mix it in. This adds a nice twist while keeping it healthy. Want to change the flavor profile? Try adding curry powder for an Indian flair. This spice gives your dish warmth and depth. You can also go for a Mediterranean vibe. Add ingredients like olives and feta cheese. These will give a salty and tangy kick that’s simply delicious. Don’t be afraid to switch up your cooking methods. Cooking on a grill gives a smoky flavor that is hard to beat. Just make sure to monitor the peppers so they don’t burn. If you prefer a hands-off approach, use a slow cooker. This method is perfect for meal prep. Just set it and forget it, and enjoy your tasty stuffed peppers later! For the full recipe, check out the main article. You can refrigerate your vegan stuffed bell peppers in an airtight container. They will stay fresh for up to three days. If you want to keep them longer, freeze them. They can last for up to two months in the freezer. When you’re ready to enjoy your leftovers, the best way to reheat them is in the oven. This method warms the peppers evenly and keeps them tender. Preheat your oven to 350°F (175°C). Place the stuffed peppers in a baking dish and cover with foil. Bake for about 20 minutes. If you're in a hurry, you can use the microwave. Place the peppers on a microwave-safe plate. Heat them for about 2-3 minutes or until they are hot. Enjoy your meal again! Yes, you can prep the peppers and filling separately. Just assemble them before baking. This way, you save time on busy days. You can use brown rice, couscous, or farro instead of quinoa. Each of these adds its own flavor and texture. Peppers are done when they feel tender. You should also check that the filling is heated through. This usually takes about 35-40 minutes in total. Yes, all ingredients in this recipe are naturally gluten-free. You can enjoy this meal without worry! For a lighter version, use less oil. You can also reduce the quantity of avocado or leave it out entirely. This keeps the taste while cutting calories. Feel free to check the Full Recipe for more details! In this blog post, we explored how to make tasty vegan stuffed bell peppers. We covered the main ingredients needed, step-by-step cooking instructions, and tips for perfecting the dish. You learned about different fillings and cooking methods for unique twists. Remember, these peppers are easy to store and reheat, making them a great meal prep option. Enjoy experimenting with your own flavors and variations. This dish is not only healthy but also fun to make and share. Enjoy your cooking!](https://easycookingbite.com/wp-content/uploads/2025/05/d0a6dff4-d09e-4db8-80aa-b0fbef999582.webp)
Vegan Stuffed Bell Peppers Flavorful and Nutritious Meal
Looking for a tasty and healthy meal? You’re going to love these Vegan Stuffed Bell Peppers! They are colorful, packed with nutrients, and super…
My Latest Drinks

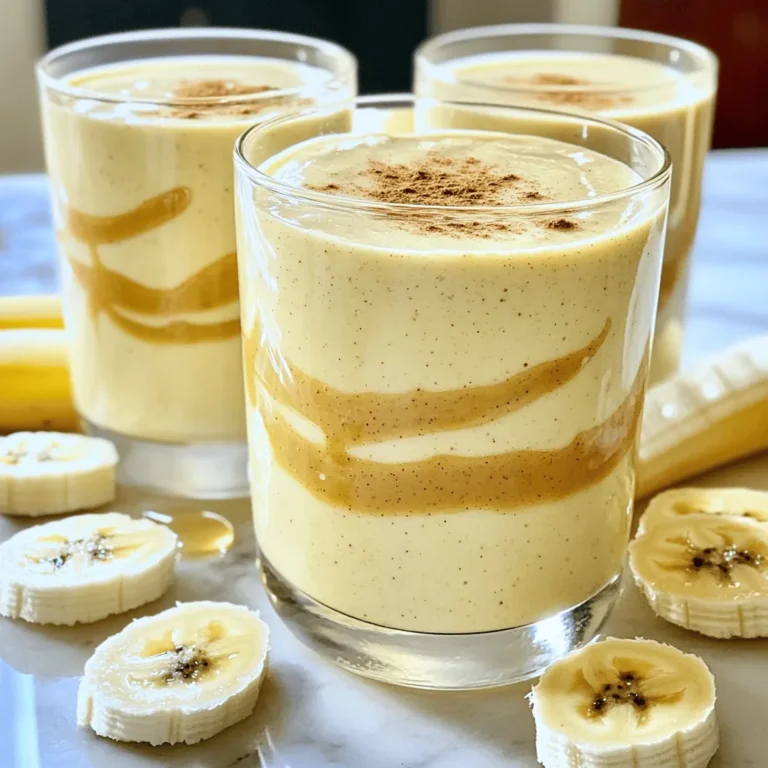
Strawberry Cheesecake Smoothie Creamy Refreshing Treat
Craving something delicious and cool? The Strawberry Cheesecake Smoothie is your answer! It blends creamy cheesecake flavors with sweet strawberries Read Full Recipe-
Mocktail Pink Punch Refreshing and Easy Recipe
Are you ready to impress your guests with a delightful drink? This Mocktail Pink Punch recipe is both refreshing and Read Full Recipe -
Blue Lagoon Tropical Lemonade Refreshing and Zesty Drink
Looking for a drink that’s both refreshing and fun? Say hello to Blue Lagoon Tropical Lemonade! This colorful beverage packs Read Full Recipe -
Pumpkin Spice Coffee Creamer Flavorful Fall Treat
Are you ready to embrace the cozy vibes of autumn? In this blog post, I’ll guide you through making your Read Full Recipe -
Apple Cider Margarita Mocktail Refreshing Fall Drink
Fall is here, and that means it’s the perfect time for a cozy drink! The Apple Cider Margarita Mocktail offers Read Full Recipe -
Pumpkin Spice Latte Copycat Cozy and Comforting Recipe
Craving that warm, cozy feeling of fall? You can enjoy a delicious Pumpkin Spice Latte at home! In this article, Read Full Recipe


My Latest Dinners
-
White Bean Soup Simple and Hearty Delight
Looking for a warm and filling meal? Let me introduce you to white bean soup! This simple and hearty delight Read Full Recipe -
Garlic Herb Roasted Sweet Potatoes Flavorful Side Dish
Looking for a side dish that’s both tasty and easy to make? Garlic Herb Roasted Sweet Potatoes are the answer! Read Full Recipe -
One Pot Beef Taco Pasta Easy and Flavorful Meal
Looking for a quick and tasty meal? One Pot Beef Taco Pasta is the perfect dish! This recipe packs bold Read Full Recipe -
Garlic Chicken Zucchini Noodles Stir Fry Delight
Are you ready for a tasty twist on dinner? My Garlic Chicken Zucchini Noodles Stir Fry is a quick and Read Full Recipe -
Stuffed Italian Meatloaf Easy and Tasty Recipe
Are you ready to elevate your dinner game? This Stuffed Italian Meatloaf is both easy and tasty! In this article, Read Full Recipe -
One Pot French Onion Pasta Flavorful Comfort Dish
Looking for a cozy dinner that warms your soul? Try my One Pot French Onion Pasta! This creamy, rich dish Read Full Recipe


hey,
i’m !
I’m so happy you’re here!
Every dish I share is made with love and care. I hope they bring you the same comfort and joy they bring me. Let’s make memories, one recipe at a time.

. You can use other grains if you don’t have quinoa. Here are some options: - Brown rice - Couscous - Barley - Farro These grains cook well and add texture. You can also use protein if you prefer. Some good choices include: - Cooked lentils - Chickpeas - Ground turkey - Shredded chicken Each substitute brings a unique flavor. Experiment with what you like best! You can tell zucchini boats are done by their look and feel. Here are some signs: - They should be slightly golden. - The edges may curl a bit. You can also test with a fork. Insert it into the zucchini. If it goes in easily, the boats are ready. If not, give them a few more minutes. Yes, you can prep zucchini boats ahead of time. Here are some tips: - Cut and scoop the zucchinis a day before. - Store them in the fridge in an airtight container. For the filling, mix all ingredients and store them separately. Here’s how to store: - Keep the filling in a sealed container. - It can last up to two days in the fridge. Just assemble and bake when ready! We explored a tasty zucchini boat recipe packed with healthy ingredients. You learned how to prepare, fill, and bake these delicious boats. Tips on flavors, presentation, and dietary options enhance your cooking. Storage advice ensures you enjoy leftovers safely. Embrace the variations and find what suits you best. Cooking should be fun, so get creative and enjoy every bite!](https://easycookingbite.com/wp-content/uploads/2025/06/20e3ded3-93c8-4928-aac6-21861bb3c6f9-300x300.webp)
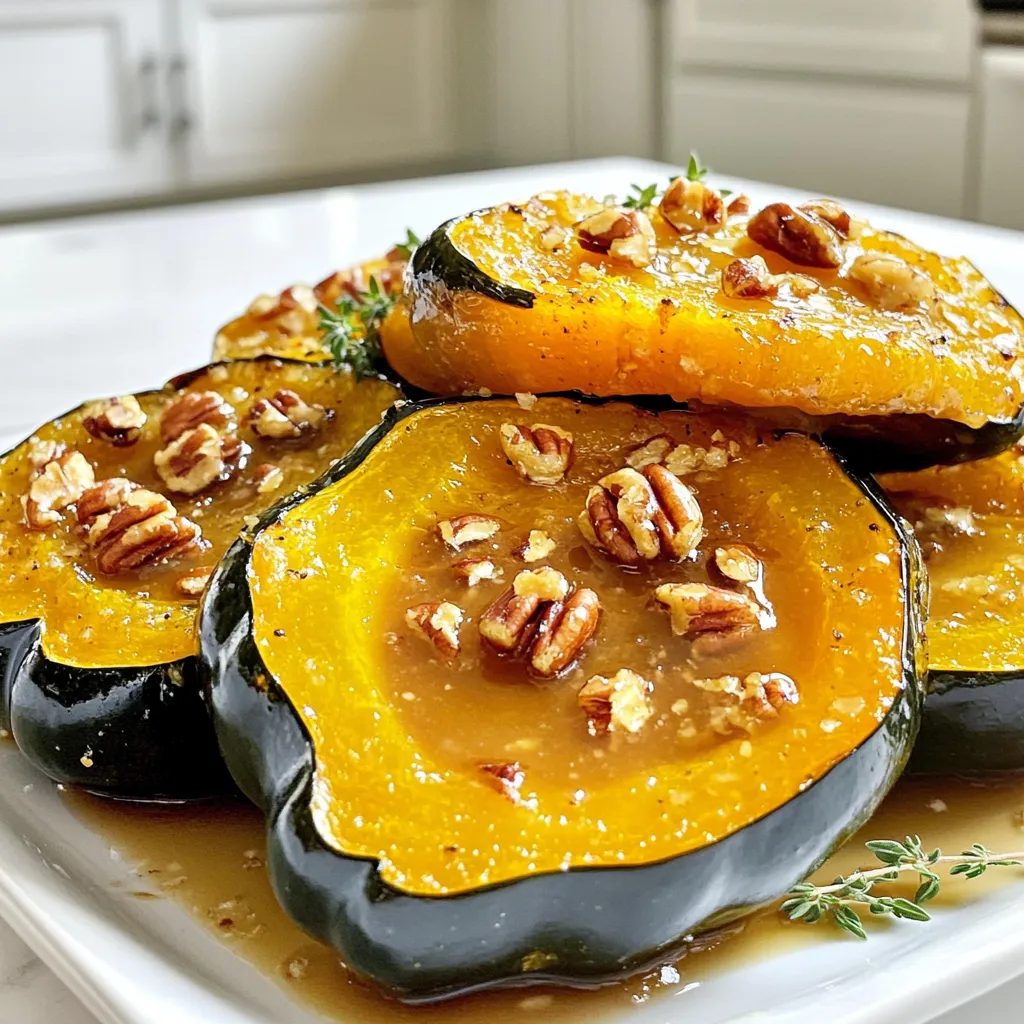
Maple Butter Roasted Acorn Squash Flavorful Delight
Are you ready to elevate your fall cooking? Maple Butter Roasted Acorn Squash is a warm and delightful dish that will satisfy your taste…