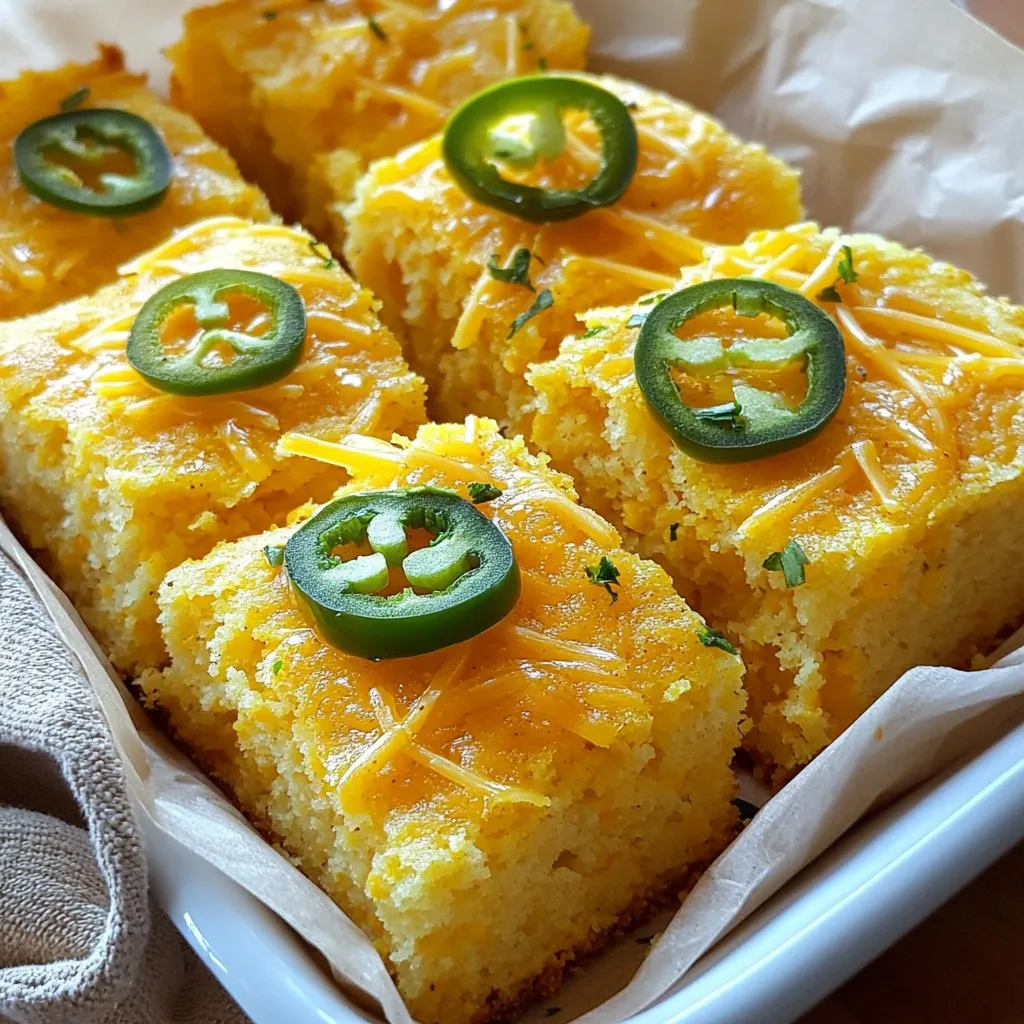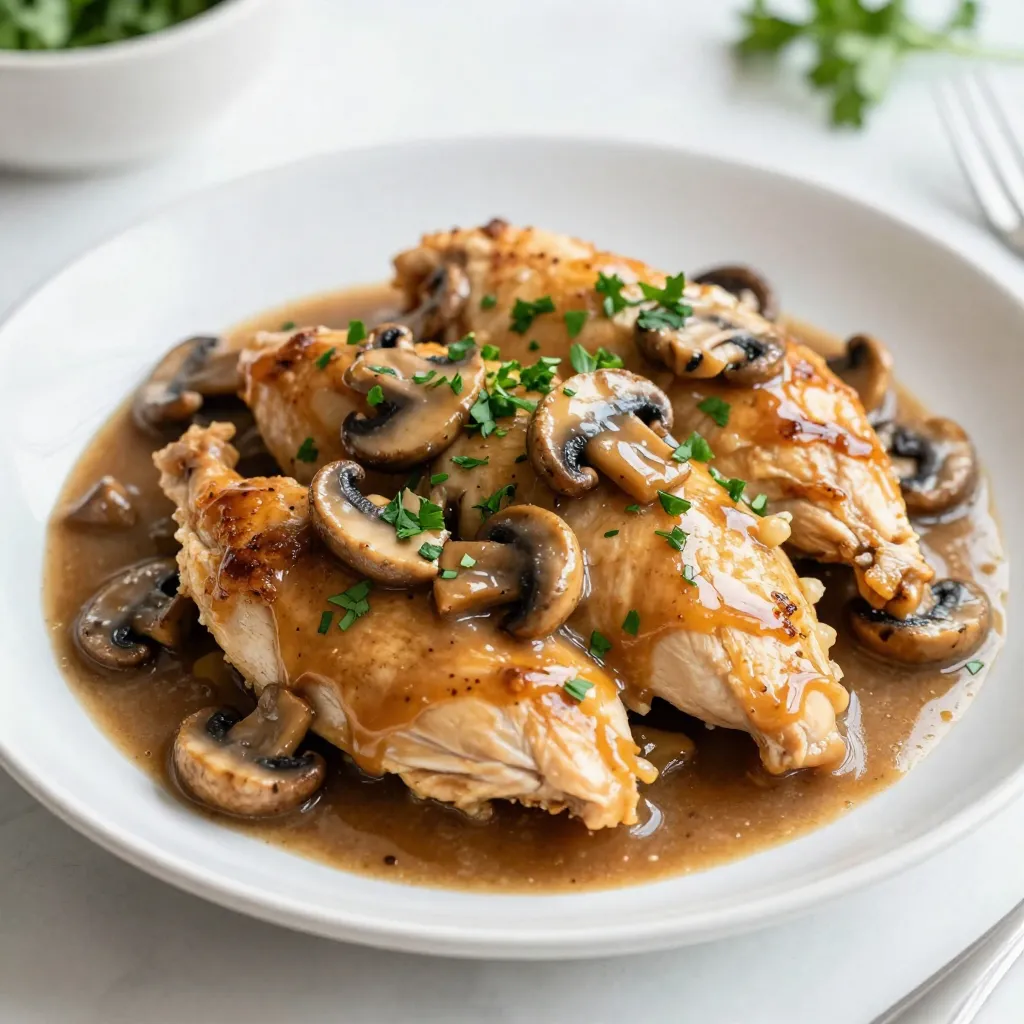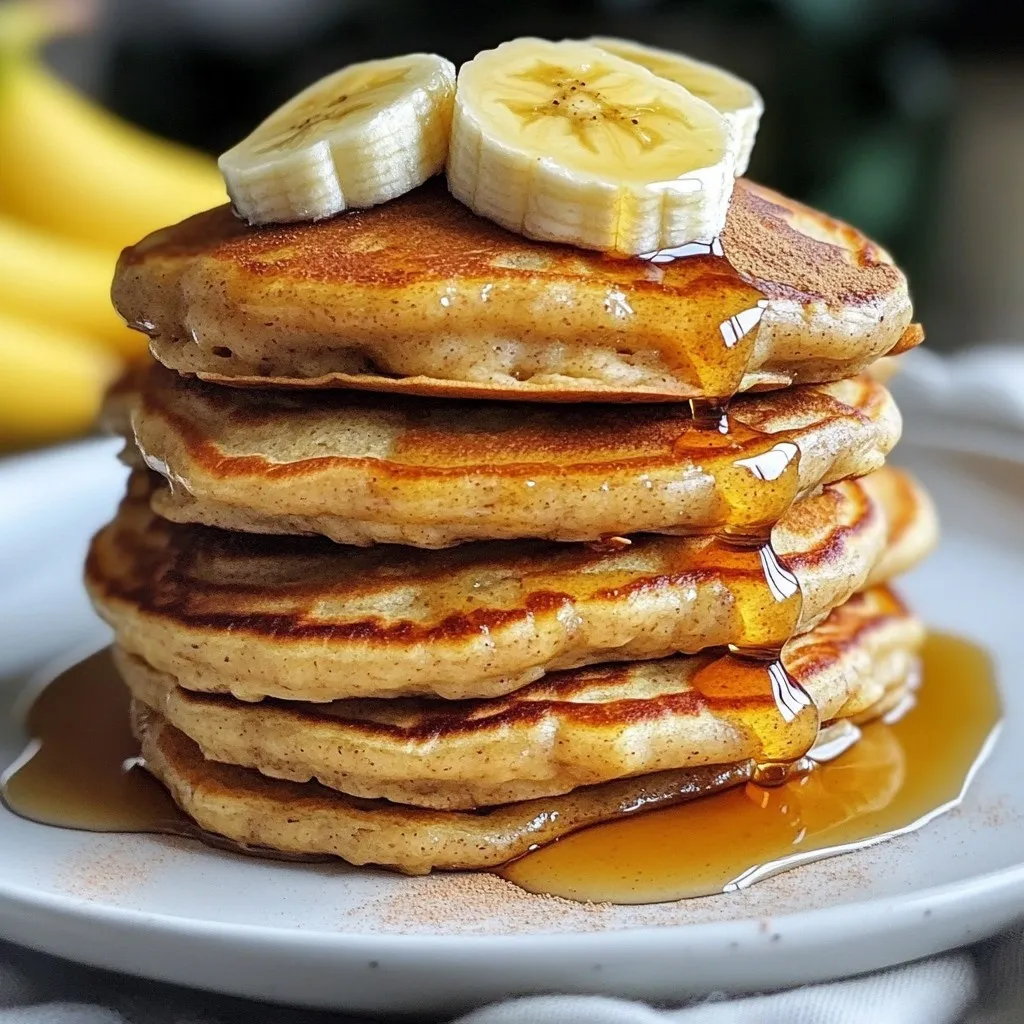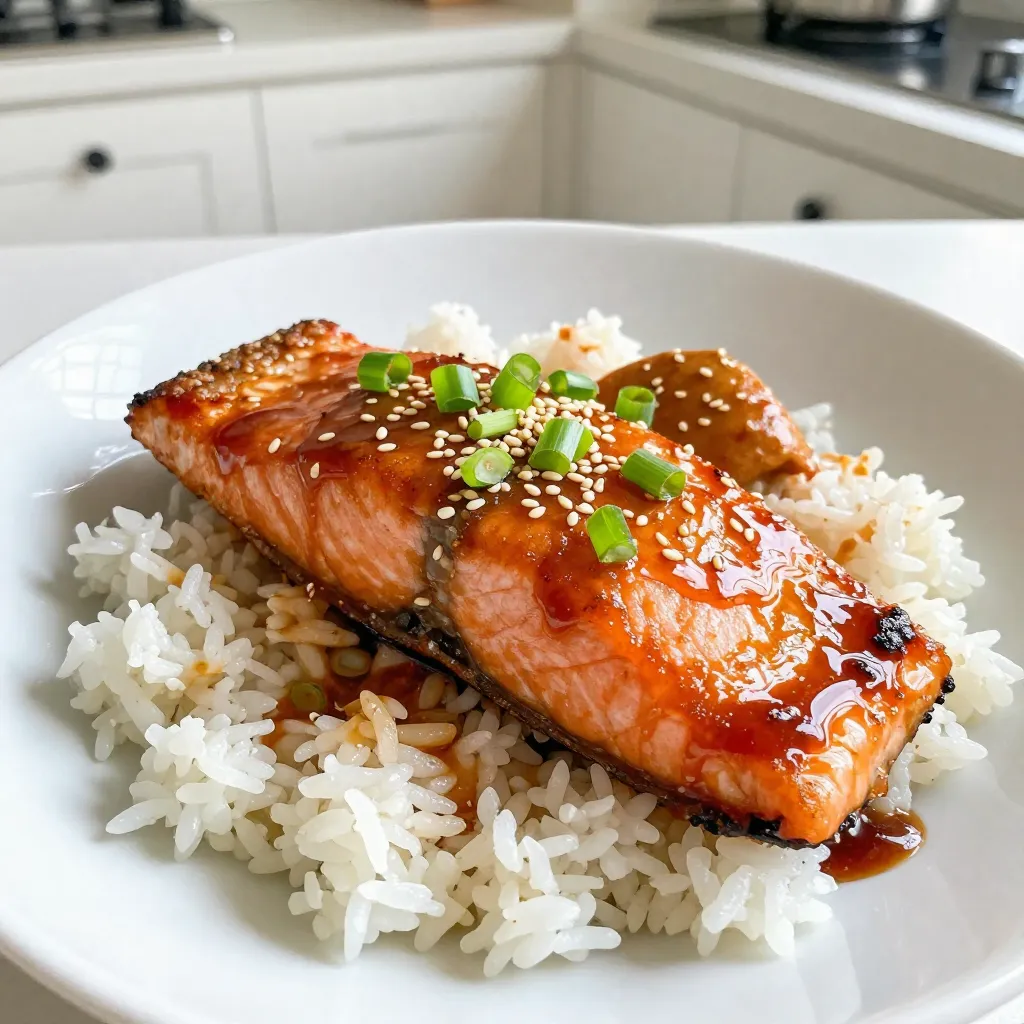
Latest & Greatest

browse recipes

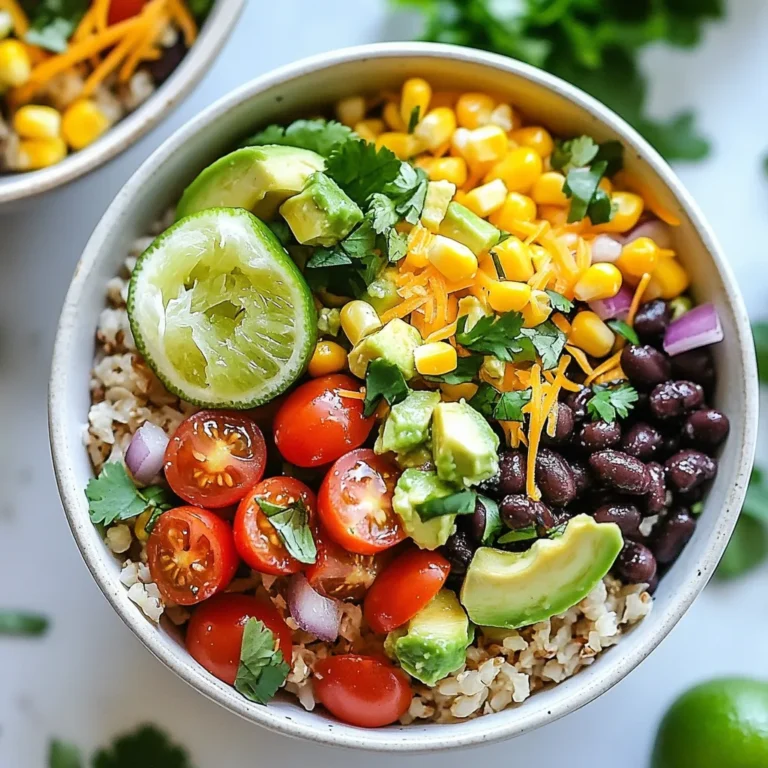
- 1 cup quinoa, rinsed - 2 cups vegetable broth - 1 cup cherry tomatoes, halved - 1 bell pepper, diced (any color) - 1 small red onion, finely chopped - 1/2 cup spinach, chopped Quinoa is a super grain. It is high in protein and fiber. It cooks well and has a nice texture. Vegetable broth adds flavor and makes the dish rich. Fresh vegetables like cherry tomatoes and bell peppers bring color and crunch. Red onion adds a sweet taste, while spinach gives it a healthy boost. - 1 teaspoon garlic powder - 1 teaspoon smoked paprika - Fresh herbs (like parsley or cilantro) for garnish Garlic powder gives a nice kick. Smoked paprika adds a depth of flavor. Fresh herbs make the dish pop and look pretty. These seasonings help tie all the flavors together. - 1 avocado, sliced - 2 tablespoons olive oil - Salt and pepper to taste Avocado adds creaminess and healthy fats. Olive oil also brings richness and helps with cooking. Salt and pepper are must-haves for taste. They enhance all the other flavors in this savory breakfast quinoa. You can find the full recipe above to bring all these ingredients together for a hearty breakfast! 1. Start by rinsing 1 cup of quinoa under cold water. This removes any bitter taste. 2. In a medium saucepan, combine the rinsed quinoa with 2 cups of vegetable broth. 3. Bring the mixture to a boil over high heat. 4. Reduce the heat to low and cover the pan. Let it simmer for about 15 minutes. 5. The quinoa should become fluffy, and all the broth should be absorbed. 1. While the quinoa cooks, heat 2 tablespoons of olive oil in a large skillet over medium heat. 2. Add 1 small red onion, finely chopped, and 1 diced bell pepper. Sauté for about 5 minutes. The onion should be soft and fragrant. 3. Next, stir in 1 cup of halved cherry tomatoes. Cook for an additional 3 minutes until they blister. 4. Add 1/2 cup of chopped spinach last. Cook for 1-2 minutes until it wilts. 1. Once the quinoa is ready, add it to the skillet with the veggies. 2. Season the mix with 1 teaspoon of garlic powder, 1 teaspoon of smoked paprika, and salt and pepper to taste. 3. Stir everything together until well mixed and heated through. 4. Serve hot, topped with sliced avocado and fresh herbs for a delightful finish. For the full recipe, check out the detailed instructions and ingredients. To achieve fluffy quinoa, start by rinsing it well. This removes bitter saponins. Use a medium saucepan for cooking. Combine one cup of rinsed quinoa with two cups of vegetable broth. Bring this to a boil. Then, reduce the heat to low and cover it. Simmer for about 15 minutes. When done, the quinoa should look fluffy and the broth absorbed. For sautéing vegetables, use a large skillet. Heat two tablespoons of olive oil over medium heat. Start with the red onion and bell pepper. Sauté these for about five minutes until they soften. Then, add the cherry tomatoes. Cook for another three minutes until they blister. Finally, add chopped spinach and cook for one to two minutes until it wilts. When plating, create colorful layers. Start with a base of quinoa. Top it with the sautéed vegetable mix. Add fresh avocado slices on top for creaminess. Garnish with fresh herbs like parsley or cilantro for a pop of color. This dish shines at breakfast but works well for lunch or dinner too. This dish is great for vegetarians and vegans. You can skip the eggs and still enjoy a hearty meal. For gluten-free options, quinoa is naturally gluten-free. Just ensure that your vegetable broth is also gluten-free. You can add beans for extra protein or nuts for a crunch. This way, you can easily customize it to fit different diets. {{image_2}} You can change the taste of your savory breakfast quinoa easily. Try adding spices like cumin, chili powder, or even curry powder. These spices can give your dish a new twist. You can also add sauces like soy sauce or hot sauce for extra flavor. If you want more protein, adding eggs or beans works great. Scramble an egg and mix it in, or toss in some black beans for a hearty boost. Using seasonal vegetables can enhance the taste and nutrition of your dish. In spring, try fresh asparagus or peas. In summer, zucchini and corn add great flavors. In fall, use roasted butternut squash or sweet potatoes. During winter, root vegetables like carrots and beets will work well. You can also swap in pantry staples when fresh veggies aren’t available. Canned tomatoes or frozen veggies are perfect substitutes. Savory breakfast quinoa makes a full meal. Pair it with fruit or yogurt for a balanced breakfast. You can also use it as a side dish with grilled chicken or fish. For meal prep, make a big batch and store it in the fridge. It keeps well and is easy to heat up. This way, you can enjoy a healthy breakfast all week long. Check out the Full Recipe for more ideas! To store leftovers, let the savory breakfast quinoa cool first. Then, place it in an airtight container. This helps keep it fresh. You can store it in the fridge for up to four days. For the best results, use glass or BPA-free plastic containers. They seal tightly and are easy to clean. The best methods to reheat quinoa are using the microwave or stovetop. If you use the microwave, place the quinoa in a bowl. Add a splash of water to keep it moist. Heat it for about one to two minutes. Stir halfway through to ensure even warming. On the stovetop, add a little water to a pan and heat on low. Stir gently for about five minutes until warm. Yes, you can freeze savory breakfast quinoa! It freezes well and keeps its flavor. To freeze, first cool the quinoa completely. Then, transfer it to freezer-safe bags. Remove as much air as possible before sealing. For thawing, place the bag in the fridge overnight. You can also use the microwave. Heat it straight from the freezer, but add extra time for warming. Yes, you can use water. However, broth adds rich flavor. Water alone may taste bland. Broth infuses the quinoa with savory notes, making it more enjoyable. Using broth also enhances the dish's overall taste without extra ingredients. To make savory quinoa more filling, add protein. You can mix in cooked eggs, beans, or tofu. Nuts and seeds also boost protein and healthy fats. Try adding shredded chicken or turkey for a heartier meal. Adding a side of fruit can balance the dish. If you need a substitute for quinoa, consider rice or farro. Both grains cook well and carry flavors nicely. Bulgur or millet are great options too. For a gluten-free choice, try buckwheat or amaranth. Each option gives a unique taste while keeping it nutritious. For the full recipe, check the earlier section. This blog post covered how to make a flavorful savory quinoa dish. You learned about key ingredients like quinoa, broth, and fresh vegetables. I shared tips for cooking and sautéing for the best texture. You can customize flavors and pair this dish with other meals easily. Remember, storing leftovers right helps maintain taste. Overall, cooking savory quinoa is simple and rewarding. It’s a healthy option that fits many diets. So, grab your ingredients and start cooking this delightful meal today!

Savory Breakfast Quinoa Simple and Nutritious Meal

Looking for a quick, tasty breakfast that packs a nutrition punch? Savory breakfast quinoa is your answer! This dish combines protein-rich quinoa with vibrant…

My Latest Desserts

My Latest Recipes

hey,

i’m !

I’m so happy you’re here!

Every dish I share is made with love and care. I hope they bring you the same comfort and joy they bring me. Let’s make memories, one recipe at a time.

Chewy Rice Krispies Treats Simple and Tasty Recipe

Are you ready to make the chewiest Rice Krispies Treats ever? This simple and tasty recipe is a hit with kids and adults alike.…

For these tasty treats, you will need: - 5 cups Rice Krispies cereal - 4 cups mini marshmallows - 1/2 cup unsalted butter - 1 teaspoon vanilla extract - 1/2 teaspoon salt - 1/2 cup creamy peanut butter (or almond butter for a nut-free option) These ingredients work together to create that perfect chewy texture we all love. You can make your treats even more fun with these options: - Colorful sprinkles - Chocolate chips - Drizzled chocolate Feel free to mix and match these toppings based on your mood or occasion. Kids love adding sprinkles! If you need to swap ingredients, here are some ideas: - Use coconut oil instead of butter for a dairy-free option. - Swap mini marshmallows for regular-sized marshmallows, just cut them up. - Try using sunflower seed butter in place of peanut butter for a nut-free treat. These substitutions help you adjust the recipe to your taste and dietary needs. Check out the Full Recipe for more details! First, grab a 9x13 inch baking pan. You can grease it with cooking spray. If you want easy removal, line it with parchment paper. This will help you lift the treats out later. Next, take a large saucepan. Set it over low heat. Add 1/2 cup of unsalted butter. Stir it often to keep it from burning. Once the butter is melted, add 4 cups of mini marshmallows. Keep stirring until they melt and become smooth. When the marshmallows melt, remove the pan from the heat. Now, stir in 1/2 cup of creamy peanut butter, 1 teaspoon of vanilla extract, and 1/2 teaspoon of salt. Mix until everything is smooth and well combined. Quickly pour the marshmallow mix into your prepared pan. Use a spatula to spread it out. If you grease your hands lightly, you can press it down evenly. Make sure it is packed tightly, but don’t crush the cereal. If you want to add toppings, now is the time. While the mixture is still warm, sprinkle on chocolate chips or colorful sprinkles. They will stick better this way. Let the treats cool for about 30 minutes at room temperature. Once cool, lift them out of the pan if you used parchment paper. Cut them into squares or rectangles. Enjoy your chewy Rice Krispies treats! For the full recipe, check the previous section. To make chewy Rice Krispies treats, you need to focus on the right balance. Using enough marshmallows is key. Too few can make them hard. I also like to add peanut butter for a softer bite. This adds flavor and keeps treats from being dry. Press the mixture down firmly but gently. Don’t crush the cereal, or your treats will be tough. Start by melting the butter slowly. Use low heat and stir constantly. This helps prevent burning and ensures a smooth mix. Once the butter is melted, add the marshmallows. Stir until they are smooth. After mixing in the peanut butter, remove the pan from heat. This keeps the mixture creamy. Lastly, fold in the Rice Krispies carefully. Evenly coat all the cereal without breaking them. One mistake is rushing the melting process. If you heat too fast, you risk burning the butter. Another common error is not greasing the pan well. Sticky treats will be hard to remove. Avoid over-mixing the cereal, too. This can lead to a chewy mess instead of soft treats. Follow these tips for a perfect batch of chewy Rice Krispies treats. For the complete recipe, check the Full Recipe section. {{image_2}} You can mix up your Chewy Rice Krispies Treats by adding flavors. Try creamy peanut butter for a rich taste. It pairs well with the marshmallows. You can also use almond butter for a nut-free option. Want chocolate? Stir in some mini chocolate chips or drizzle melted chocolate on top. This makes every bite sweet and fun. You can even add cocoa powder to the marshmallow mix for a chocolatey twist. Make your treats festive by adding seasonal colors. For holidays, use red and green sprinkles for Christmas. For Halloween, add orange and black sprinkles or mini candy corn. You can cut them into shapes like hearts for Valentine's Day or stars for the Fourth of July. These small changes make your treats exciting and special for any event. If you have allergies, make safe treats by skipping nuts and nut butters. Instead, use sun butter, which is made from sunflower seeds. This still gives you a nice flavor. Always check labels on marshmallows and other ingredients to ensure they are allergen-free. You can also use dairy-free butter for a vegan option. This way, everyone can enjoy these tasty Chewy Rice Krispies Treats. For the full recipe, check back for all the details. To keep your chewy Rice Krispies treats fresh, store them in an airtight container. Line the bottom with wax paper to prevent sticking. This method helps maintain their soft texture. If you have extra treats, you can wrap them individually in plastic wrap before placing them in the container. When stored properly, these treats can last up to one week at room temperature. If you notice they become hard or dry, that’s a sign they are no longer fresh. A change in color or a stale smell also means it's time to toss them. Reheating is not usually needed for Rice Krispies treats. If they become too firm, you can microwave them for about 10 seconds. This will soften them slightly. Just be sure not to overheat, or they may become too sticky. Enjoy your chewy Rice Krispies treats fresh, or make them ahead with confidence using the Full Recipe! To make Rice Krispies treats less sticky, use a little less marshmallow. You can also add a pinch of salt to balance the sweetness. Coating your hands with butter or oil helps when you press the mixture into the pan. This way, it won’t stick to you. Yes, you can use different cereals! Try using Cocoa Krispies for a chocolate flavor or Fruity Pebbles for a fun twist. Just make sure the cereal is similar in shape and size to Rice Krispies. This keeps the texture right. You can add many tasty things! Try mixing in chocolate chips, sprinkles, or nuts. You could also add a bit of peanut butter or hazelnut spread for a rich taste. Get creative and make it your own! Yes, you can! Instead of marshmallows, use honey or agave syrup. You might also use a mixture of sugar and butter to create a sticky base. This will change the flavor and texture a bit, but it can still be yummy. Definitely! Just double all the ingredients. Use a larger pan to hold the extra mixture. Keep an eye on the time when cooling. It may take a bit longer to set. Enjoy making a big batch! If you want the full recipe, check out the recipe section. Chewy Rice Krispies Treats are simple and fun to make. We explored ingredients, techniques, and variations to create the perfect treat. Remember to pick your favorite flavors and toppings to customize your version. Store them right and they'll last for days. Avoid common mistakes to ensure the best chewy texture. Now, you're all set to whip up these tasty snacks! Happy treating!