

Latest & Greatest
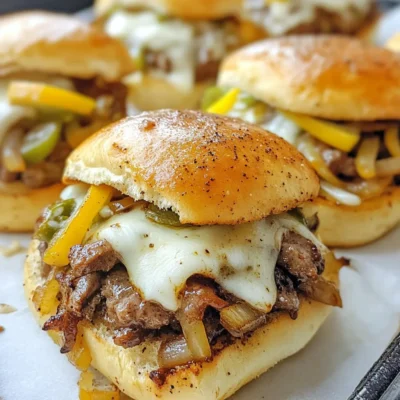
Easy Philly Cheesesteak Sliders Tasty Family Meal
If you’re looking for a family meal that’s quick, tasty, and fun, I have just the recipe for you! Easy
Read more…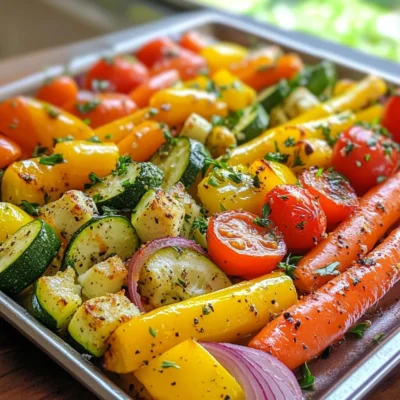
Garlic Herb Roasted Vegetables Flavorful and Easy Recipe
If you want a delicious side dish that’s easy to make, try Garlic Herb Roasted Vegetables. This vibrant mix of
Read more…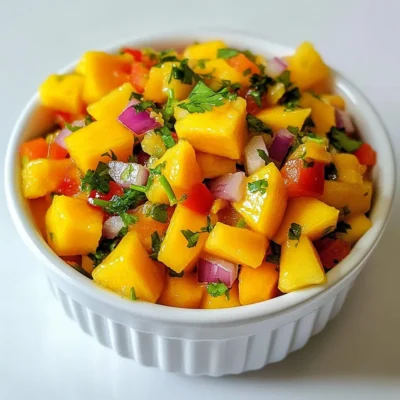
Mango Habanero Salsa Zesty and Flavorful Delight
Are you ready to add a burst of flavor to your meals? Mango Habanero Salsa is a zesty delight that
Read more…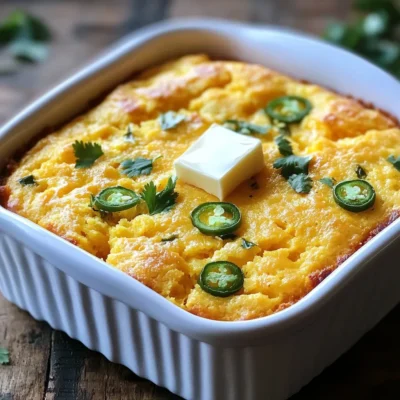
Jalapeño Cheddar Cornbread Flavorful and Easy Recipe
Are you ready to take your cornbread game to the next level? My Jalapeño Cheddar Cornbread recipe merges bold flavors
Read more…
Pineapple Coconut Smoothie Refreshing and Nourishing Drink
Looking for a tasty and healthy drink? The Pineapple Coconut Smoothie is both refreshing and nourishing! With just a few
Read more…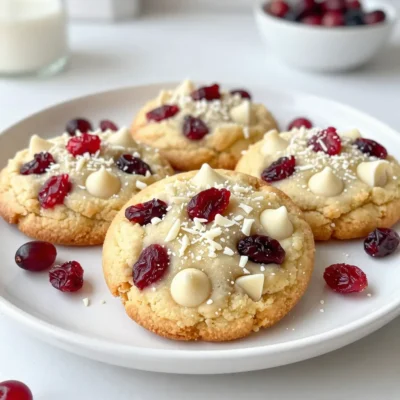
White Chocolate Cranberry Cookies Delightful Treat
If you love cookies that blend sweet and tart, you’re in for a treat! My White Chocolate Cranberry Cookies are
Read more…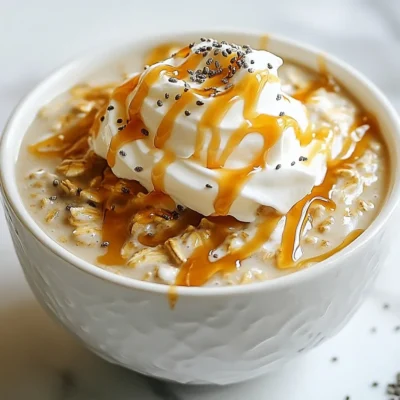
Caramel Macchiato Overnight Oats Easy and Delicious
If you love coffee and a quick breakfast, you’ll adore these Caramel Macchiato Overnight Oats! They’re easy to make and
Read more…
Strawberry Lemonade Popsicles Refreshing Summer Treat
Summer is here, and there’s no better way to cool off than with homemade Strawberry Lemonade Popsicles! These tasty treats
Read more…browse recipes

![To make perfect zucchini fritters, you need a few key ingredients: - 2 medium zucchinis, grated - 1 teaspoon salt - ½ cup all-purpose flour - ¼ cup grated Parmesan cheese - 1 large egg - 1 green onion, finely chopped - 2 cloves garlic, minced - ½ teaspoon black pepper - ¼ teaspoon cayenne pepper (optional for heat) - 3 tablespoons olive oil (for frying) - Sour cream or Greek yogurt for serving - Fresh herbs (like dill or parsley) for garnish Each ingredient plays a role. The zucchini gives moisture and a light flavor. Flour binds everything together. The egg adds richness and helps the fritters hold shape. Parmesan brings a savory note that enhances the taste. Using fresh produce makes a big difference. Look for firm, shiny zucchinis. They should feel heavy for their size. Fresh green onions add a nice crunch and flavor. Garlic should smell strong and pungent. This freshness will elevate your dish. You can add more depth with optional ingredients. Try adding chopped bell peppers or corn for sweetness. Chopped spinach can boost nutrition and flavor. If you love heat, consider more cayenne pepper or a pinch of red pepper flakes. These choices can make your fritters unique and suit your taste. For the full recipe, check out the [Full Recipe]. Enjoy creating these delightful bites! Start by grating the zucchinis. Use a box grater or a food processor for this. Once grated, place them in a clean towel. Sprinkle the zucchinis with salt. Let them sit for about 10 minutes. This process draws out excess moisture, which is key for crispy fritters. After 10 minutes, twist the towel to squeeze out the liquid. Get as much moisture out as you can. Transfer the dry zucchini to a mixing bowl. In the bowl with the zucchini, add the flour, Parmesan cheese, and egg. Next, include the finely chopped green onion and minced garlic. Add black pepper and cayenne pepper for some heat, if you like. Mix all the ingredients well until they are fully combined. The batter should hold together but not be too dry. If it feels too wet, add a little more flour. Heat 2 tablespoons of olive oil in a large non-stick skillet over medium heat. Once the oil is hot, use a tablespoon to scoop the zucchini mixture. Drop it into the skillet, flattening each fritter slightly with the back of the spoon. Cook each fritter for about 3-4 minutes on one side. Flip them carefully and cook for another 3-4 minutes until they are golden brown and crispy. Place the fritters on a paper towel to absorb any extra oil. If you need to cook more, add more olive oil as needed. Serve them hot with sour cream or Greek yogurt on top, and sprinkle fresh herbs for a nice touch. Enjoy your crunchy and flavorful delight! For the complete recipe, check out the Full Recipe. To get that perfect crisp in your zucchini fritters, moisture control is key. After grating the zucchinis, sprinkle them with salt. Let them sit for ten minutes. This step pulls out excess water. Then, tightly squeeze the zucchini in a towel. You want to remove as much liquid as possible. Use a hot skillet with enough olive oil when you cook. Make sure the oil shimmers before adding the fritters. This helps them brown nicely. Avoid overcrowding the pan. Cook in batches if needed. Each fritter should have space to fry evenly. If you have leftover fritters, let them cool completely. Store them in an airtight container. Keep them in the fridge for up to three days. They can also be frozen. Place the fritters in a single layer on a baking sheet. Freeze them for an hour before transferring to a freezer bag. This prevents them from sticking together. When ready to eat, reheat in the oven for a crisp finish. One common mistake is not draining the zucchini well enough. If the batter is too wet, the fritters will not hold their shape. Another mistake is using too much flour. This can make the fritters dense. You want a light and airy texture. Finally, don’t skip the salt. It enhances the flavor and helps draw out moisture. Following these tips will lead to delicious, crunchy fritters every time. For the complete process, check the Full Recipe. {{image_2}} To make zucchini fritters gluten-free, swap all-purpose flour for a gluten-free blend. You can use almond flour or chickpea flour. These options give a nice texture and flavor. Just ensure the blend you choose is suitable for baking. Cheese adds great flavor to fritters. While I love Parmesan, you can try feta or cheddar. Feta gives a tangy taste, while cheddar offers a rich, creamy vibe. You can even mix cheeses for more depth. Spices can change the taste of your fritters. Try adding cumin for a warm flavor or paprika for a smoky kick. Fresh herbs like basil or cilantro also enhance the dish. Use what you love to make this recipe your own. For the full recipe, check out the details above. Store leftover zucchini fritters in an airtight container. Place a paper towel inside to absorb moisture. Keep them in the fridge for up to three days. When you're ready to enjoy them, just take them out and follow reheating instructions. You can freeze zucchini fritters too! Let them cool completely before freezing. Arrange them in a single layer on a baking sheet. Freeze until solid, then transfer to a freezer bag. They last up to three months in the freezer. For the best taste, try to use them within two months. To reheat, place the fritters in a preheated oven at 375°F (190°C). Bake for about 10 minutes, or until they are hot and crispy. You can also reheat them in a skillet over medium heat. Add a little olive oil for extra crunch. Enjoy your delicious zucchini fritters just like they were fresh! For the full recipe, refer back to the Zesty Zucchini Fritters section. Yes, you can make Zucchini Fritters ahead of time. Cook them fully and let them cool. Place them in an airtight container and store them in the fridge for up to three days. When ready to eat, just reheat them in a skillet for a few minutes. This keeps them crispy and delicious. Zucchini Fritters are great with many sides. You can serve them with: - Sour cream or Greek yogurt - Fresh herbs like dill or parsley - A simple salad (like arugula or mixed greens) - A light dipping sauce (like tzatziki) - Slices of lemon for zest These pairings add flavor and balance to your meal. To make Zesty Zucchini Fritters gluten-free, simply swap out the all-purpose flour for a gluten-free blend. You can use almond flour or chickpea flour, which also adds nice flavor. Just follow the Full Recipe for Zesty Zucchini Fritters, and you’ll have a tasty dish that everyone can enjoy! Zucchini fritters are simple and fun to make. We covered the main ingredients and tips to cook them perfectly. You learned how to achieve a great crisp and store any leftovers. There are tasty variations like gluten-free options and different cheeses to try. Remember, experimenting can lead to fun meals. Now, you have all the tools to make amazing zucchini fritters. Enjoy making and sharing this delicious dish!](https://easycookingbite.com/wp-content/uploads/2025/06/61581a87-5464-439b-9e1f-36c2b1695123.webp)
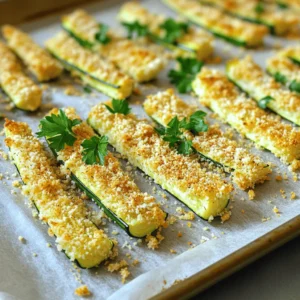
Zucchini Fritters Crunchy and Flavorful Delight
If you’re looking for a tasty, easy-to-make snack or side dish, zucchini fritters are the answer! These crunchy, flavorful bites are perfect for any…
My Latest Drinks

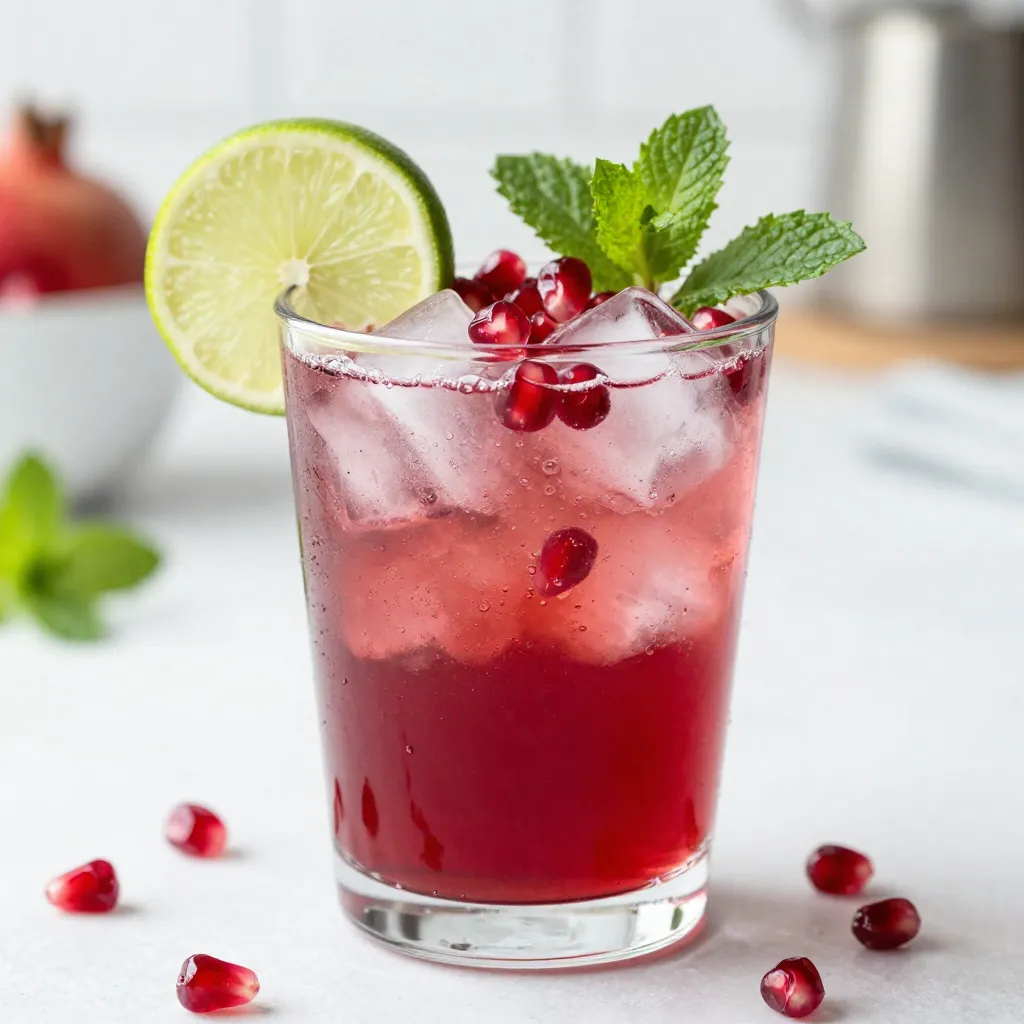
Sparkling Pomegranate Mocktail Refreshing Drink Recipe
Looking for a refreshing drink that impresses? Try my Sparkling Pomegranate Mocktail! This vibrant drink blends the tartness of pomegranate Read Full Recipe-
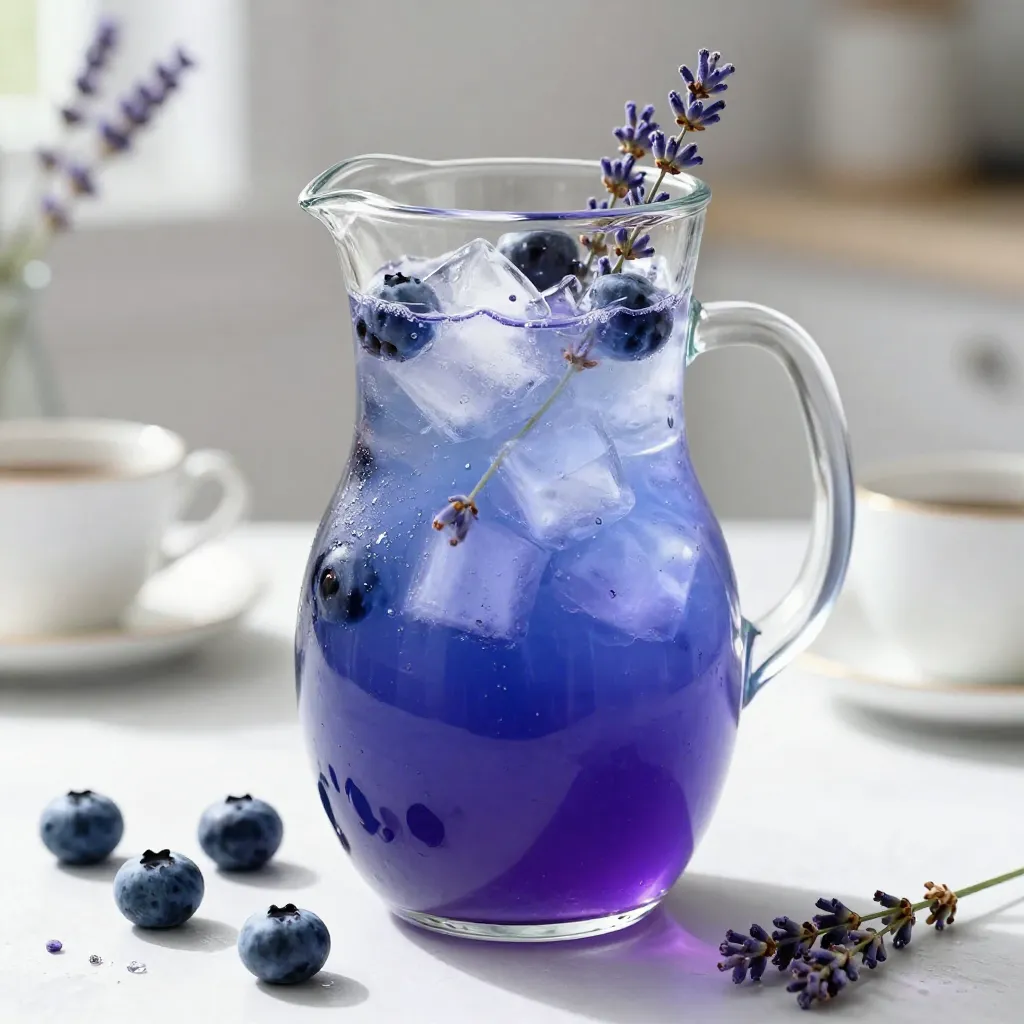
Blueberry Lavender Lemonade Refreshing Summer Drink
Looking for a refreshing drink that embodies summer? You’ll love this Blueberry Lavender Lemonade! This bright and fruity blend will Read Full Recipe -
Pineapple Coconut Smoothie Refreshing and Nourishing Drink
Looking for a tasty and healthy drink? The Pineapple Coconut Smoothie is both refreshing and nourishing! With just a few Read Full Recipe -
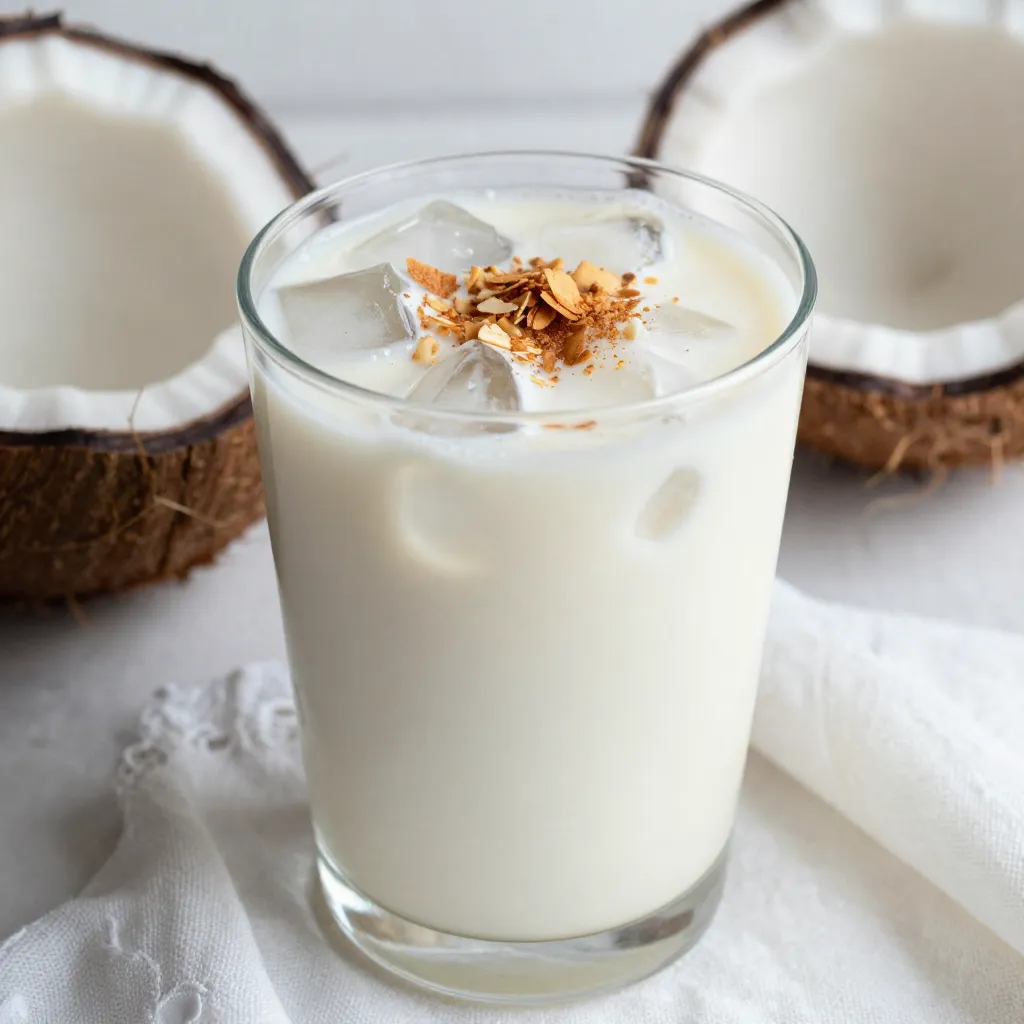
Creamy Coconut Horchata Refreshing Summer Drink
Hot summer days call for a refreshing drink, and creamy coconut horchata fits the bill! This tasty treat combines rich Read Full Recipe -
Strawberry Cheesecake Smoothie Creamy Refreshing Treat
Craving something delicious and cool? The Strawberry Cheesecake Smoothie is your answer! It blends creamy cheesecake flavors with sweet strawberries Read Full Recipe 
Honey Lavender Lemonade Refreshing Summer Drink
Looking to beat the heat this summer? Honey Lavender Lemonade is your perfect refreshing drink. This simple recipe combines fresh Read Full Recipe


My Latest Dinners
-
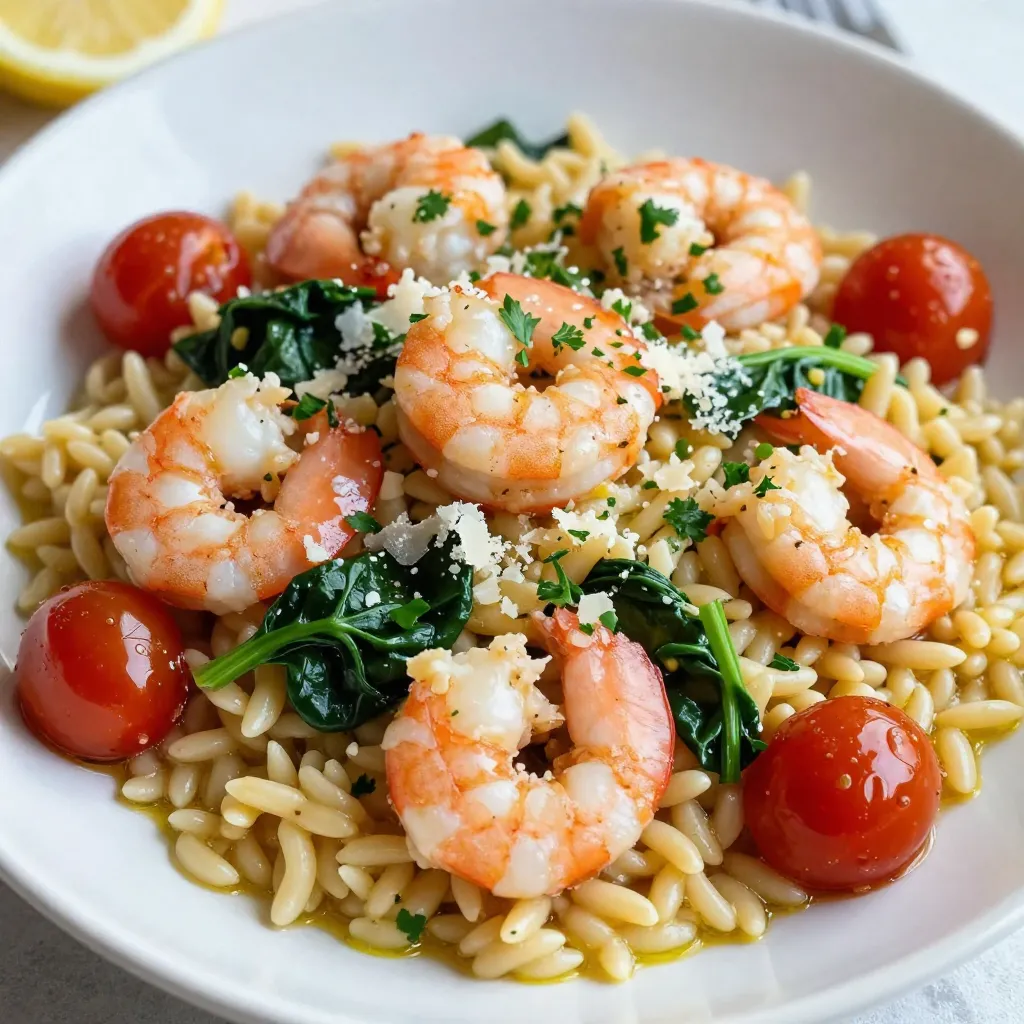
Lemon Garlic Shrimp Orzo Simple and Flavorful Recipe
If you’re looking for a delicious meal that’s quick and easy, Lemon Garlic Shrimp Orzo is a must-try! This dish Read Full Recipe -
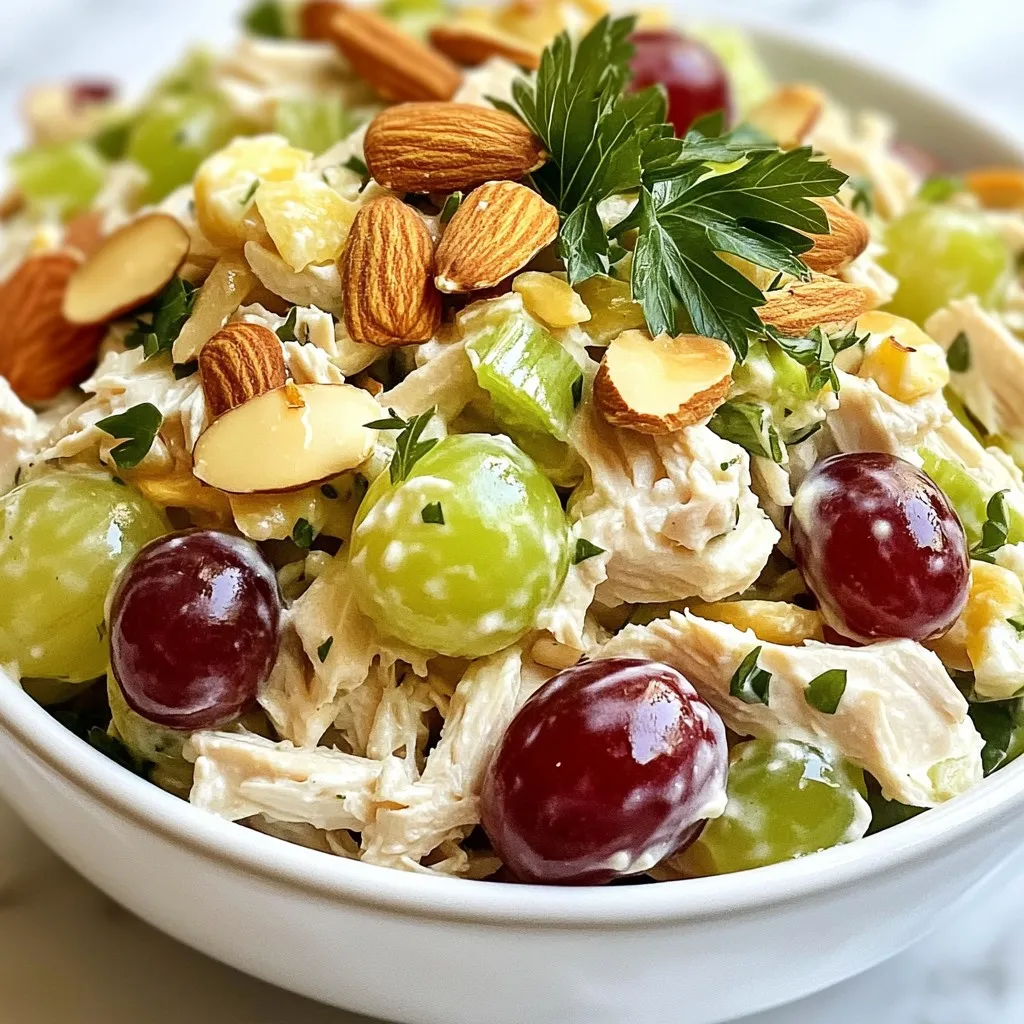
Greek Yogurt Chicken Salad Fresh and Flavorful Meal
Looking for a tasty meal that’s both fresh and quick to make? Greek Yogurt Chicken Salad is your answer! This Read Full Recipe -
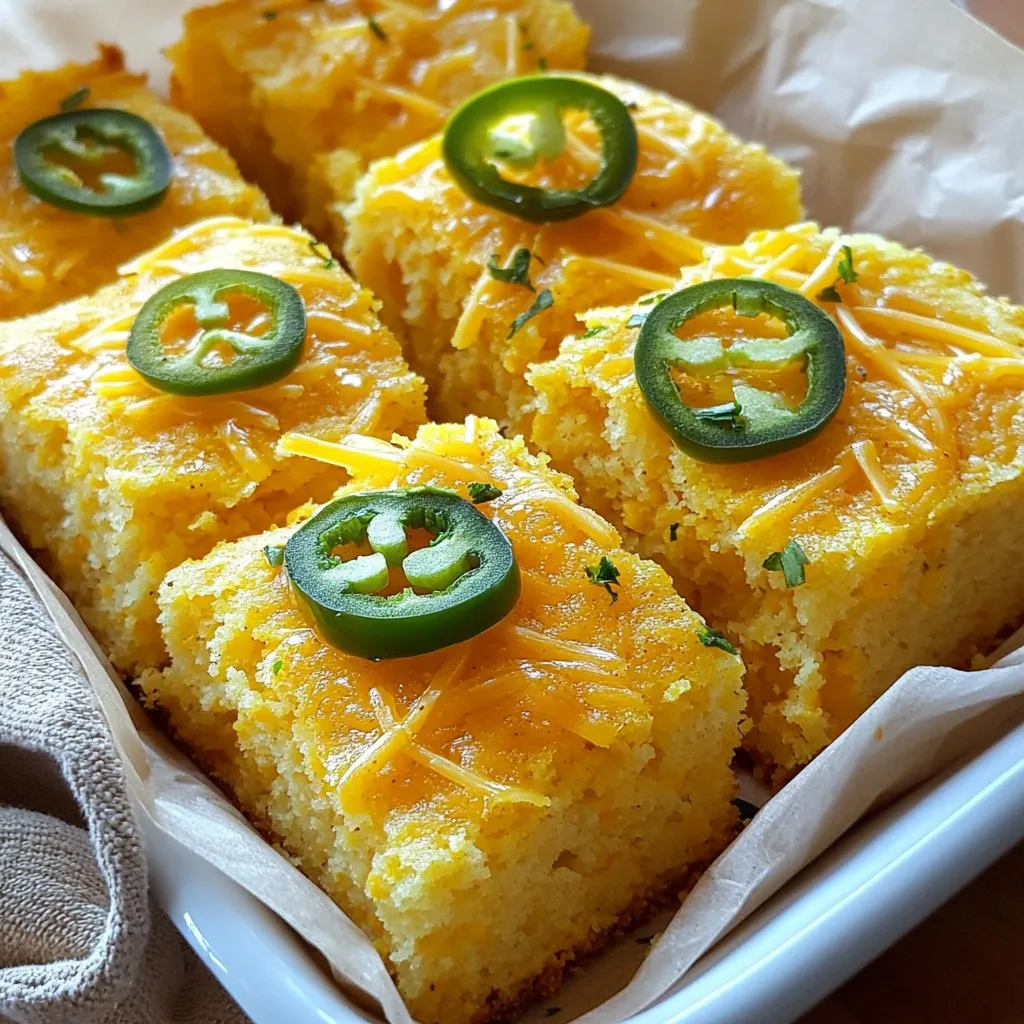
Jalapeño Cheddar Cornbread Simple and Savory Recipe
If you’re craving a warm, savory treat, this Jalapeño Cheddar Cornbread recipe is for you! It’s easy to make and Read Full Recipe -
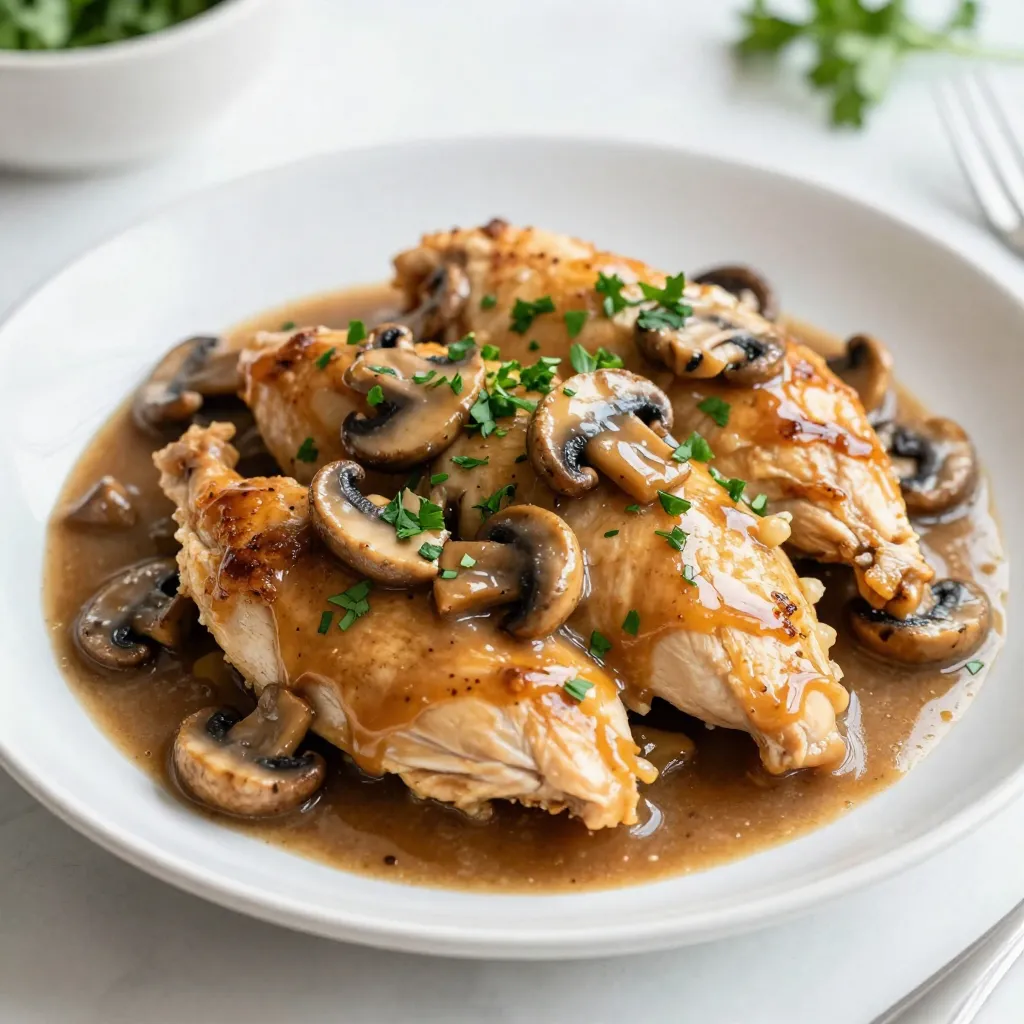
Chicken Marsala Flavorful Recipe for Dinner Delight
Looking to impress at dinner tonight? This Chicken Marsala recipe is both flavorful and simple! You’ll love the tender chicken Read Full Recipe -
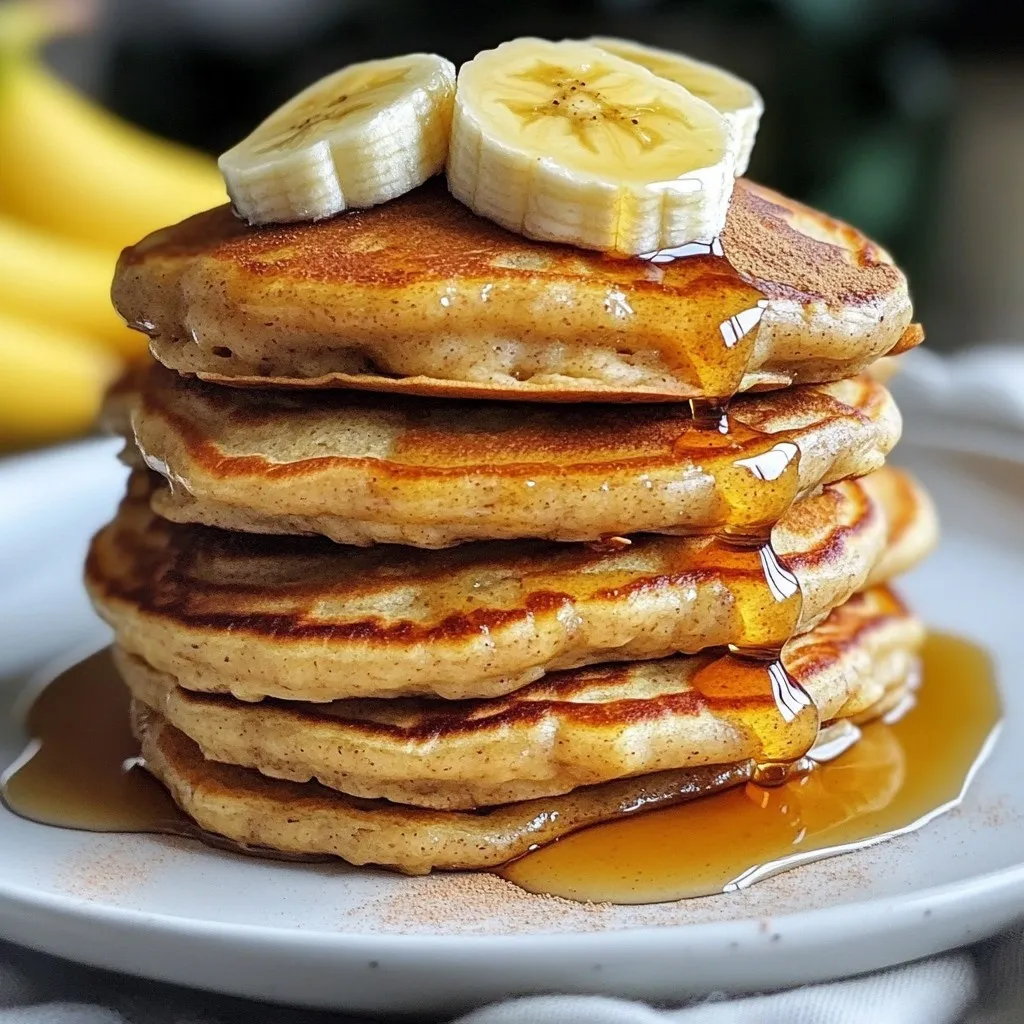
One-Bowl Banana Oat Pancakes Easy and Tasty Recipe
Do you crave a simple yet delicious breakfast? Try my One-Bowl Banana Oat Pancakes! They are easy to make and Read Full Recipe -
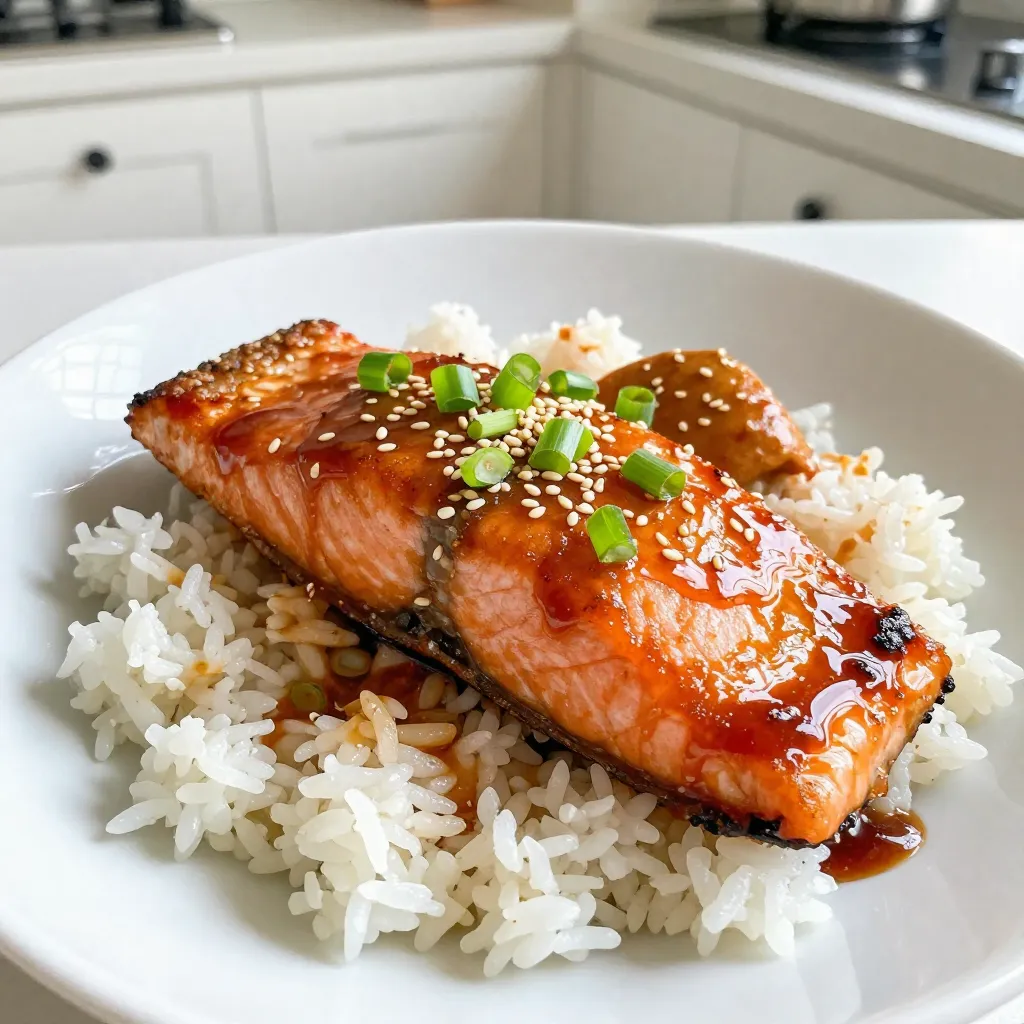
Ginger Soy Glazed Salmon Flavorful and Simple Dish
If you want a meal bursting with flavor yet easy to make, you’ve found it! This Ginger Soy Glazed Salmon Read Full Recipe

hey,
i’m !
I’m so happy you’re here!
Every dish I share is made with love and care. I hope they bring you the same comfort and joy they bring me. Let’s make memories, one recipe at a time.

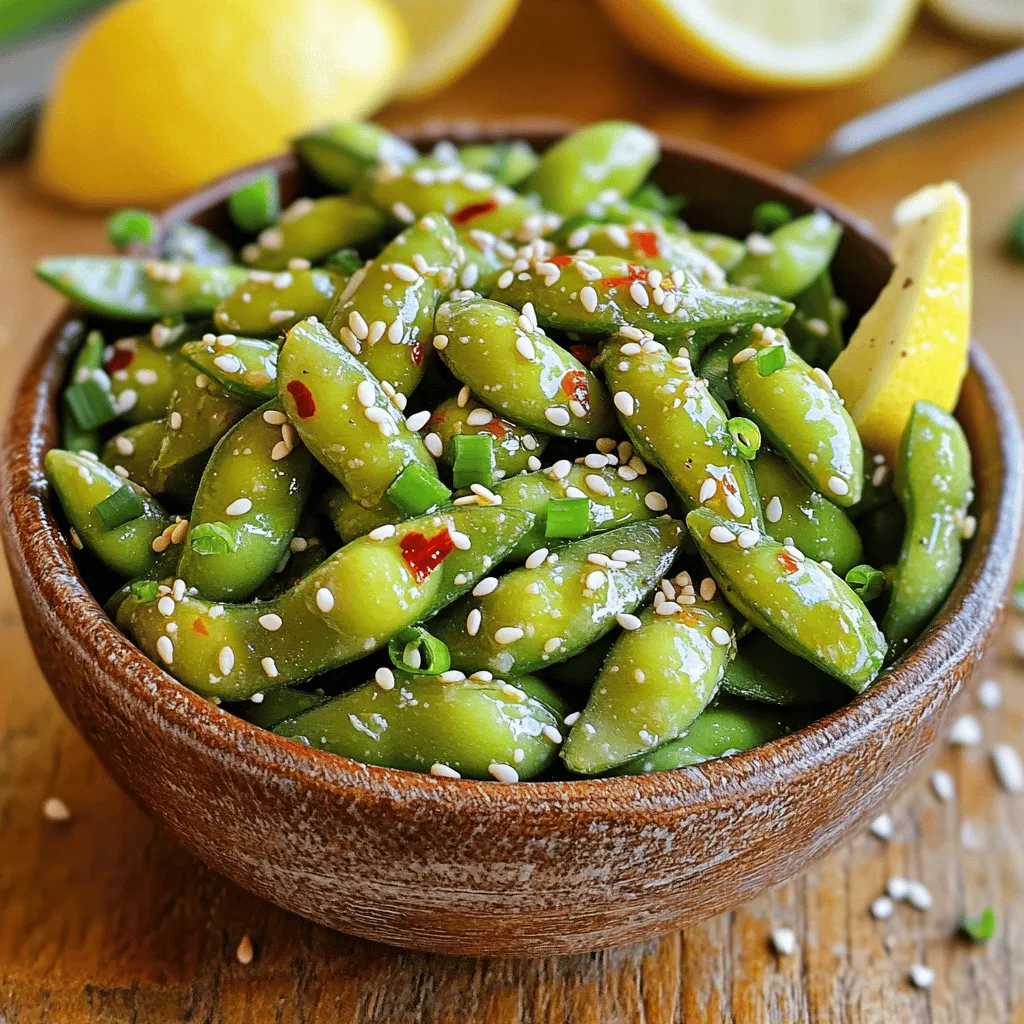
Spicy Garlic Edamame Flavorful Snack Recipe
Looking for a quick and tasty snack? Try my Spicy Garlic Edamame recipe! It’s packed with flavor and super easy to make. With just…