


Latest & Greatest

Creamy Coconut Horchata Refreshing Summer Drink
Hot summer days call for a refreshing drink, and creamy coconut horchata fits the bill! This tasty treat combines rich
Read more…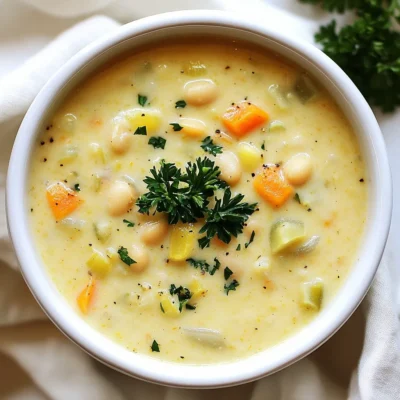
White Bean Soup Simple and Hearty Delight
Looking for a warm and filling meal? Let me introduce you to white bean soup! This simple and hearty delight
Read more…
Strawberry Cheesecake Smoothie Creamy Refreshing Treat
Craving something delicious and cool? The Strawberry Cheesecake Smoothie is your answer! It blends creamy cheesecake flavors with sweet strawberries
Read more…
Garlic Herb Roasted Sweet Potatoes Flavorful Side Dish
Looking for a side dish that’s both tasty and easy to make? Garlic Herb Roasted Sweet Potatoes are the answer!
Read more…
Brownie Batter Hummus Indulgent and Easy Recipe
Are you ready to transform your snack game? This Brownie Batter Hummus recipe is both indulgent and easy to make.
Read more…
Pumpkin Cheesecake Brownies Delightful and Easy Treat
Are you ready to taste something amazing? Pumpkin Cheesecake Brownies are a fun twist on dessert. They blend rich chocolate
Read more…
One Pot Beef Taco Pasta Easy and Flavorful Meal
Looking for a quick and tasty meal? One Pot Beef Taco Pasta is the perfect dish! This recipe packs bold
Read more…
Roasted Red Pepper Hummus Flavorful and Smooth Dip
If you love smooth, flavorful dips, then roasted red pepper hummus is your new best friend. This easy-to-make recipe combines
Read more…browse recipes


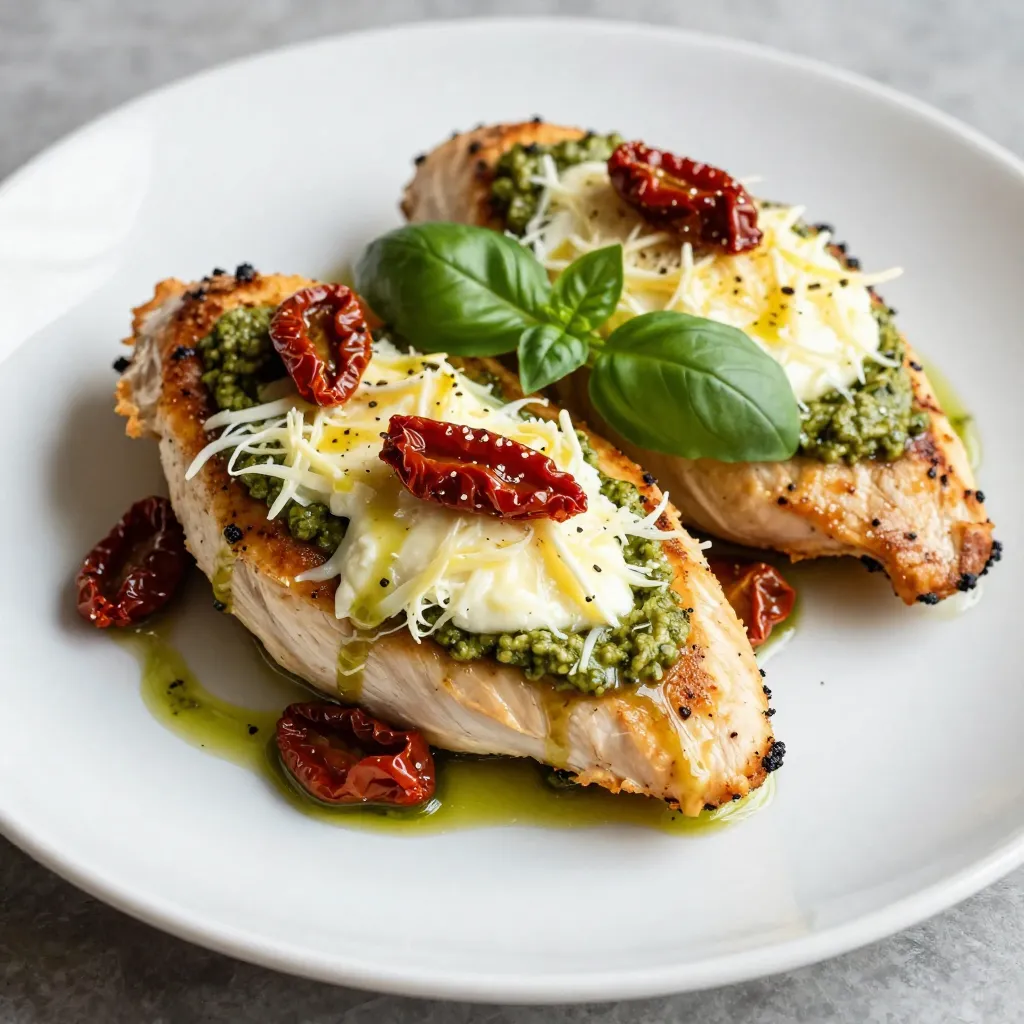
Pesto Mozzarella Stuffed Chicken Simple and Flavorful
Want a dinner that impresses and satisfies? Pesto Mozzarella Stuffed Chicken is it! This dish is simple yet bursting with flavor. You’ll love the…
My Latest Drinks

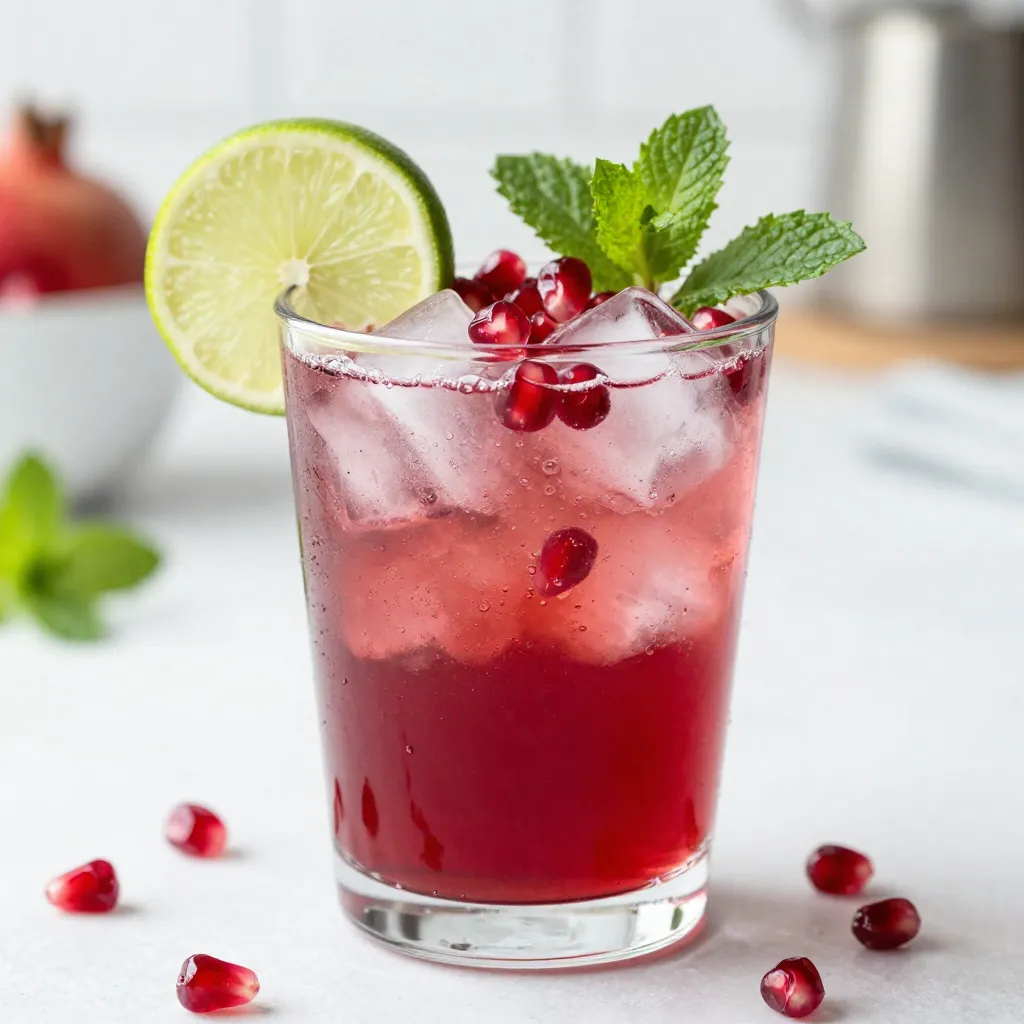
Sparkling Pomegranate Mocktail Refreshing Drink Recipe
Looking for a refreshing drink that impresses? Try my Sparkling Pomegranate Mocktail! This vibrant drink blends the tartness of pomegranate Read Full Recipe-
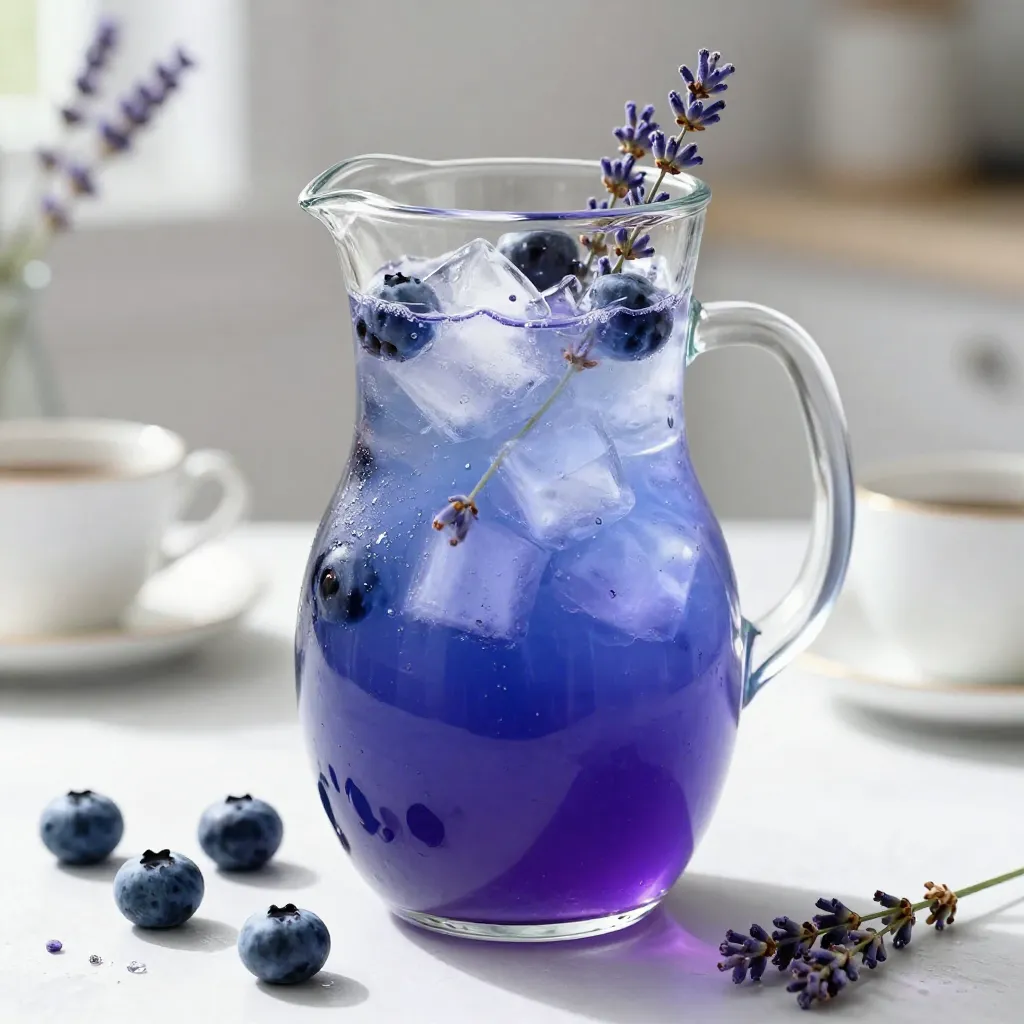
Blueberry Lavender Lemonade Refreshing Summer Drink
Looking for a refreshing drink that embodies summer? You’ll love this Blueberry Lavender Lemonade! This bright and fruity blend will Read Full Recipe -
Pineapple Coconut Smoothie Refreshing and Nourishing Drink
Looking for a tasty and healthy drink? The Pineapple Coconut Smoothie is both refreshing and nourishing! With just a few Read Full Recipe -
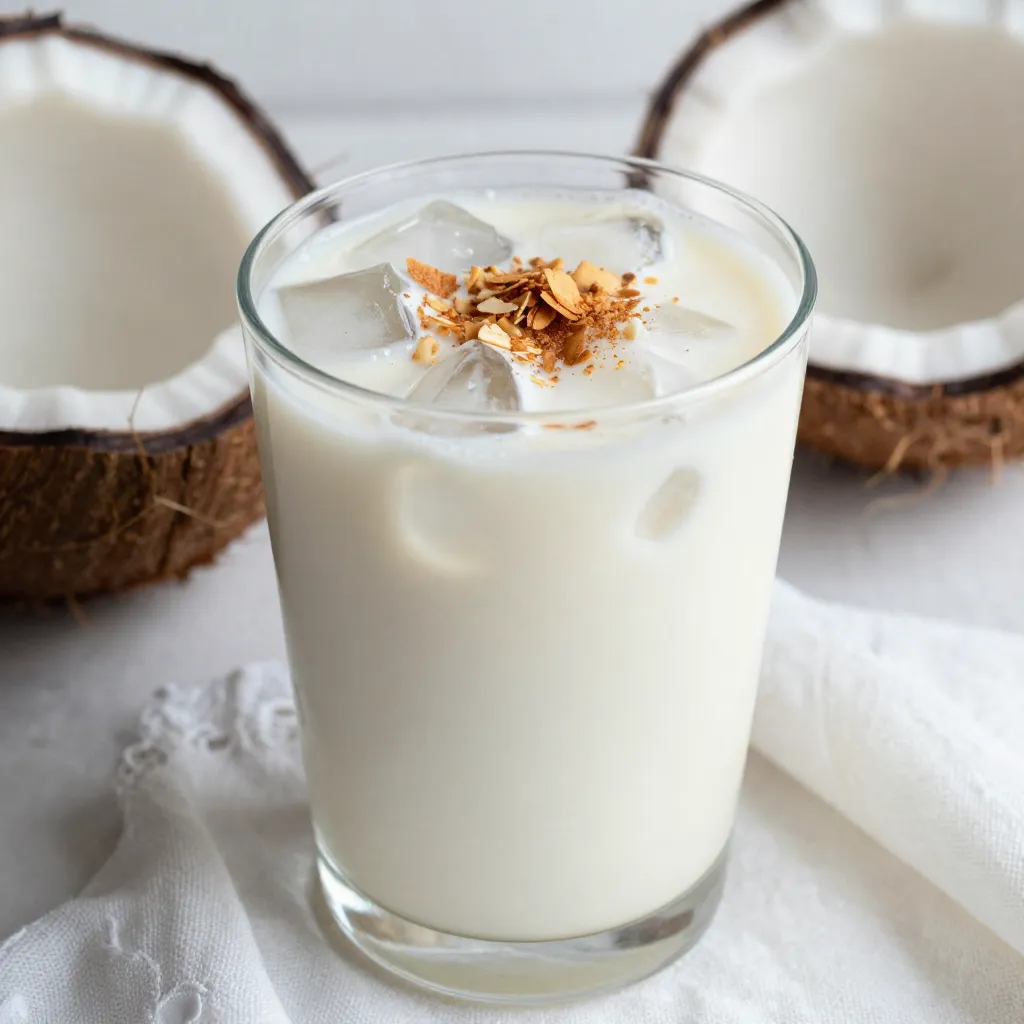
Creamy Coconut Horchata Refreshing Summer Drink
Hot summer days call for a refreshing drink, and creamy coconut horchata fits the bill! This tasty treat combines rich Read Full Recipe -
Strawberry Cheesecake Smoothie Creamy Refreshing Treat
Craving something delicious and cool? The Strawberry Cheesecake Smoothie is your answer! It blends creamy cheesecake flavors with sweet strawberries Read Full Recipe 
Honey Lavender Lemonade Refreshing Summer Drink
Looking to beat the heat this summer? Honey Lavender Lemonade is your perfect refreshing drink. This simple recipe combines fresh Read Full Recipe


My Latest Dinners
-
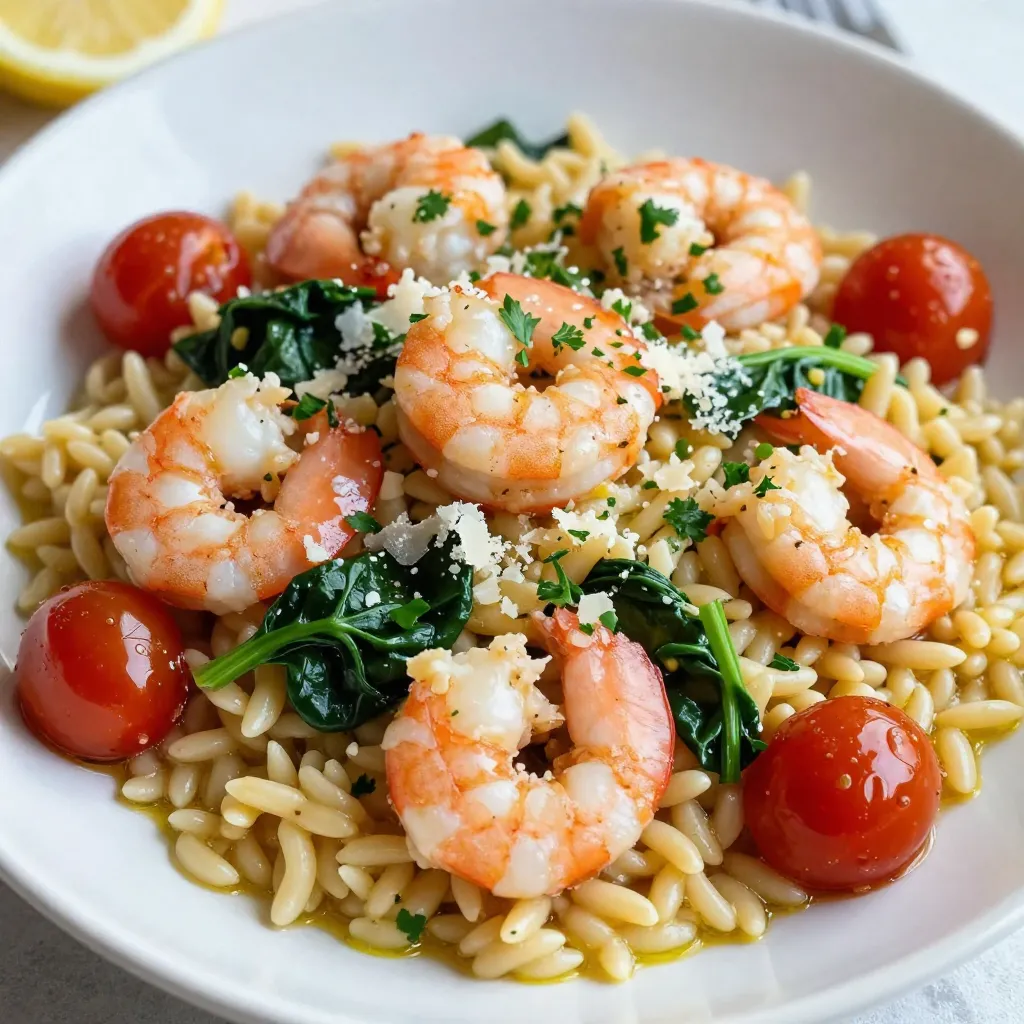
Lemon Garlic Shrimp Orzo Simple and Flavorful Recipe
If you’re looking for a delicious meal that’s quick and easy, Lemon Garlic Shrimp Orzo is a must-try! This dish Read Full Recipe -
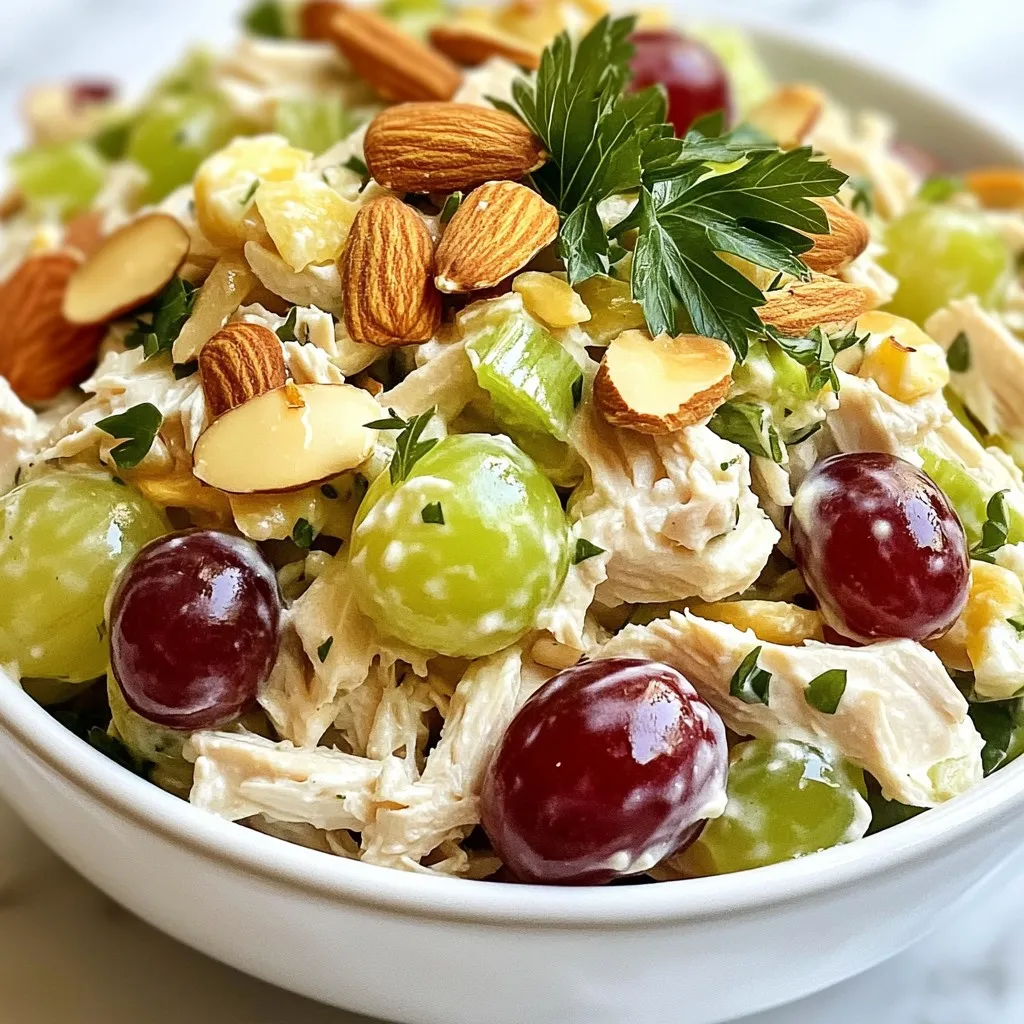
Greek Yogurt Chicken Salad Fresh and Flavorful Meal
Looking for a tasty meal that’s both fresh and quick to make? Greek Yogurt Chicken Salad is your answer! This Read Full Recipe -
Jalapeño Cheddar Cornbread Simple and Savory Recipe
If you’re craving a warm, savory treat, this Jalapeño Cheddar Cornbread recipe is for you! It’s easy to make and Read Full Recipe -
Chicken Marsala Flavorful Recipe for Dinner Delight
Looking to impress at dinner tonight? This Chicken Marsala recipe is both flavorful and simple! You’ll love the tender chicken Read Full Recipe -
One-Bowl Banana Oat Pancakes Easy and Tasty Recipe
Do you crave a simple yet delicious breakfast? Try my One-Bowl Banana Oat Pancakes! They are easy to make and Read Full Recipe -
Ginger Soy Glazed Salmon Flavorful and Simple Dish
If you want a meal bursting with flavor yet easy to make, you’ve found it! This Ginger Soy Glazed Salmon Read Full Recipe


hey,
i’m !
I’m so happy you’re here!
Every dish I share is made with love and care. I hope they bring you the same comfort and joy they bring me. Let’s make memories, one recipe at a time.


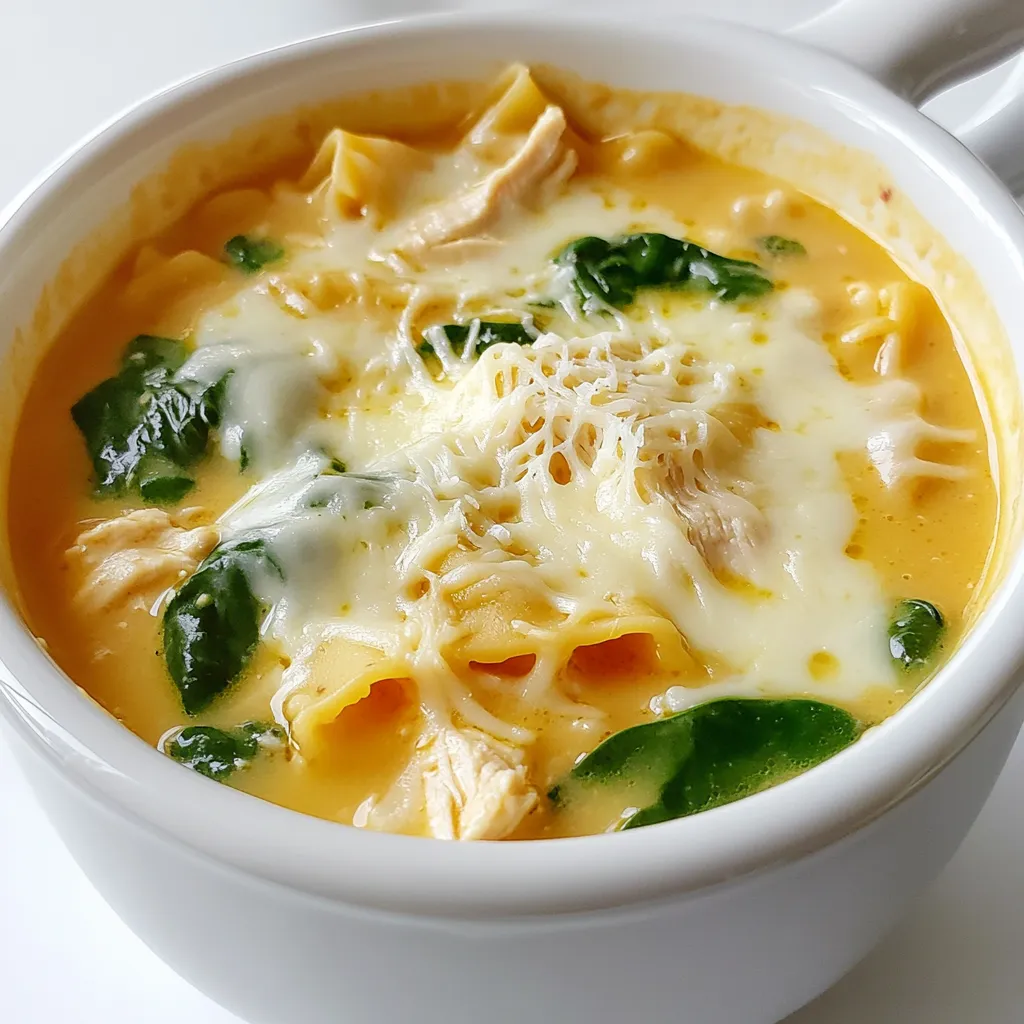
White Lasagna Soup Comforting and Creamy Delight
Craving a comforting bowl of warmth? White Lasagna Soup is creamy, easy, and delicious. Imagine rich layers of cheese and savory chicken in every…