Latest & Greatest
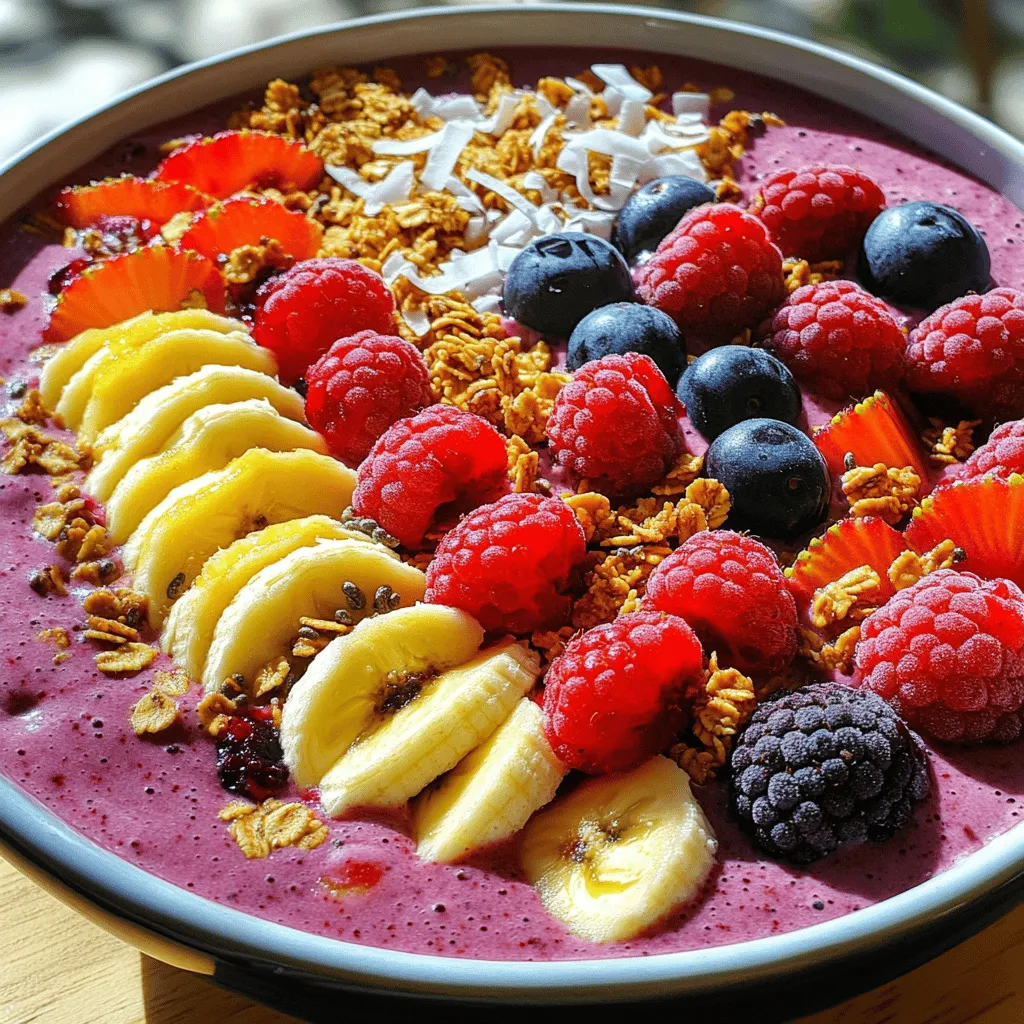
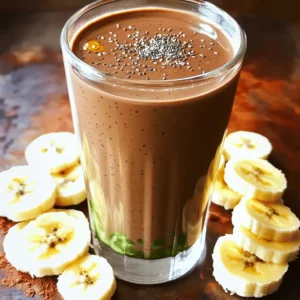
Berry Smoothie Bowl Delightful and Healthy Recipe
Are you ready to whip up a Berry Smoothie Bowl that’s both delightful and healthy? This recipe is packed with
Read more…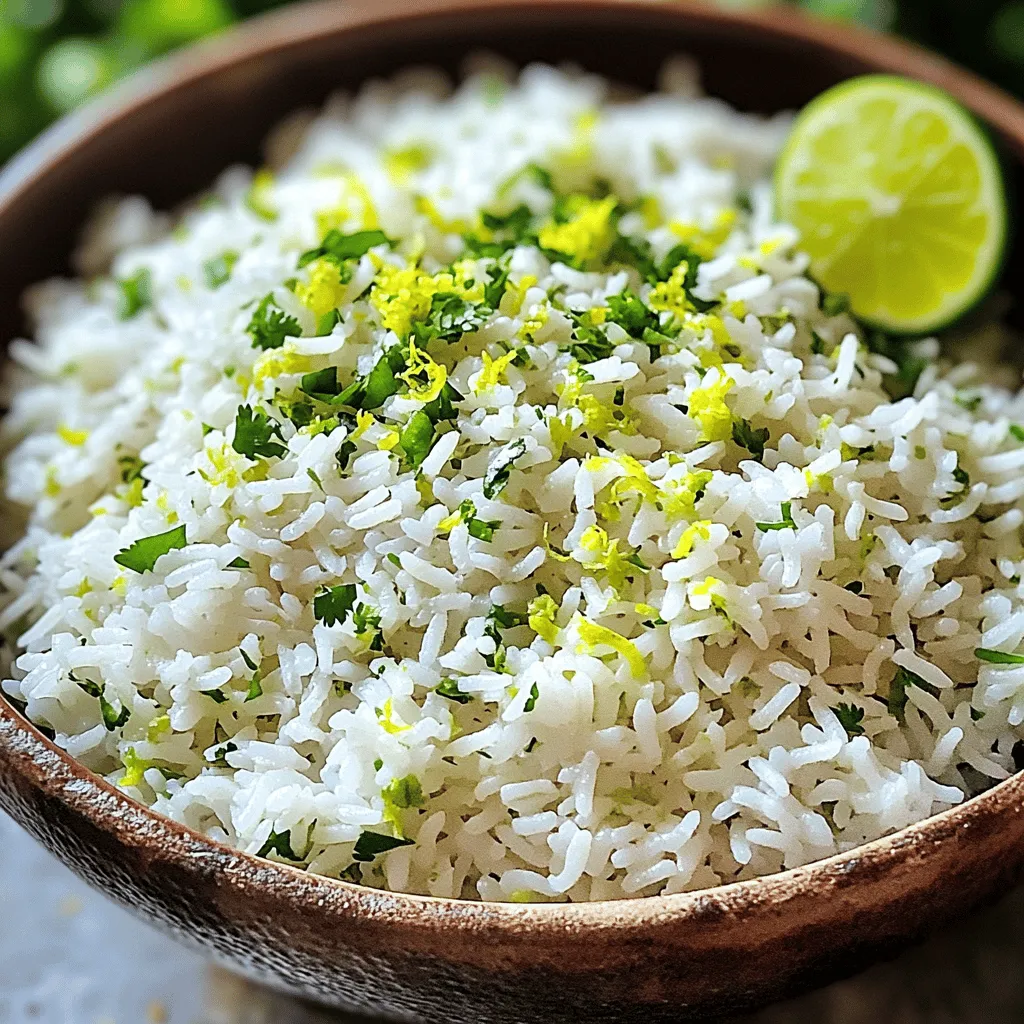
Zesty Cilantro Lime Rice Quick and Flavorful Dish
Are you ready to add a burst of flavor to your meals? My Zesty Cilantro Lime Rice recipe is quick,
Read more…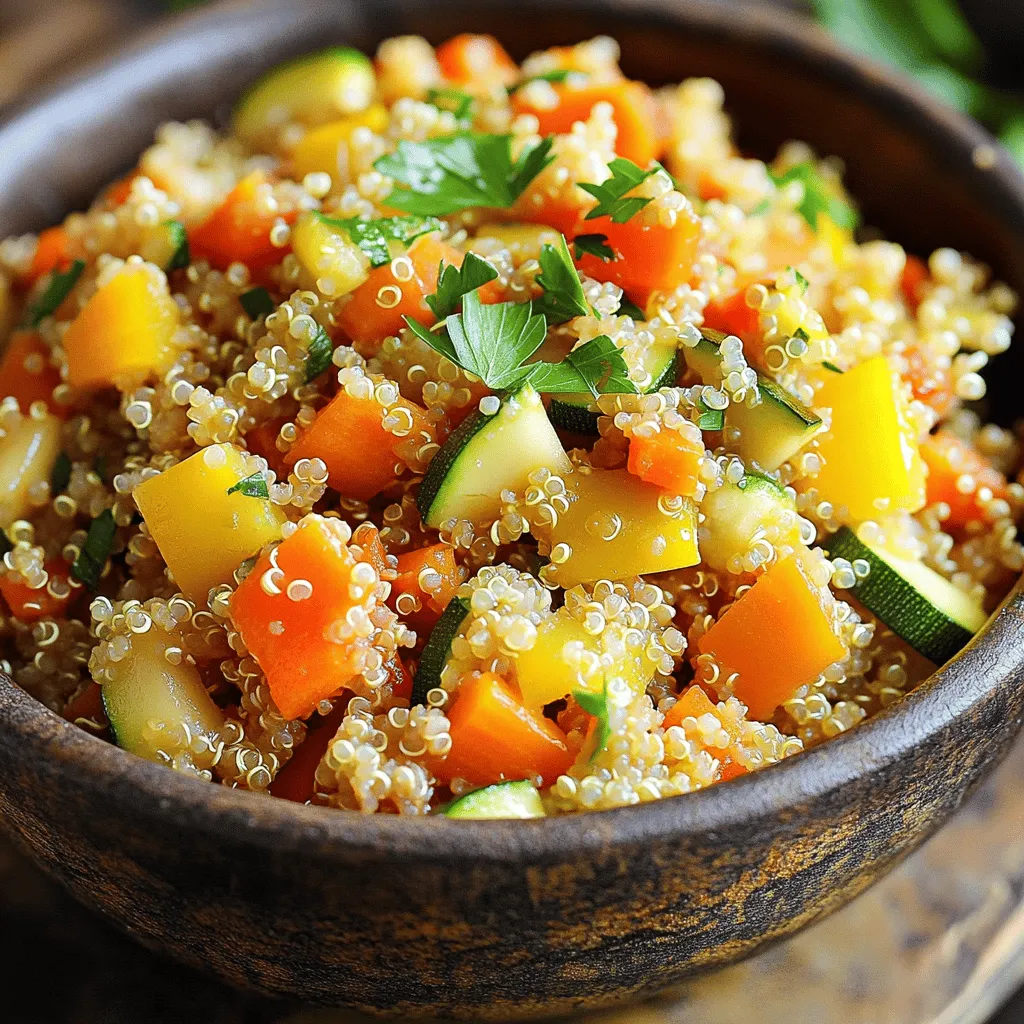
Quinoa Vegetable Pilaf Flavorful and Nutritious Dish
Welcome to a tasty journey with my Quinoa Vegetable Pilaf! This dish is not only packed with flavor but also
Read more…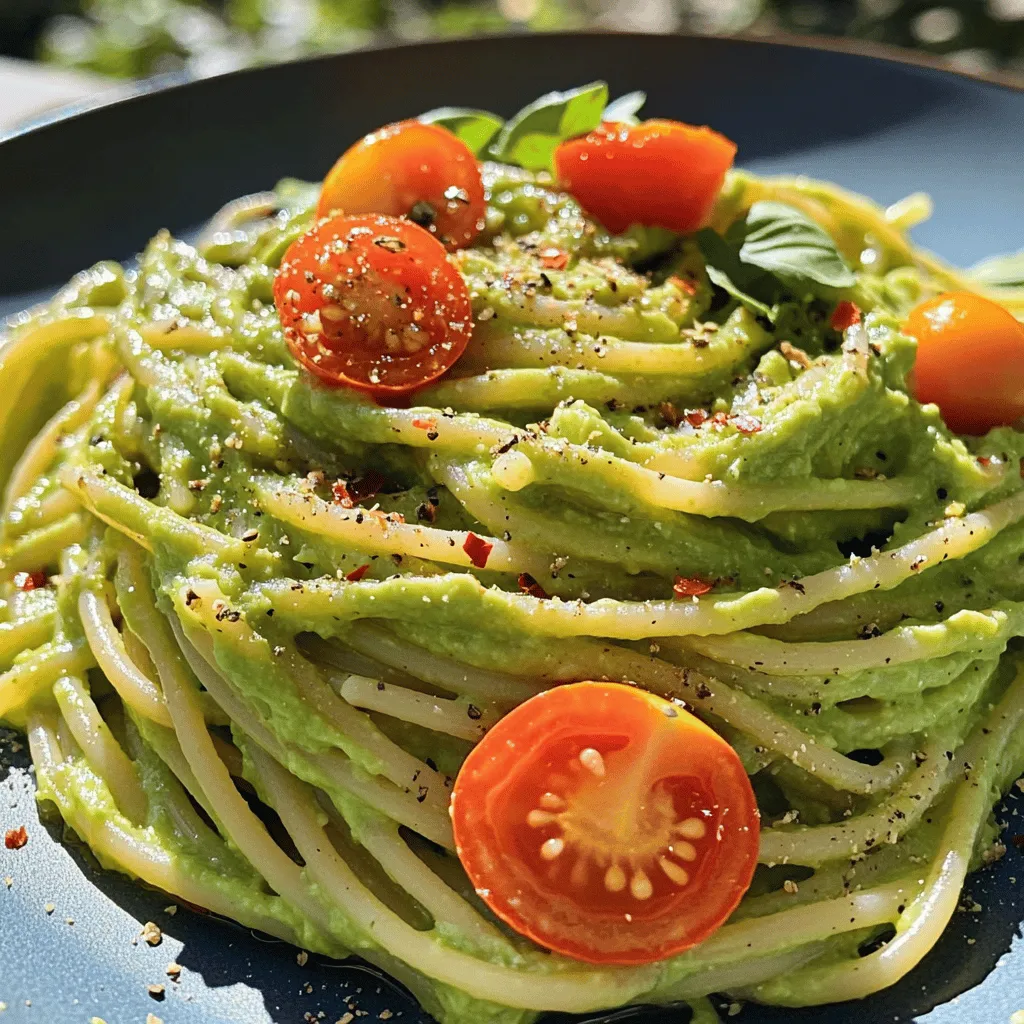
Creamy Avocado Pasta Simple and Delicious Meal
Are you ready to try a meal that’s creamy, delicious, and simple? This Creamy Avocado Pasta is perfect for busy
Read more…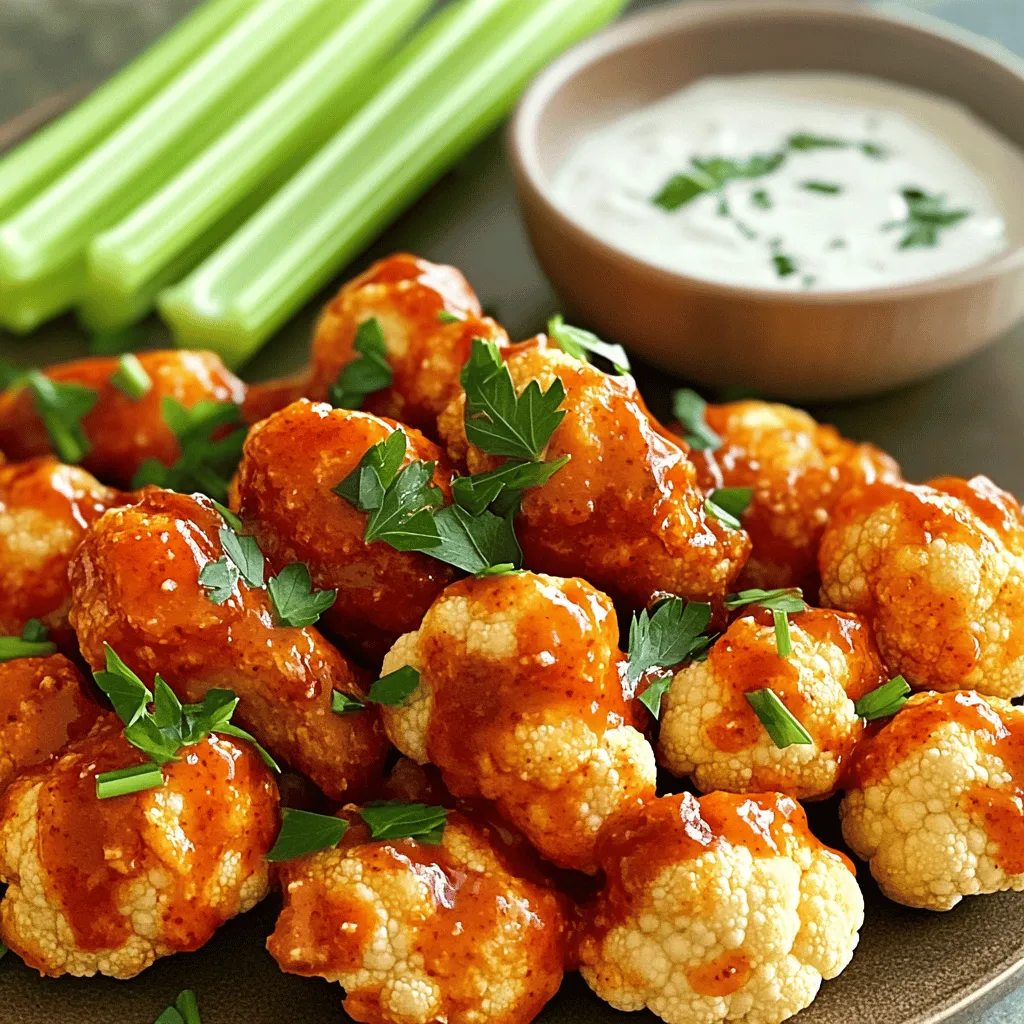
Vegan Cauliflower Buffalo Wings Flavorful and Easy Recipe
Are you ready to spice up your snack game with a healthy twist? These Vegan Cauliflower Buffalo Wings are not
Read more…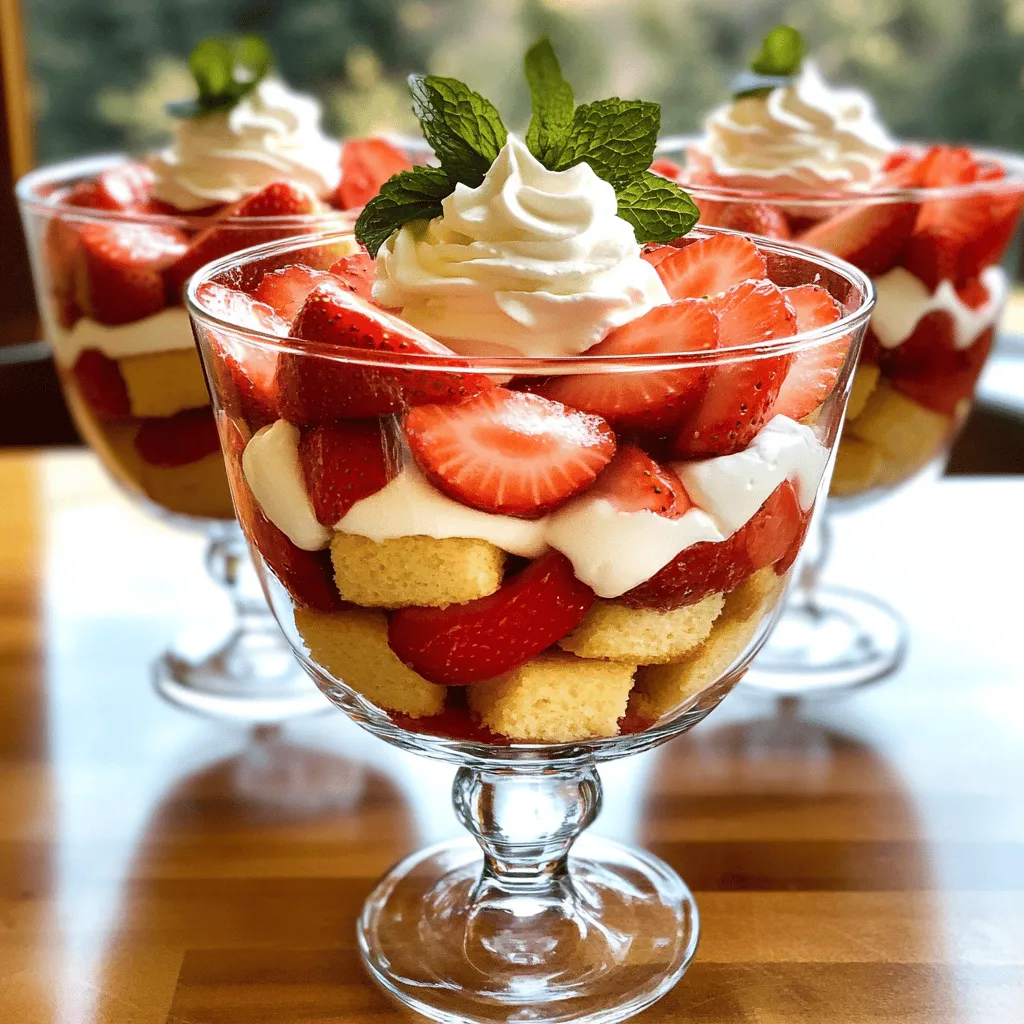
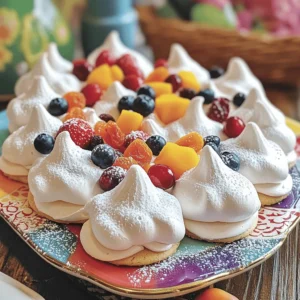
Strawberry Shortcake Trifle Delightful Layered Treat
Are you ready to impress your family and friends with a stunning dessert? This Strawberry Shortcake Trifle is a fun,
Read more…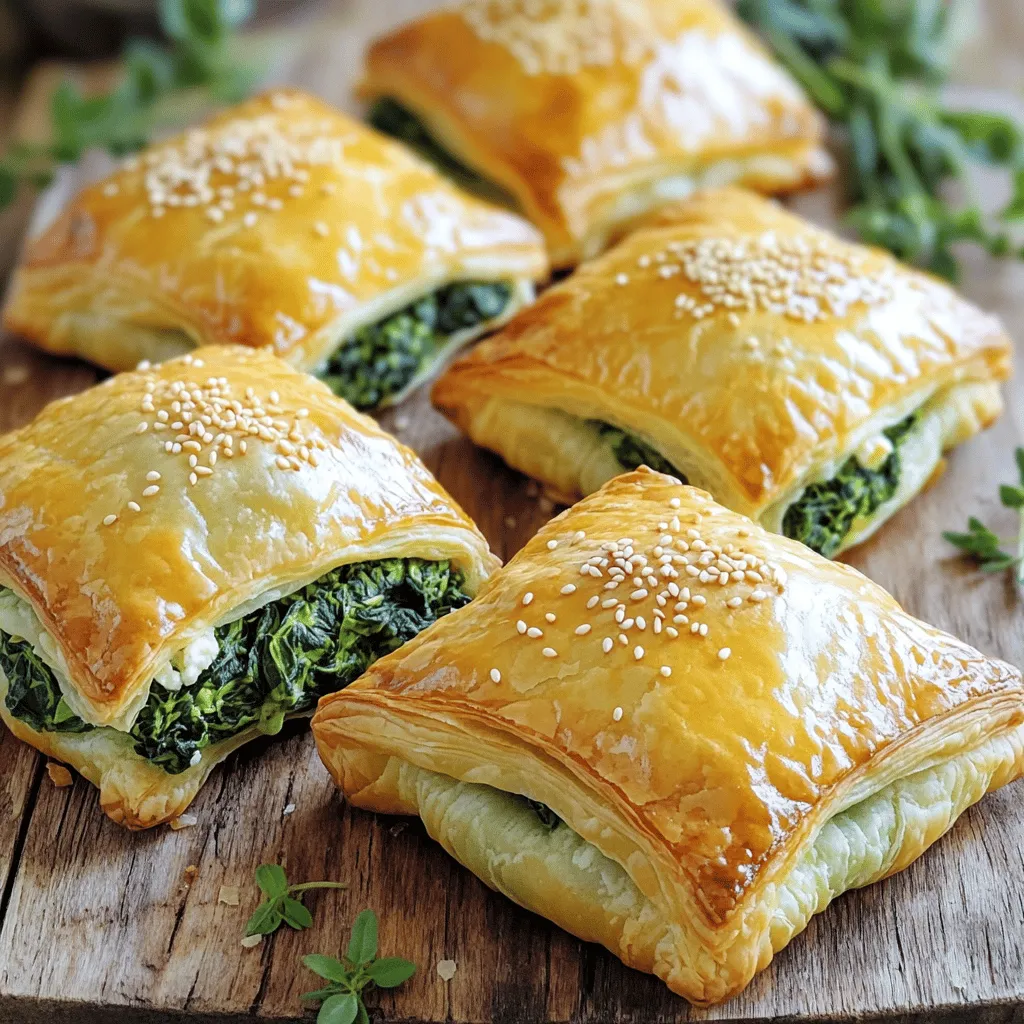
Savory Spinach and Feta Puff Pastry Delight
Looking for a delicious snack that’s easy to make? My Savory Spinach and Feta Puff Pastry Delight hits the spot!
Read more…
Dairy-Free Chocolate Avocado Mousse Velvety Treat
Craving a dessert that’s both delicious and dairy-free? You’ll love my Dairy-Free Chocolate Avocado Mousse! This velvety treat is not
Read more…browse recipes
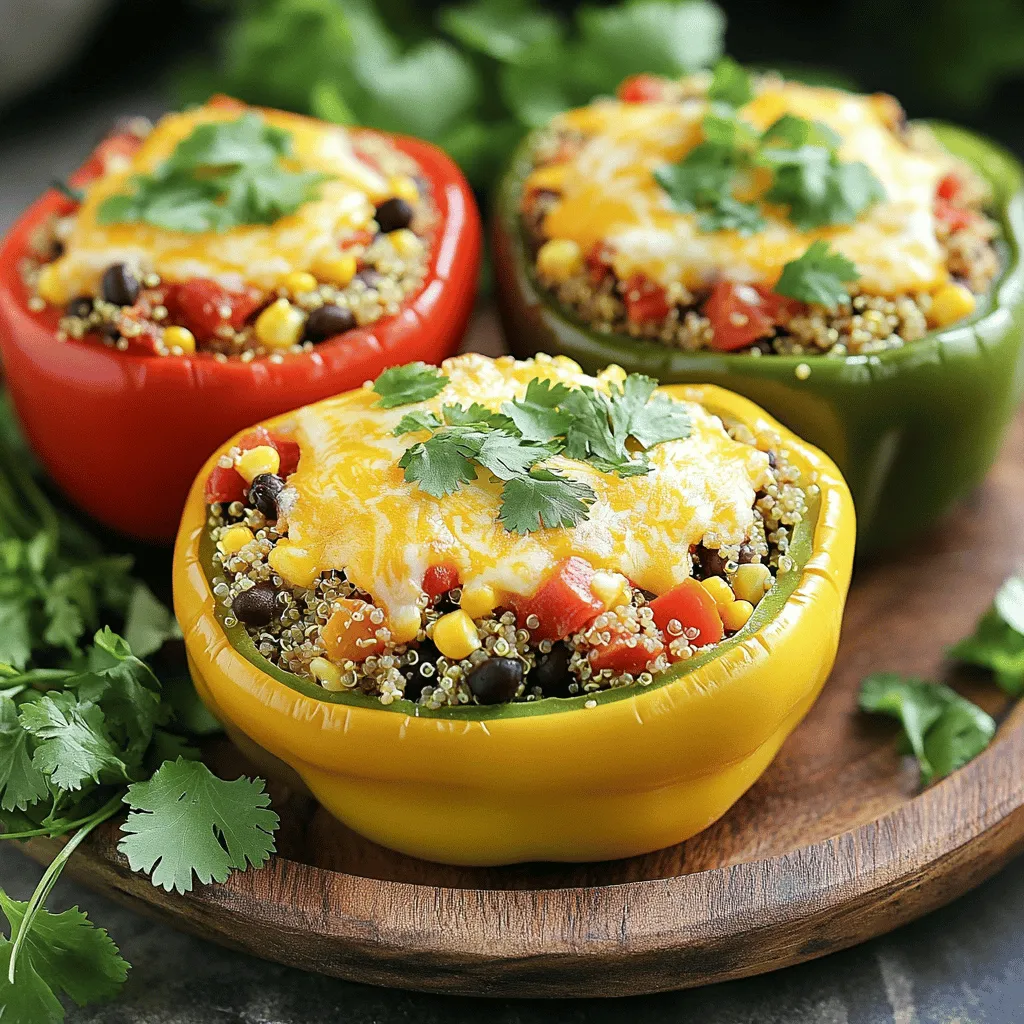
Stuffed Bell Pepper Boats Savory and Simple Dinner
Looking for a quick and tasty dinner? Stuffed Bell Pepper Boats are your answer! They combine fresh peppers and delicious fillings for a meal…
My Latest Desserts
-
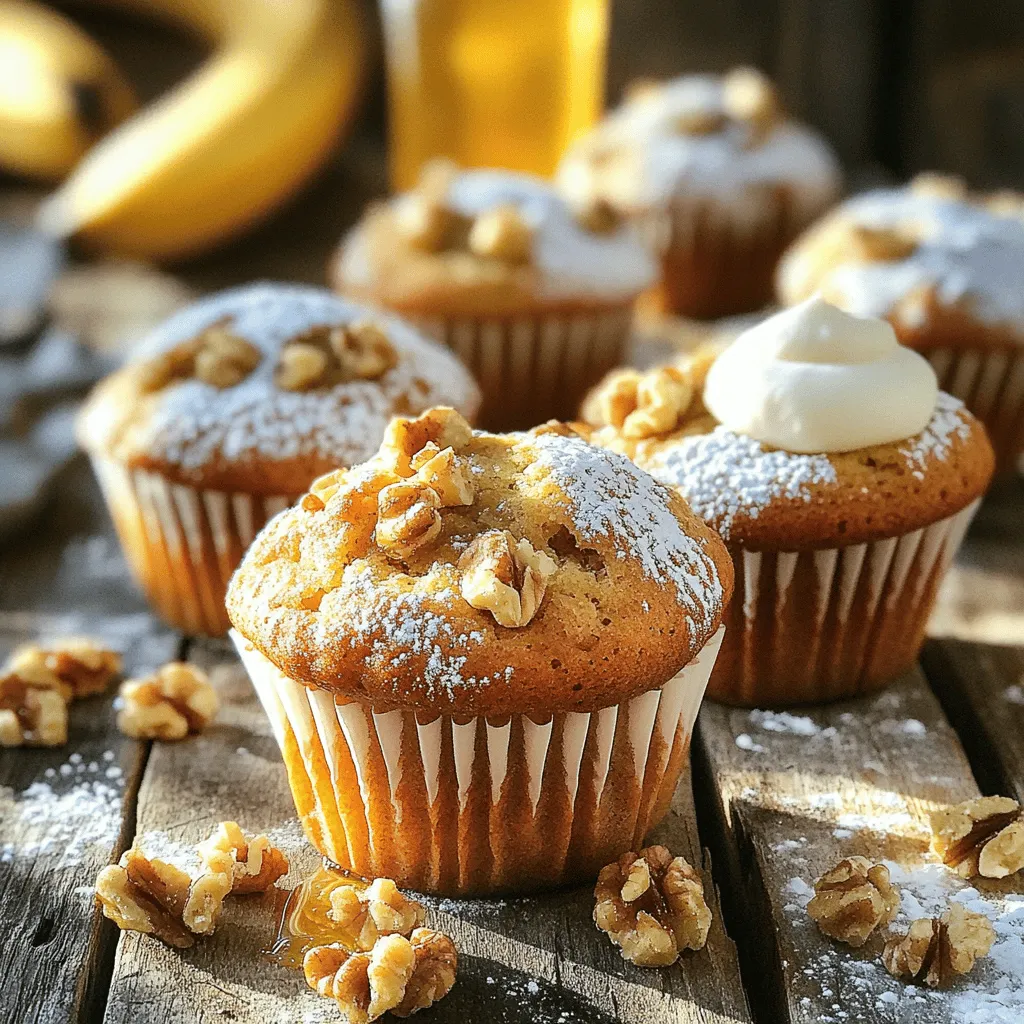
Banana Nut Muffins Quick and Easy Recipe Guide
Welcome to your new favorite baking adventure! In this guide, I’ll show you how to make delicious Banana Nut Muffins Read Full Recipe -
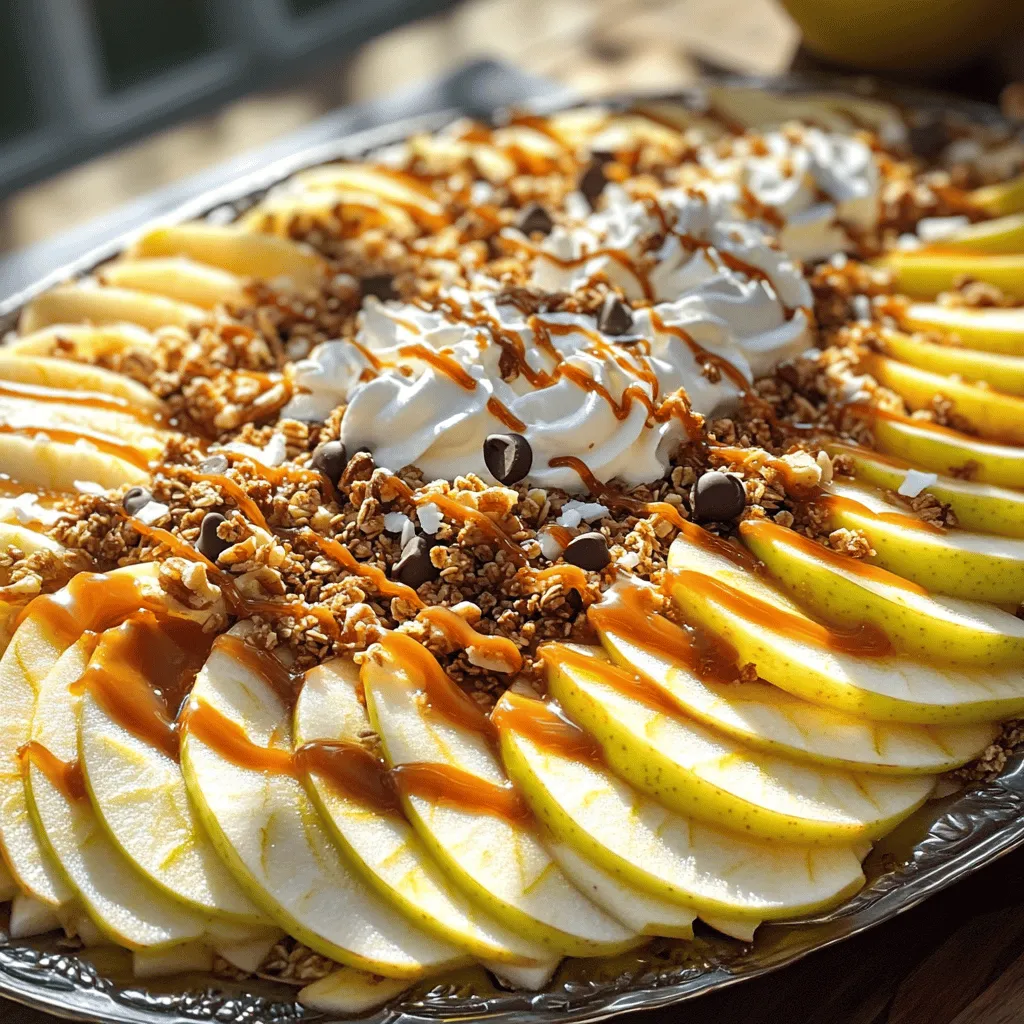
Caramel Apple Nachos Deliciously Simple Treat
Get ready for a snack that’s fun, easy, and oh-so-delicious: Caramel Apple Nachos! This treat lets you enjoy the crispiness Read Full Recipe -
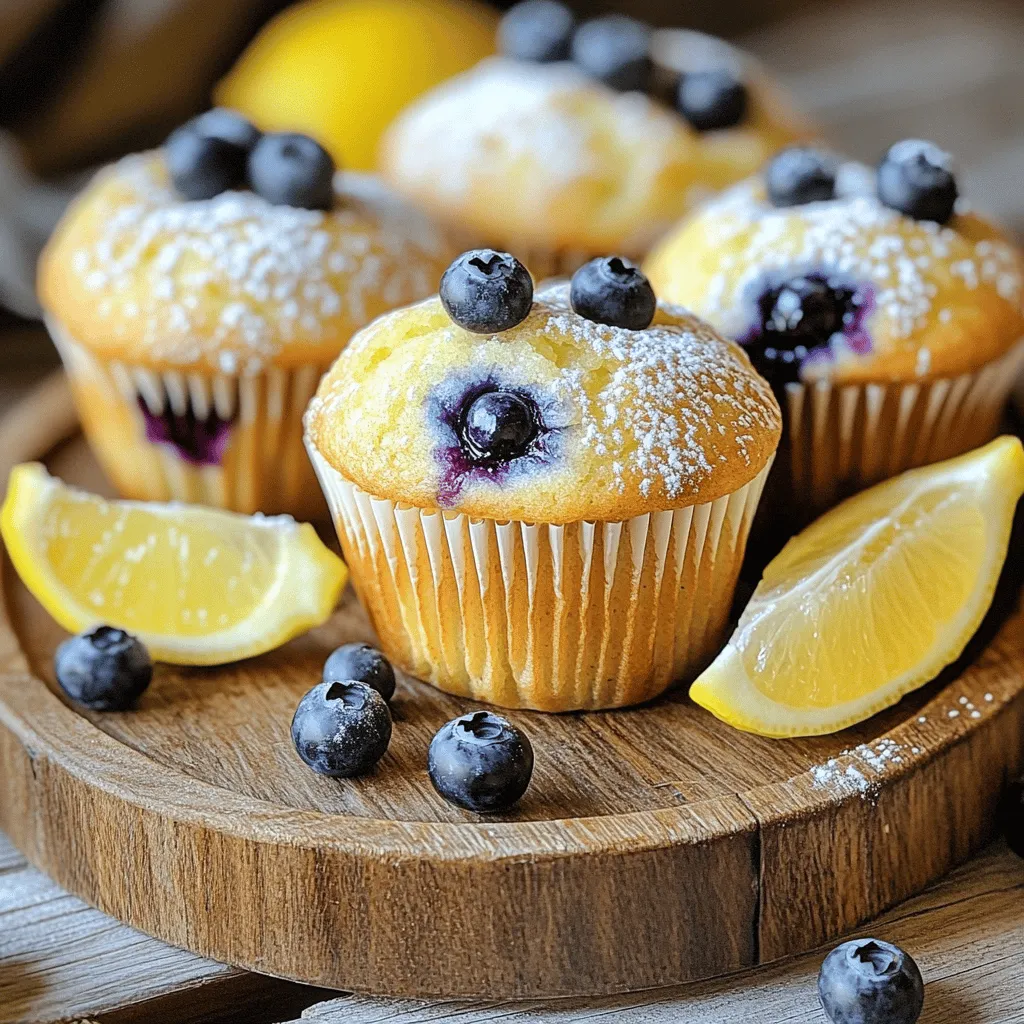
Blueberry Lemon Muffins Flavorful and Simple Recipe
If you crave a delightful treat that bursts with flavor, look no further than my Blueberry Lemon Muffins. This simple Read Full Recipe -
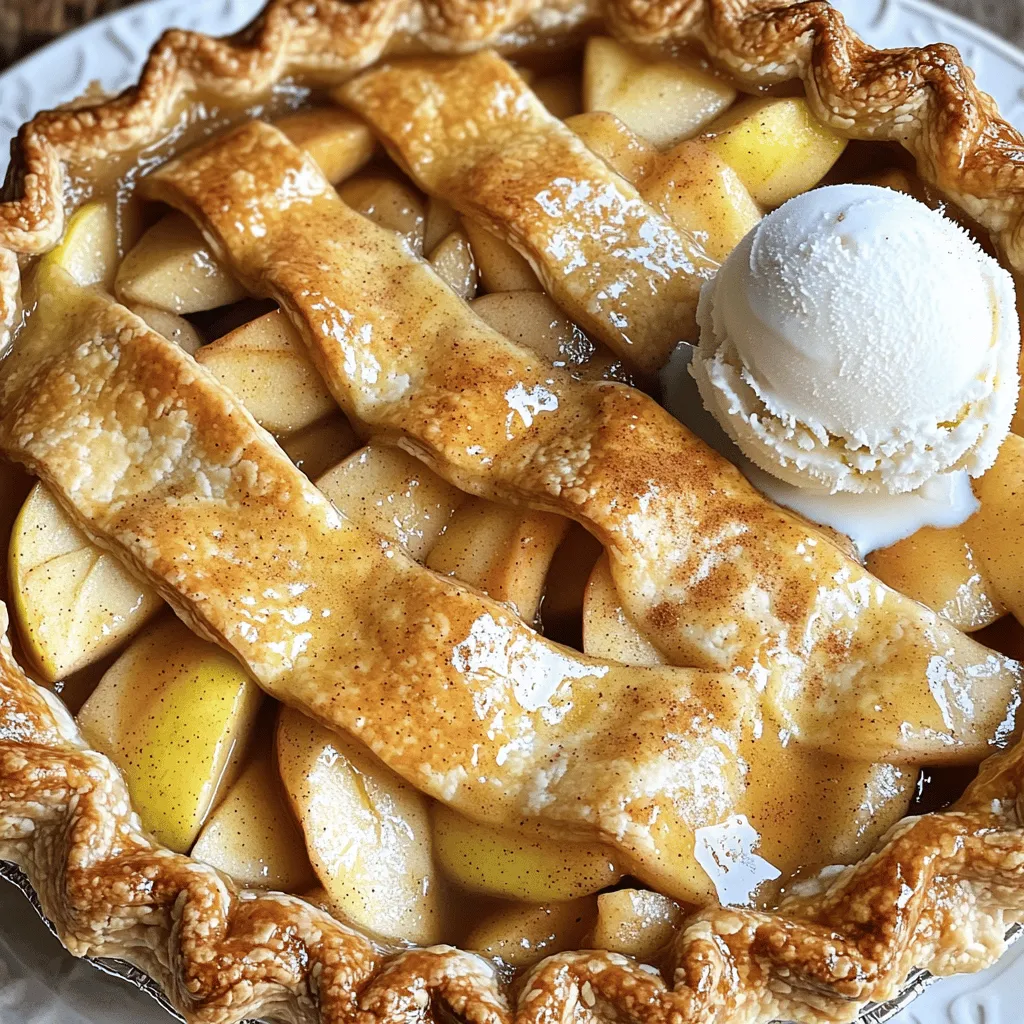
Classic Apple Pie Delightful and Simple Recipe
There’s nothing quite like a warm slice of classic apple pie straight from the oven. In this article, I’ll share Read Full Recipe -

Chocolate Chip Banana Bread Irresistible and Soft
Are you ready to make the softest, most delicious Chocolate Chip Banana Bread ever? This easy recipe gives you the Read Full Recipe -
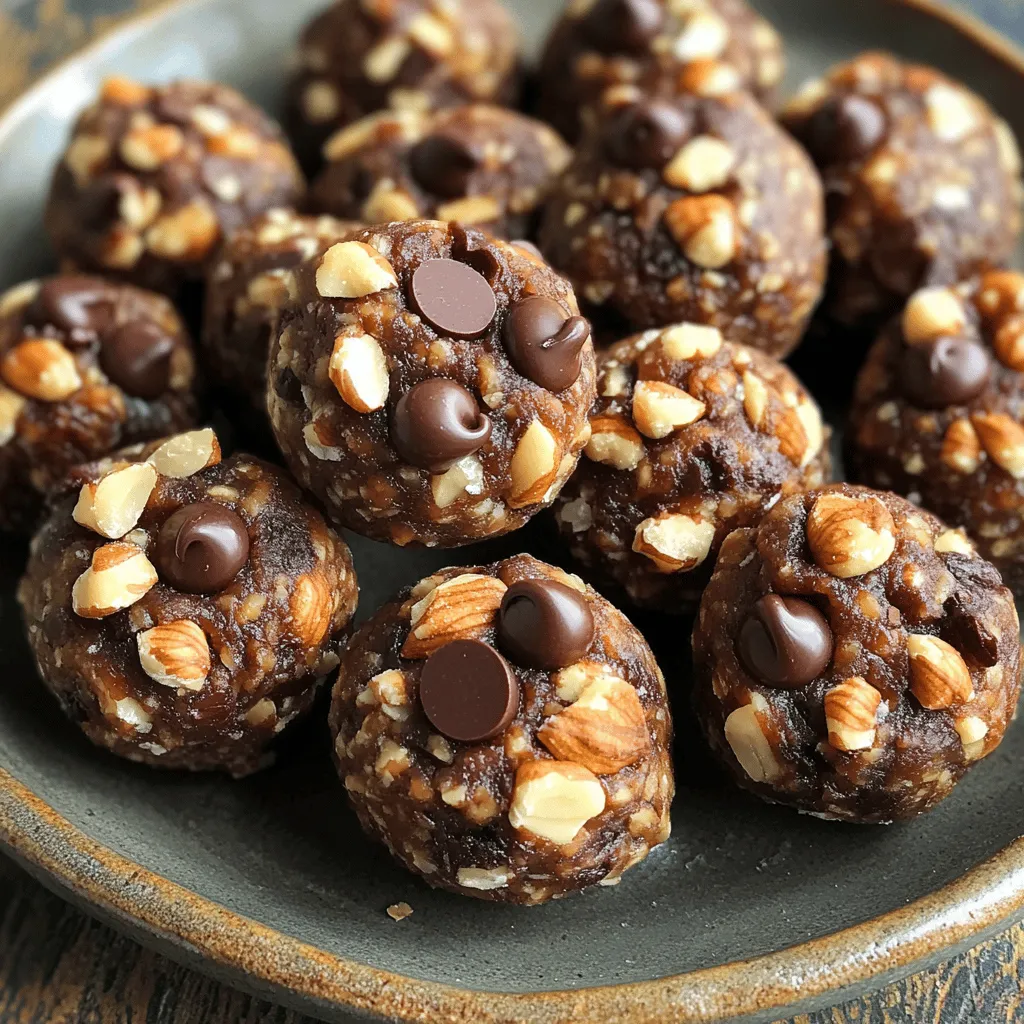
No-Bake Energy Bites Simple and Flavorful Snack
Looking for a quick and tasty snack? You’ll love these No-Bake Energy Bites! Made with simple ingredients like oats, peanut Read Full Recipe -
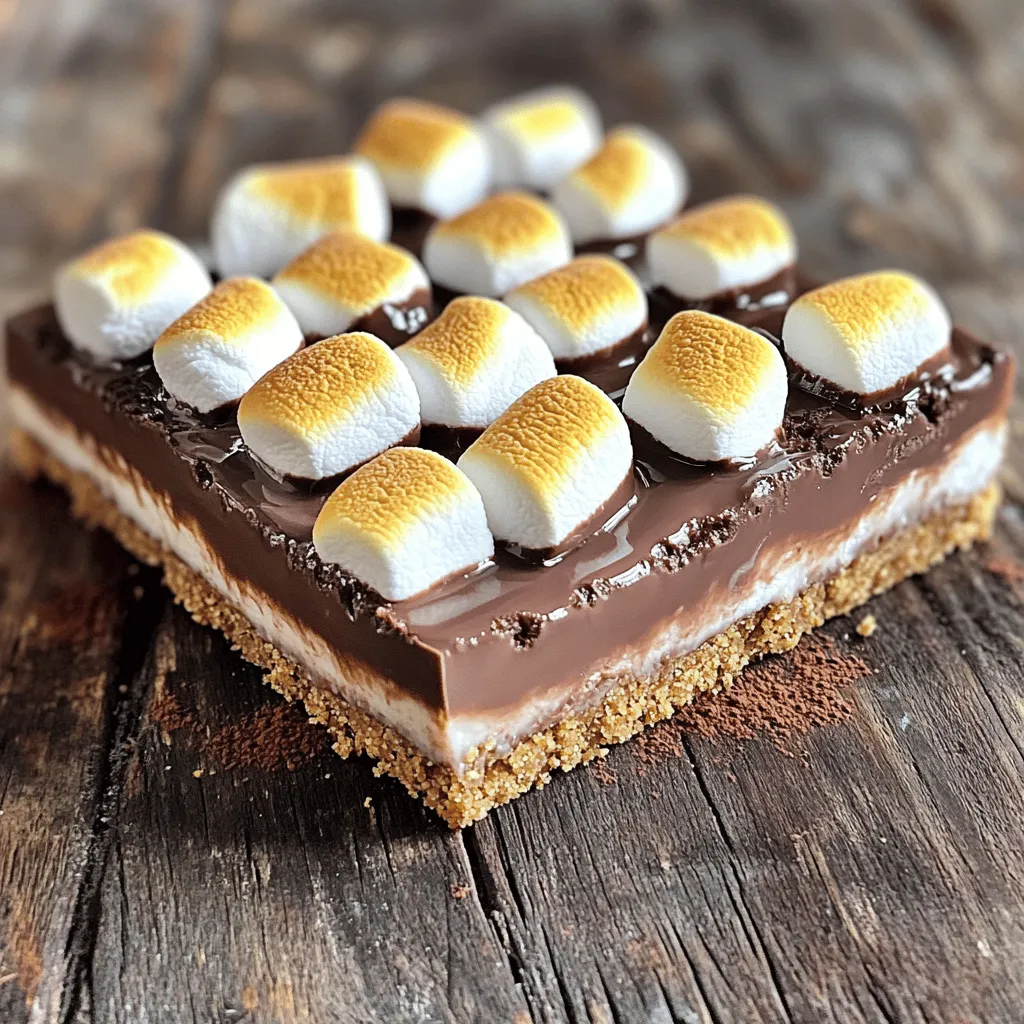
No-Bake S’mores Bars Irresistible and Easy Recipe
Craving a sweet treat without turning on the oven? You’re in the right place! With my easy no-bake S’mores bars Read Full Recipe -
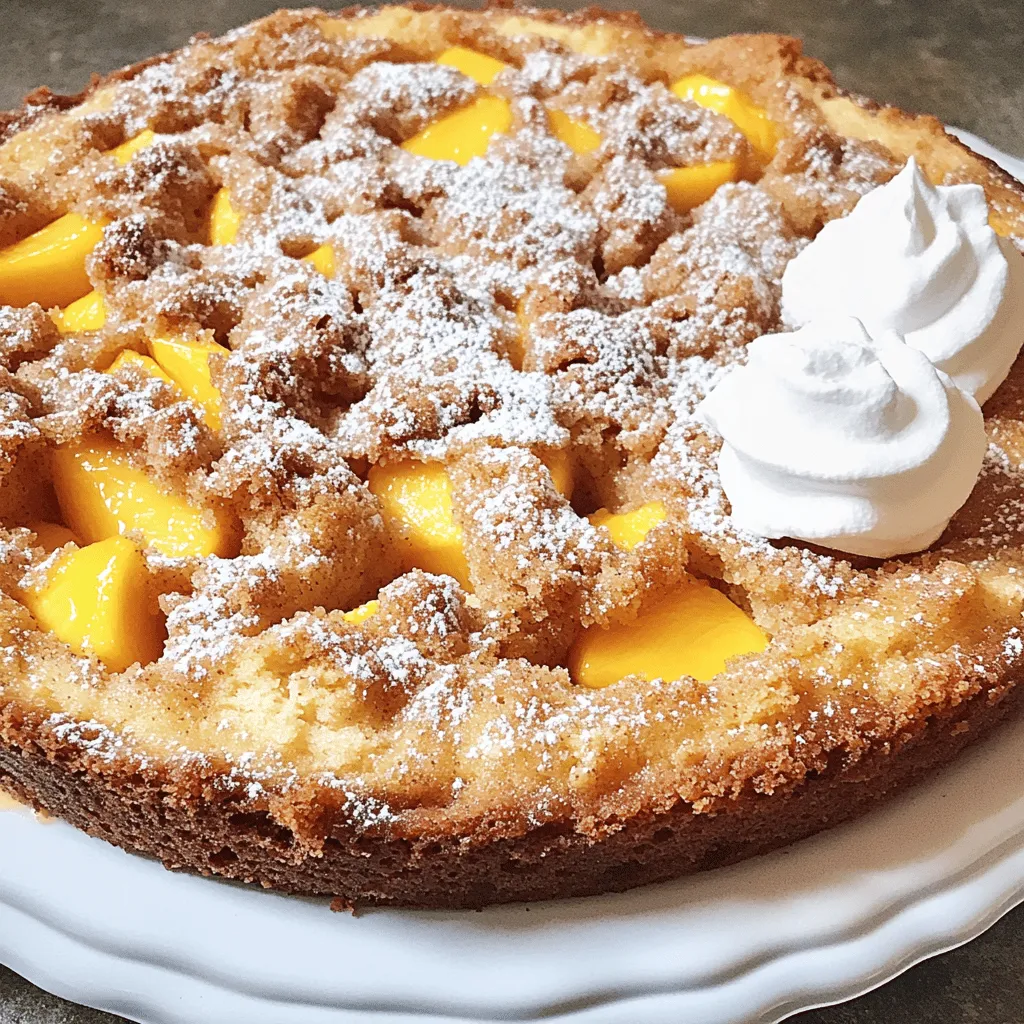
Peach Streusel Coffee Cake Delightful and Simple Recipe
If you love a good coffee cake, you’ll adore my Peach Streusel Coffee Cake recipe. It’s sweet, moist, and full Read Full Recipe -
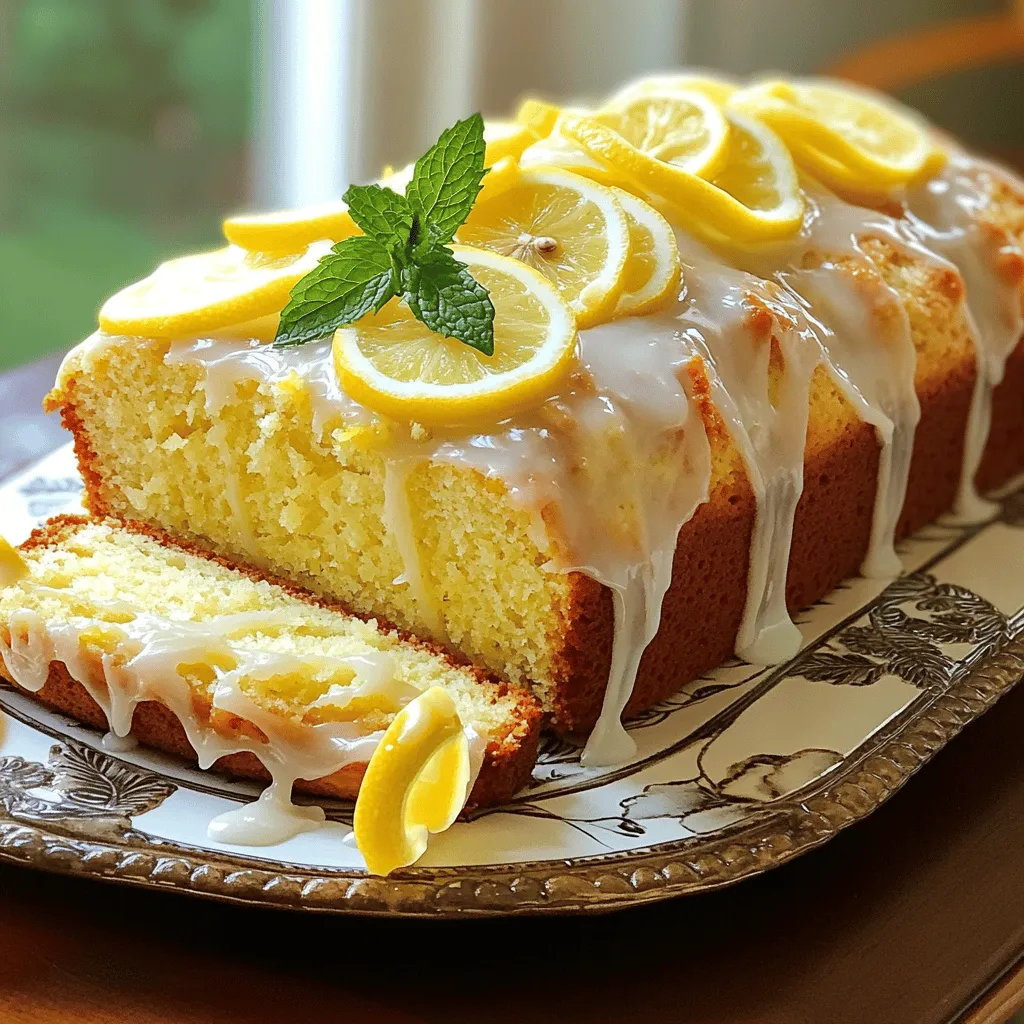
Easy Lemon Loaf Cake Simple and Tasty Recipe
If you love bright, citrusy treats, then this Easy Lemon Loaf Cake is for you! It’s simple to make and Read Full Recipe -
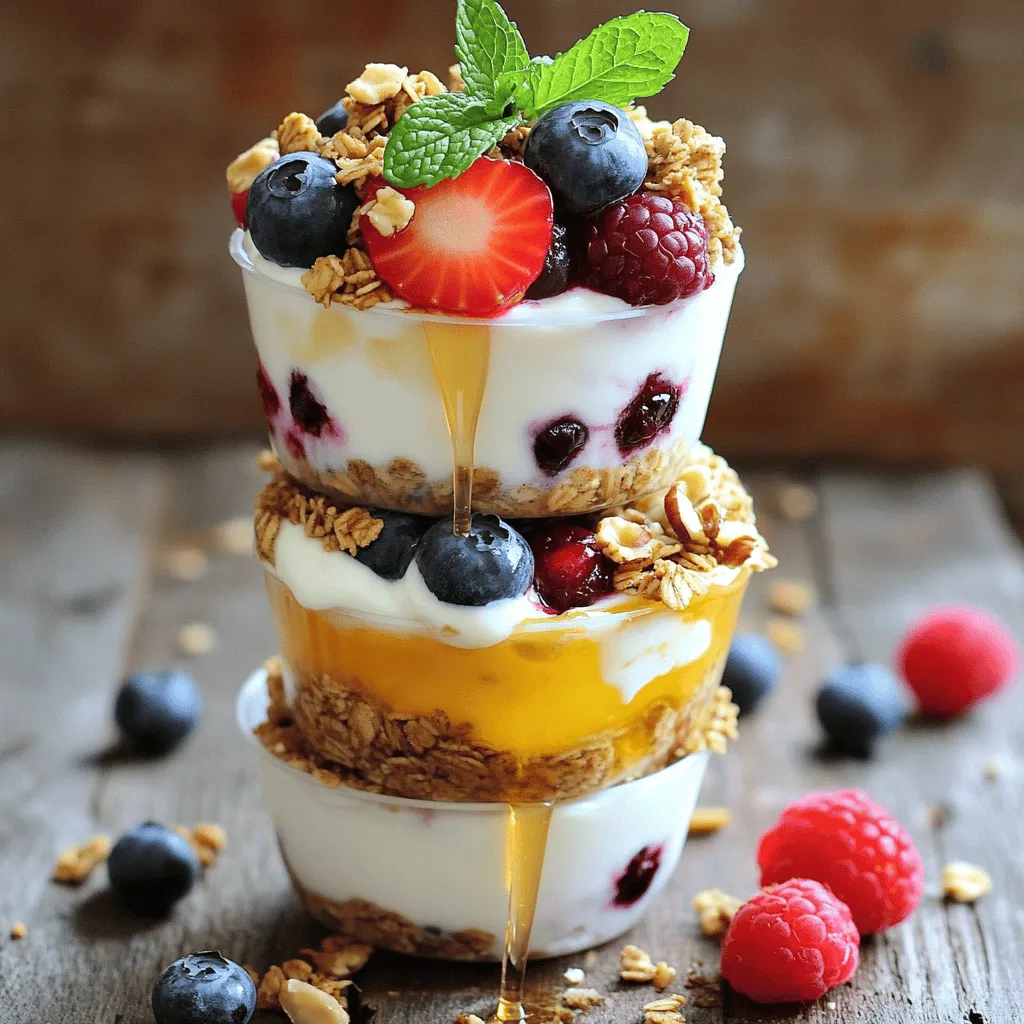
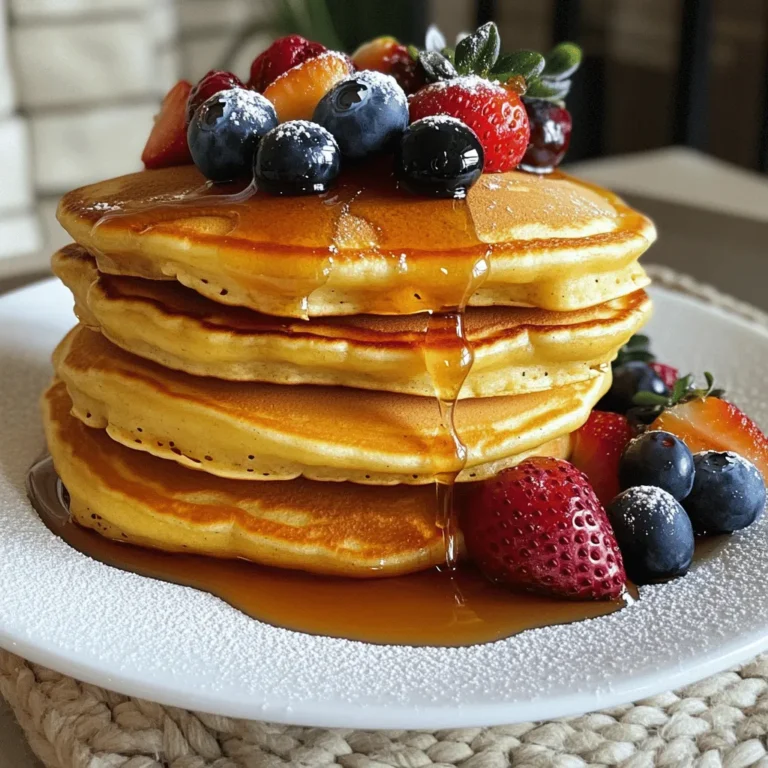
Frozen Yogurt Granola Cups Delightful and Healthy Treat
Looking for a cool and tasty treat? Frozen yogurt granola cups are the answer! These delightful snacks blend creamy yogurt Read Full Recipe
My Latest Recipes

hey,
i’m !
I’m so happy you’re here!
Every dish I share is made with love and care. I hope they bring you the same comfort and joy they bring me. Let’s make memories, one recipe at a time.

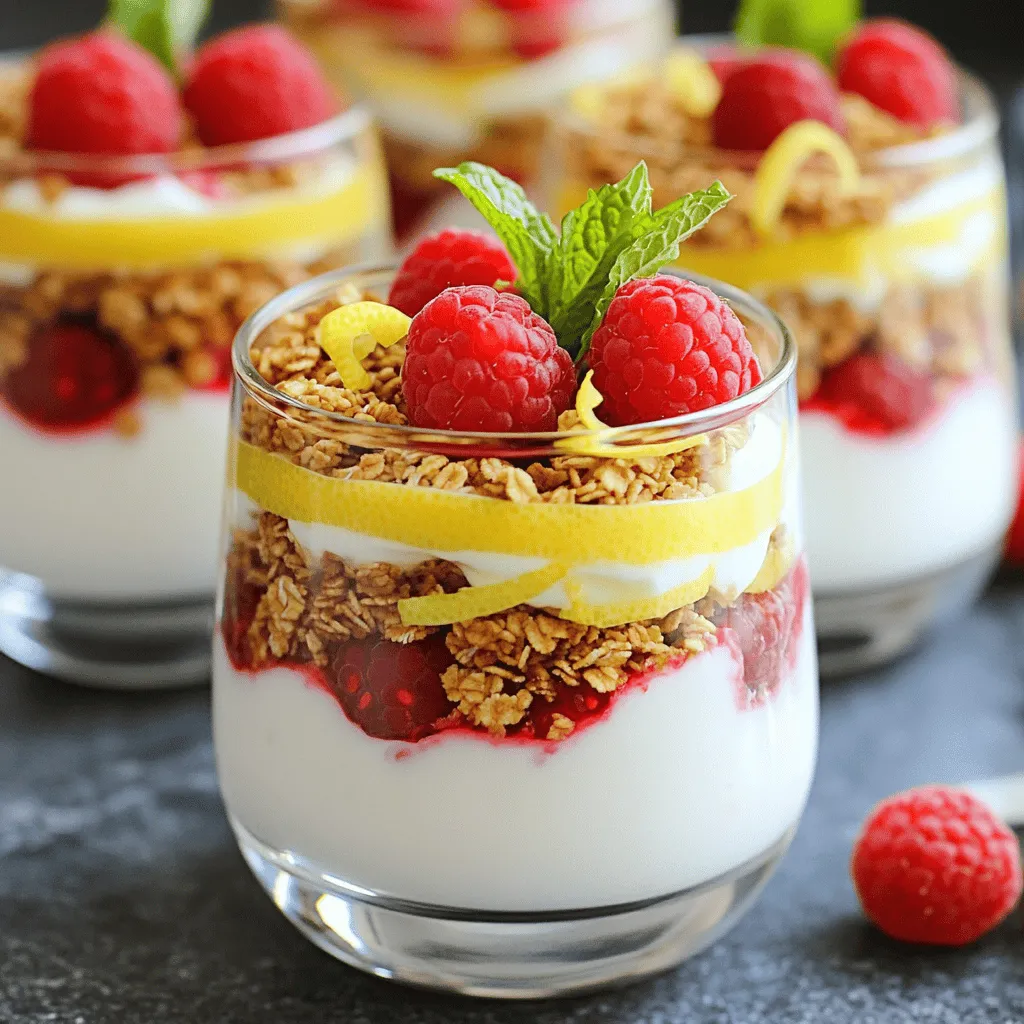
Raspberry Lemon Yogurt Parfait Tasty and Simple Treat
Looking for a quick, delicious treat? My Raspberry Lemon Yogurt Parfait is simple to make and bursting with flavor! This refreshing dessert combines tangy…