Latest & Greatest
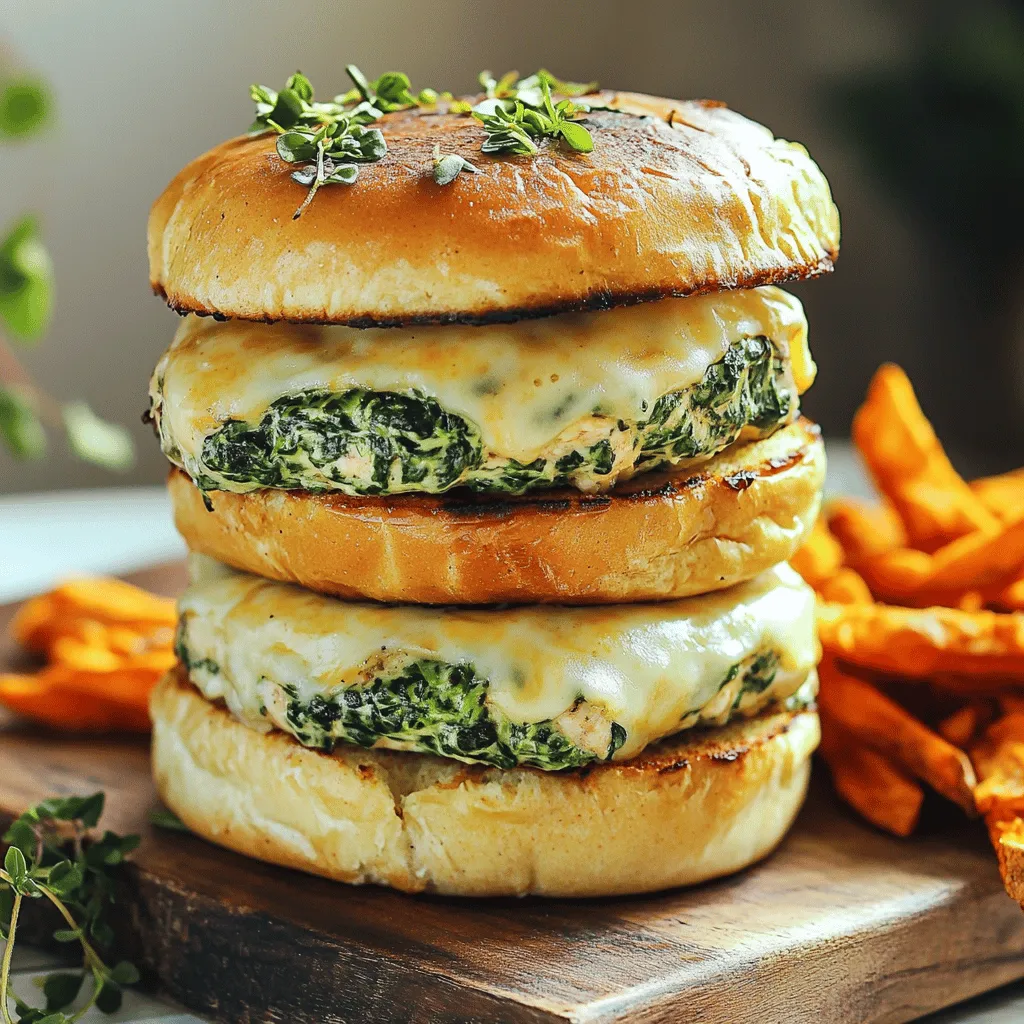
White Cheddar Spinach Chicken Burgers Flavorful Treat
Are you ready to elevate your burger game? These White Cheddar Spinach Chicken Burgers are not just a meal; they’re
Read more…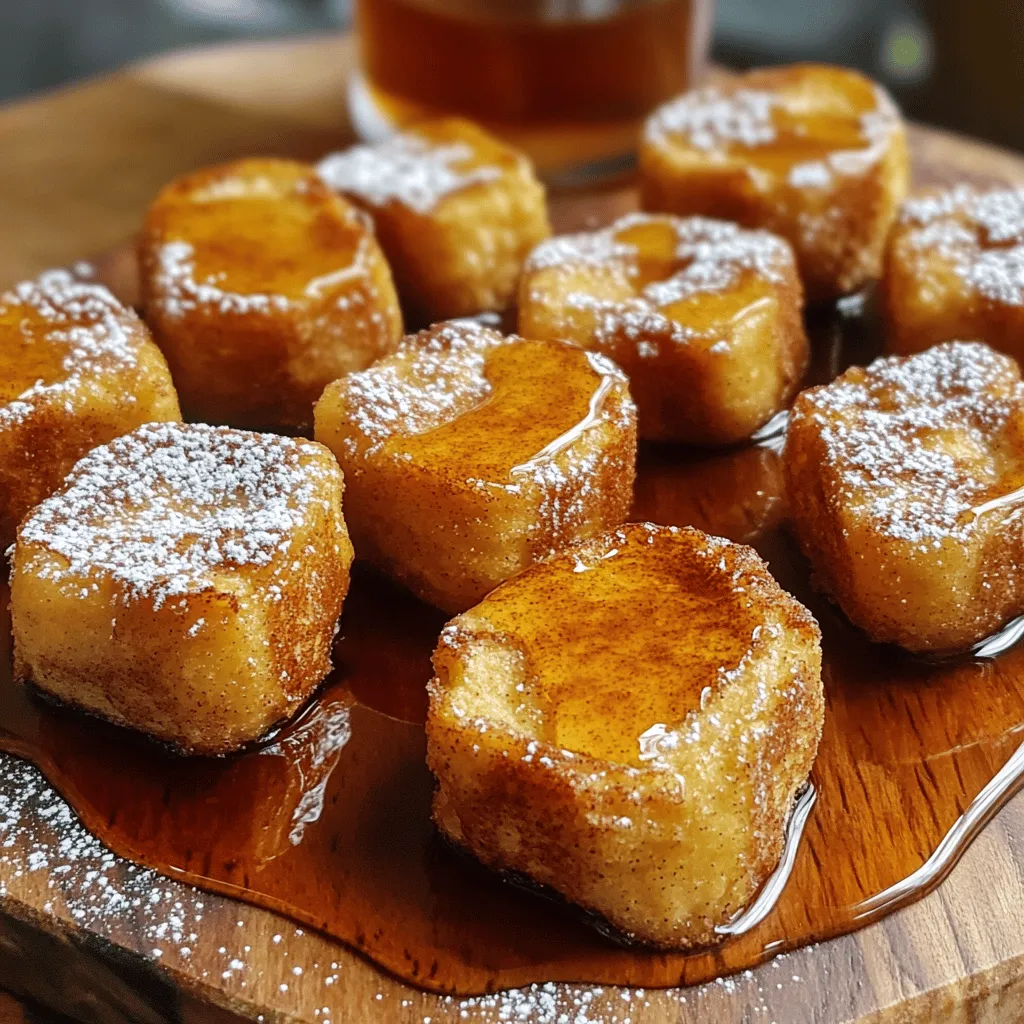
Cinnamon Roll French Toast Bites Sweet Morning Treat
Are you ready to elevate your breakfast game? Cinnamon Roll French Toast Bites are a sweet twist on a classic
Read more…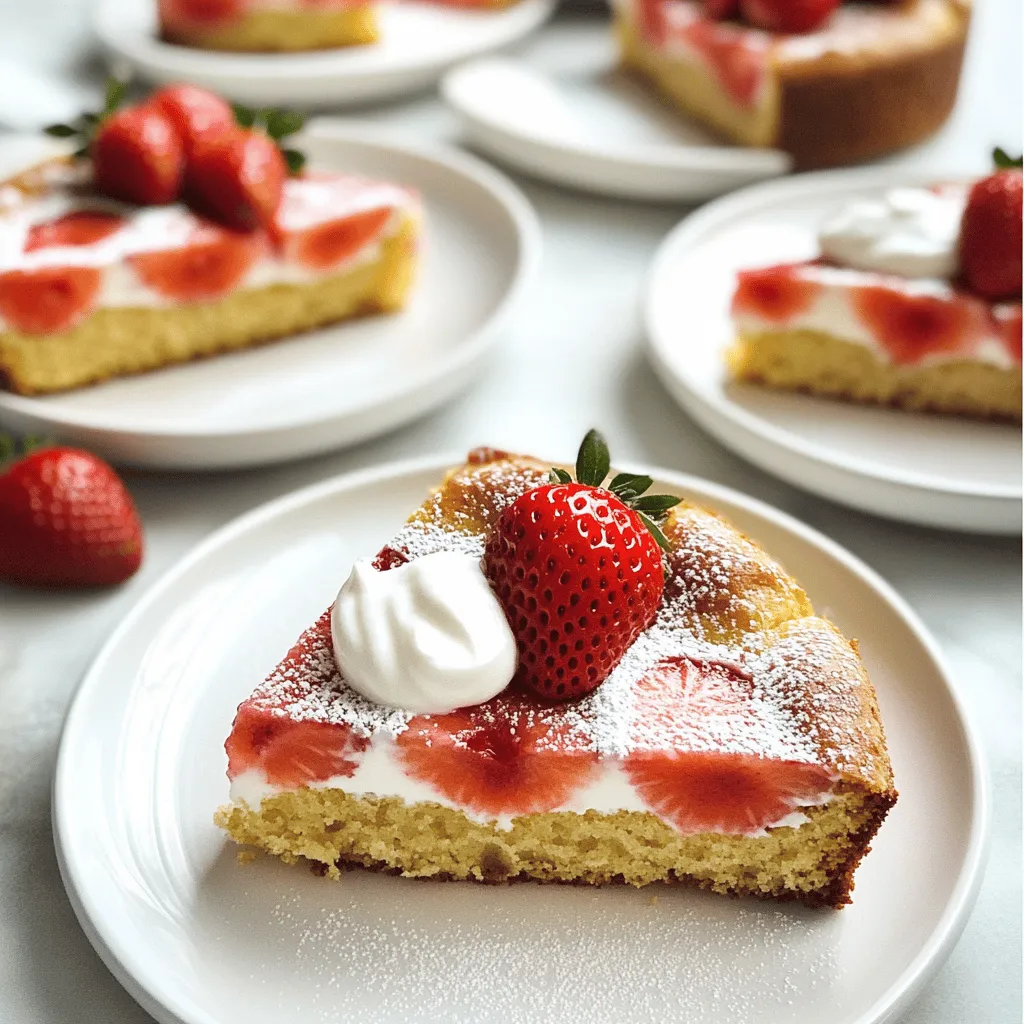
Skinny Strawberry Cake Delightfully Healthy Treat
Craving a sweet treat but want to keep it healthy? Let me introduce you to my Skinny Strawberry Cake—a delightful
Read more…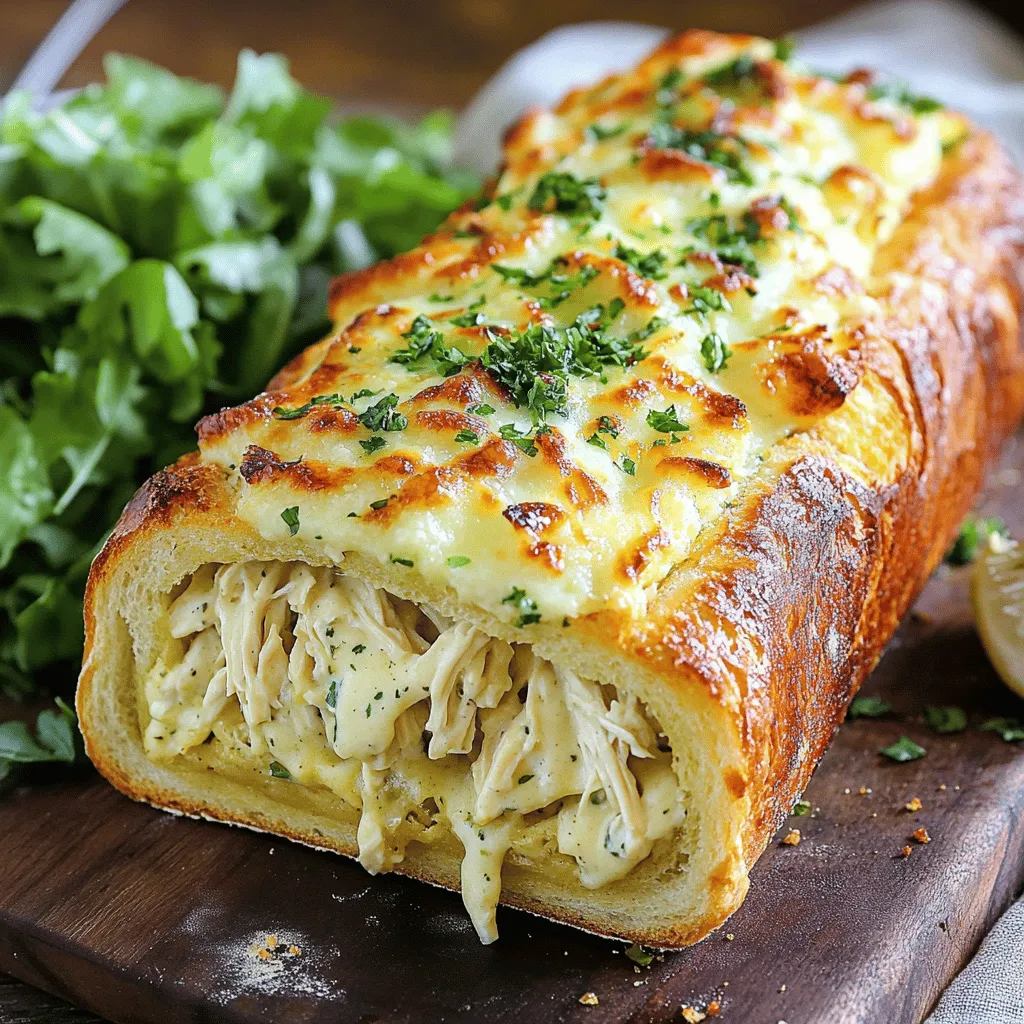
Chicken Alfredo Stuffed Garlic Bread Simple Delight
Are you ready for a dish that will wow your taste buds? Chicken Alfredo Stuffed Garlic Bread is a fun
Read more…
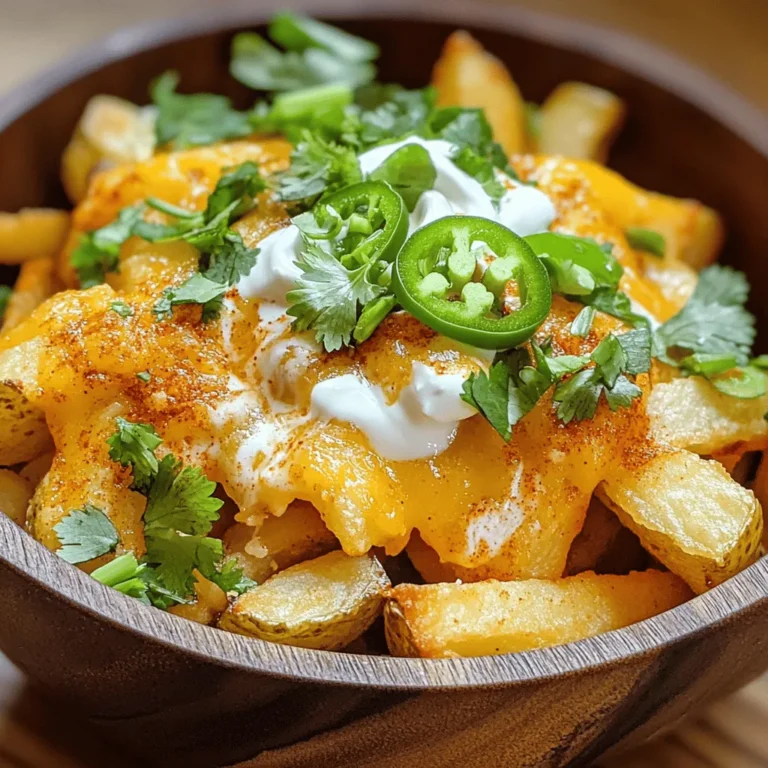
Voodoo Fries Irresistible Flavor You Can’t Resist
Are you ready to dive into the world of Voodoo Fries? This dish bursts with flavors you won’t forget. Combining
Read more…
Louisiana BBQ Shrimp Delightful and Easy Recipe
Are you ready to spice up your dinner table? Louisiana BBQ Shrimp is a rich, flavorful dish that’s surprisingly easy
Read more…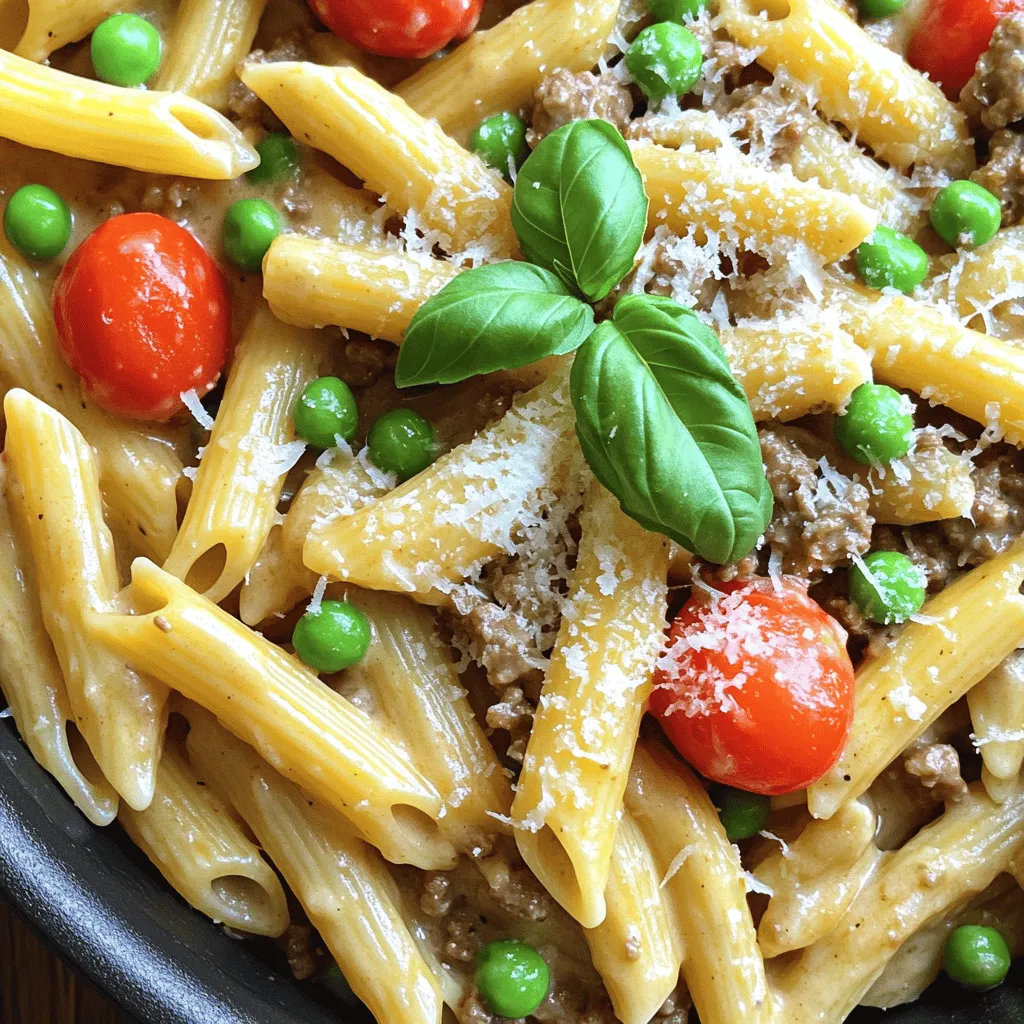
One-Pot Creamy Beef Pasta Easy Weeknight Meal
If you crave a quick, delicious meal, your search ends here! One-Pot Creamy Beef Pasta is the answer for busy
Read more…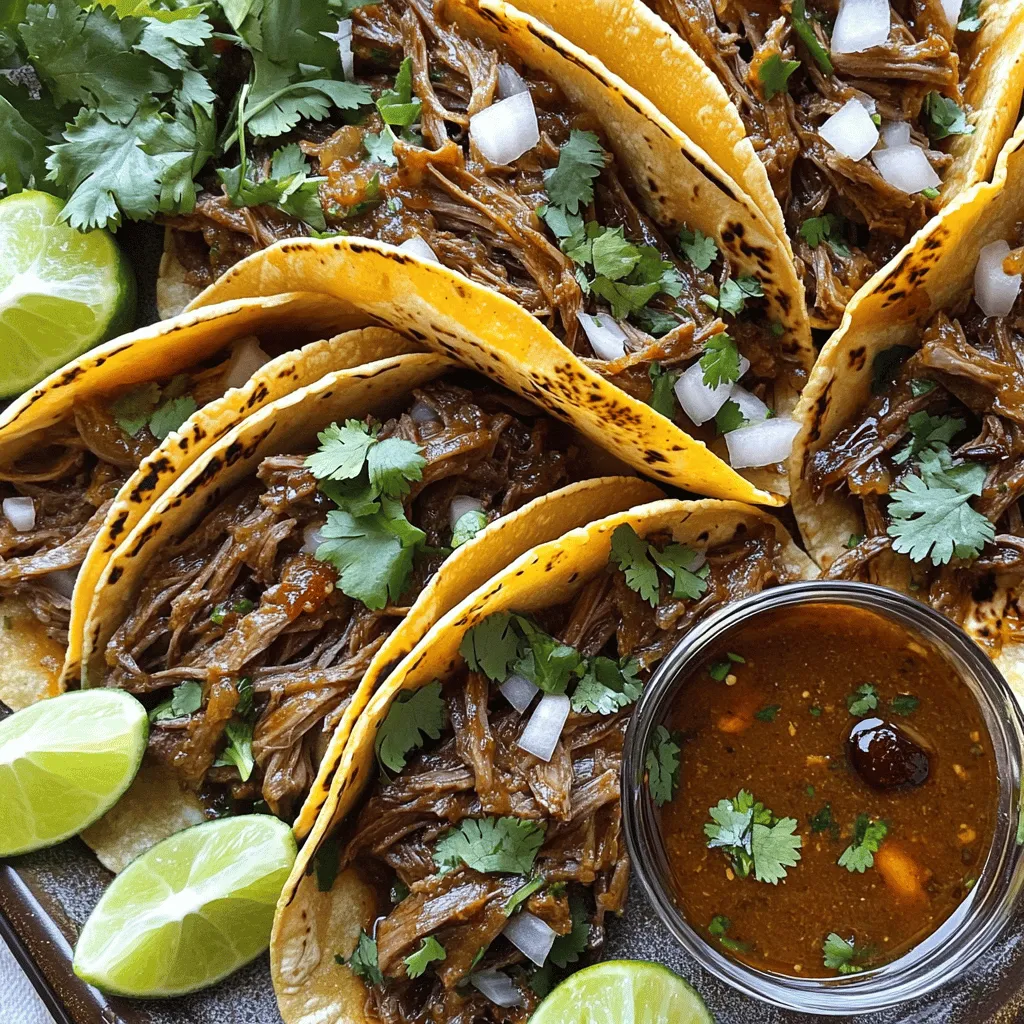
Crock Pot Birria Tacos Flavorful and Easy Recipe
Love tacos? Get ready to spice up your meals with my easy Crock Pot Birria Tacos! This flavorful recipe features
Read more…browse recipes
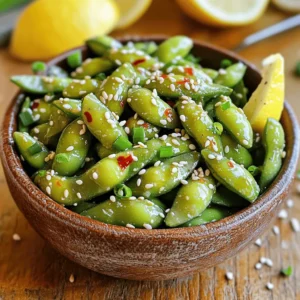

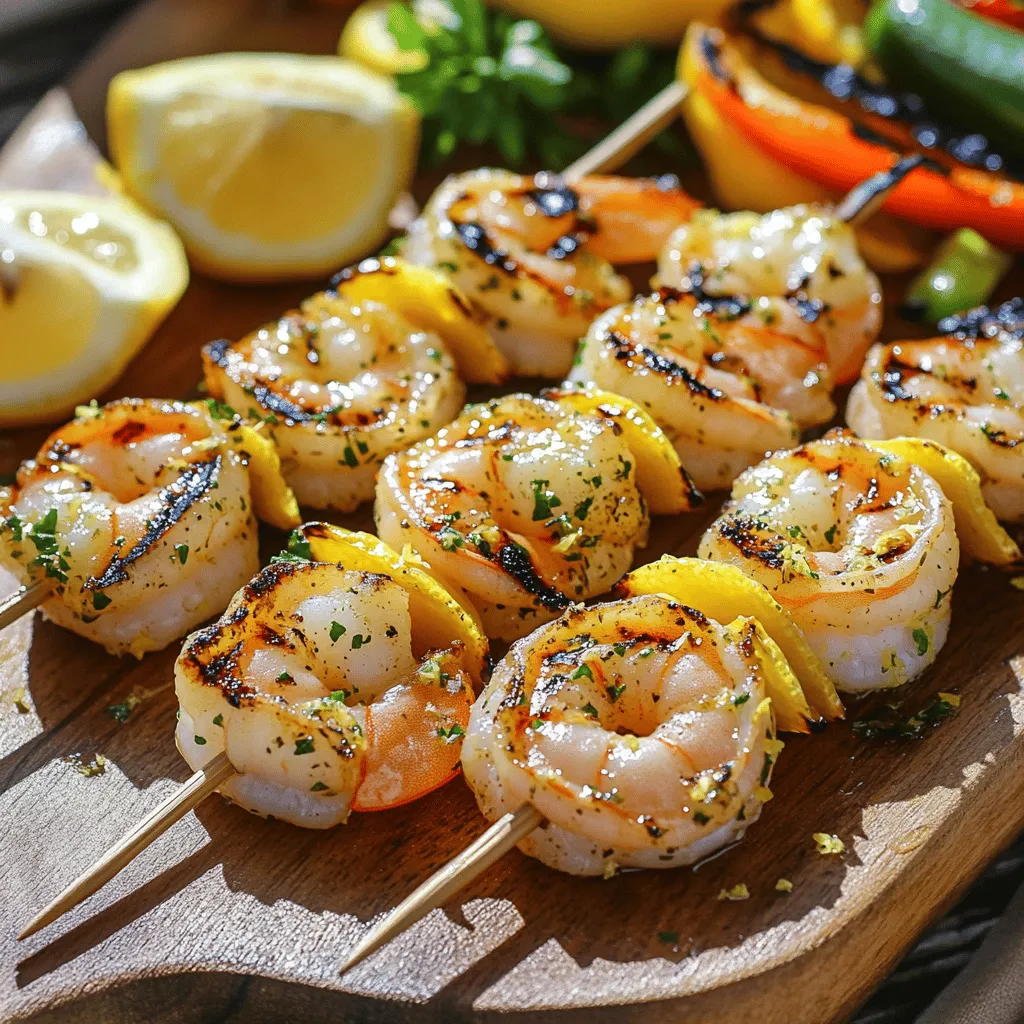
Lemon Garlic Herb Grilled Shrimp Flavorful Summer Dish
Looking for a quick and tasty summer dish? Try my Lemon Garlic Herb Grilled Shrimp! This vibrant meal packs bold flavors and fresh ingredients,…
My Latest Desserts
-
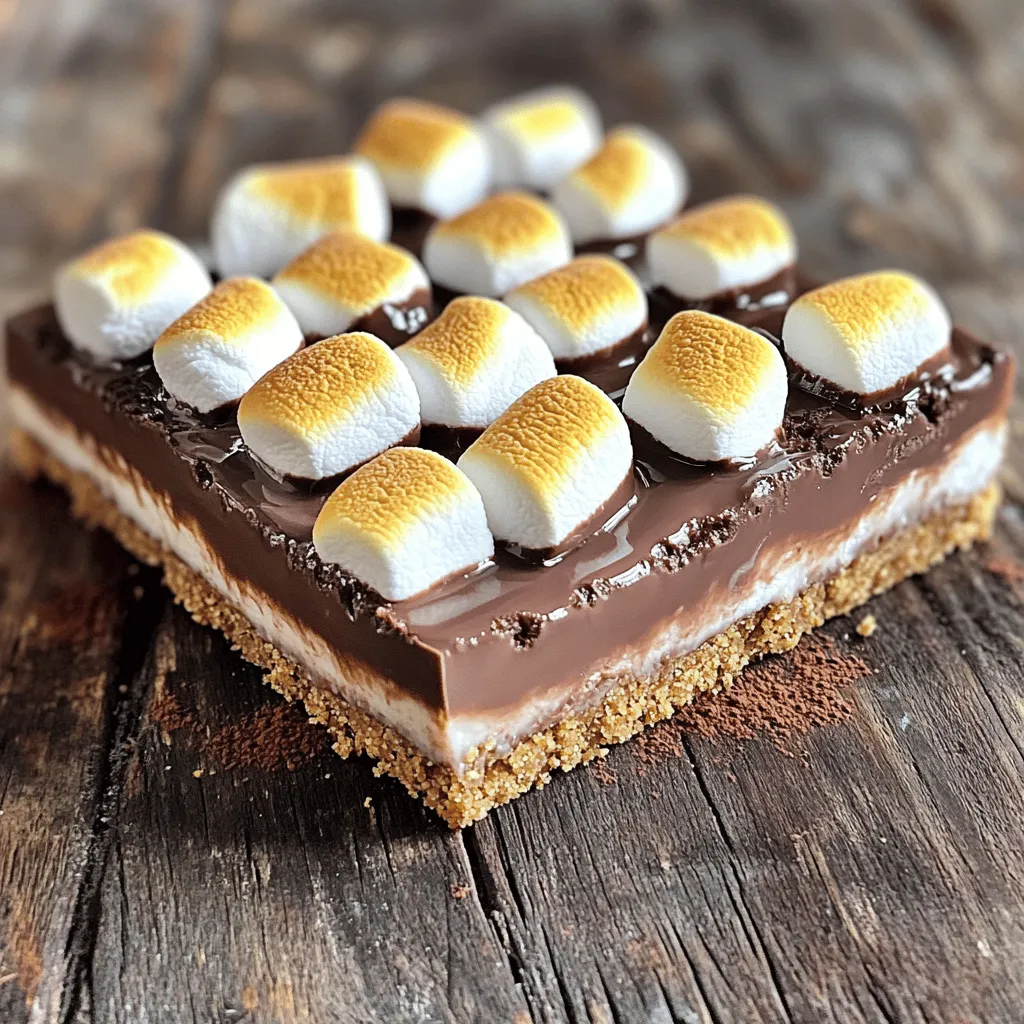
No-Bake S’mores Bars Irresistible and Easy Recipe
Craving a sweet treat without turning on the oven? You’re in the right place! With my easy no-bake S’mores bars Read Full Recipe -
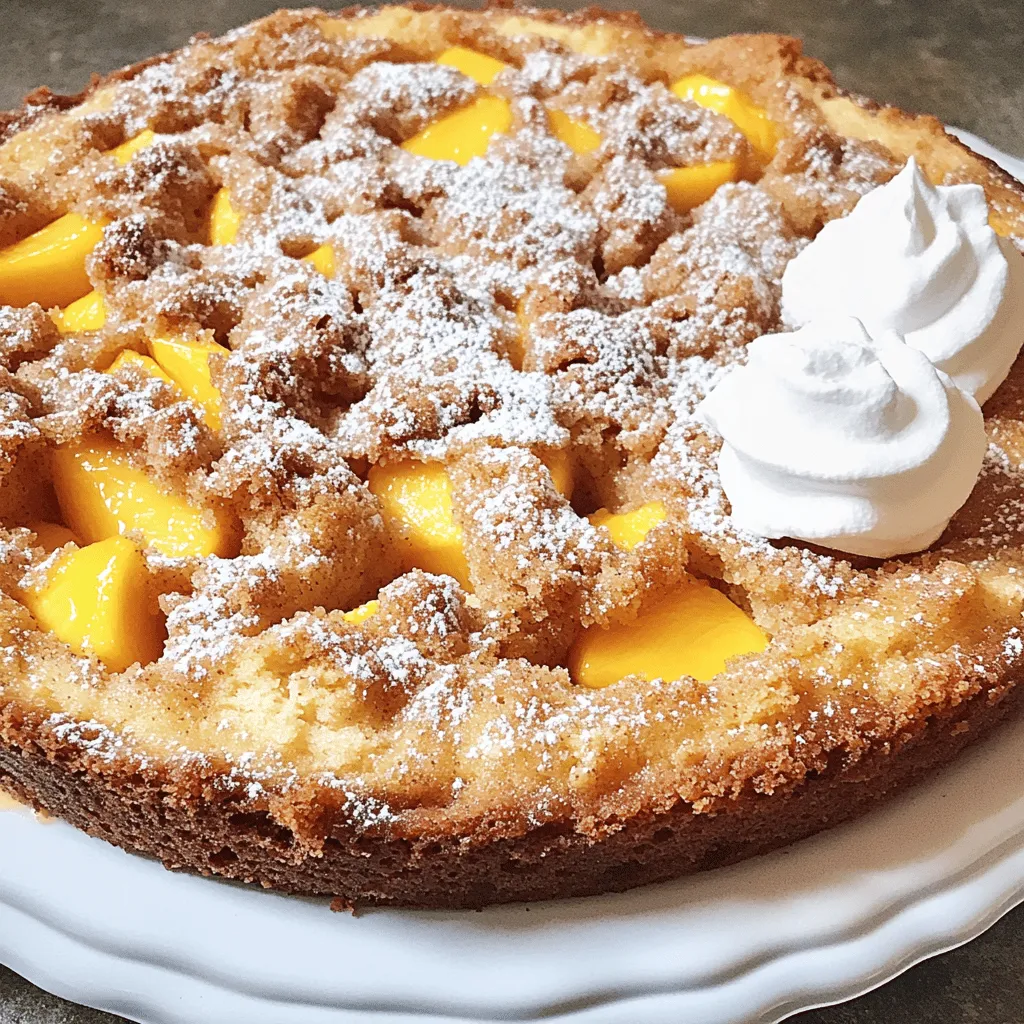
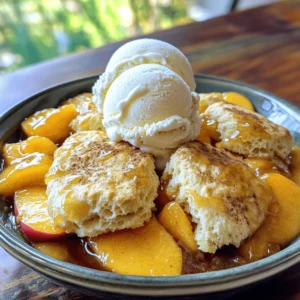
Peach Streusel Coffee Cake Delightful and Simple Recipe
If you love a good coffee cake, you’ll adore my Peach Streusel Coffee Cake recipe. It’s sweet, moist, and full Read Full Recipe -
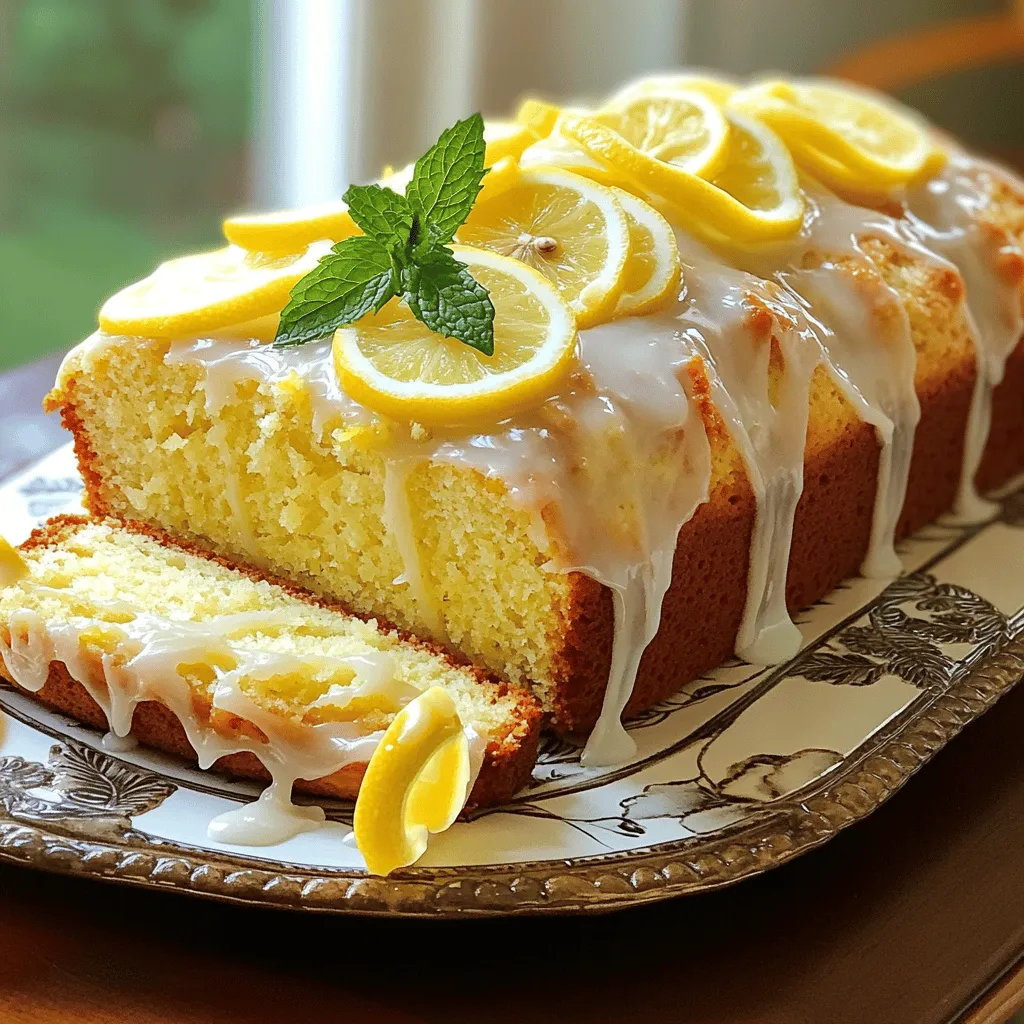
Easy Lemon Loaf Cake Simple and Tasty Recipe
If you love bright, citrusy treats, then this Easy Lemon Loaf Cake is for you! It’s simple to make and Read Full Recipe -
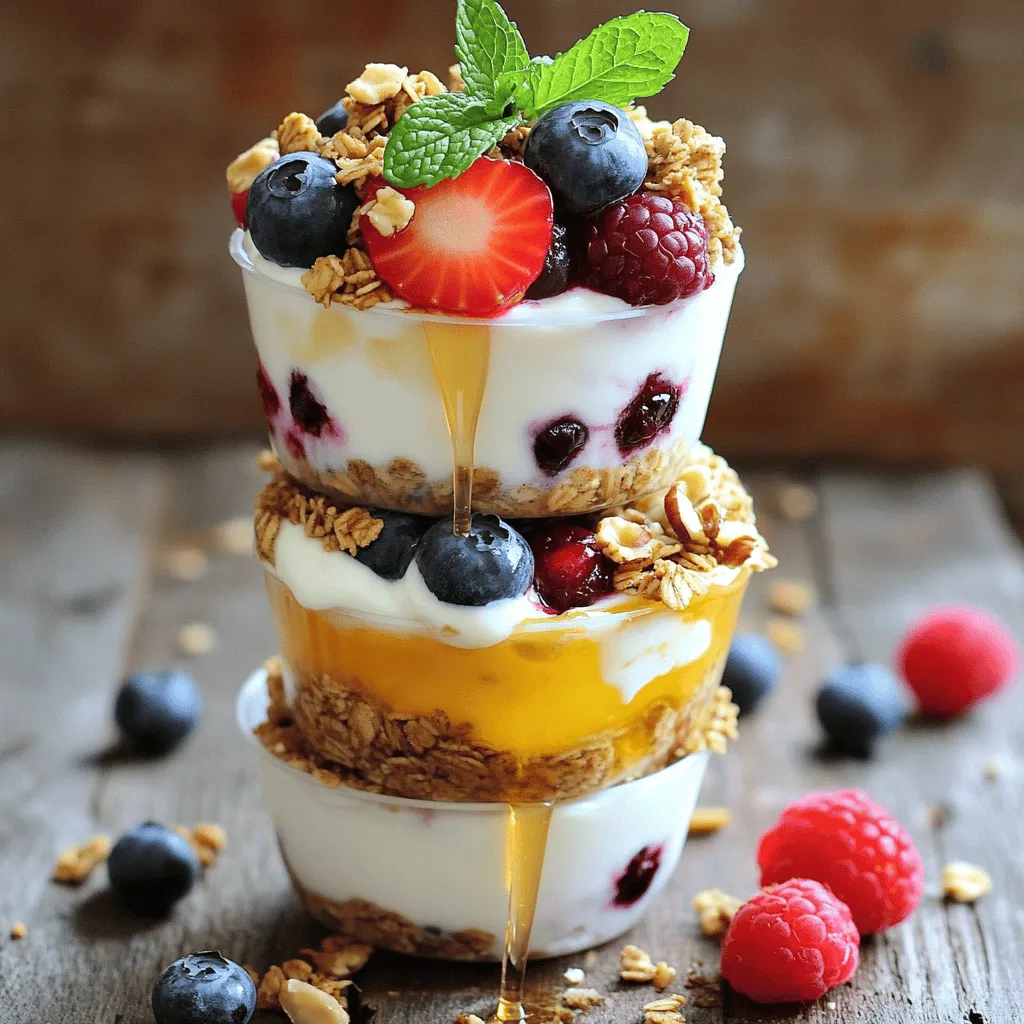
Frozen Yogurt Granola Cups Delightful and Healthy Treat
Looking for a cool and tasty treat? Frozen yogurt granola cups are the answer! These delightful snacks blend creamy yogurt Read Full Recipe -
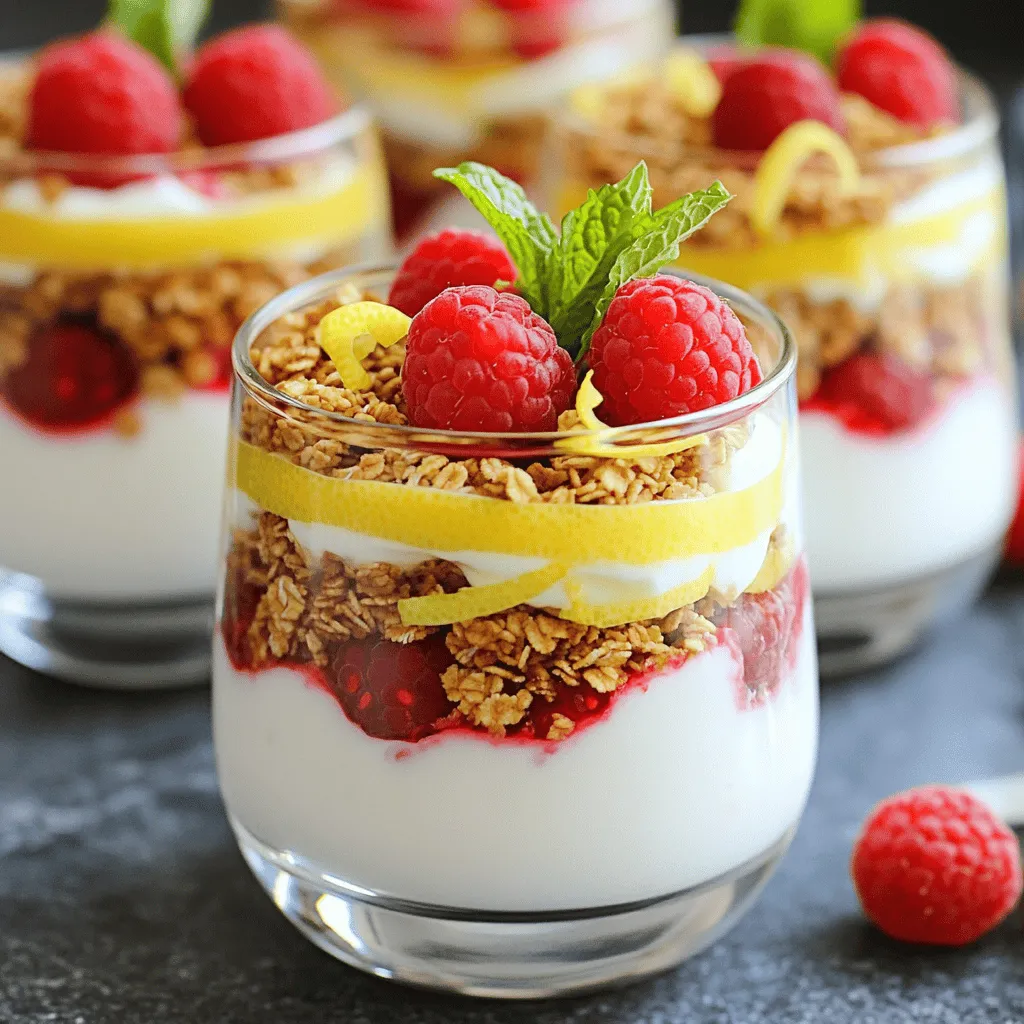
Raspberry Lemon Yogurt Parfait Tasty and Simple Treat
Looking for a quick, delicious treat? My Raspberry Lemon Yogurt Parfait is simple to make and bursting with flavor! This Read Full Recipe -
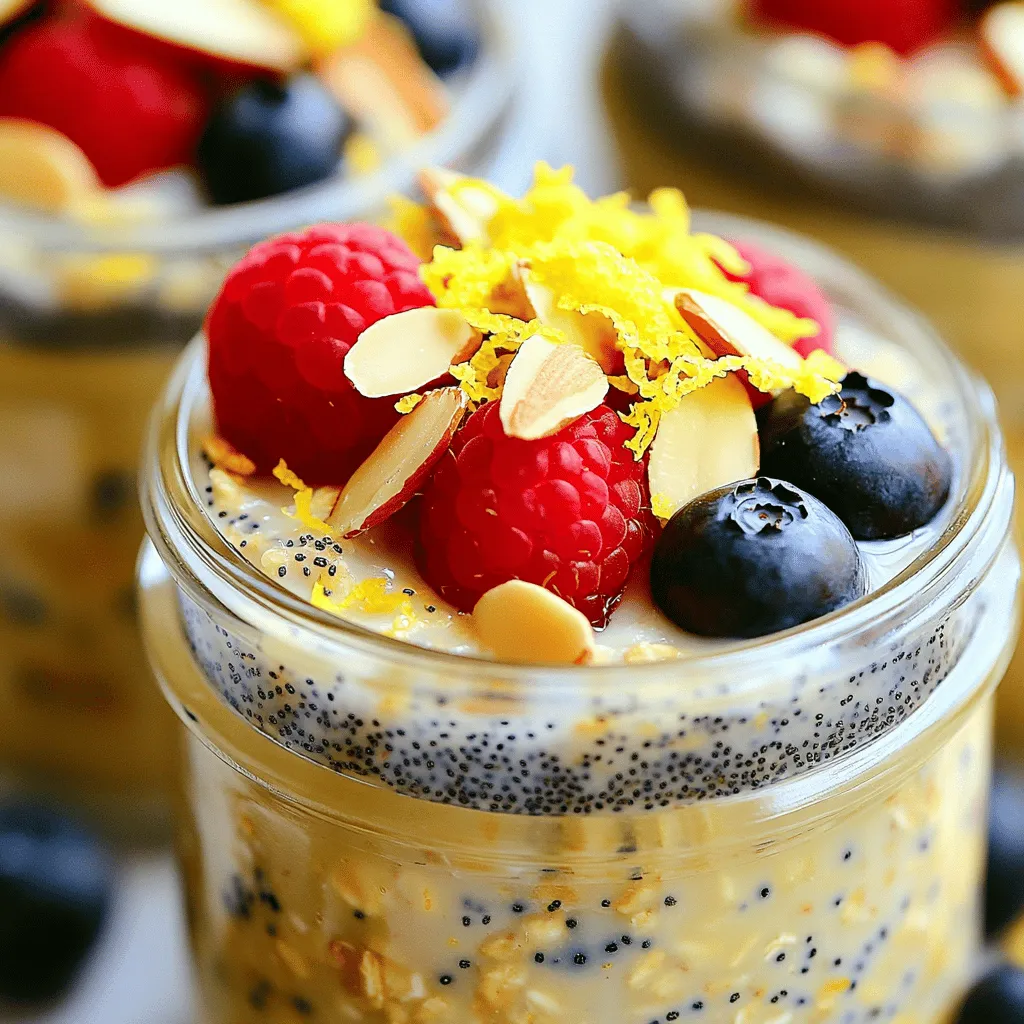
Lemon Poppyseed Overnight Oats Quick and Easy Recipe
Wake up to a burst of fresh flavor with my Lemon Poppyseed Overnight Oats recipe! This quick and easy breakfast Read Full Recipe -
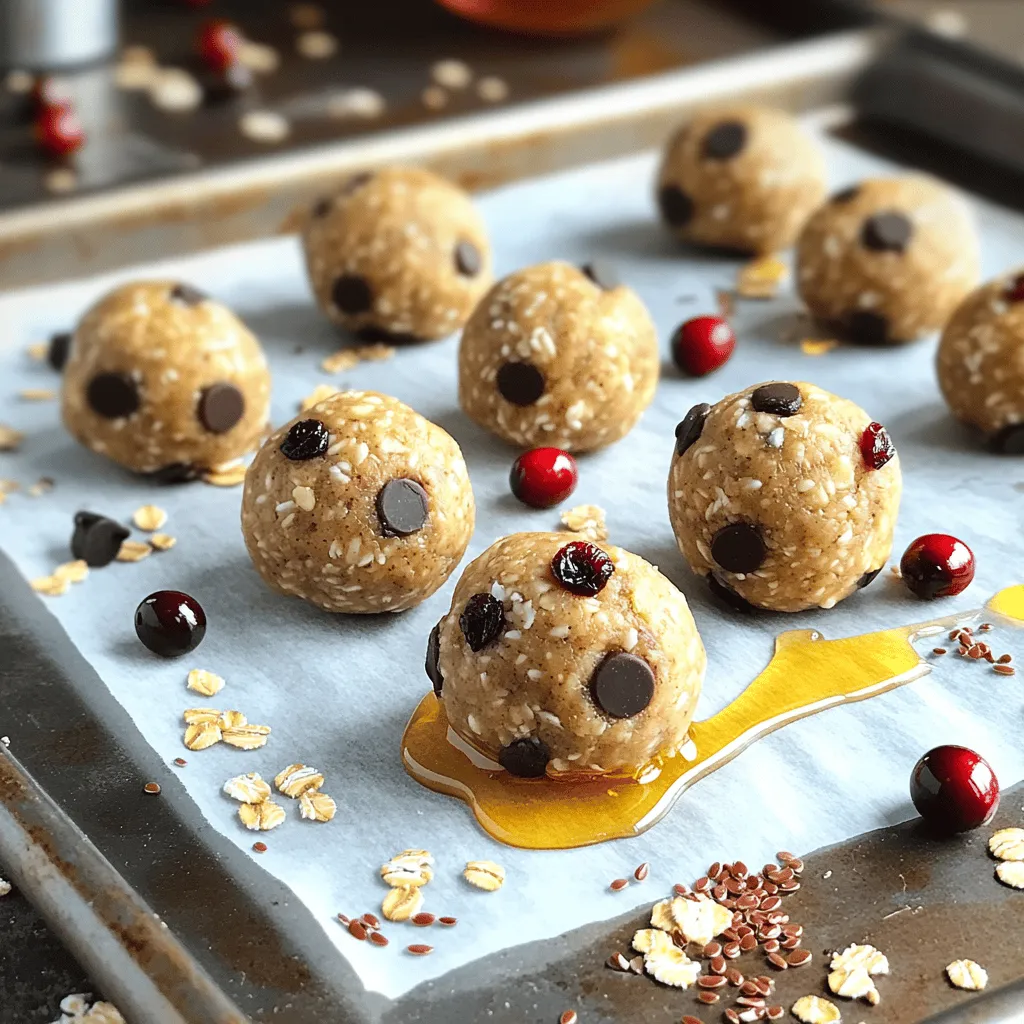
Peanut Butter Energy Balls Easy Healthy Snack Recipe
Looking for a tasty treat that’s also healthy? Peanut Butter Energy Balls are your answer! This easy snack recipe packs Read Full Recipe -
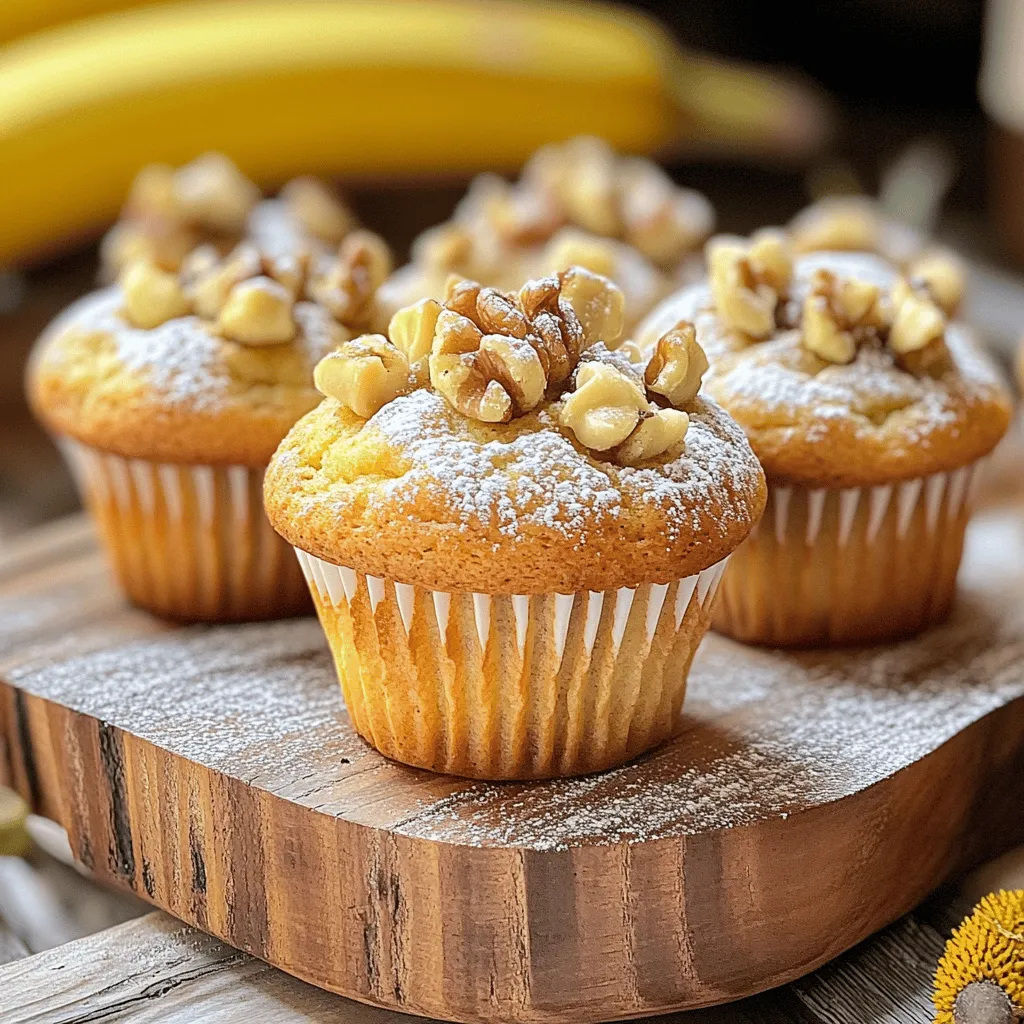
Banana Nut Muffins Delightfully Soft and Tasty Recipe
Are you ready to bake the softest, tastiest banana nut muffins ever? I’ll take you through a simple recipe that Read Full Recipe -
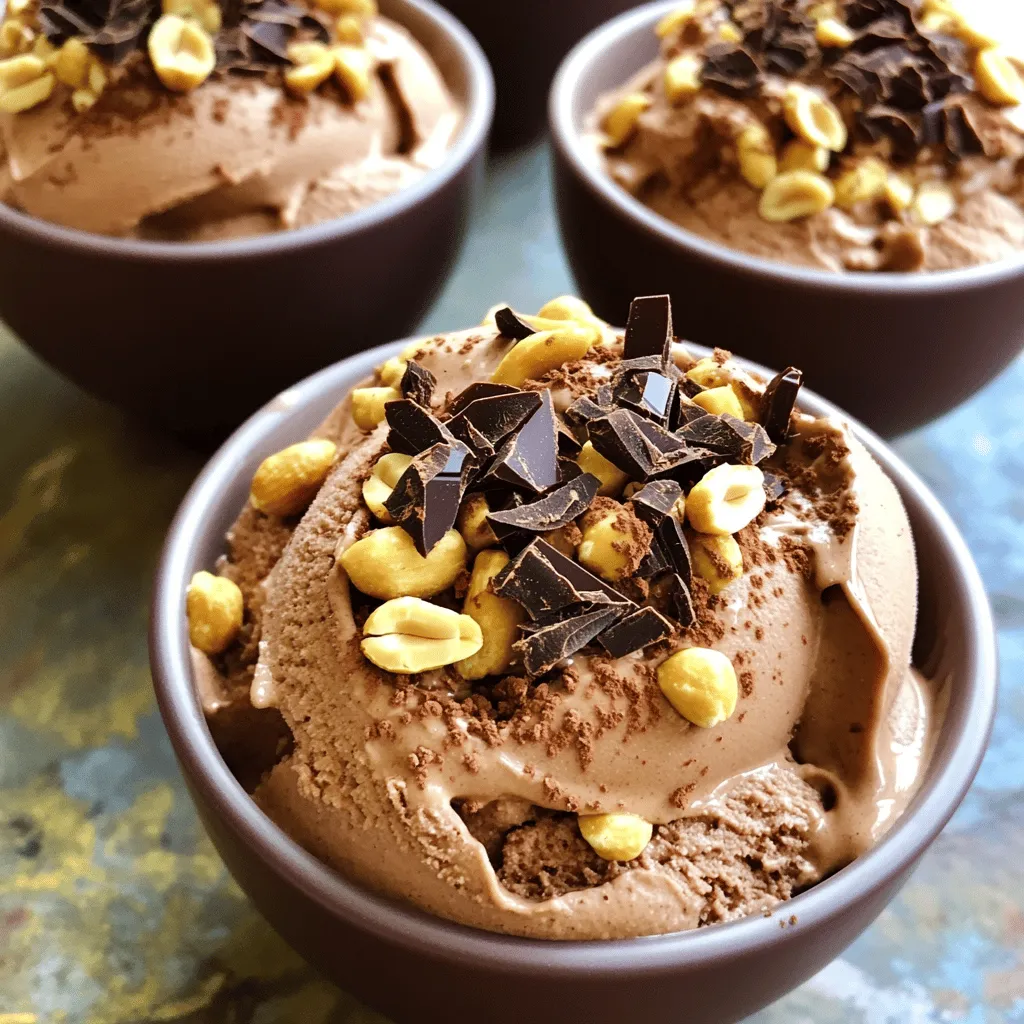
Chocolate Peanut Butter Nice Cream Easy and Tasty Treat
Craving a delicious treat that’s both easy and healthy? Chocolate Peanut Butter Nice Cream is your answer! This creamy dessert Read Full Recipe -
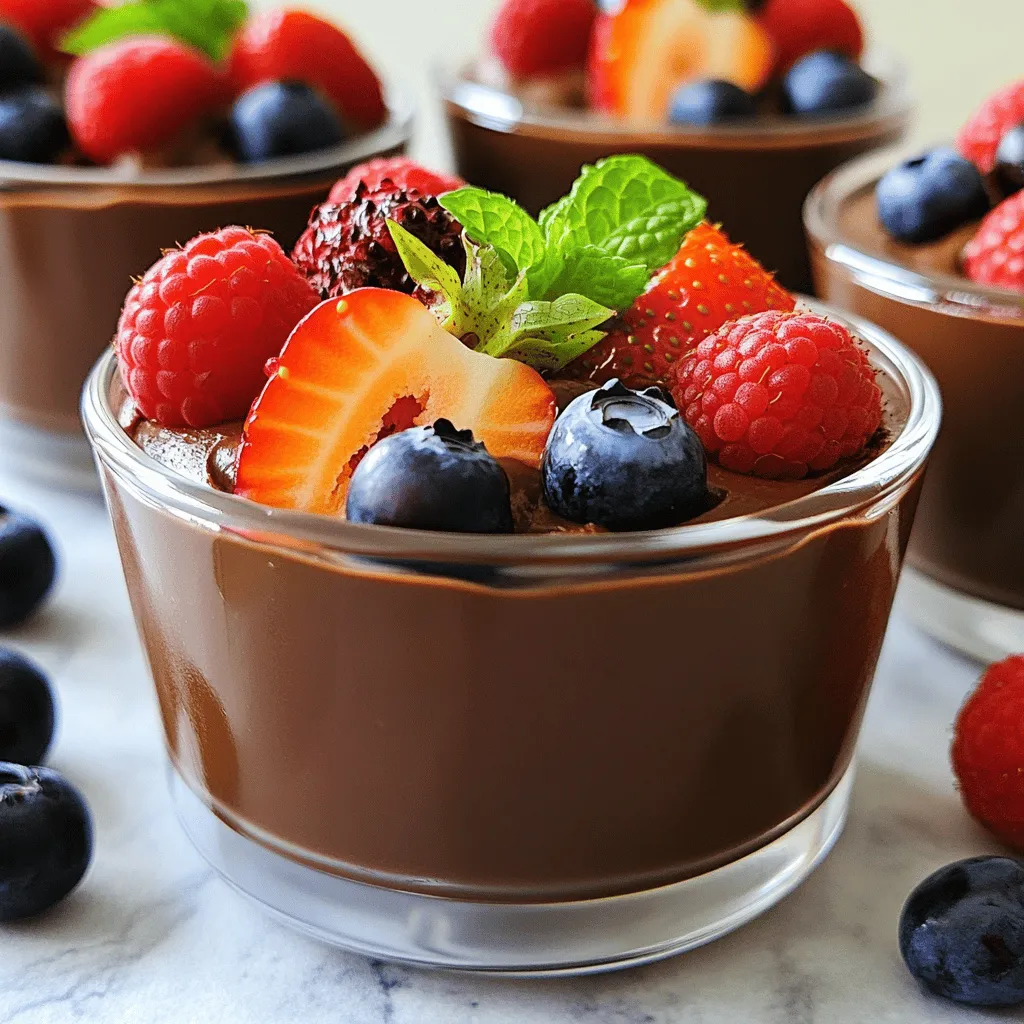
Vegan Chocolate Mousse Rich and Creamy Dessert Recipe
Craving a rich, creamy dessert that’s completely plant-based? Look no further! This Vegan Chocolate Mousse is simple to make and Read Full Recipe
My Latest Recipes

hey,
i’m !
I’m so happy you’re here!
Every dish I share is made with love and care. I hope they bring you the same comfort and joy they bring me. Let’s make memories, one recipe at a time.
![- 1 pound large shrimp, peeled and deveined - 4 tablespoons unsalted butter - 4 tablespoons olive oil - 6 cloves garlic, minced - 1 teaspoon red pepper flakes (adjust to taste) - 1 lemon, zested and juiced - Salt and pepper to taste - 1 pound spaghetti or linguine - Fresh parsley, chopped for garnish - Grated Parmesan cheese for serving (optional) For this Easy Garlic Shrimp Scampi, you need key ingredients. Fresh shrimp makes a big difference. You can use large shrimp, which cook quickly and taste great. Butter and olive oil create a rich sauce. Garlic adds flavor, and red pepper flakes give a nice kick. The lemon juice brightens everything up. Don't forget salt and pepper for taste. If you want alternatives, you can swap the pasta. Zoodles or gluten-free pasta work well. For garlic, use garlic powder if fresh isn't available. These swaps help make the dish fit your needs. It still tastes good and feels special. This dish serves about four people. Each serving has around 400 calories. The shrimp adds protein, and the pasta provides carbs. For dietary needs, you can make this gluten-free. You can also skip the cheese for a dairy-free option. Just adjust the ingredients to fit your diet and enjoy! You can find the full recipe in the article above for easy reference. To cook your spaghetti or linguine, fill a large pot with water. Add a pinch of salt and bring it to a boil. Once boiling, add your pasta. Cook according to the package directions, usually about 8-10 minutes. You want the pasta to be al dente, firm but not hard. This gives the best texture. Before draining, reserve a cup of pasta water. This water is like gold for your sauce. It helps adjust the sauce later. For the best garlic flavor, use fresh garlic cloves. Mince them finely. In a large skillet, add butter and olive oil. Heat them on medium heat until hot. Once hot, add the minced garlic and red pepper flakes. Sauté for 1-2 minutes. Watch the garlic closely. You want it to be fragrant but not brown. Burnt garlic tastes bitter and ruins the dish. Add your shrimp to the skillet after cooking the garlic. Season them with salt and pepper. Cook for 3-4 minutes, turning them often. You know the shrimp are done when they turn pink and opaque. Avoid overcooking them; this makes them tough. Perfectly cooked shrimp are tender and juicy, a true delight. Once the shrimp are cooked, add your lemon zest and juice to the skillet. Toss in your drained pasta and mix well. The pasta needs to soak up that lovely garlic sauce. If it seems too dry, add some of the reserved pasta water. This helps create a silky sauce that clings to the pasta. Stir until everything is well combined, and your dish is ready to serve. For the full recipe, check out [Full Recipe]. - Always use fresh shrimp for the best taste. - Thaw frozen shrimp overnight in the fridge. - Cook shrimp quickly over medium heat. - Look for shrimp that turn pink and opaque. - Don't crowd the pan; cook in batches if needed. - Add fresh herbs like parsley or basil for extra flavor. - A squeeze of lemon brightens the dish. - Use high-quality olive oil for the best taste. - Experiment with spices like paprika or oregano. - Fresh garlic gives a stronger taste than garlic powder. - Pair with a crisp green salad for freshness. - Garlic bread makes a great side for scooping sauce. - Serve with white wine, like Sauvignon Blanc, for a nice match. - Sparkling water with lemon is a fun non-alcoholic option. - Top with grated Parmesan cheese for a rich finish. For complete details on making this dish, check out the Full Recipe. {{image_2}} You can easily adjust this dish to fit your diet. To make it low-carb, try using zucchini noodles instead of pasta. Simply spiralize the zucchini and sauté it briefly. It gives you a fresh taste without the carbs. For a vegan option, use plant-based shrimp and vegan butter. These swaps keep the dish tasty, while meeting your dietary needs. Want to mix things up? You can add other ingredients to boost flavor. Toss in spinach for a pop of color and nutrients. Sun-dried tomatoes also add a nice tang. Adjust the spice level by adding more or less red pepper flakes. This way, you can make it just as spicy as you like. You can give this dish a fun twist by changing the pasta. Try different shapes like penne or farfalle for an Italian-style meal. For a Mediterranean vibe, add capers or olives. These ingredients add depth and a unique flair to your Easy Garlic Shrimp Scampi. Check out the Full Recipe for more details on how to create these variations. To keep your garlic shrimp scampi fresh, you need to store it properly. First, let the dish cool down to room temperature. Then, transfer it to an airtight container. Use glass or plastic containers that seal well. This helps keep the flavors intact. You can store it in the fridge for up to three days. When it's time to enjoy your leftovers, you want to reheat them without overcooking the shrimp. The best way is to use a stovetop. Heat a non-stick skillet over low heat. Add a splash of olive oil or butter. This helps the shrimp stay moist. Stir gently until warmed through. Microwaving can make shrimp tough. If you use a microwave, heat in short bursts and check often. You can freeze garlic shrimp scampi, but it's best to do so without the pasta. Shrimp can lose texture when frozen. To freeze, let the dish cool completely. Then, place it in a freezer-safe bag or container. Remove as much air as possible. Label the bag with the date. To thaw, place it in the fridge overnight. Reheat gently on the stovetop for the best results. Enjoy your Easy Garlic Shrimp Scampi anytime! For the full recipe, check out the provided instructions above. Yes, you can prep this dish ahead of time. Cook the shrimp and sauce first, then store it in an airtight container. Keep your pasta separate. This helps the pasta stay firm. When you’re ready to eat, reheat the shrimp and sauce. Cook the pasta fresh for the best taste. I recommend using large shrimp for this recipe. Fresh shrimp taste better, but frozen shrimp work well too. Look for shrimp that are peeled and deveined. This saves you time. Their size helps them cook evenly, giving you the best bite. To thicken your sauce, add a bit of pasta water while mixing. This water has starch that helps. Another way is to let the sauce simmer longer. This reduces the liquid, making it thicker. You can make this dish gluten-free. Use gluten-free pasta, which is widely available. Check labels to ensure no gluten is present. Prepare the sauce as usual, and enjoy your dish without worry. Yes, you can swap white wine with chicken broth or vegetable broth. This keeps the flavor rich. If you want to skip it, just add a bit more lemon juice. This keeps the dish bright and fresh. For the complete recipe, check out the [Full Recipe]. This blog post covered how to make Easy Garlic Shrimp Scampi. We explored the key ingredients needed, including shrimp, garlic, and pasta. We discussed cooking tips to get perfect shrimp and great flavor. You learned about ingredient substitutions to fit dietary needs. Finally, we looked at storage tips and common FAQs. With these steps, you can create a delicious dish. Enjoy cooking and experimenting with flavors!](https://easycookingbite.com/wp-content/uploads/2025/06/60adf922-e0fa-4f84-8bee-b350c4f9a1ca-300x300.webp)
Crispy Coconut Shrimp Easy and Tasty Recipe
Are you ready to dive into a fun, tasty treat? My Crispy Coconut Shrimp recipe is quick and delicious, perfect for any meal or…
![To make crispy coconut shrimp, you need a few key ingredients. Here’s what you will need: - 1 lb large shrimp, peeled and deveined - 1 cup all-purpose flour - 1 teaspoon garlic powder - 1 teaspoon paprika - 1/2 teaspoon salt - 2 large eggs - 1 cup shredded coconut (sweetened or unsweetened, based on preference) - 1 cup panko breadcrumbs - Oil for frying These ingredients all work together to create a crunchy, tasty treat that is sure to impress. For this recipe, I suggest using large shrimp. They cook well and hold up during frying. You can choose fresh or frozen shrimp, but make sure they are peeled and deveined. If you can find wild-caught shrimp, that’s even better! They often taste fresher and have a firmer texture. If you have dietary needs, here are some easy swaps. You can use gluten-free flour instead of all-purpose flour for a gluten-free version. For those avoiding eggs, try a flaxseed mixture or unsweetened applesauce as a binding agent. If you prefer a lighter option, consider baking instead of frying. You can still achieve a crispy finish with the right technique. For those who need to avoid coconut, try using crushed cornflakes or breadcrumbs instead. These can give a nice crunch too! For the full recipe, check out the [Full Recipe]. Start by rinsing the shrimp under cold water. Pat them dry with paper towels. This step is key to getting crispy shrimp. Next, gather your ingredients. You will need flour, garlic powder, paprika, salt, eggs, shredded coconut, and panko breadcrumbs. Measure everything out ahead of time. This makes the coating process easier and faster. To coat the shrimp, set up three bowls. In the first bowl, mix flour, garlic powder, paprika, and salt. In the second bowl, whisk the eggs. In the third bowl, combine shredded coconut and panko breadcrumbs. Take a shrimp and dip it into the flour mix first. Shake off any extra flour. Next, dip it into the beaten egg, letting any excess drip off. Finally, roll it in the coconut-panko mix. Press gently to help it stick well. Repeat this for all the shrimp. Heat oil in a large skillet over medium-high heat. You want about half an inch of oil. To test if the oil is hot enough, drop in a small piece of bread. If it sizzles, you are ready. Fry the shrimp in batches. Do not overcrowd the pan; this helps them cook evenly. Fry each shrimp for 2-3 minutes on each side. They should turn golden brown and crispy. Once done, place them on a plate lined with paper towels to soak up excess oil. Enjoy them hot with your favorite dipping sauce. For a full recipe, check out the earlier section! Frying shrimp can be simple if you follow a few rules. First, use the right oil. I recommend vegetable or canola oil. They have high smoke points, which helps to fry shrimp perfectly. Heat the oil to about 350°F. This temperature ensures a crispy outside and juicy inside. Always test the oil with a small piece of bread. If it bubbles and turns golden, you are ready to fry. To get that perfect crunch, use panko breadcrumbs. They are lighter and crispier than regular breadcrumbs. Don't skip the flour step. It helps the egg stick to the shrimp. Also, press the coconut-panko mixture firmly onto the shrimp. This way, it stays on during frying and gives a nice crunch. Fry in small batches to avoid steam. Overcrowding the pan can make them soggy. Crispy coconut shrimp tastes great on its own, but dipping sauces add fun flavors. I love sweet chili sauce for a touch of heat. A tangy lime aioli is another tasty choice. You can also serve it with mango salsa for a fresh twist. For a complete meal, pair the shrimp with a light salad or rice. Enjoy this dish hot for the best taste. Check out the Full Recipe for more details. {{image_2}} If you want a lighter dish, try baked coconut shrimp. Preheat your oven to 400°F. Line a baking sheet with parchment paper. Prepare the shrimp as in the full recipe. After coating, place them on the baking sheet, spaced apart. Spray the shrimp lightly with cooking oil. Bake for 15-20 minutes, flipping halfway through. They will be crispy and golden without frying. To add more flavor, mix spices into the flour. Try cayenne for heat or cumin for depth. You can also add lime zest for a fresh twist. If you like sweet and spicy, mix some chili powder with brown sugar. Each bite will burst with flavor. This small change makes a big difference in taste. Coconut shrimp can also shine in tacos. Use small corn tortillas for a great base. Cook the shrimp as per the full recipe, then prepare your toppings. Try shredded cabbage, diced mango, and a squeeze of lime. For a creamy touch, add a drizzle of chipotle mayo. These tacos are fun, fresh, and easy to share. To keep your leftover coconut shrimp fresh, place them in an airtight container. Make sure to cool them to room temperature first. You can store them in the fridge for up to three days. If you have a lot left, consider dividing them into smaller portions. This way, you can enjoy them later without losing flavor. When you're ready to eat the shrimp again, reheating is key. Preheat your oven to 350°F (175°C). Place the shrimp on a baking sheet in a single layer. Heat them for about 10-15 minutes, or until they are warm and crispy again. This method helps keep the texture nice. Avoid using the microwave, as it can make the shrimp soggy. If you want to save coconut shrimp for later, freezing works well. First, let them cool completely. Then, place the shrimp in a single layer on a baking sheet. Freeze them for about one hour until firm. After that, transfer them to a freezer-safe bag. They can stay fresh for up to three months. When you're ready to eat, thaw them in the fridge overnight before reheating. Enjoy your crispy coconut shrimp anytime! The best type of shrimp for crispy coconut shrimp is large shrimp. I recommend using peeled and deveined shrimp. They cook evenly and have a nice texture. You can choose fresh or frozen shrimp. If you use frozen shrimp, make sure to thaw them before cooking. Buying shrimp with a sweet flavor helps enhance the taste of the dish. Yes, you can make coconut shrimp in an air fryer. Air frying makes the shrimp crispy without using much oil. Preheat your air fryer to 400°F. Coat the shrimp as usual and arrange them in a single layer in the basket. Cook for about 8 to 10 minutes, flipping halfway through. This method gives you a healthier version while still being delicious. Crispy coconut shrimp taste great with several dipping sauces. Here are some popular choices: - Sweet chili sauce - Spicy mayo - Tangy lime aioli - Pineapple salsa These sauces add extra flavor and complement the shrimp's sweetness. Try mixing and matching to discover your favorite combination. For the full recipe, check out the details above. Crispy coconut shrimp is easy and fun to make. We explored ingredients like shrimp, coatings, and tips for the best crispiness. I shared ways to tweak the recipe for diets and gave you ideas for serving and storing. Remember, a few simple steps can lead to a yummy meal. Whether you fry or bake, enjoy the crunch! Fisch freshly made shrimp for a delightful dish any day. Choose your favorite dipping sauce to complete the experience. Enjoy cooking!](https://easycookingbite.com/wp-content/uploads/2025/06/0ace2bb5-6e67-47b9-bdba-37075e1bdf8e.webp)
