Latest & Greatest
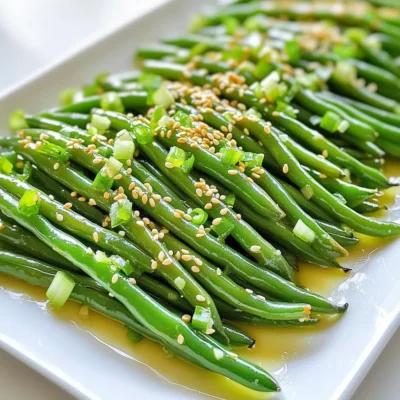
Sesame Garlic Green Beans Flavorful and Easy Recipe
Are you ready to elevate your meal with a burst of flavor? This Sesame Garlic Green Beans recipe is both
Read more…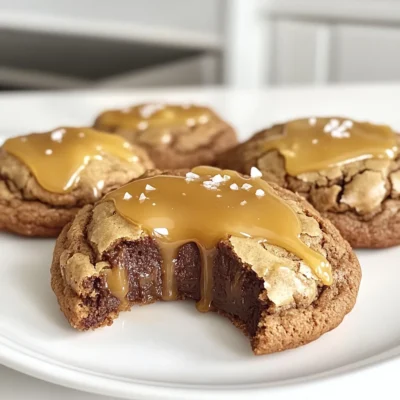
Caramel Brownie Stuffed Cookies Deliciously Indulgent Treat
Are you ready to treat yourself to something truly special? Meet the Caramel Brownie Stuffed Cookies—a sweet delight that brings
Read more…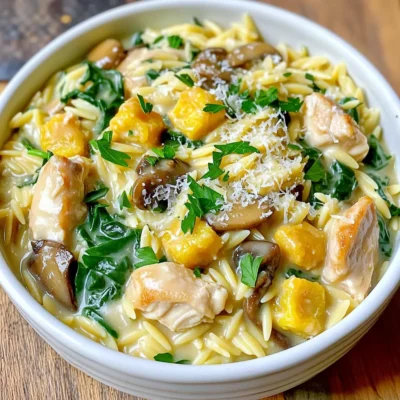
Creamy Chicken Mushroom Orzo Delightful Dinner Dish
Are you ready to whip up a meal that simply delights? With my Creamy Chicken Mushroom Orzo, you’ll impress your
Read more…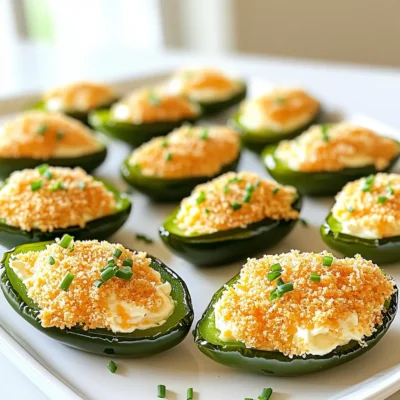
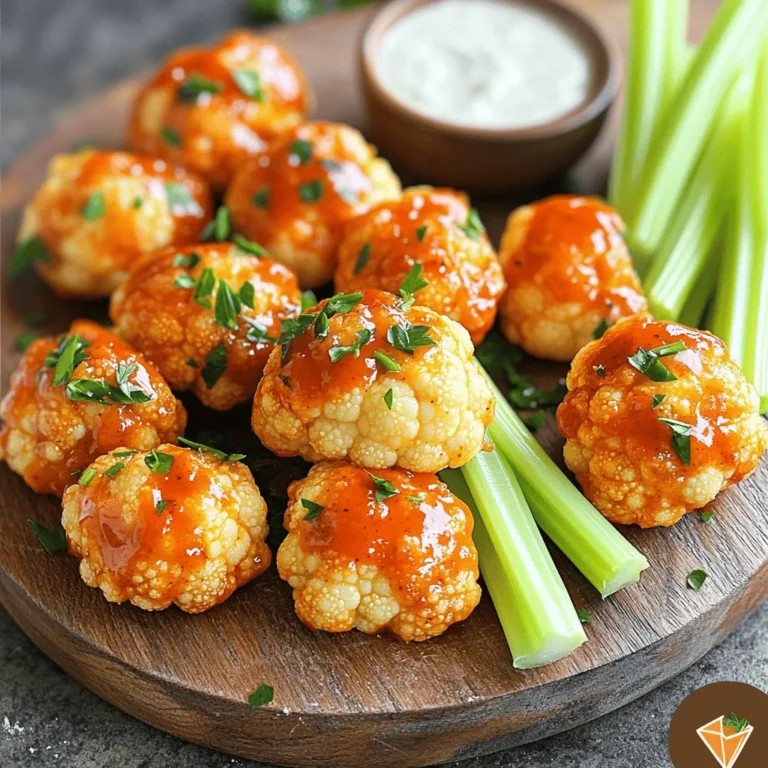
Air Fryer Jalapeño Popper Bites Tasty Snack Idea
Are you on the hunt for a quick and tasty snack? Look no further! Air Fryer Jalapeño Popper Bites are
Read more…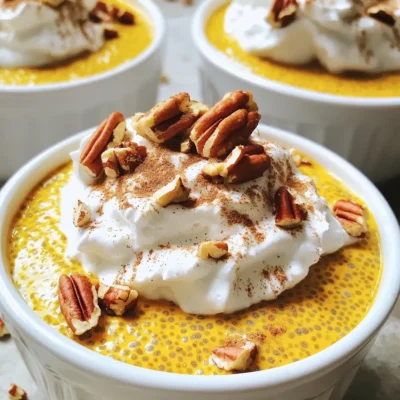
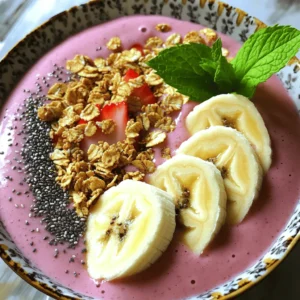
Pumpkin Pie Overnight Chia Pudding Delightful Treat
Craving a delicious and healthy treat? Let me introduce you to Pumpkin Pie Overnight Chia Pudding. This delightful dish combines
Read more…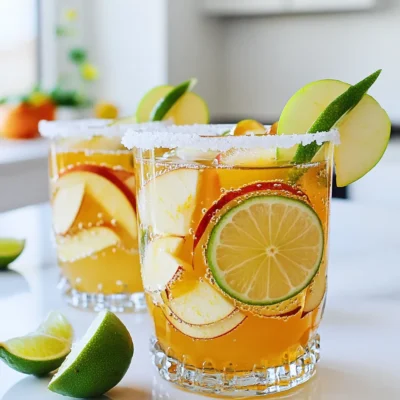
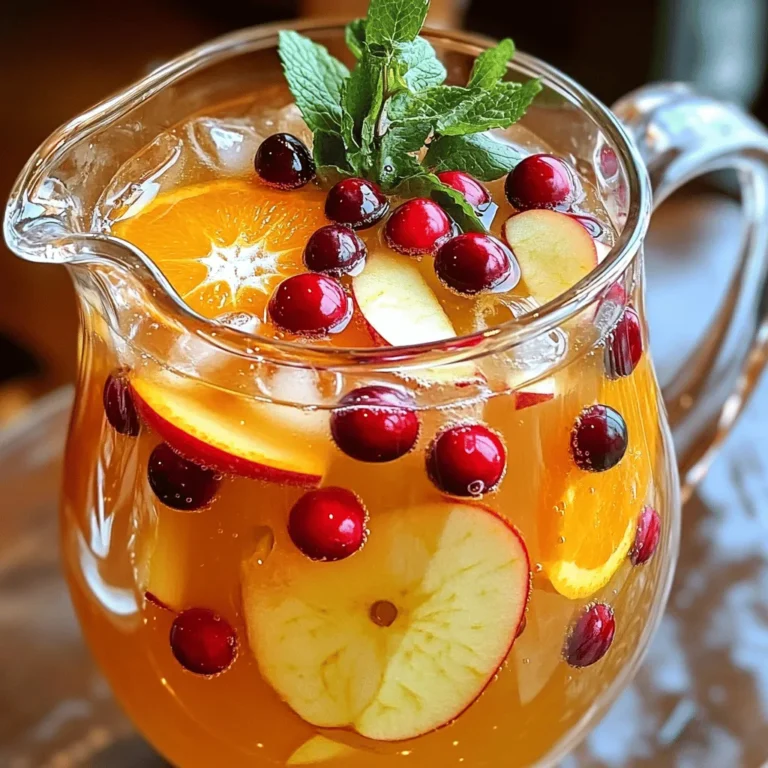
Apple Cider Margarita Mocktail Refreshing Fall Drink
Fall is here, and that means it’s the perfect time for a cozy drink! The Apple Cider Margarita Mocktail offers
Read more…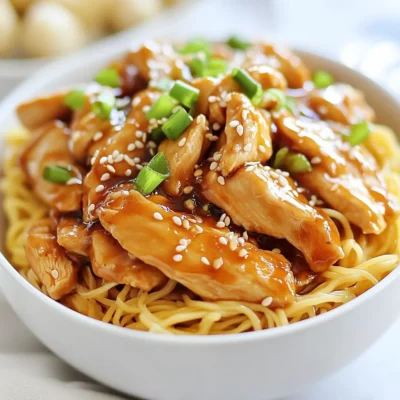
Sticky Garlic Chicken Noodles Tasty Weeknight Dinner
Looking for a quick and tasty weeknight dinner? Sticky Garlic Chicken Noodles are your answer! This dish combines juicy chicken,
Read more…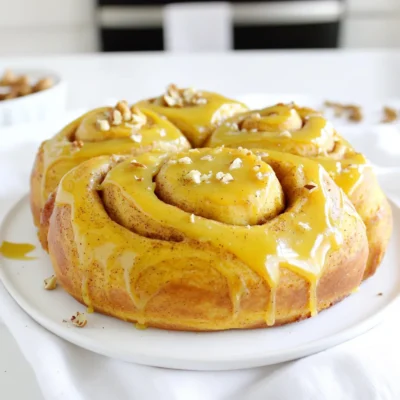
Pumpkin Cinnamon Rolls with Maple Icing Delight
Get ready for a cozy treat that blends the warmth of fall with sweet goodness! In this article, I’ll guide
Read more…browse recipes
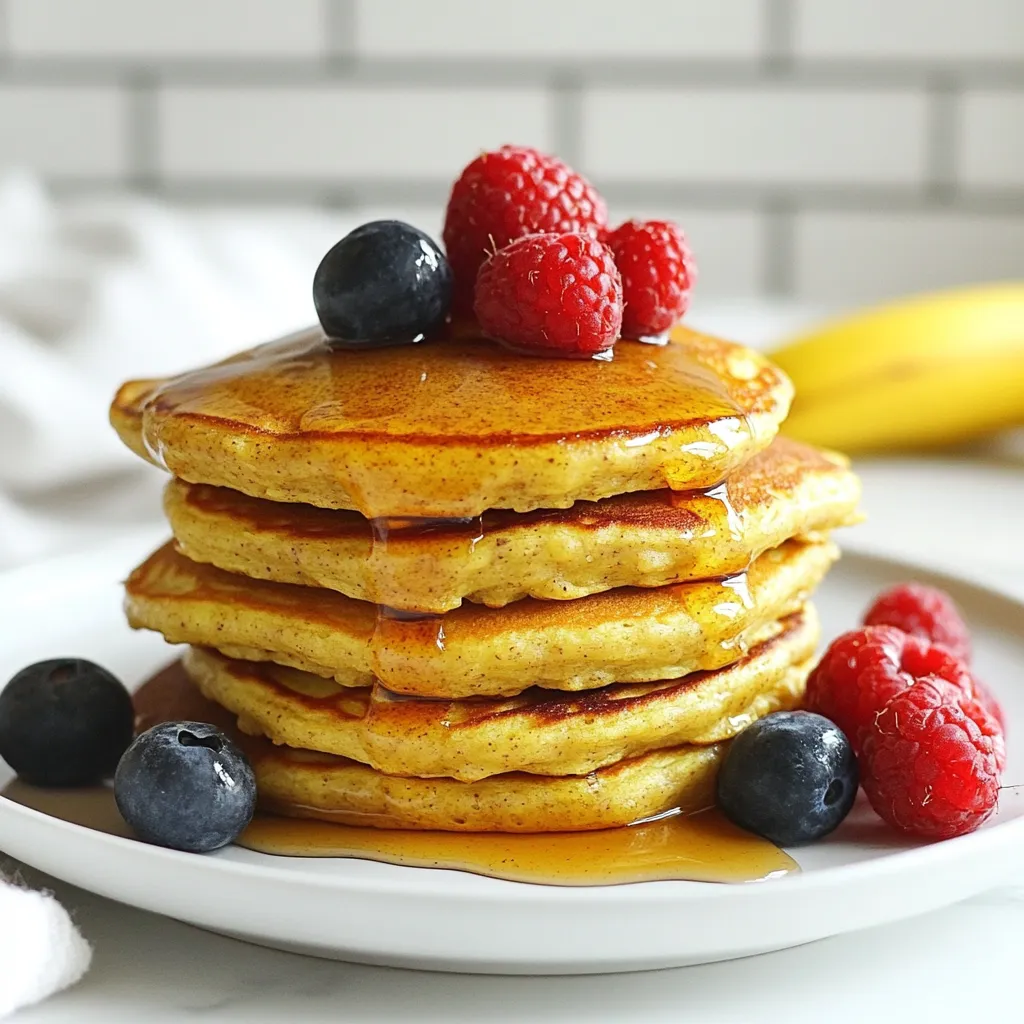
Healthy Banana Oat Pancakes Simple and Tasty Recipe
Welcome to your new favorite breakfast! I’m excited to share my simple and tasty recipe for Healthy Banana Oat Pancakes. These pancakes are not…
My Latest Drinks

Strawberry Cheesecake Smoothie Creamy Refreshing Treat
Craving something delicious and cool? The Strawberry Cheesecake Smoothie is your answer! It blends creamy cheesecake flavors with sweet strawberries Read Full Recipe-
Mocktail Pink Punch Refreshing and Easy Recipe
Are you ready to impress your guests with a delightful drink? This Mocktail Pink Punch recipe is both refreshing and Read Full Recipe -
Blue Lagoon Tropical Lemonade Refreshing and Zesty Drink
Looking for a drink that’s both refreshing and fun? Say hello to Blue Lagoon Tropical Lemonade! This colorful beverage packs Read Full Recipe -
Pumpkin Spice Coffee Creamer Flavorful Fall Treat
Are you ready to embrace the cozy vibes of autumn? In this blog post, I’ll guide you through making your Read Full Recipe -
Apple Cider Margarita Mocktail Refreshing Fall Drink
Fall is here, and that means it’s the perfect time for a cozy drink! The Apple Cider Margarita Mocktail offers Read Full Recipe -
Pumpkin Spice Latte Copycat Cozy and Comforting Recipe
Craving that warm, cozy feeling of fall? You can enjoy a delicious Pumpkin Spice Latte at home! In this article, Read Full Recipe


My Latest Dinners
-
White Bean Soup Simple and Hearty Delight
Looking for a warm and filling meal? Let me introduce you to white bean soup! This simple and hearty delight Read Full Recipe -
Garlic Herb Roasted Sweet Potatoes Flavorful Side Dish
Looking for a side dish that’s both tasty and easy to make? Garlic Herb Roasted Sweet Potatoes are the answer! Read Full Recipe -
One Pot Beef Taco Pasta Easy and Flavorful Meal
Looking for a quick and tasty meal? One Pot Beef Taco Pasta is the perfect dish! This recipe packs bold Read Full Recipe -
Garlic Chicken Zucchini Noodles Stir Fry Delight
Are you ready for a tasty twist on dinner? My Garlic Chicken Zucchini Noodles Stir Fry is a quick and Read Full Recipe -
Stuffed Italian Meatloaf Easy and Tasty Recipe
Are you ready to elevate your dinner game? This Stuffed Italian Meatloaf is both easy and tasty! In this article, Read Full Recipe -
One Pot French Onion Pasta Flavorful Comfort Dish
Looking for a cozy dinner that warms your soul? Try my One Pot French Onion Pasta! This creamy, rich dish Read Full Recipe


hey,
i’m !
I’m so happy you’re here!
Every dish I share is made with love and care. I hope they bring you the same comfort and joy they bring me. Let’s make memories, one recipe at a time.
![- 1 cup unsalted butter, softened - 1 cup brown sugar, packed - 1/2 cup granulated sugar - 2 large eggs - 2 teaspoons vanilla extract - 1 3/4 cups all-purpose flour - 1/2 cup cocoa powder - 1 teaspoon baking soda - 1/2 teaspoon salt - 1 cup semi-sweet chocolate chips - 1/2 cup milk chocolate chips - 1/4 cup dark chocolate chunks To make great chocolate chip cookies, you need some key parts. I always start with softened unsalted butter. This helps blend with the sugars. Brown sugar gives a rich taste, while granulated sugar adds sweetness. Next, I add large eggs. They help bind everything together. Vanilla extract brings warmth and flavor. For the dry mix, I use all-purpose flour and cocoa powder. This gives a nice texture and chocolatey taste. Baking soda helps them rise, while salt enhances the flavors. Now, let's talk about chocolate. I use a mix of semi-sweet, milk chocolate chips, and dark chocolate chunks. This combo makes each bite a treat! - Gluten-free flour alternatives - Vegan egg substitutes If you want to change things up, consider using gluten-free flour. There are many options like almond flour or coconut flour. They work well in cookies. If you want vegan cookies, you can swap the eggs for substitutes like applesauce or flaxseed meal. These changes help you enjoy cookies no matter your diet! For the full recipe, check out the detailed steps. 1. First, preheat your oven to 350°F (175°C). This helps the cookies bake just right. 2. Line two baking sheets with parchment paper. This keeps the cookies from sticking. 3. In a large bowl, cream together 1 cup of softened unsalted butter, 1 cup of brown sugar, and 1/2 cup of granulated sugar. Mix until this is light and fluffy. 1. Now, add 2 large eggs to the mix. Beat in each egg one at a time. 2. Stir in 2 teaspoons of vanilla extract for a sweet flavor. 3. In a separate bowl, whisk together 1 3/4 cups of all-purpose flour, 1/2 cup of cocoa powder, 1 teaspoon of baking soda, and 1/2 teaspoon of salt. 4. Slowly add this dry mix to the wet mix, combining until just combined. 1. Fold in 1 cup of semi-sweet chocolate chips, 1/2 cup of milk chocolate chips, and 1/4 cup of dark chocolate chunks. 2. Using a cookie scoop or tablespoon, drop rounded balls of dough onto the prepared baking sheets. Leave about 2 inches between each. 3. Bake them in the preheated oven for 10-12 minutes. The edges should be set, while the center stays soft. 4. After baking, remove the cookies and let them cool on the sheets for 5 minutes. Then, transfer them to a wire rack to cool completely. For the full recipe, you can check out the details above. Enjoy your baking! To bake perfect chocolate chip cookies, set your oven to 350°F (175°C). This temperature helps the cookies rise well. Place your baking sheets in the center of the oven. This ensures even heat. Bake for 10 to 12 minutes. The edges should look set, but the center can be soft. Once you take them out, cool them on the baking sheets for five minutes. This cooling time helps keep the cookies chewy. After that, transfer them to a wire rack. This step lets them cool completely and stay fresh. If you want to change things up, try different sweeteners. Maple syrup or honey can replace sugar. Use coconut sugar for a lower glycemic option. You can also switch flours. Almond flour or oat flour work well for gluten-free cookies. For those who prefer dairy-free options, use coconut oil instead of butter. You can also try almond milk or a dairy-free yogurt in place of eggs. These swaps keep the cookies tasty while meeting dietary needs. Serving your cookies can be fun and attractive. Arrange them on a wooden board for a rustic look. You can also stack them in a glass jar tied with a ribbon. This makes a lovely gift. For an extra touch, sprinkle sea salt on top before serving. It enhances the chocolate flavor. To store your cookies, use an airtight container. This keeps them fresh for days. For longer storage, consider freezing them. They can stay tasty for up to three months! For the full recipe of these delightful treats, check out the [Full Recipe]. {{image_2}} You can make vegan chocolate chip cookies with simple swaps. Replace butter with coconut oil or vegan butter. Use flaxseed meal mixed with water instead of eggs. For one egg, mix 1 tablespoon of flaxseed meal with 2.5 tablespoons of water. This mix will bind your ingredients just like an egg. Use dairy-free chocolate chips to keep them vegan-friendly. These cookies will be just as tasty as the classic version. If you need gluten-free chocolate chip cookies, use a gluten-free flour blend. Look for blends with rice flour, almond flour, and tapioca flour. These will give your cookies a great texture. You may also want to add a bit of xanthan gum to help bind the dough. This ingredient mimics the elasticity of gluten, making your cookies chewy and delicious. There are many fun ways to change your chocolate chip cookies. You can add nuts like walnuts or pecans for a crunchy texture. Try spices like cinnamon or nutmeg for an unexpected twist. Dried fruits, like cranberries or cherries, can add sweetness and chewiness. Just remember to keep the chocolate chips, as they are the star of the show! Explore these variations to create your favorite version. For the full recipe, check out the earlier section. To keep your cookies fresh, store them in an airtight container. Glass or plastic containers work well. Avoid metal containers, as they can change the taste. To maintain freshness, place a slice of bread in the container. The bread keeps the cookies soft. If you want crispy cookies, skip the bread. To freeze cookie dough, scoop it into balls and place them on a baking sheet. Freeze the balls for one hour. Once firm, transfer them to a freezer bag. Label the bag with the date and type. When you want to bake frozen cookies, take them out and thaw for about 10 minutes. Preheat your oven before baking. Bake as usual, adding one or two minutes to the baking time. For the full recipe and more tips, check out the Decadent Double Chocolate Chip Cookies section. How to prevent cookies from spreading? To stop cookies from spreading, chill the dough for at least 30 minutes. Use a good balance of flour and fat in your recipe. If you see your cookies spreading too much, try adding a bit more flour. This helps them keep their shape while baking. What to do if your cookie dough is too dry? If your dough is too dry, add a tablespoon of milk or water. Mix well after adding the liquid. You can also try adding an extra egg yolk for more moisture. This will help make the dough easier to work with. How long can cookies be stored? You can store baked cookies in an airtight container for up to one week. If you want them to last longer, freeze them. Frozen cookies can stay good for up to three months. Just make sure to wrap them well before freezing. Can homemade cookies be shipped as gifts? Yes, you can ship homemade cookies! Choose sturdy cookies like chocolate chip or oatmeal. Wrap them in bubble wrap and pack them in a strong box. Add a note about how to store them once they arrive. Where to buy the best chocolate chip cookies? For the best chocolate chip cookies, check local bakeries. Many bakeries offer fresh, delicious options. You can also find great cookies at specialty stores. Look for shops that focus on quality ingredients. Recommendations for local bakeries or brands Some popular brands are famous for their cookies. Consider trying Levain Bakery or Tate's Bake Shop. They both make amazing chocolate chip cookies. You can also ask friends for local favorites. Everyone has their go-to spots! We covered essential ingredients for cookies and how to make them step-by-step. You learned tips for perfecting your bake, switching ingredients, and storing cookies. Remember, you can customize cookies with vegan or gluten-free options. With these basics, you'll make delicious cookies that impress everyone. Enjoy baking, and have fun experimenting with new flavors! Your cookie journey starts now.](https://easycookingbite.com/wp-content/uploads/2025/06/8218d59e-0d77-4aaf-b48f-3ee082379715-300x300.webp)
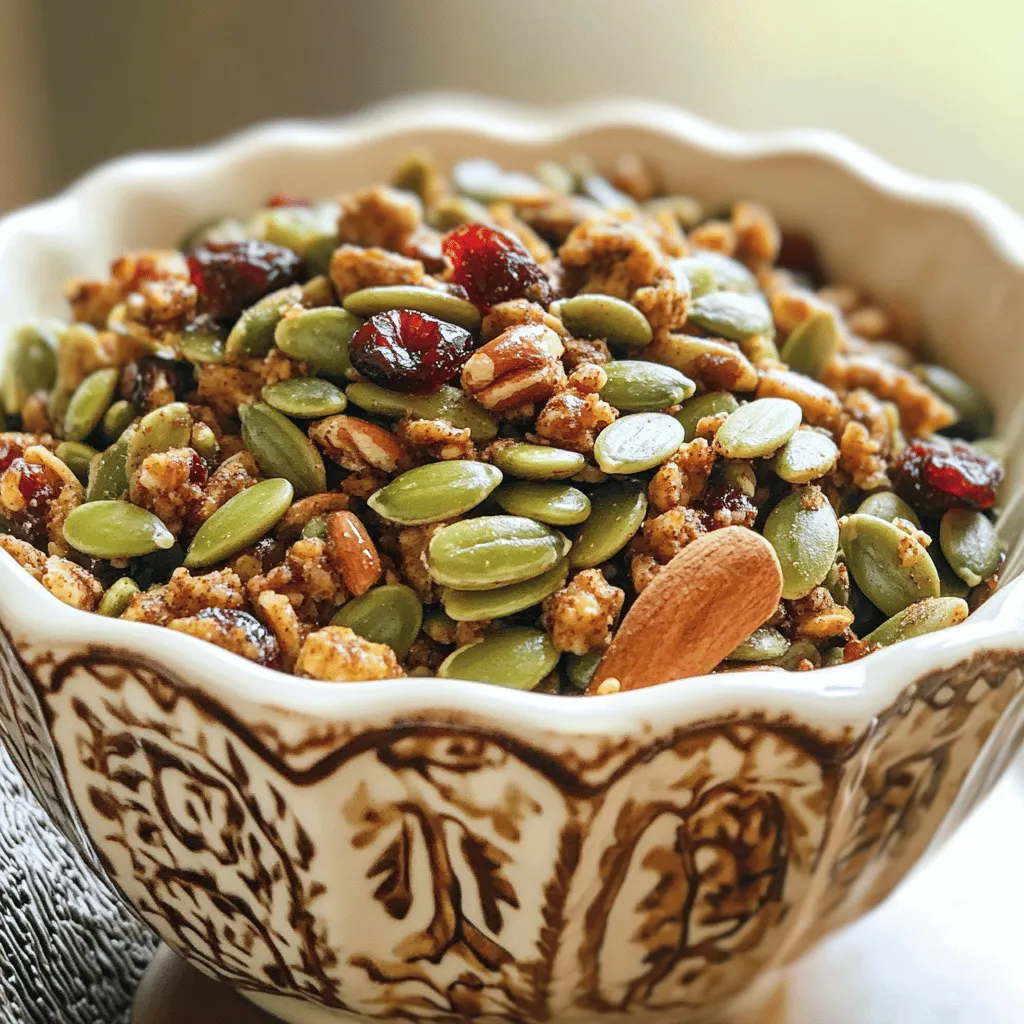
Spiced Pumpkin Seed Crunch Tasty Nutritious Snack
Looking for a healthy snack that’s both tasty and simple to make? Spiced Pumpkin Seed Crunch is your answer! Packed with flavor and nutrition,…