
Latest & Greatest
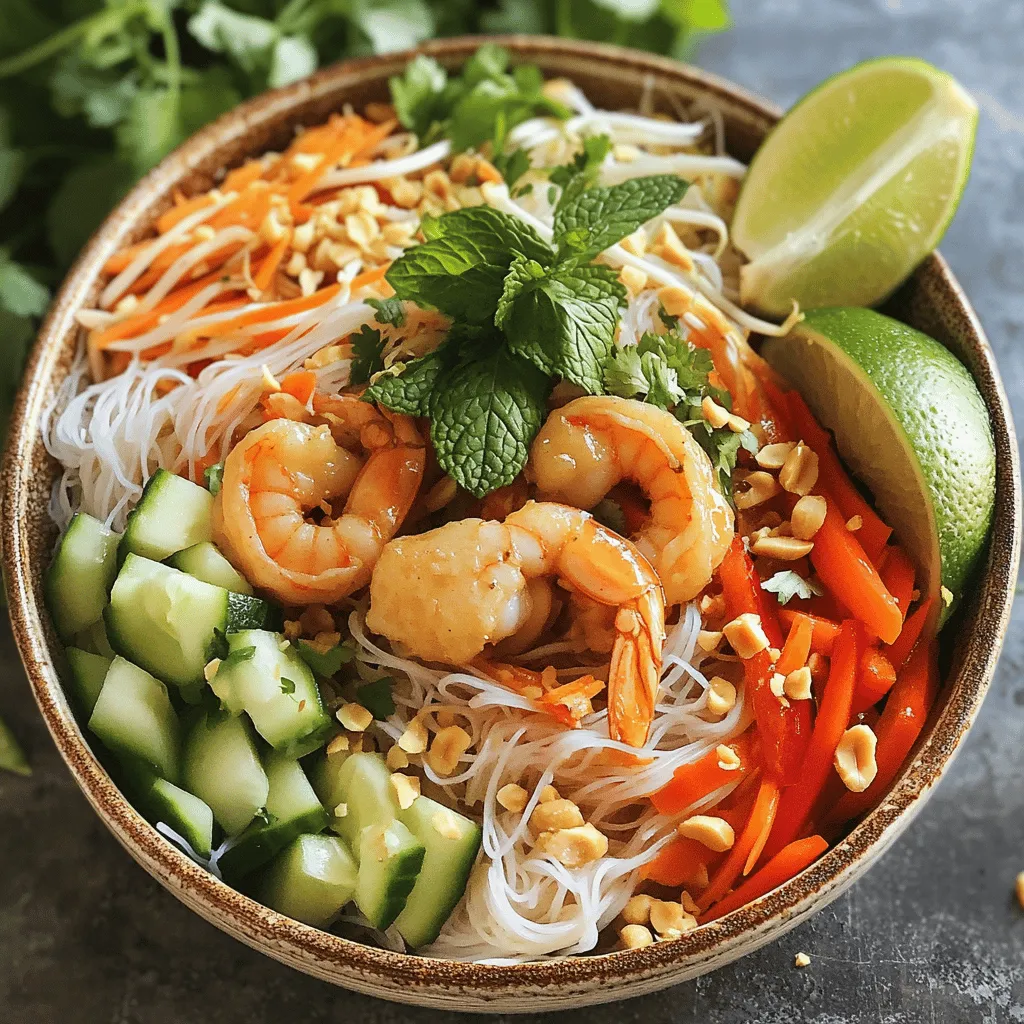
Quick Vietnamese Noodle Salad Fresh and Flavorful Meal
Looking for a fresh and flavorful meal that’s quick to whip up? This Quick Vietnamese Noodle Salad offers a delightful
Read more…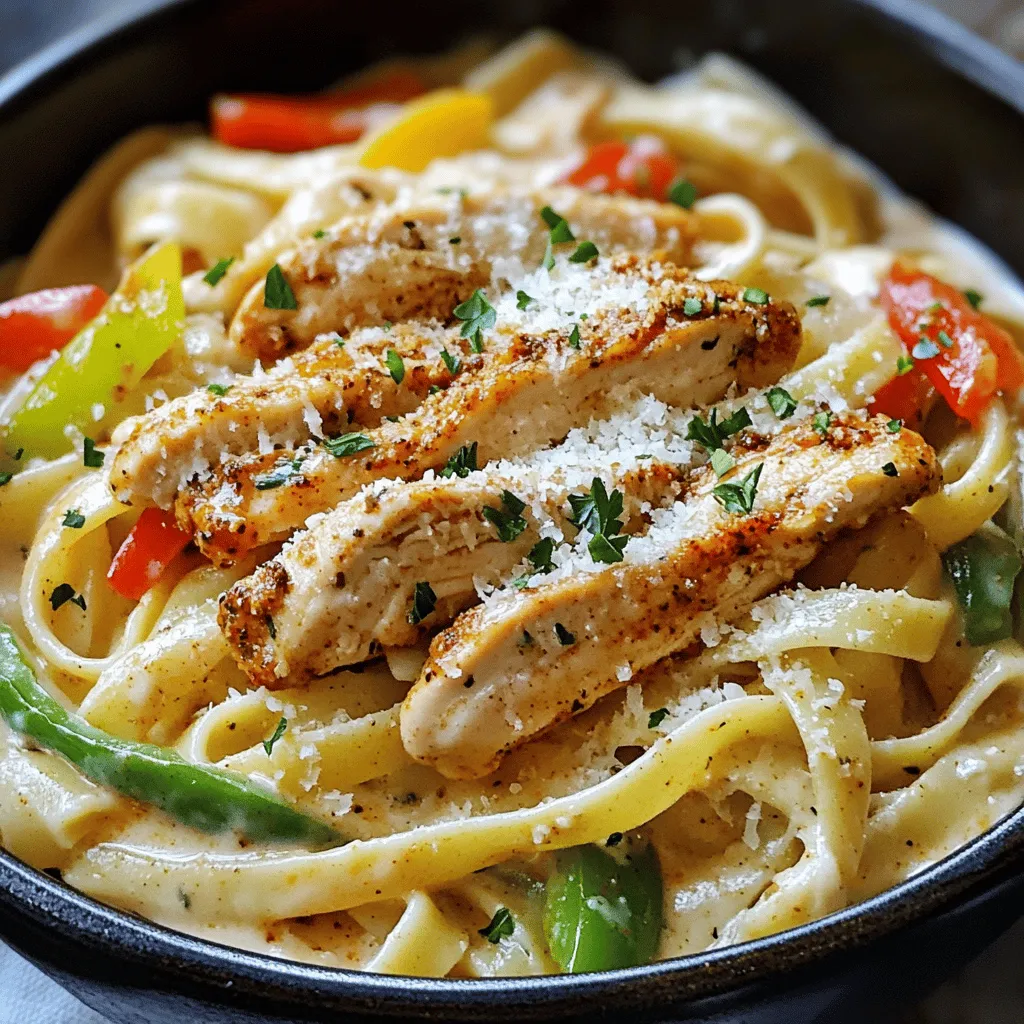
Cajun Chicken Pasta Flavorful and Easy Weeknight Meal
Are you looking for a tasty, quick dinner? Cajun Chicken Pasta is the answer! This meal packs bold flavors and
Read more…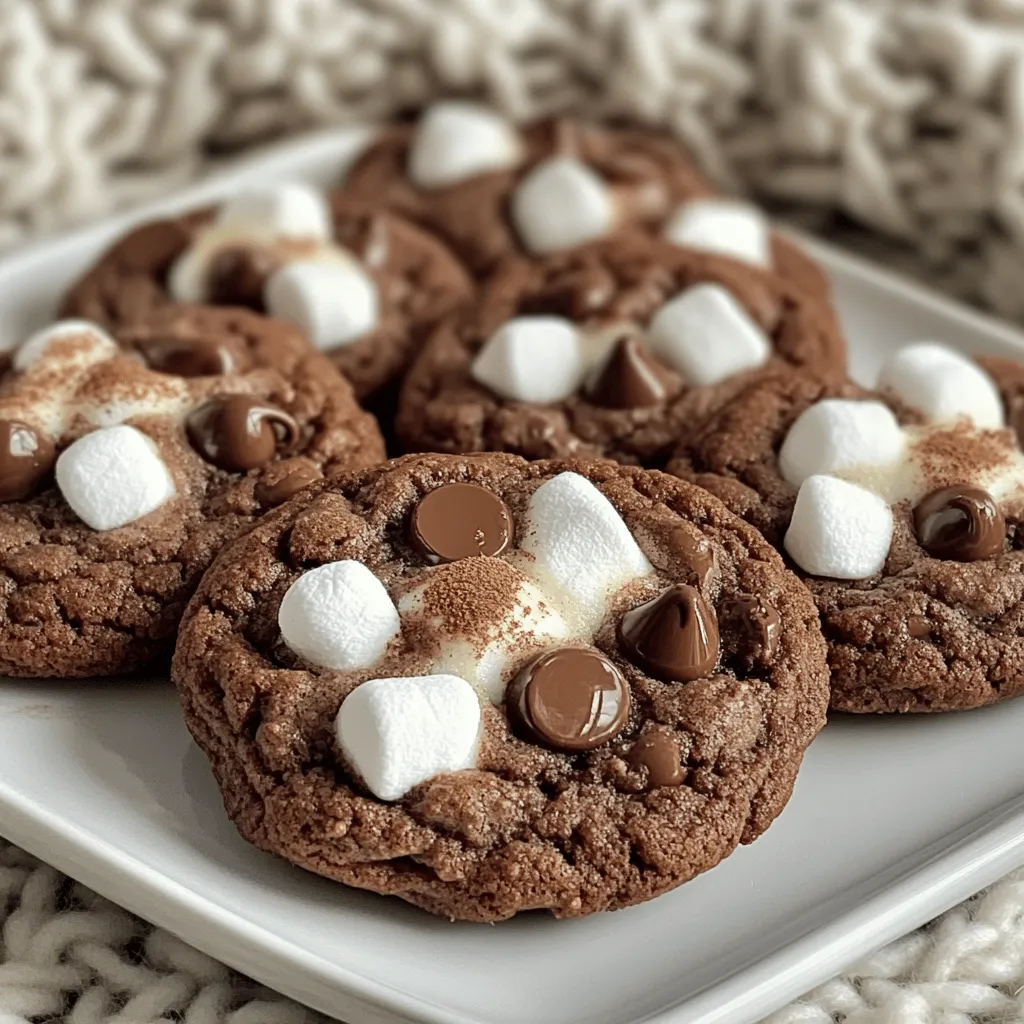
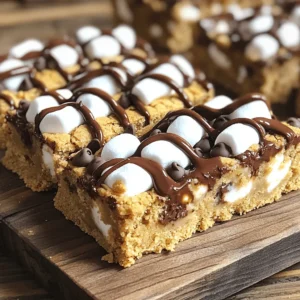
Hot Chocolate Cookies Irresistible and Chewy Treat
Craving something sweet and cozy? These Hot Chocolate Cookies are the perfect chewy treat for you! With their rich chocolate
Read more…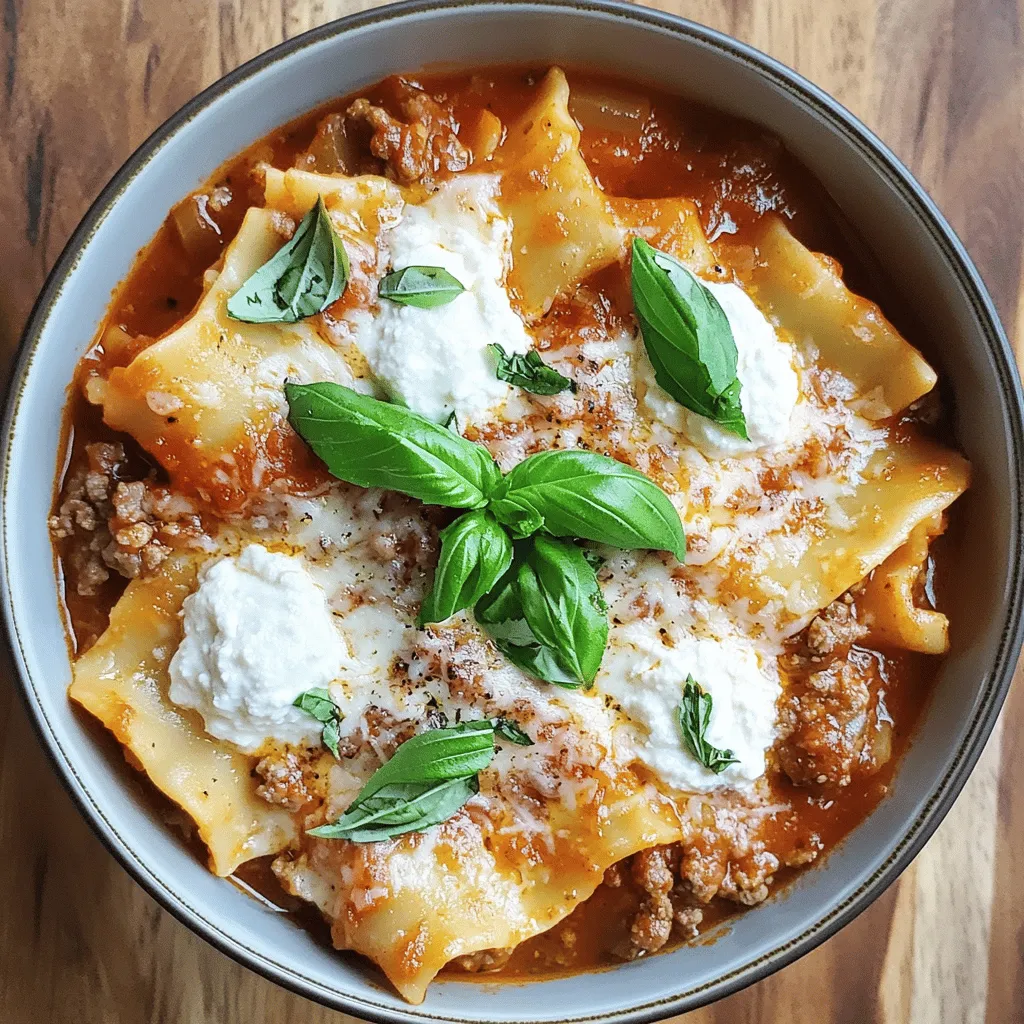
Easy Lasagna Soup Flavorful and Simple Recipe
If you love lasagna but crave a quicker meal, Easy Lasagna Soup is your answer! This dish combines all the
Read more…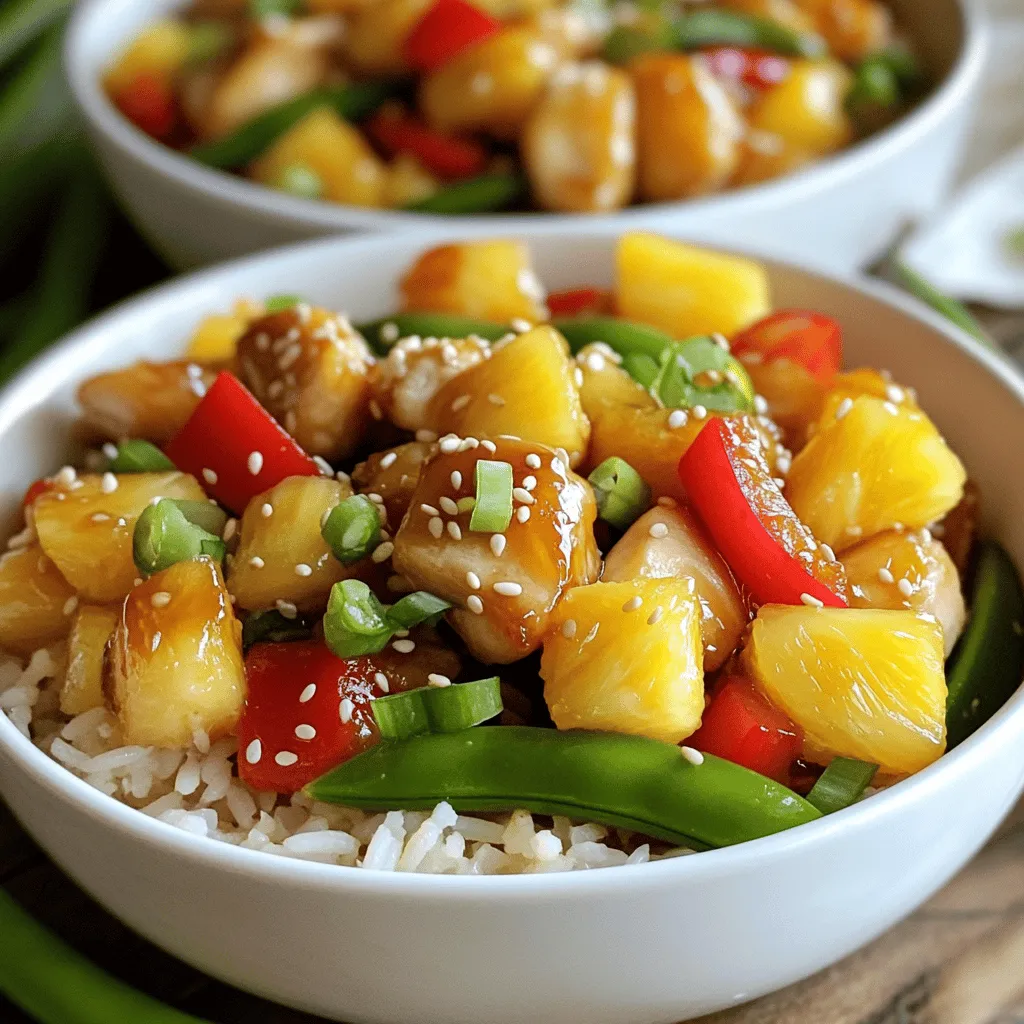
Sweet Pineapple Chicken & Rice Flavorful Family Meal
Looking for a fun and tasty dinner idea? Try my Sweet Pineapple Chicken & Rice! This dish combines juicy chicken,
Read more…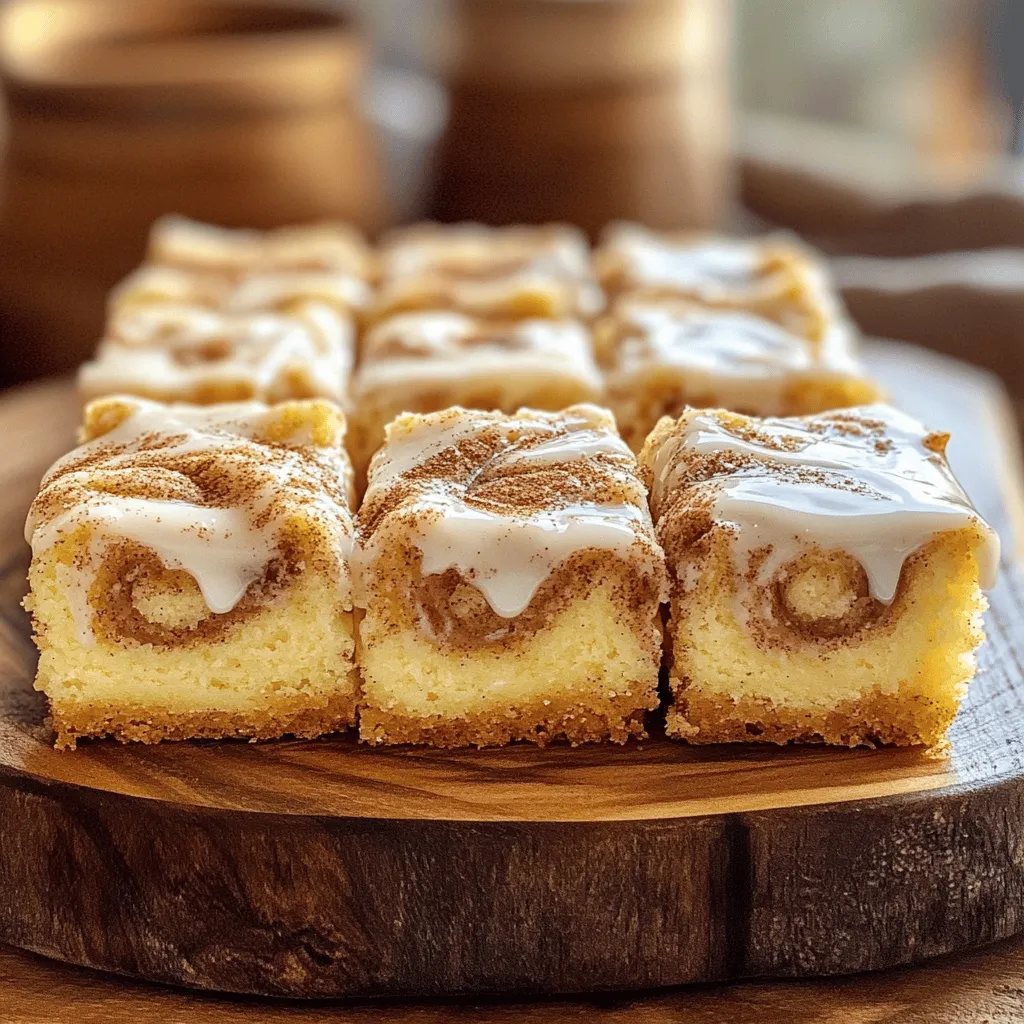
Cinnamon Roll Cake Soft and Flavorful Delight Recipe
Have you ever craved a soft, warm cinnamon roll but wanted a quicker option? I’ve got just the treat for
Read more…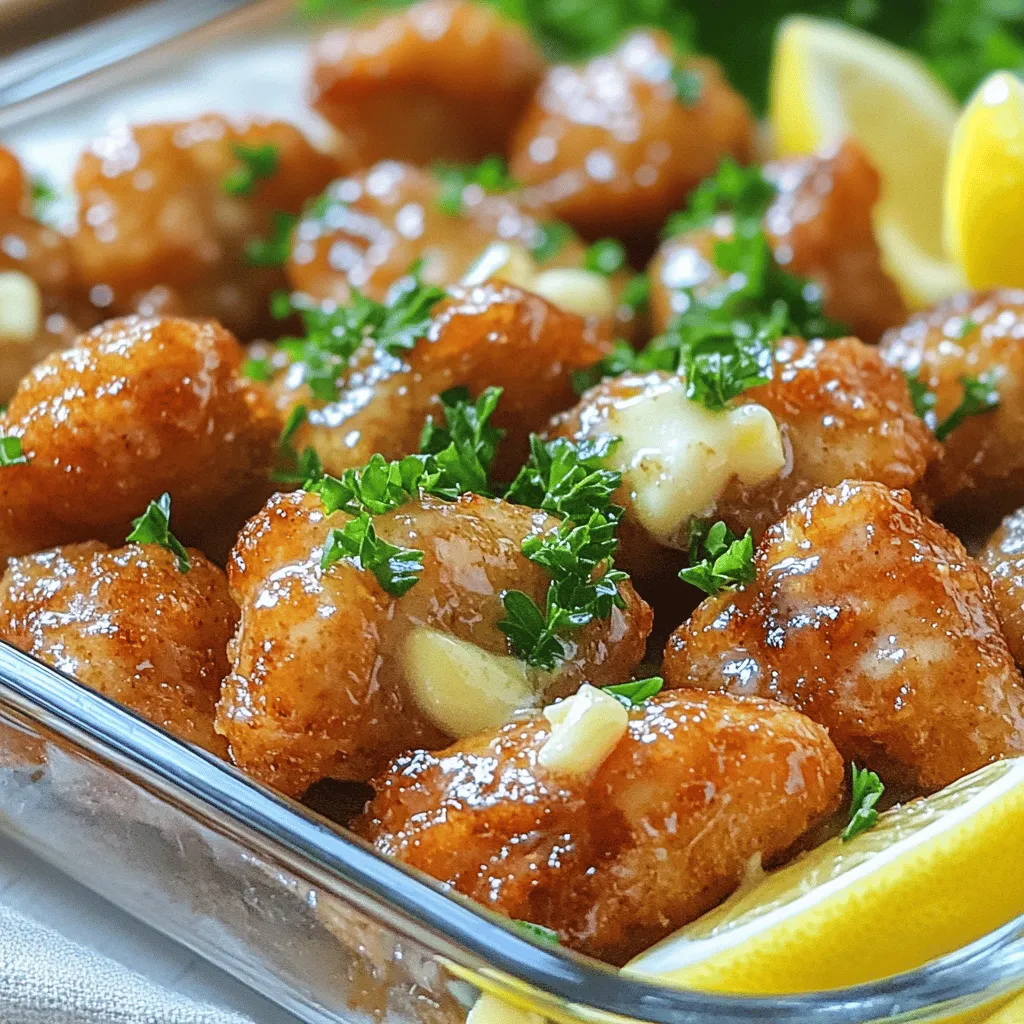
Garlic Butter Chicken Bites Savory and Simple Recipe
Are you ready for a dish that’s simple, savory, and packed with flavor? Garlic Butter Chicken Bites are a quick
Read more…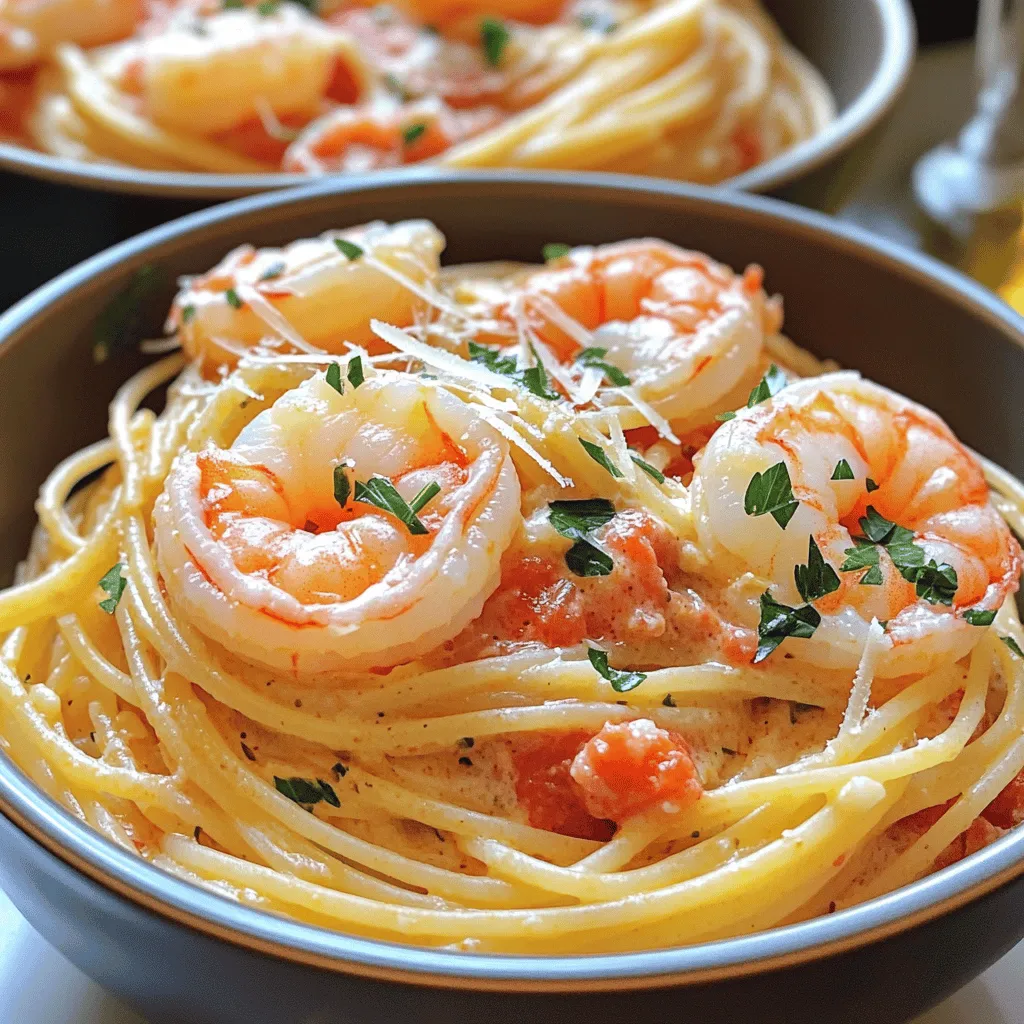
Spaghetti with Shrimp in Creamy Tomato Sauce Delight
Are you ready to elevate your pasta game? In this article, we dive into a delicious recipe for Spaghetti with
Read more…browse recipes
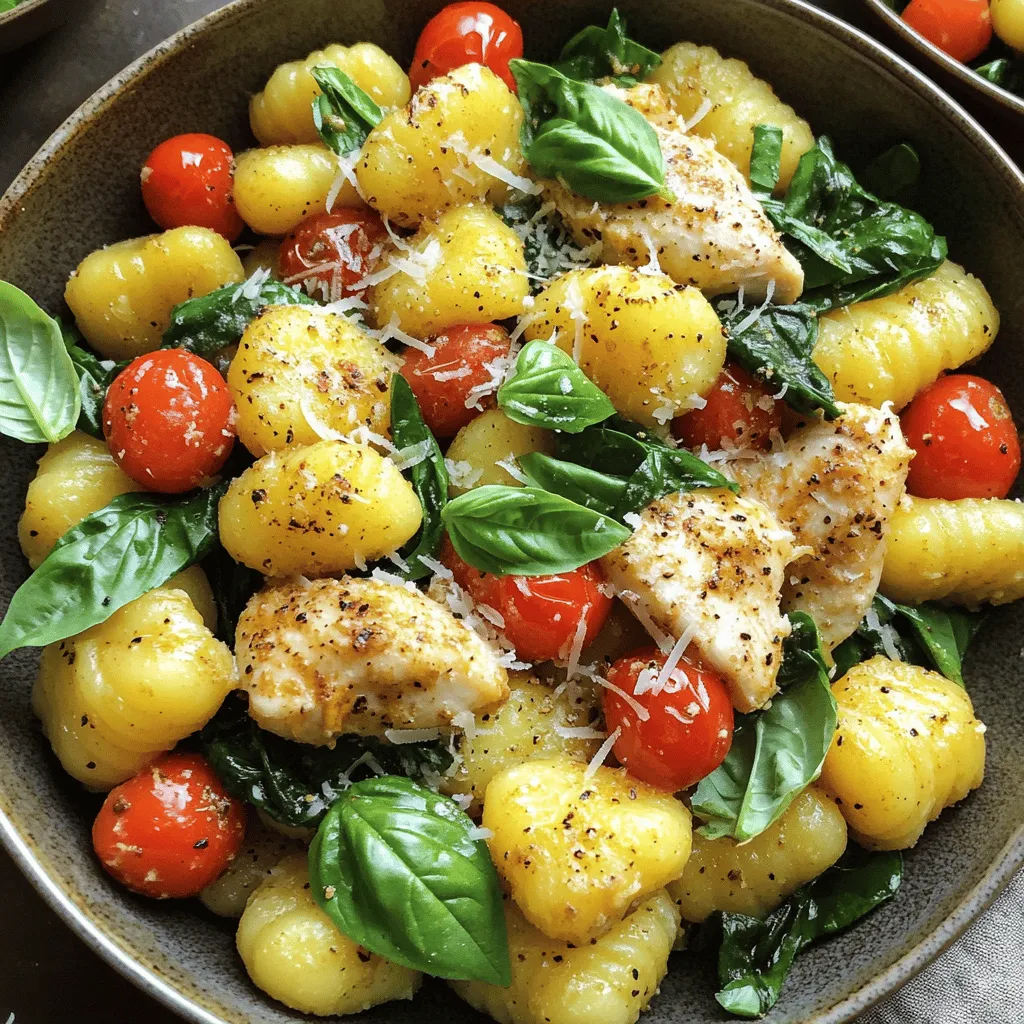
Garlic Chicken Gnocchi Skillet Tasty One-Pan Meal
Are you ready for a delicious one-pan meal that’s quick and easy? This Garlic Chicken Gnocchi Skillet packs amazing flavors with simple ingredients. In…
My Latest Desserts
-
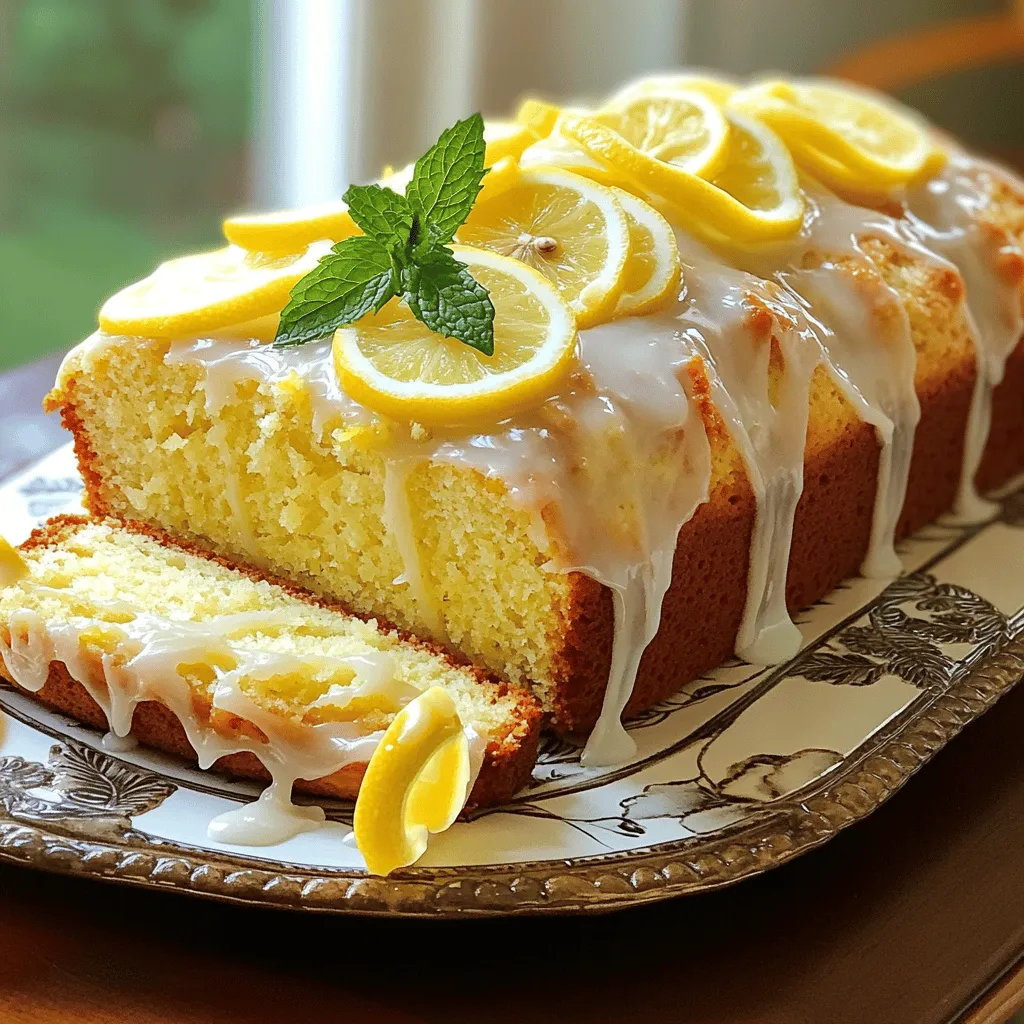
Easy Lemon Loaf Cake Simple and Tasty Recipe
If you love bright, citrusy treats, then this Easy Lemon Loaf Cake is for you! It’s simple to make and Read Full Recipe -
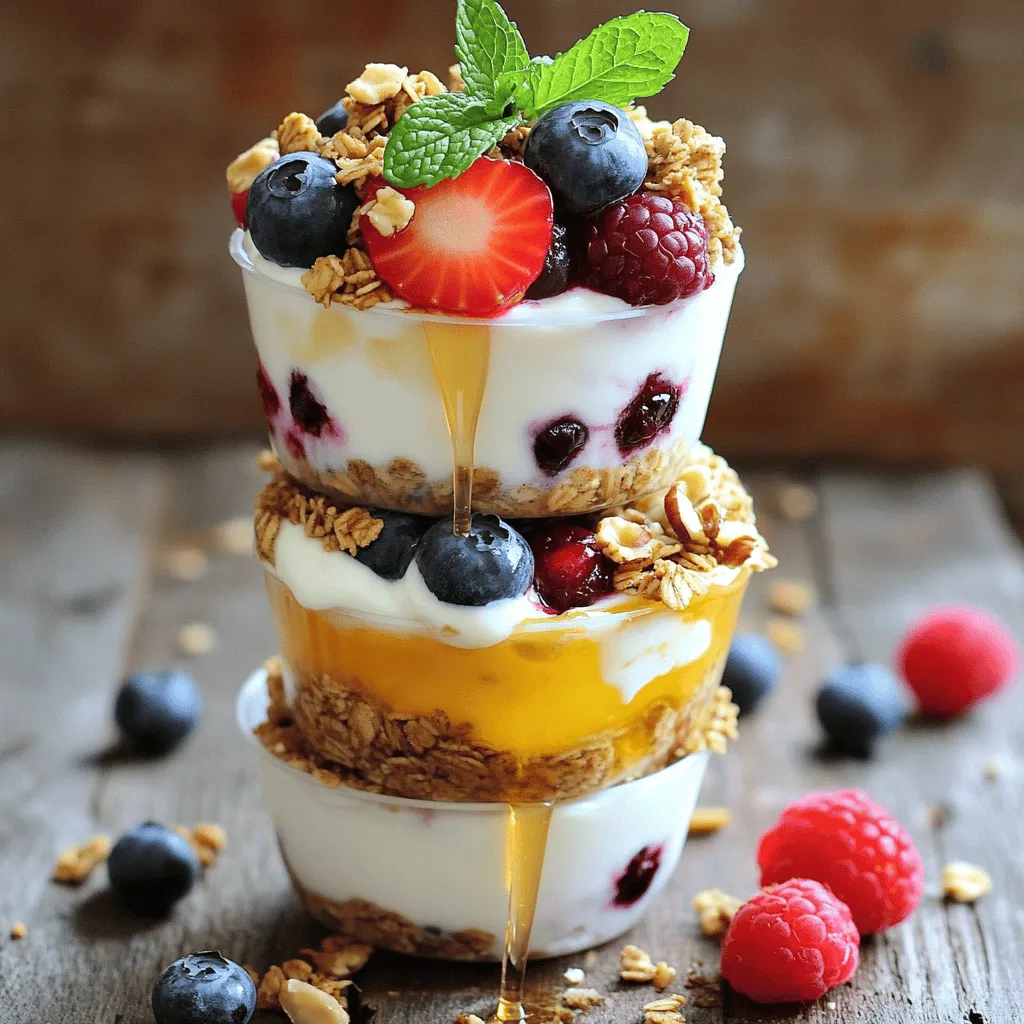
Frozen Yogurt Granola Cups Delightful and Healthy Treat
Looking for a cool and tasty treat? Frozen yogurt granola cups are the answer! These delightful snacks blend creamy yogurt Read Full Recipe -
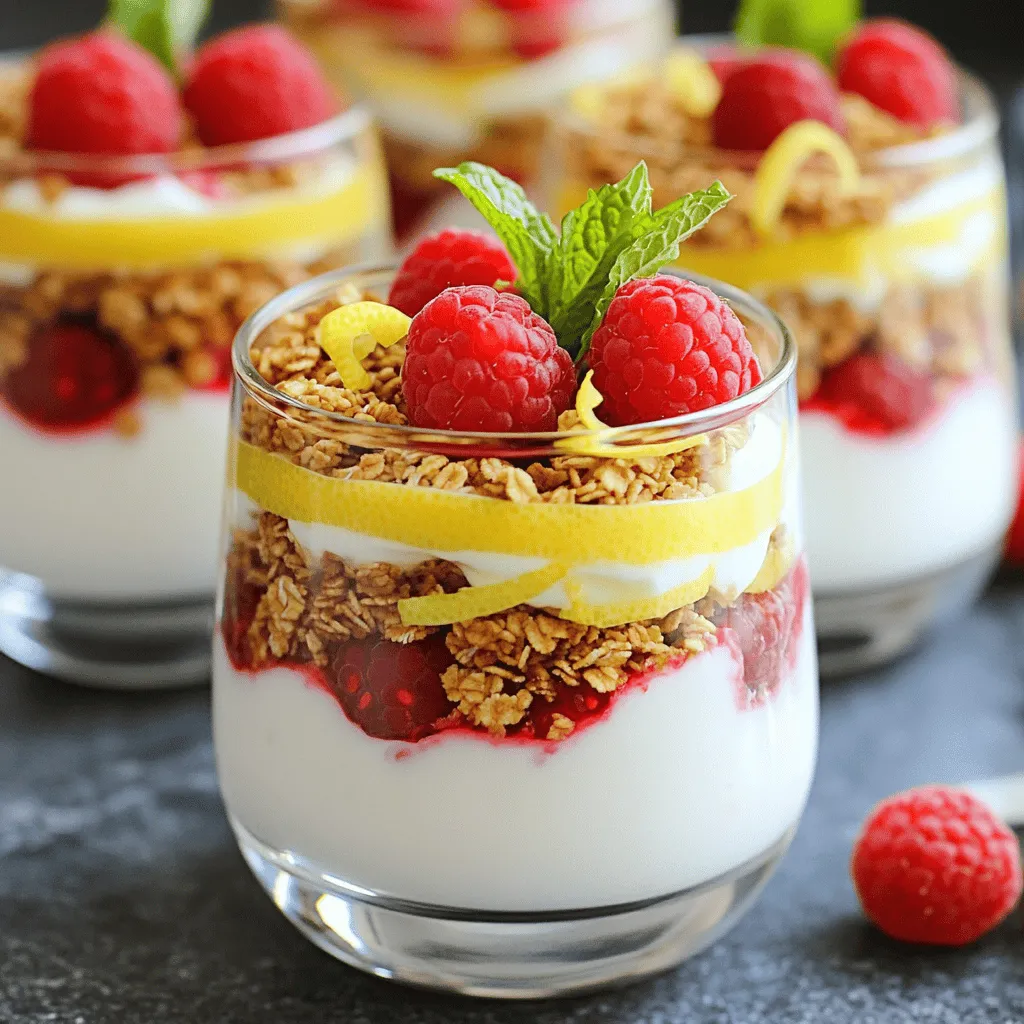
Raspberry Lemon Yogurt Parfait Tasty and Simple Treat
Looking for a quick, delicious treat? My Raspberry Lemon Yogurt Parfait is simple to make and bursting with flavor! This Read Full Recipe -
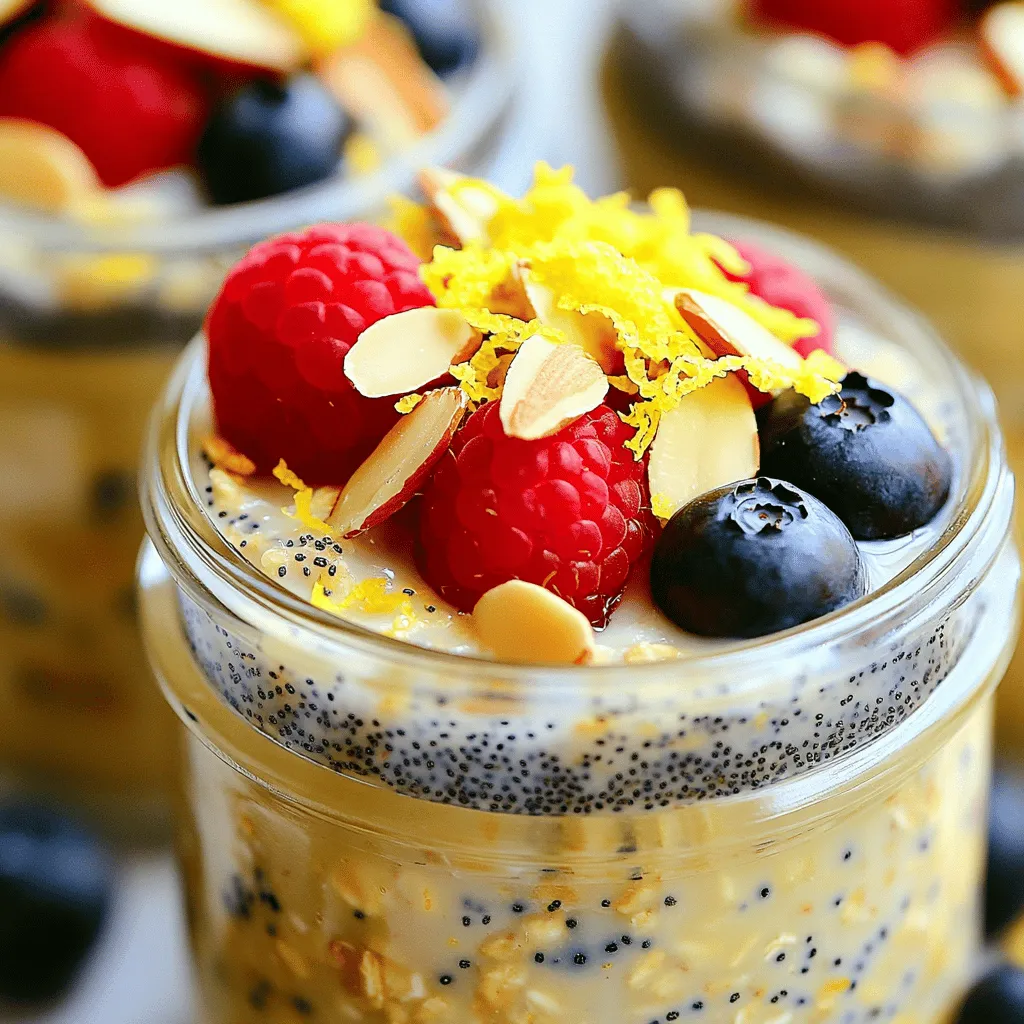
Lemon Poppyseed Overnight Oats Quick and Easy Recipe
Wake up to a burst of fresh flavor with my Lemon Poppyseed Overnight Oats recipe! This quick and easy breakfast Read Full Recipe -
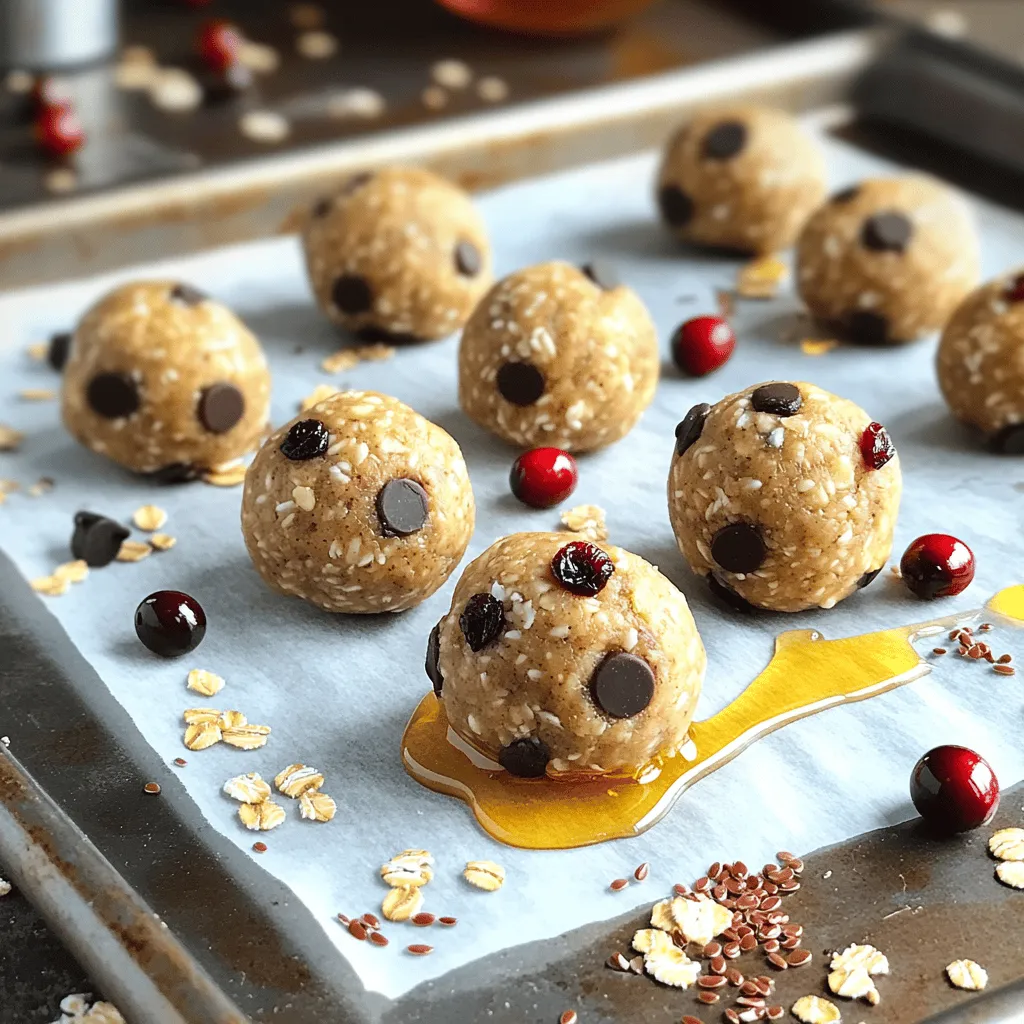
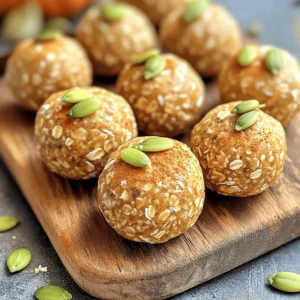
Peanut Butter Energy Balls Easy Healthy Snack Recipe
Looking for a tasty treat that’s also healthy? Peanut Butter Energy Balls are your answer! This easy snack recipe packs Read Full Recipe -
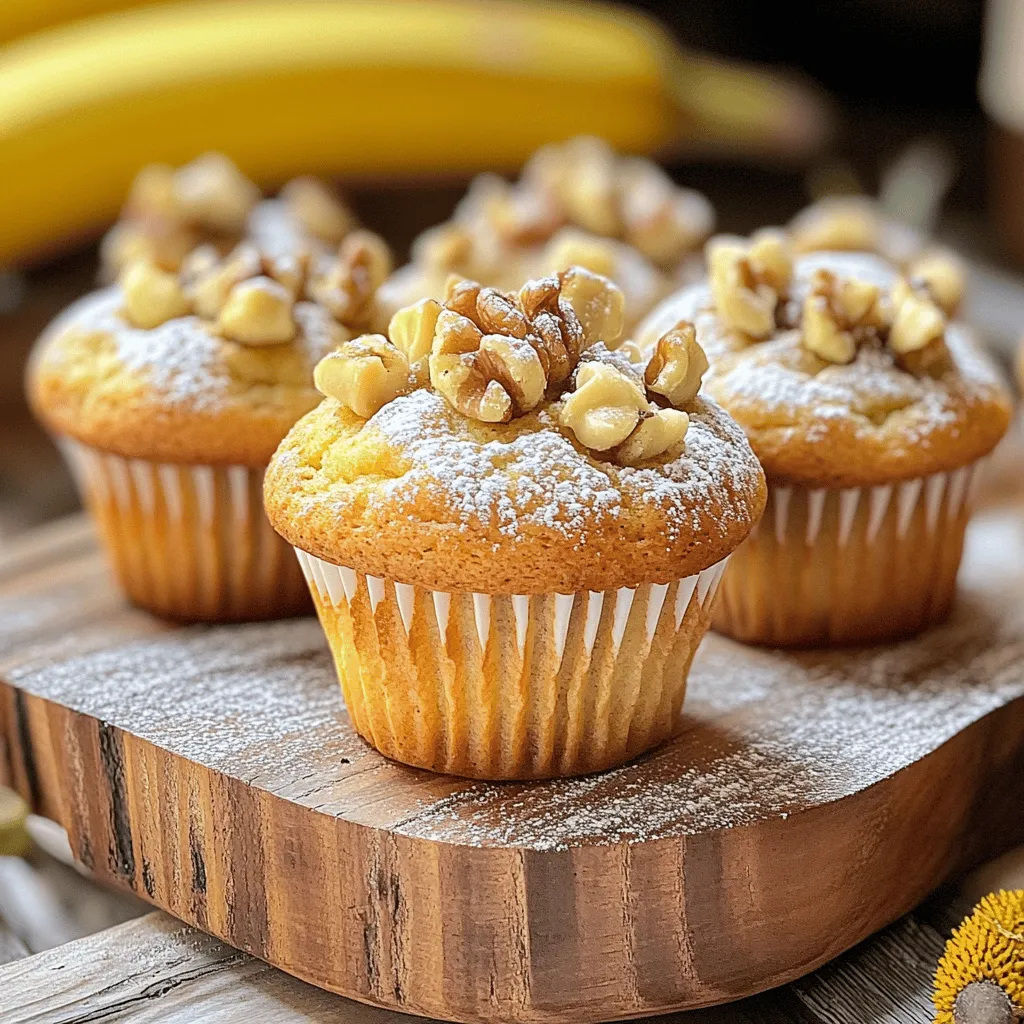
Banana Nut Muffins Delightfully Soft and Tasty Recipe
Are you ready to bake the softest, tastiest banana nut muffins ever? I’ll take you through a simple recipe that Read Full Recipe -
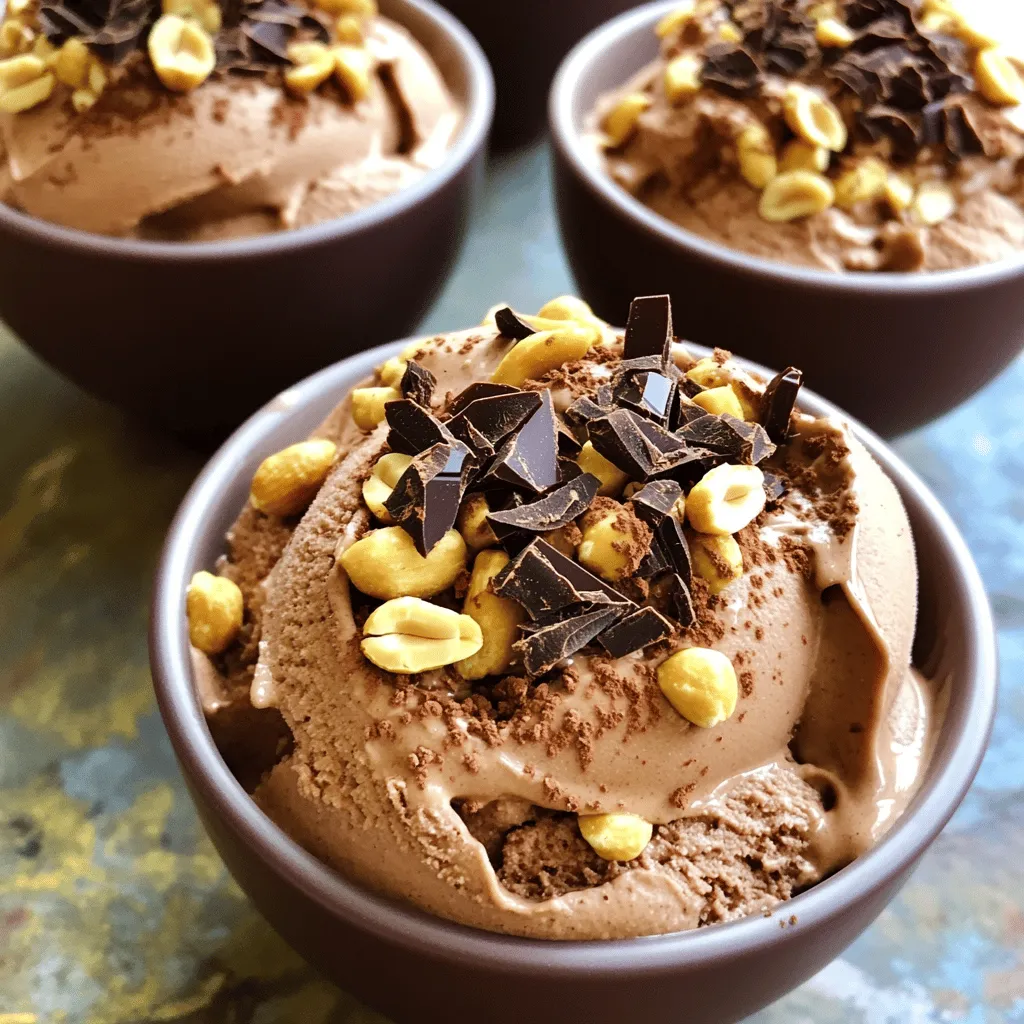
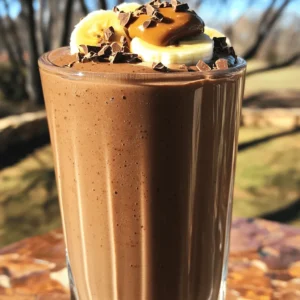
Chocolate Peanut Butter Nice Cream Easy and Tasty Treat
Craving a delicious treat that’s both easy and healthy? Chocolate Peanut Butter Nice Cream is your answer! This creamy dessert Read Full Recipe -
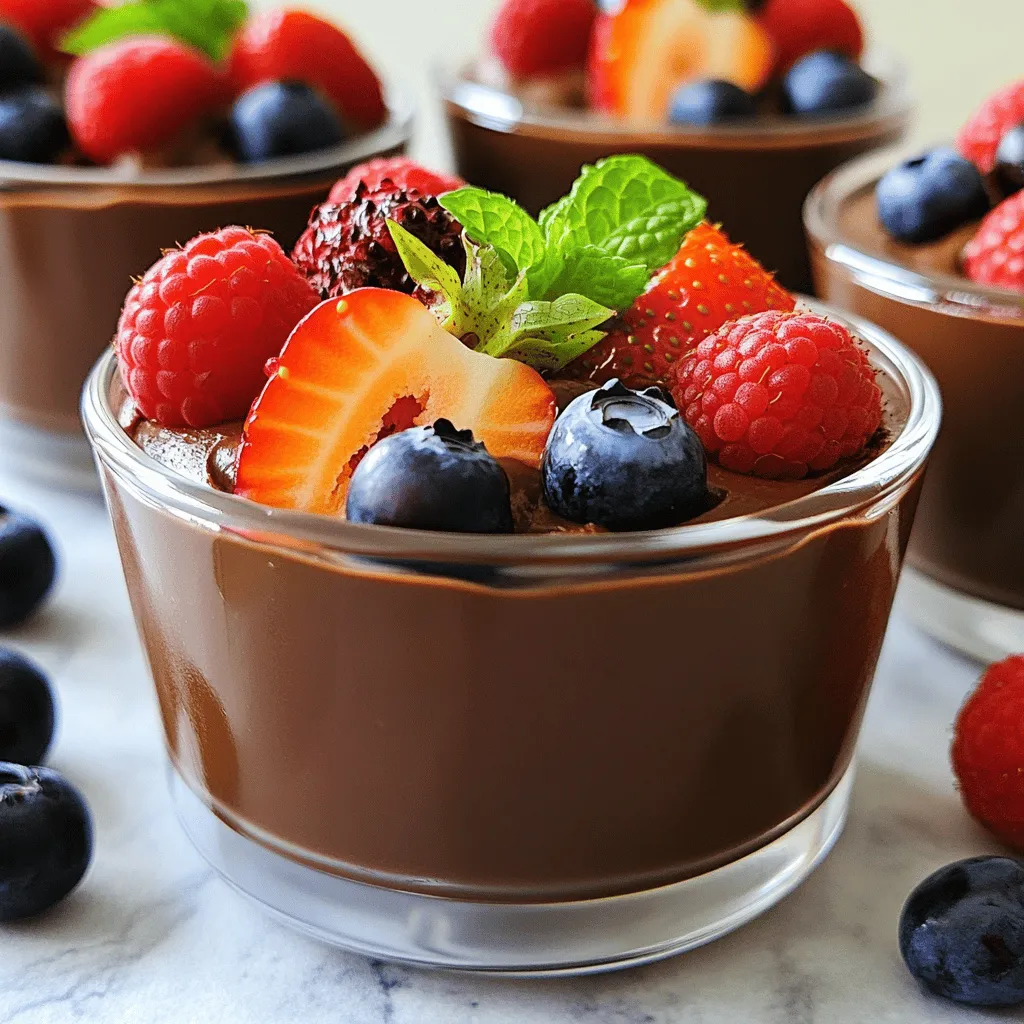
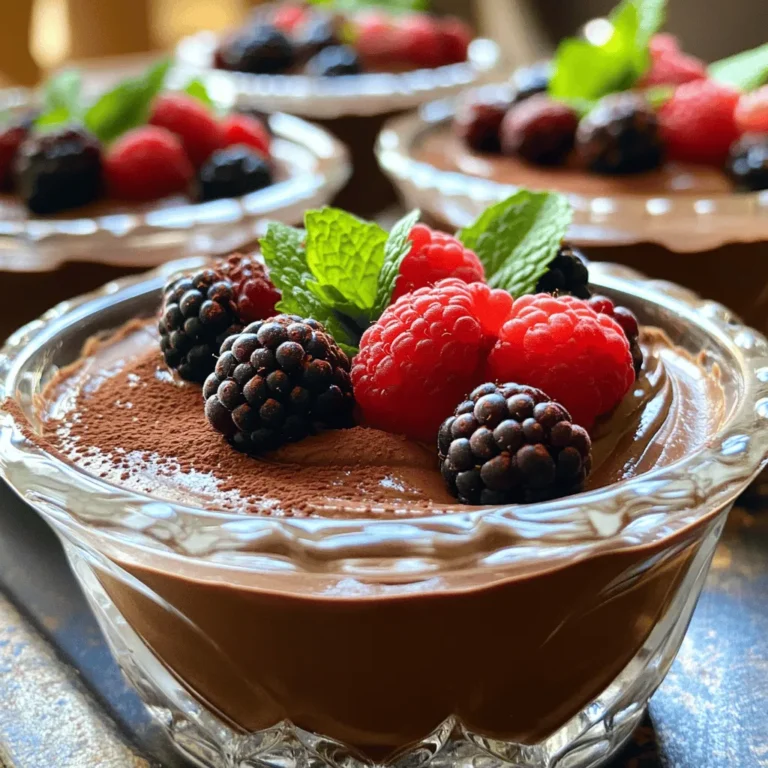
Vegan Chocolate Mousse Rich and Creamy Dessert Recipe
Craving a rich, creamy dessert that’s completely plant-based? Look no further! This Vegan Chocolate Mousse is simple to make and Read Full Recipe -
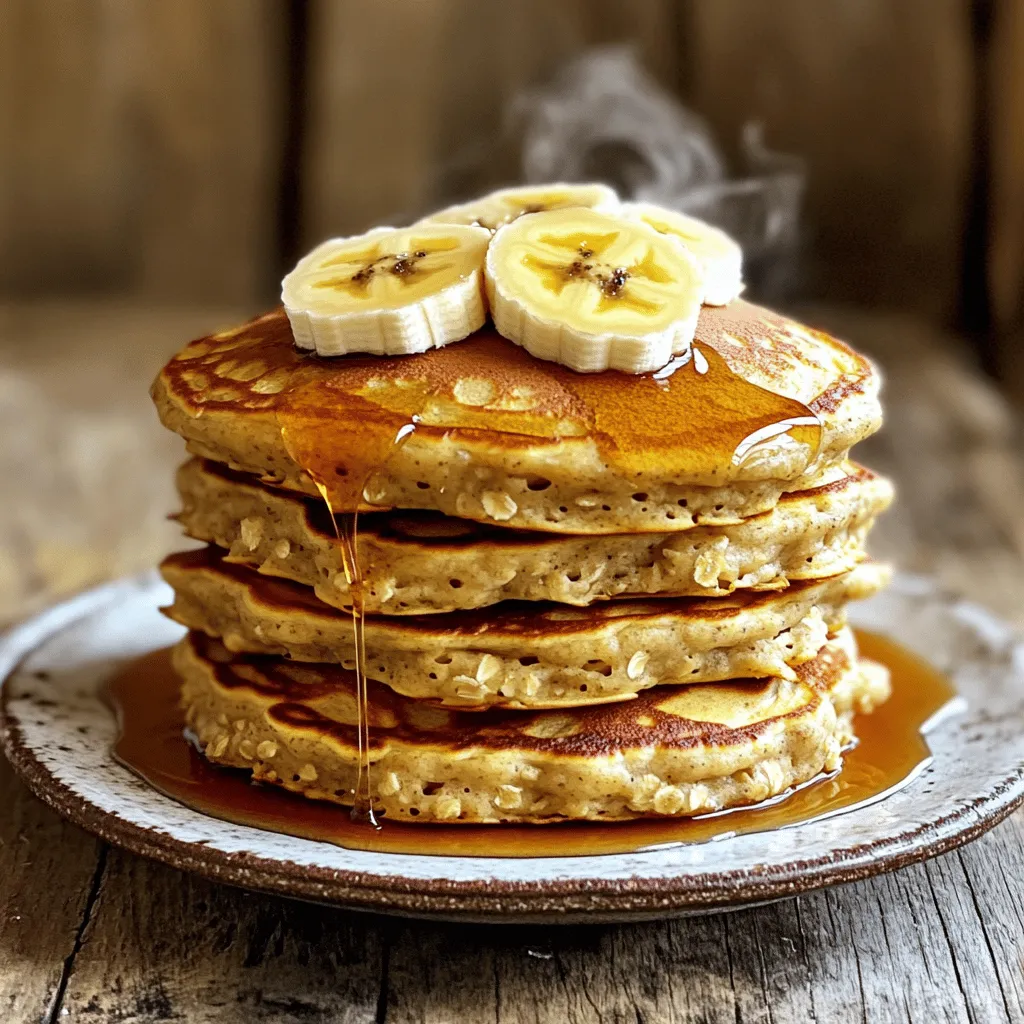
Delicious Banana Oatmeal Pancakes Healthy Breakfast Option
Start your day right with delicious banana oatmeal pancakes! These pancakes are healthy, easy to make, and full of flavor. Read Full Recipe -
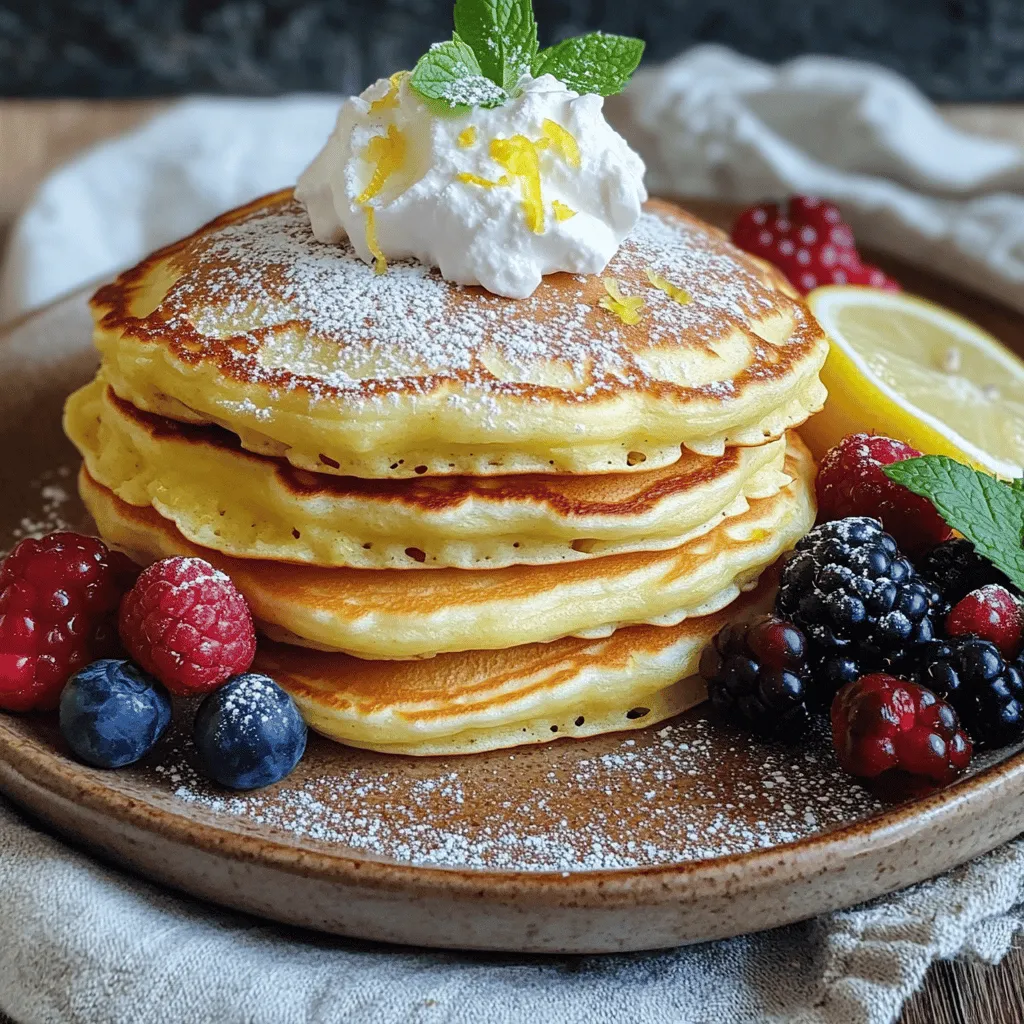
Easy Lemon Ricotta Pancakes Light and Fluffy Delight
Are you ready to elevate your breakfast game? Try my Easy Lemon Ricotta Pancakes, where light and fluffy meet tangy Read Full Recipe
My Latest Recipes

hey,
i’m !
I’m so happy you’re here!
Every dish I share is made with love and care. I hope they bring you the same comfort and joy they bring me. Let’s make memories, one recipe at a time.

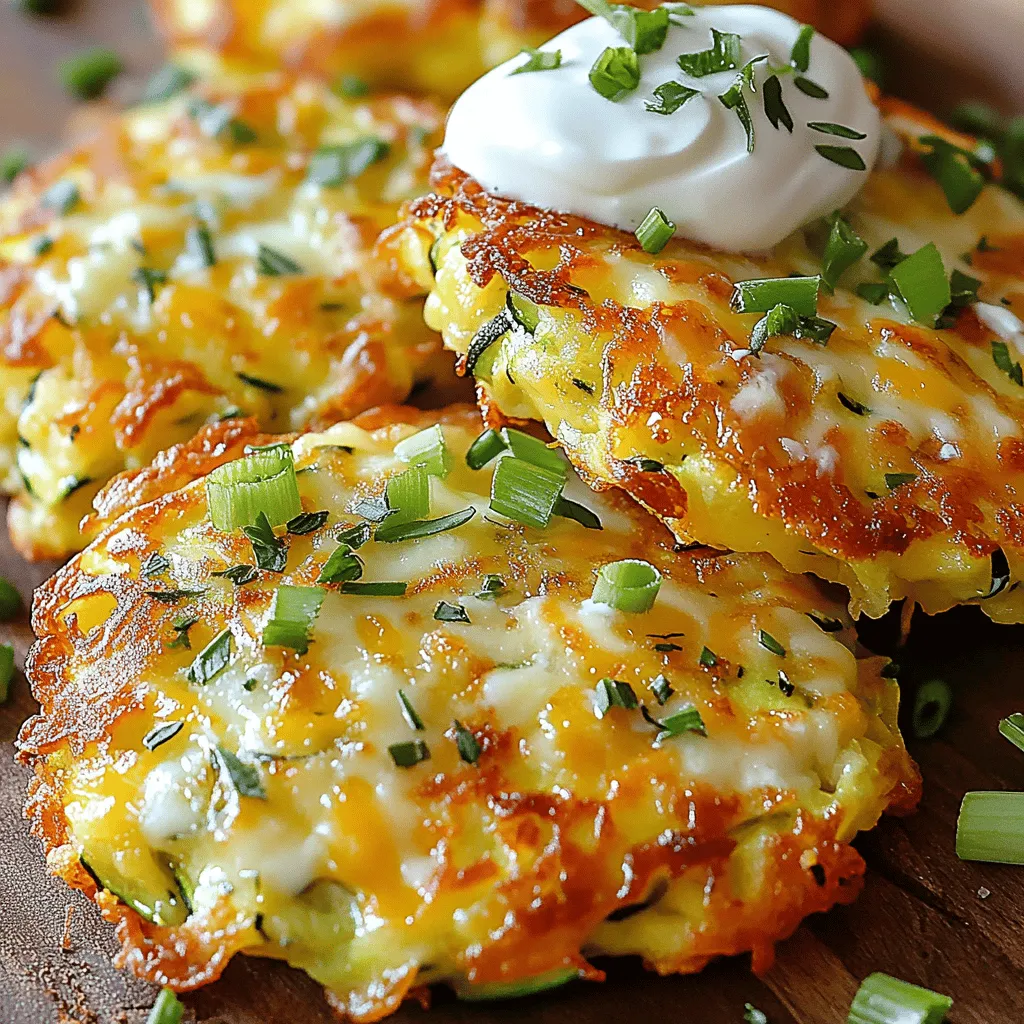
Savory Cheesy Zucchini Fritters Crispy and Delicious
If you’re tired of boring snacks, it’s time to spice things up! My Savory Cheesy Zucchini Fritters are crispy, tasty, and super easy to…