Latest & Greatest
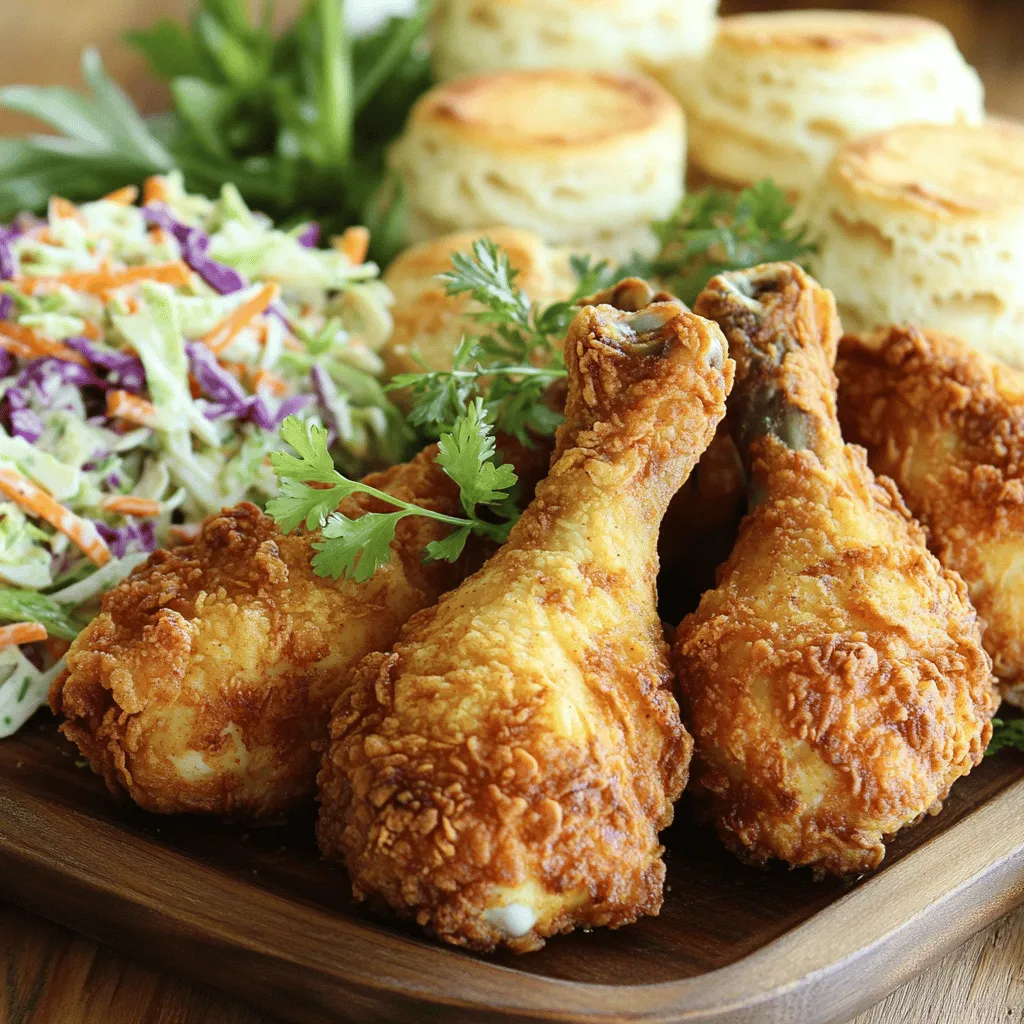
Crispy Fried Chicken Delightfully Easy to Prepare
Do you crave crunchy, juicy fried chicken that’s easy to make? You’re in the right place! I’ll guide you through
Read more…
Tangy Lemon Garlic Roasted Carrots Flavorful Side Dish
Are you ready to elevate your dinner game with a vibrant, delicious side dish? Tangy Lemon Garlic Roasted Carrots are
Read more…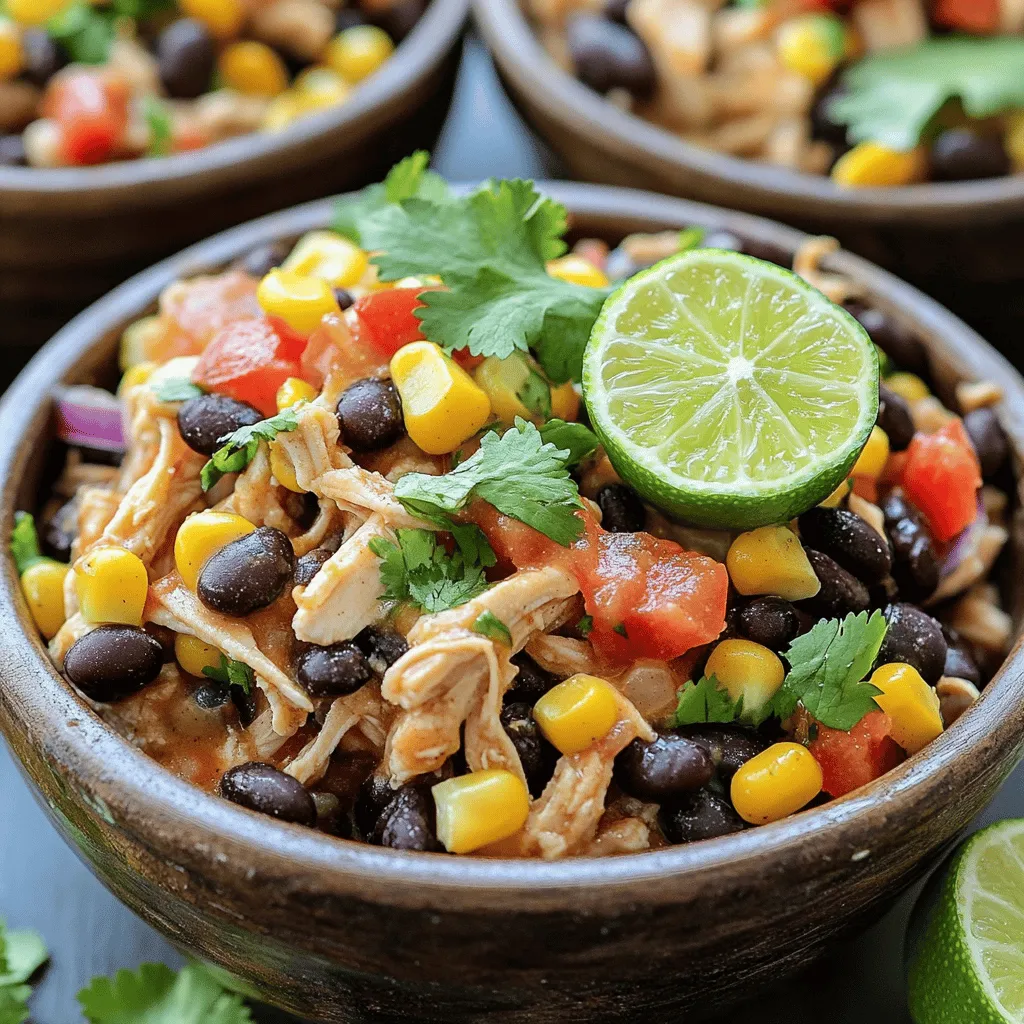
Crockpot Mexican Chicken Flavorful and Easy Recipe
Looking for a simple, tasty dinner idea? This Crockpot Mexican Chicken recipe is your answer. With just a few easy
Read more…
Spring Hash Brown Crust Quiche Flavorful and Easy Meal
Spring Hash Brown Crust Quiche offers a fresh twist on an easy classic. With crispy hash browns as the crust,
Read more…browse recipes

Vegan Chocolate Mug Cake Quick and Simple Recipe
Craving something sweet but short on time? This Vegan Chocolate Mug Cake is your answer! In just minutes, you can whip up a rich,…
My Latest Desserts
-
Easy Lemon Loaf Cake Simple and Tasty Recipe
If you love bright, citrusy treats, then this Easy Lemon Loaf Cake is for you! It’s simple to make and Read Full Recipe -
Frozen Yogurt Granola Cups Delightful and Healthy Treat
Looking for a cool and tasty treat? Frozen yogurt granola cups are the answer! These delightful snacks blend creamy yogurt Read Full Recipe -
Raspberry Lemon Yogurt Parfait Tasty and Simple Treat
Looking for a quick, delicious treat? My Raspberry Lemon Yogurt Parfait is simple to make and bursting with flavor! This Read Full Recipe -
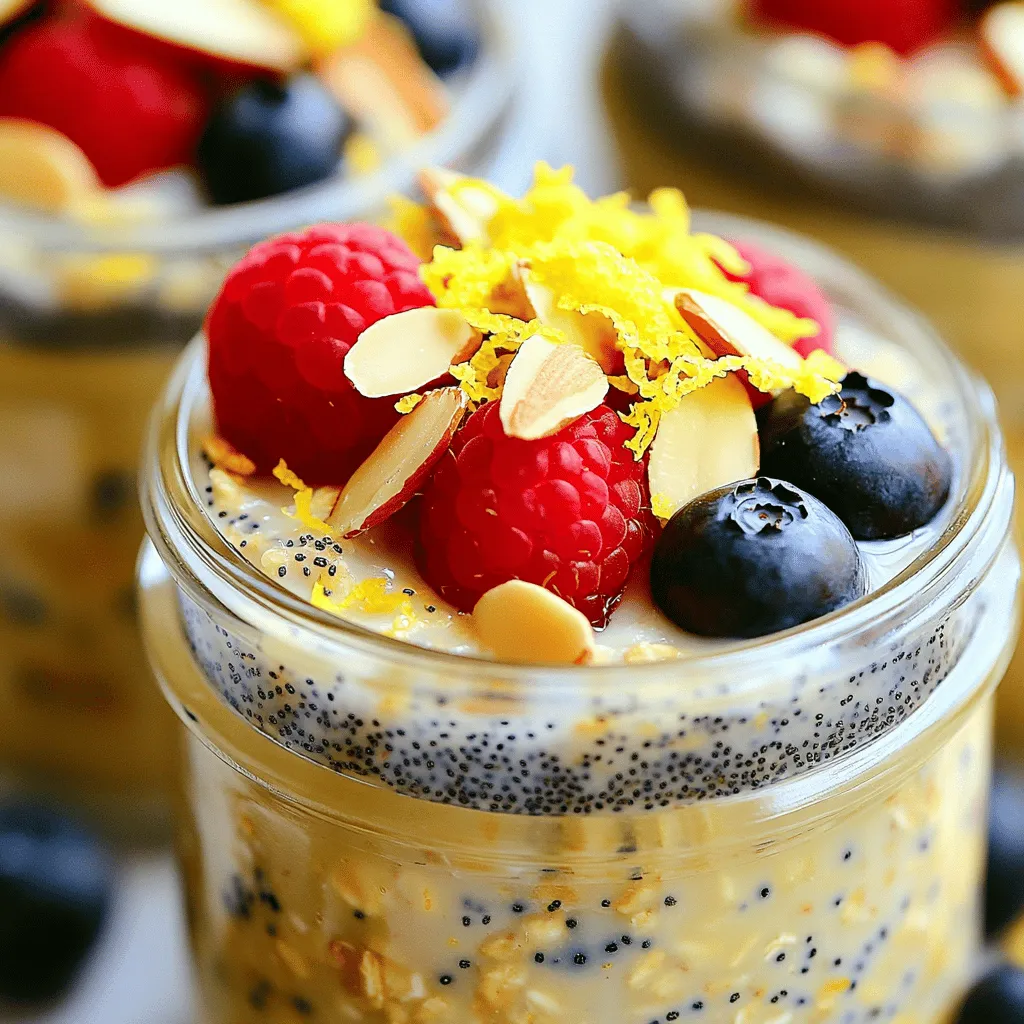
Lemon Poppyseed Overnight Oats Quick and Easy Recipe
Wake up to a burst of fresh flavor with my Lemon Poppyseed Overnight Oats recipe! This quick and easy breakfast Read Full Recipe -
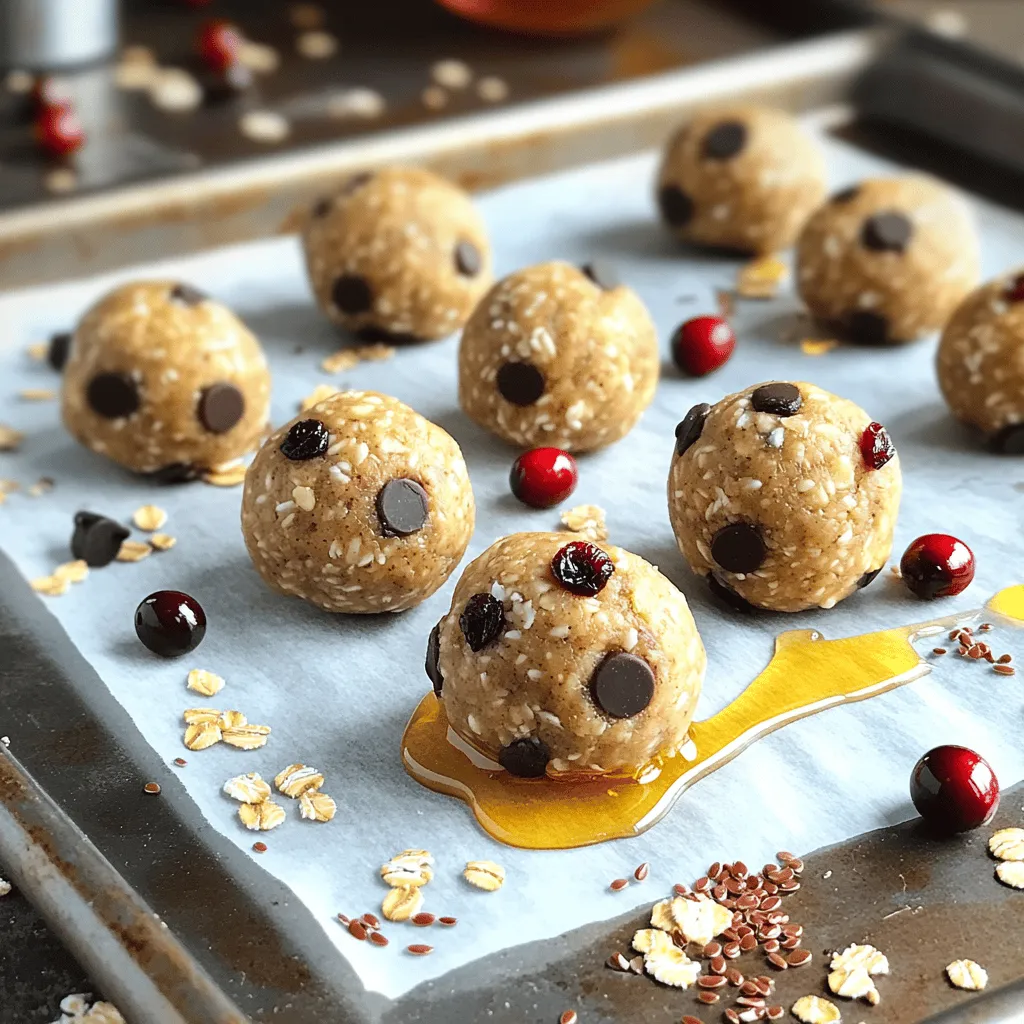
Peanut Butter Energy Balls Easy Healthy Snack Recipe
Looking for a tasty treat that’s also healthy? Peanut Butter Energy Balls are your answer! This easy snack recipe packs Read Full Recipe -
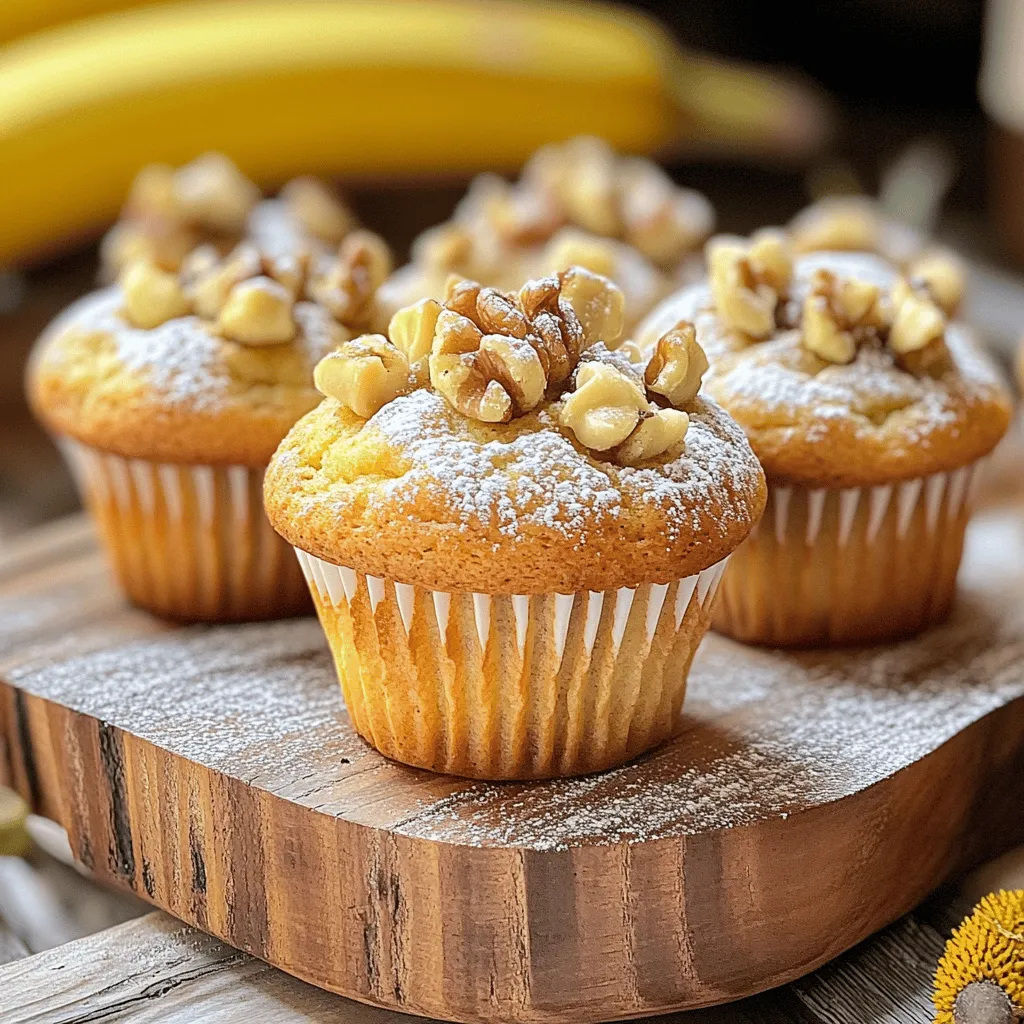
Banana Nut Muffins Delightfully Soft and Tasty Recipe
Are you ready to bake the softest, tastiest banana nut muffins ever? I’ll take you through a simple recipe that Read Full Recipe -
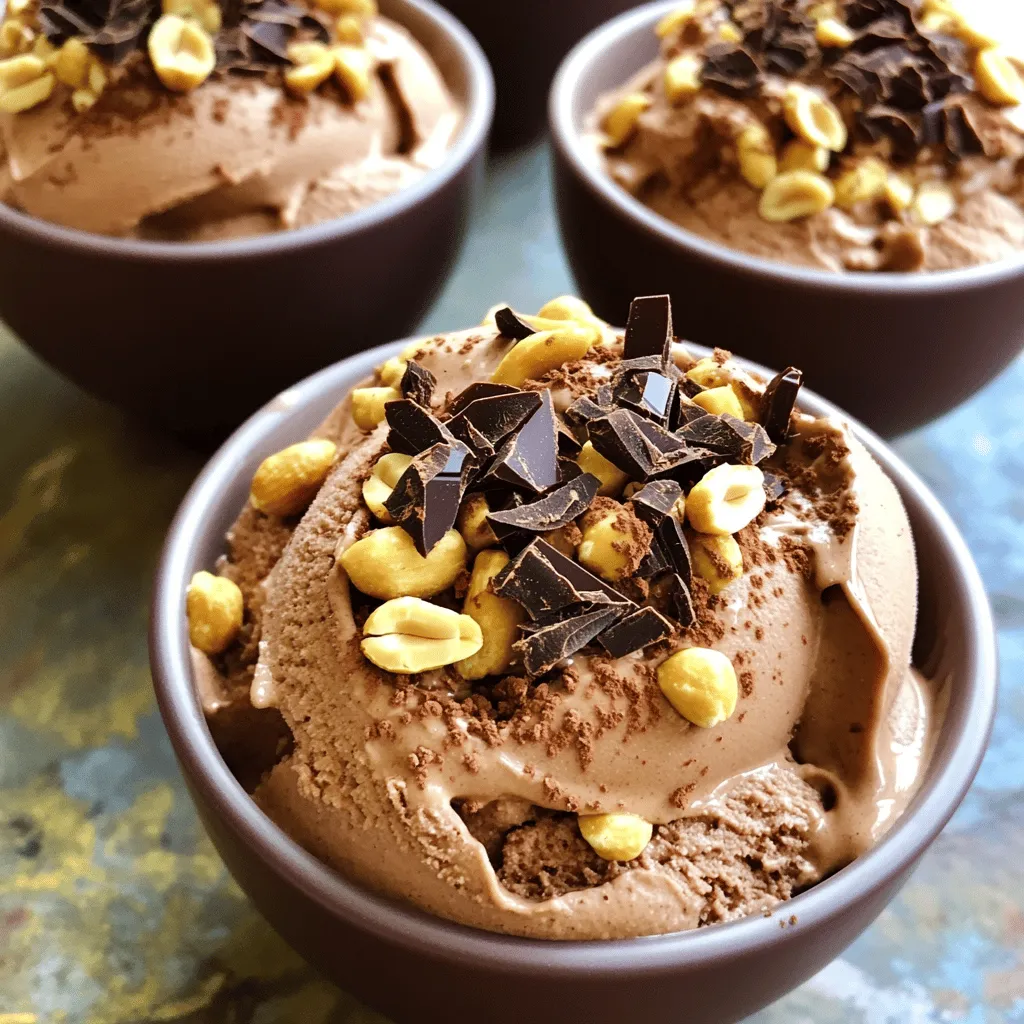
Chocolate Peanut Butter Nice Cream Easy and Tasty Treat
Craving a delicious treat that’s both easy and healthy? Chocolate Peanut Butter Nice Cream is your answer! This creamy dessert Read Full Recipe -
Vegan Chocolate Mousse Rich and Creamy Dessert Recipe
Craving a rich, creamy dessert that’s completely plant-based? Look no further! This Vegan Chocolate Mousse is simple to make and Read Full Recipe -
Delicious Banana Oatmeal Pancakes Healthy Breakfast Option
Start your day right with delicious banana oatmeal pancakes! These pancakes are healthy, easy to make, and full of flavor. Read Full Recipe -
Easy Lemon Ricotta Pancakes Light and Fluffy Delight
Are you ready to elevate your breakfast game? Try my Easy Lemon Ricotta Pancakes, where light and fluffy meet tangy Read Full Recipe
My Latest Recipes
hey,
i’m !
I’m so happy you’re here!
Every dish I share is made with love and care. I hope they bring you the same comfort and joy they bring me. Let’s make memories, one recipe at a time.
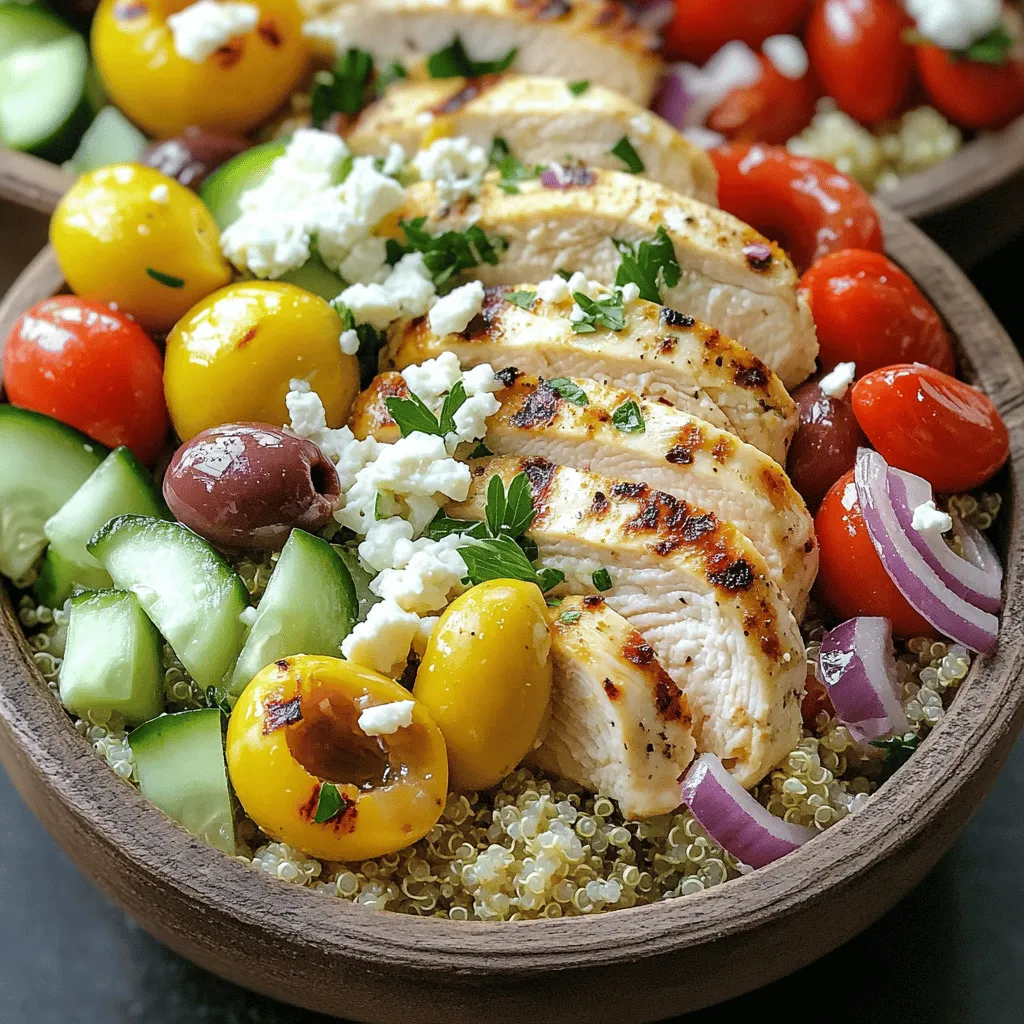
Healthy Greek Chicken Bowls Packed with Flavorful Freshness
Looking for a meal that’s healthy, easy, and full of tasty Greek flavors? You’re in the right place! My Healthy Greek Chicken Bowls pack…












![- Chicken, sauces, and seasonings - 1 pound boneless, skinless chicken breasts, diced - 1/2 cup buffalo sauce (adjust for heat preference) - 1 tablespoon olive oil - 1 teaspoon garlic powder - 1/2 teaspoon onion powder - Salt and pepper to taste The chicken is the star here. I use boneless, skinless breasts for their lean quality. You can also use chicken thighs for more flavor. The buffalo sauce gives the dish its famous kick. Adjust the amount based on your heat preference. Olive oil helps the seasoning stick and adds richness. Garlic and onion powder deepen the taste. - Lettuce and vegetable fillers - 1 head of iceberg or butter lettuce, leaves separated - 1/2 cup diced celery - 1/2 cup shredded carrots For the wraps, I choose iceberg or butter lettuce. They stay crisp and hold the filling well. Celery adds crunch, and carrots bring a touch of sweetness. Both balance the heat of the buffalo sauce. - Optional toppings and garnishes - 1/4 cup blue cheese or feta cheese, crumbled (optional) - Fresh parsley or green onions for garnish Blue cheese or feta adds creaminess and tang to the wraps. Fresh parsley or green onions provide color and freshness. These toppings make each bite more exciting. For the full recipe, check out the [Full Recipe]. How do I prepare the chicken and seasoning? First, take 1 pound of diced chicken breast. In a medium bowl, mix the chicken with 1 tablespoon of olive oil, 1 teaspoon of garlic powder, 1/2 teaspoon of onion powder, salt, and pepper. Make sure each piece is coated well. This step adds flavor and keeps the chicken juicy. How do I cook the chicken in a skillet? Heat a non-stick skillet over medium heat. Add the seasoned chicken to the skillet. Cook the chicken for about 6 to 8 minutes. Stir it occasionally until it turns golden brown and is fully cooked. This method helps lock in moisture. How do I simmer with buffalo sauce? Once the chicken is cooked, reduce the heat to low. Pour in 1/2 cup of buffalo sauce. Stir the chicken to coat it evenly. Let it simmer for 2 to 3 minutes. This step enhances the flavor and makes the chicken spicy. How do I wash and dry the lettuce leaves? Take a head of iceberg or butter lettuce. Carefully separate the leaves. Rinse them under cold water to clean. Pat them dry with a paper towel. This keeps the wraps crisp and fresh. How do I fill the lettuce wraps? Place a few spoonfuls of the buffalo chicken mixture into each lettuce leaf. Add some diced celery and shredded carrots on top for crunch. This combination adds texture and flavor to your wraps. How do I add garnishes? If you like, sprinkle 1/4 cup of crumbled blue cheese or feta on top. You can also add fresh parsley or green onions for extra flavor. These toppings make the wraps look and taste even better. For the complete recipe, check the Full Recipe section. How to ensure chicken stays juicy To keep your chicken juicy, cook it over medium heat. This way, it cooks evenly without drying out. Use a meat thermometer to ensure it reaches 165°F. Let it rest for a few minutes after cooking. This helps the juices stay inside. Adjusting heat levels with buffalo sauce Buffalo sauce can be spicy. If you prefer less heat, start with less sauce. Add it in small amounts while cooking. Taste as you go. You can also mix it with butter or ranch dressing to tone down the heat. Tips for even seasoning When seasoning, make sure to coat all chicken pieces well. Use a bowl to mix the chicken with olive oil, garlic powder, onion powder, salt, and pepper. This helps the flavors spread evenly. Pairing with side dishes or dips Serve your wraps with fresh veggies, chips, or even a light salad. Dips like ranch or blue cheese work great too. They add a cool contrast to the spicy chicken. Presentation ideas for serving Make your meal look nice! Place the lettuce wraps on a big plate. Add a small bowl of extra buffalo sauce for dipping. Scatter some diced celery and carrots around for color. Best practices for a fun meal experience Let everyone build their own wraps. Set up a little station with all the fillings and toppings. This makes it more fun and interactive. Plus, everyone can customize their own wrap just how they like it. For the full recipe, check out the detailed instructions above. {{image_2}} You can change up the protein in these wraps. Try using turkey instead of chicken. Turkey gives a nice flavor and is leaner. If you prefer plant-based meals, use tofu. Tofu absorbs the buffalo sauce well and adds a good texture. You can also play with the sauces. If you want a sweeter taste, use BBQ sauce. Teriyaki sauce adds a unique twist with a touch of sweetness. Both options give you a different flavor while still keeping it fun. For those with gluten issues, you can easily make this recipe gluten-free. Just choose gluten-free buffalo sauce and check all your seasonings. Most are gluten-free, but it’s good to double-check. If you are vegan or vegetarian, swap the chicken for jackfruit or tempeh. Both options work well with buffalo sauce. You can also use a vegan cheese alternative if you want that cheesy flavor. These changes make the dish fit for everyone. Explore these variations to find your favorite way to enjoy buffalo chicken lettuce wraps. For an exact recipe, check out the Full Recipe for detailed instructions on how to make them! To keep your buffalo chicken lettuce wraps fresh, store them in a sealed container. Make sure to separate the chicken filling from the lettuce leaves. The chicken can last for about 3 to 4 days in the fridge. The lettuce will wilt faster, so use it within a day or two for the best crunch. You can reheat the chicken in a skillet on low heat. Stir it gently to keep it moist. If you want to use the microwave, cover the chicken with a damp paper towel to avoid drying it out. For the lettuce, it’s best to eat it fresh. If you must reheat, do so for only a few seconds. For crisp leaves, try placing them in cold water for a few minutes before serving. For the full recipe, check out the [Full Recipe]. How can I make buffalo chicken lettuce wraps spicier? You can add more buffalo sauce to the chicken. Mix in hot sauce for extra heat. You might also use diced jalapeños or crushed red pepper flakes. These add a nice kick! Can I prepare the chicken in advance? Yes, you can cook the chicken ahead of time. Store it in the fridge for up to three days. Just reheat it before serving. This saves time on busy days. What are some good dips to serve with these wraps? Some tasty dips are ranch dressing or blue cheese dressing. You can also try guacamole or salsa. Each adds a fun flavor to the wraps. What are the calorie counts per serving? Each serving of buffalo chicken lettuce wraps has about 300 calories. This makes it a great light meal option. You can adjust the calories by changing the toppings. Are there any health benefits to this recipe? Yes, these wraps are low in carbs and high in protein. The lettuce adds fiber and vitamins. Using lean chicken makes the meal healthy and satisfying. Buffalo chicken lettuce wraps are fun, tasty, and easy to make. We started with the main ingredients: chicken, sauces, and fresh veggies. I shared step-by-step prep and cooking instructions to help you create them. You also saw tips for juicy chicken and fun serving ideas. Don’t forget you can swap ingredients for different diets. Store leftovers well and reheat for a tasty meal later. Enjoy making these wraps with your own twist! They’re sure to be a hit at any table.](https://easycookingbite.com/wp-content/uploads/2025/07/1f37902b-c421-4d92-9599-136cb951cf3e-300x300.webp)
![To make Spicy Thai Peanut Noodles, you need the following fresh and vibrant ingredients: - 8 oz rice noodles - 1 cup bell peppers (mixed colors), thinly sliced - 1 cup carrots, julienned - 1 cup snap peas, trimmed - 1/4 cup green onions, chopped - 1/4 cup roasted peanuts, roughly chopped - 1 tablespoon sesame oil - 2 cloves garlic, minced - 1 tablespoon fresh ginger, minced - 1/4 cup peanut butter (creamy) - 3 tablespoons soy sauce - 1 tablespoon sriracha (adjust to taste) - 1 tablespoon lime juice - Salt and pepper to taste - Fresh cilantro, for garnish (optional) Gathering these ingredients sets you up for a quick and tasty meal. The rice noodles provide a soft base, while the veggies add crunch and color. Roasted peanuts give a delightful crunch, and the spicy sauce ties everything together. You can find the full recipe in the next section to guide you through the cooking process. Enjoy the mix of flavors! First, get a large pot and fill it with water. Bring the water to a boil. Once it boils, add 8 oz of rice noodles. Cook them according to the package instructions until they are al dente. This usually takes about 4 to 6 minutes. After that, drain the noodles in a colander. Rinse them under cold water to stop the cooking process. Set the noodles aside for later. Next, take a large skillet or wok. Heat 1 tablespoon of sesame oil over medium-high heat. Once the oil is hot, add 2 cloves of minced garlic and 1 tablespoon of minced ginger. Stir-fry these for about 30 seconds until they smell great. Add 1 cup of thinly sliced bell peppers, 1 cup of julienned carrots, and 1 cup of trimmed snap peas. Stir-fry the vegetables for about 3 to 4 minutes until they are tender but still crisp. In a small bowl, whisk together 1/4 cup of creamy peanut butter, 3 tablespoons of soy sauce, 1 tablespoon of sriracha, and 1 tablespoon of lime juice. Mix until the sauce is smooth. If it feels too thick, add a little warm water. Keep adding until it is just right for you. Now, add the cooked noodles to the skillet with the veggies. Pour the peanut sauce over the noodles. Toss everything together well so all the noodles are covered with sauce and mixed with veggies. Cook for another 2 to 3 minutes to heat everything through. Remove the skillet from heat. Stir in 1/4 cup of chopped green onions and 1/4 cup of roughly chopped roasted peanuts. Season with salt and pepper to taste. Serve the noodles in bowls. You can add garnishes like fresh cilantro or more crushed peanuts for extra flavor. Enjoy your delicious meal! For the full recipe, check the section above. To make the best Spicy Thai Peanut Noodles, always cook the noodles al dente. This means they should be firm but not hard. Overcooked noodles can turn mushy and lose their texture. Adjust the heat level with sriracha to fit your taste. Start with a little, then add more for extra spice. Using high heat for stir-frying is key. It helps the veggies stay crisp and bright. When you rinse the cooked noodles with cold water, it stops the cooking process. This keeps them from sticking together and helps them stay separate. Garnish your dish with fresh cilantro and extra peanuts for crunch. You can also add lime wedges on the side. A squeeze of lime adds a nice zing and enhances the flavors. For a fun twist, try serving the noodles in bowls for a pop of color. For the full recipe, visit [Full Recipe]. {{image_2}} You can easily make this dish gluten-free. Just swap rice noodles for gluten-free noodles made from rice or quinoa. For vegan options, skip the honey and use maple syrup or agave nectar instead. You can also choose a vegan-friendly sauce instead of soy sauce. If you want to change the veggies, try using zucchini, broccoli, or green beans instead of bell peppers, carrots, and snap peas. Seasonal veggies like asparagus or mushrooms can also work great. They add a fresh twist to your meal. For extra protein, add tofu or chicken. If using tofu, choose firm tofu for the best texture. Sauté it until golden brown before adding it to the dish. For chicken, slice it thinly and cook it in the skillet first. Make sure it is cooked through before adding the noodles. These variations keep your meal exciting and allow you to cater to your taste or dietary needs while preparing Spicy Thai Peanut Noodles. For the complete recipe, check out the Full Recipe section. To keep your Spicy Thai Peanut Noodles fresh, store leftovers in a tight container. Make sure the lid seals well. This helps prevent air and moisture from ruining your meal. In the fridge, these noodles will last for about 3 to 4 days. Always check for any signs of spoilage before eating. You can freeze this dish for later use. To do this, let the noodles cool completely first. Then, place them in a freezer-safe container. Make sure to remove as much air as possible before sealing. This will help prevent freezer burn. When you want to eat them, thaw the noodles overnight in the fridge. When it’s time to enjoy your noodles again, the best way to reheat them is in a skillet. Heat it over medium-low heat and add a splash of water or broth. This helps keep the noodles from drying out. Stir often until everything is hot. Avoid using a microwave if you want to keep the texture nice. Microwaves can make them soggy, which isn't ideal for this tasty dish. Spicy Thai Peanut Noodles can last about 3 to 4 days in the fridge. To keep them fresh, store them in an airtight container. This helps prevent them from drying out or absorbing other odors. Always check for any signs of spoilage before eating. Yes, you can prepare Spicy Thai Peanut Noodles ahead of time. Cook the noodles and veggies, then store them separately from the sauce. Mix everything together just before serving. This keeps the noodles and veggies crisp and fresh. If you have a peanut allergy, you can use sunflower seed butter or almond butter. Both options give a creamy texture. You can also try tahini, which is made from sesame seeds. Each choice will alter the flavor slightly, but they all work well. The spice level of Spicy Thai Peanut Noodles depends on how much sriracha you use. For a mild dish, reduce the sriracha. For more heat, add more sriracha or even some chili flakes. You can always adjust it to match your taste. To make Spicy Thai Peanut Noodles nut-free, simply skip the peanut butter. Use sunflower seed butter or tahini instead. You can also omit the peanuts on top and use crispy rice or seeds for crunch. This way, everyone can enjoy the dish safely. For the complete recipe, check out the Full Recipe section. This recipe for Spicy Thai Peanut Noodles is a great way to enjoy tasty food. We used fresh rice noodles, colorful veggies, and a creamy peanut sauce. Each step is easy to follow, from cooking the noodles to stir-frying your ingredients. You can tweak the spice and swap ingredients based on your diet. Don't forget, storing leftovers correctly can save you time later. With these tips and tricks, you can create a dish that's not only delicious but fills you with pride. Enjoy cooking and sharing this flavorful meal!](https://easycookingbite.com/wp-content/uploads/2025/05/1422fd01-6c3b-4009-bff6-77db76e1965e-300x300.webp)
. The detailed steps and ingredient amounts will help you create this tasty dish at home. In this blog post, we explored the key ingredients for a great stir-fry. You learned about chicken prep and cooking steps. I shared tips to achieve the perfect texture and ways to customize flavors. We also discussed tasty alternatives like vegetarian options and how to store leftovers properly. Remember, with simple changes, you can make this dish your own. Get creative in the kitchen, and enjoy every bite!](https://easycookingbite.com/wp-content/uploads/2025/04/3480b929-aaf6-4dde-a3fb-7d538bdd952c-300x300.webp)
