Latest & Greatest
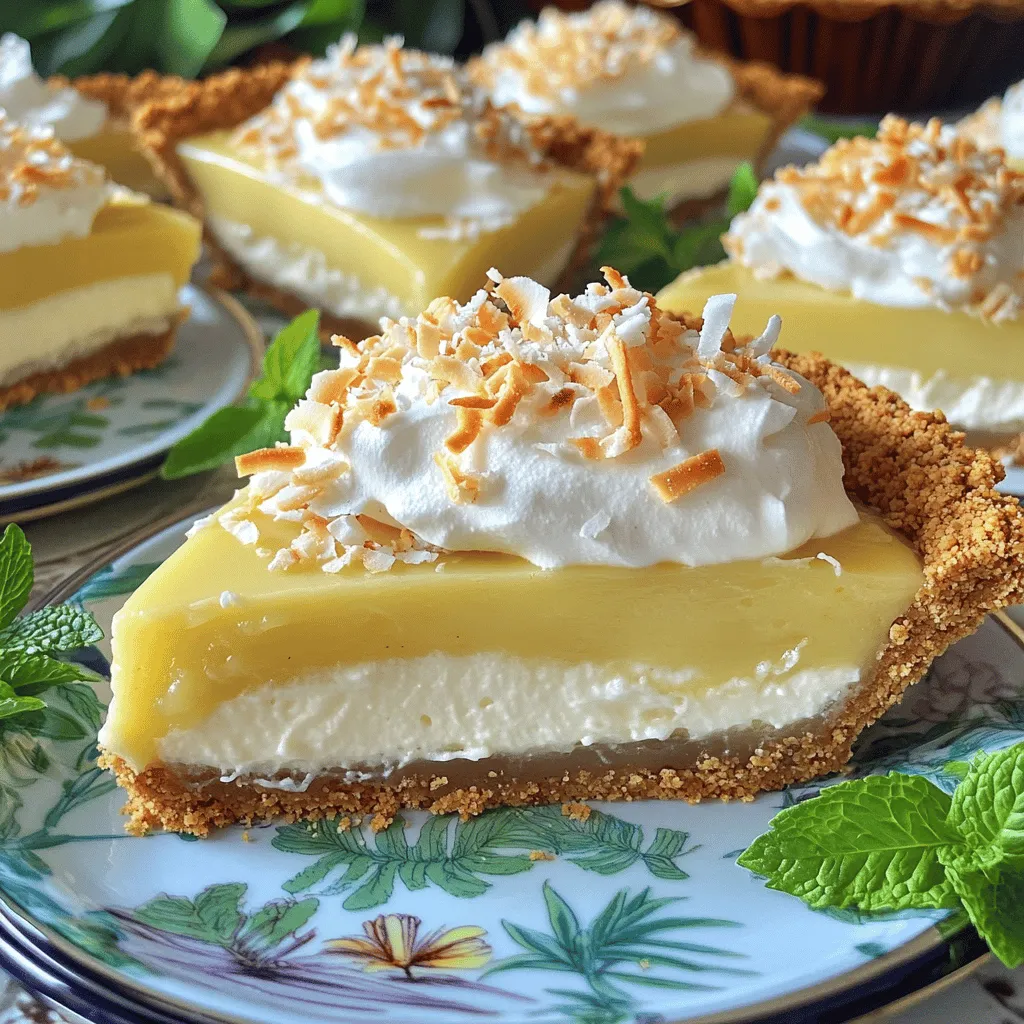
Coconut Cream Pie Scrumptious and Simple Recipe
If you love desserts that are sweet and creamy, you will adore this Coconut Cream Pie recipe. It’s easy to
Read more…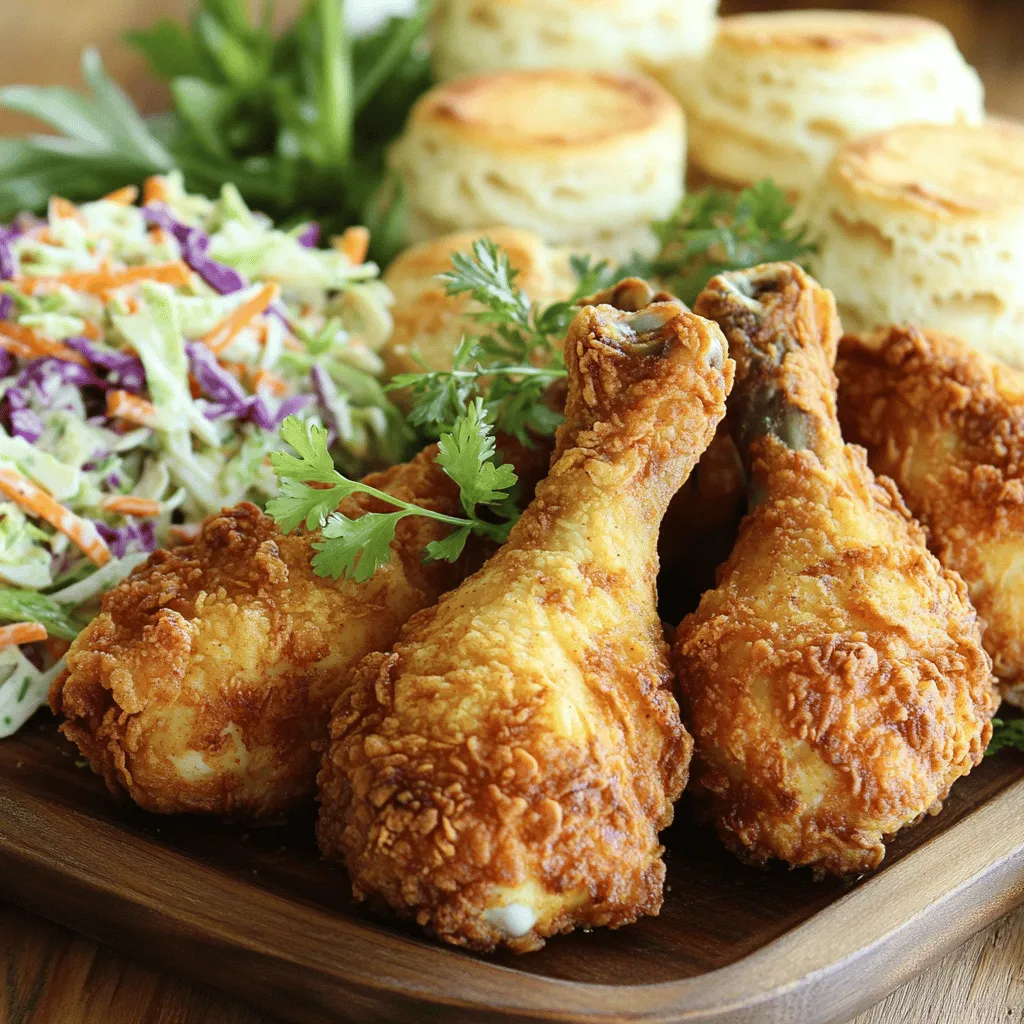
Crispy Fried Chicken Delightfully Easy to Prepare
Do you crave crunchy, juicy fried chicken that’s easy to make? You’re in the right place! I’ll guide you through
Read more…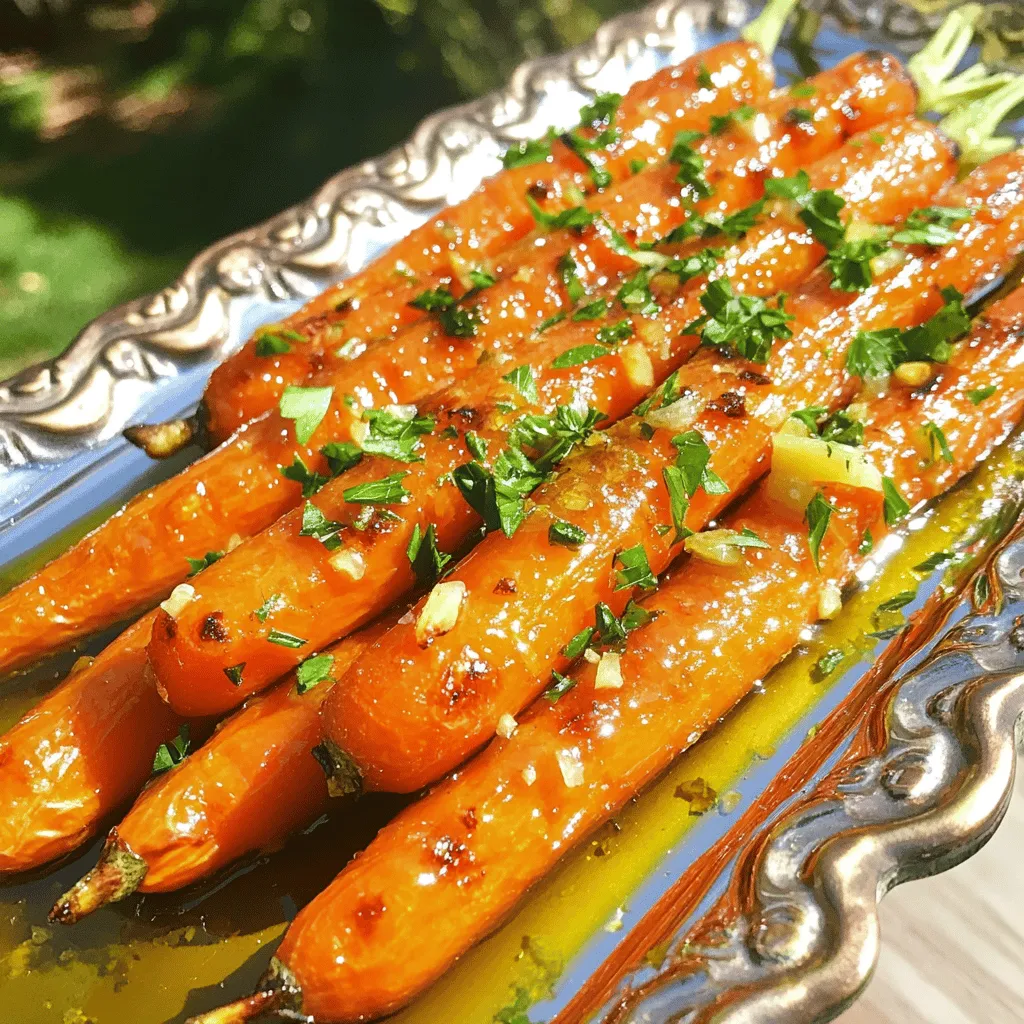
Tangy Lemon Garlic Roasted Carrots Flavorful Side Dish
Are you ready to elevate your dinner game with a vibrant, delicious side dish? Tangy Lemon Garlic Roasted Carrots are
Read more…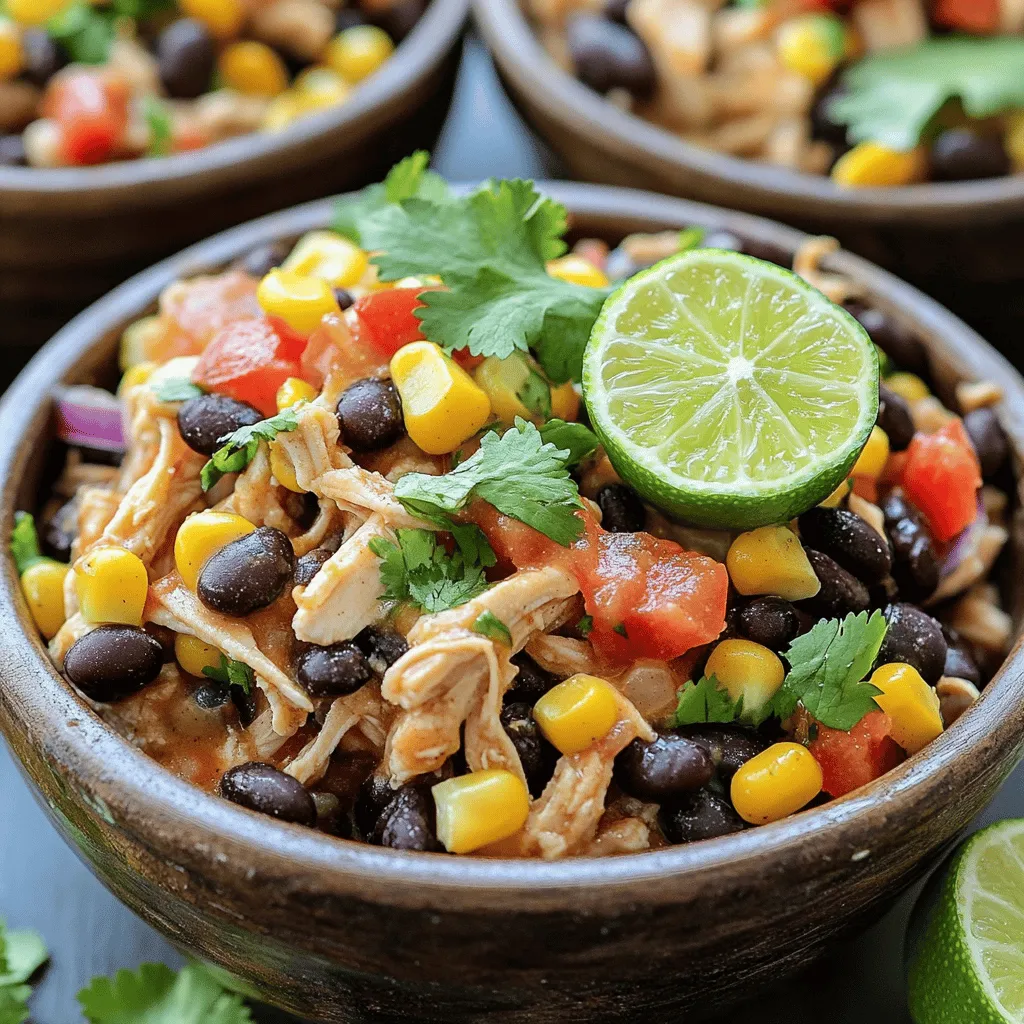
Crockpot Mexican Chicken Flavorful and Easy Recipe
Looking for a simple, tasty dinner idea? This Crockpot Mexican Chicken recipe is your answer. With just a few easy
Read more…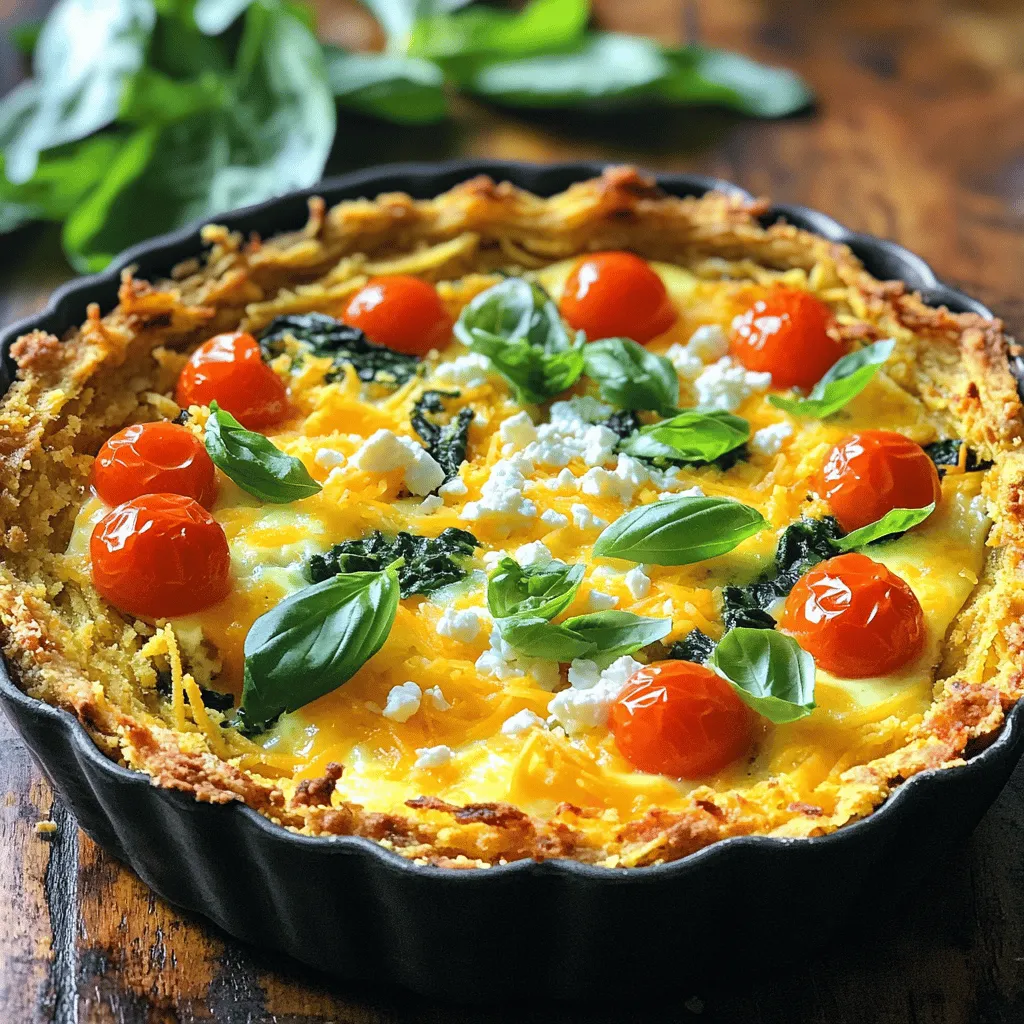
Spring Hash Brown Crust Quiche Flavorful and Easy Meal
Spring Hash Brown Crust Quiche offers a fresh twist on an easy classic. With crispy hash browns as the crust,
Read more…browse recipes

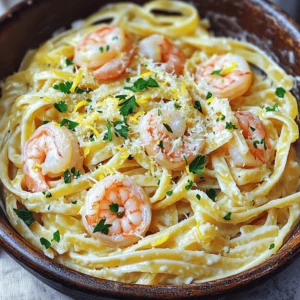
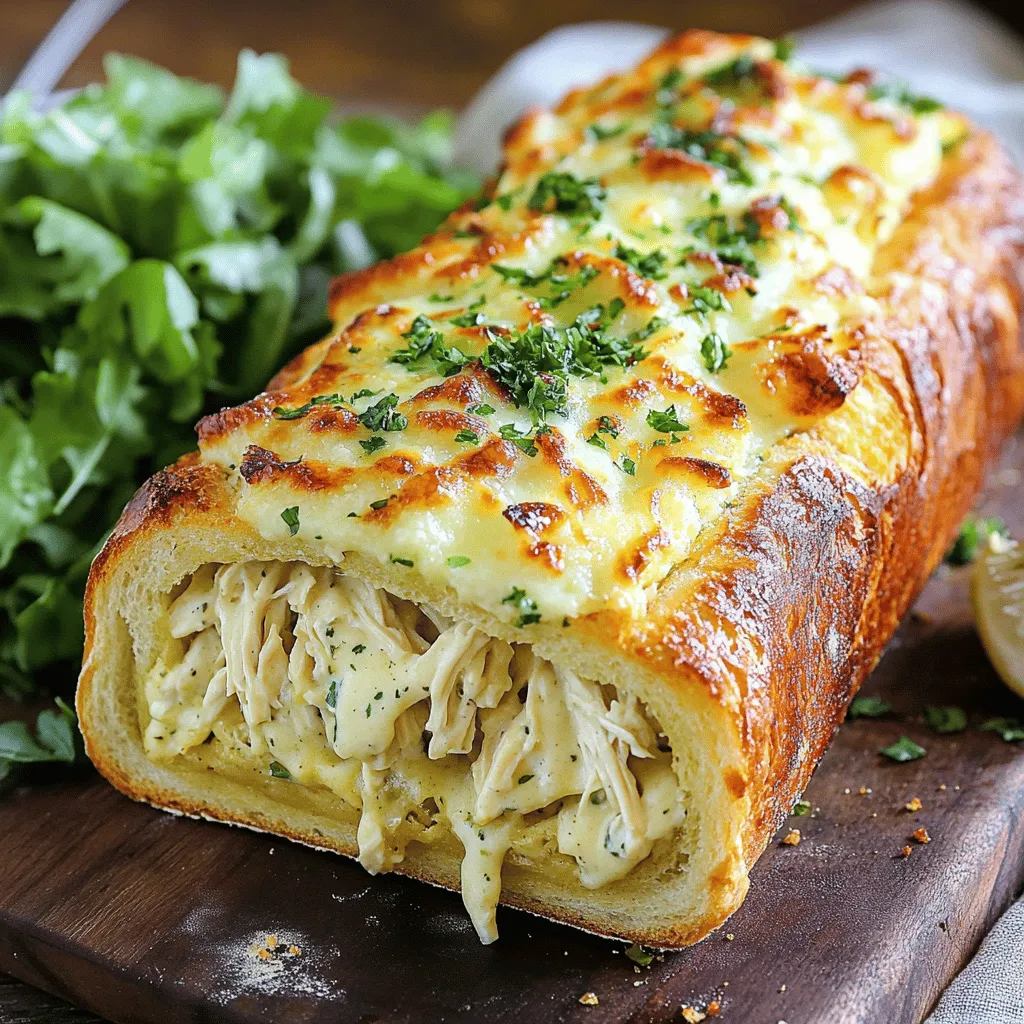
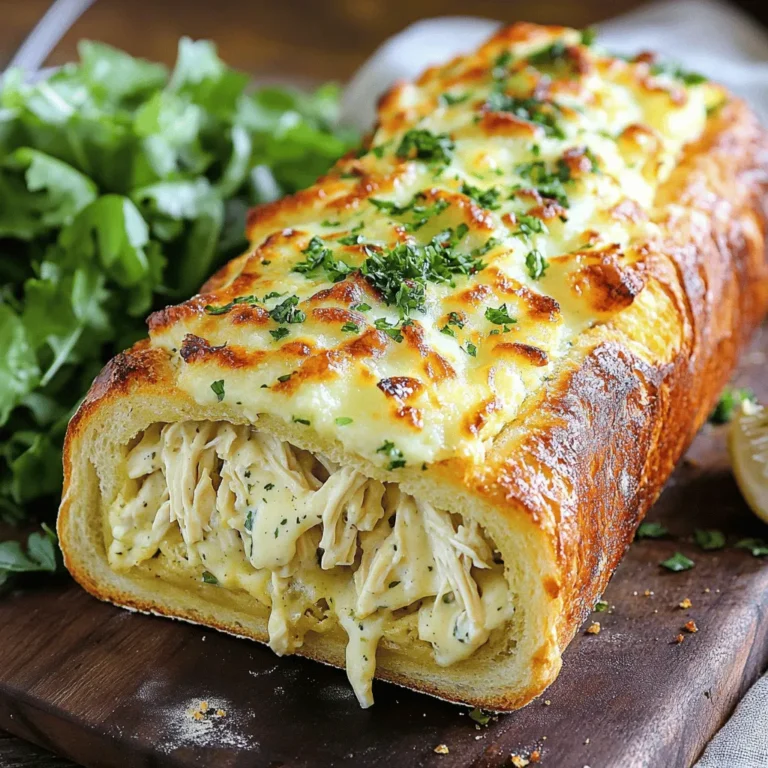
Chicken Alfredo Stuffed Garlic Bread Simple Delight
Are you ready for a dish that will wow your taste buds? Chicken Alfredo Stuffed Garlic Bread is a fun twist on two classic…
My Latest Desserts
-
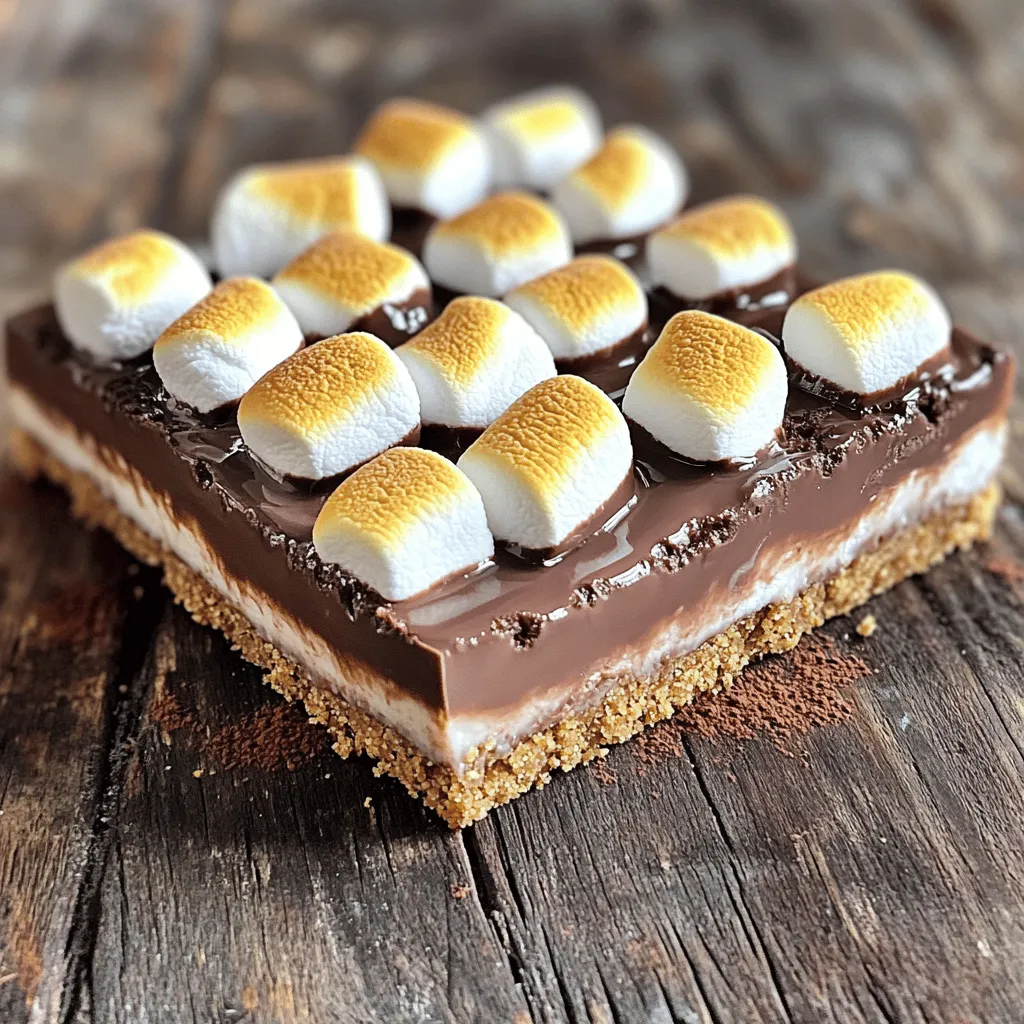
No-Bake S’mores Bars Irresistible and Easy Recipe
Craving a sweet treat without turning on the oven? You’re in the right place! With my easy no-bake S’mores bars Read Full Recipe -
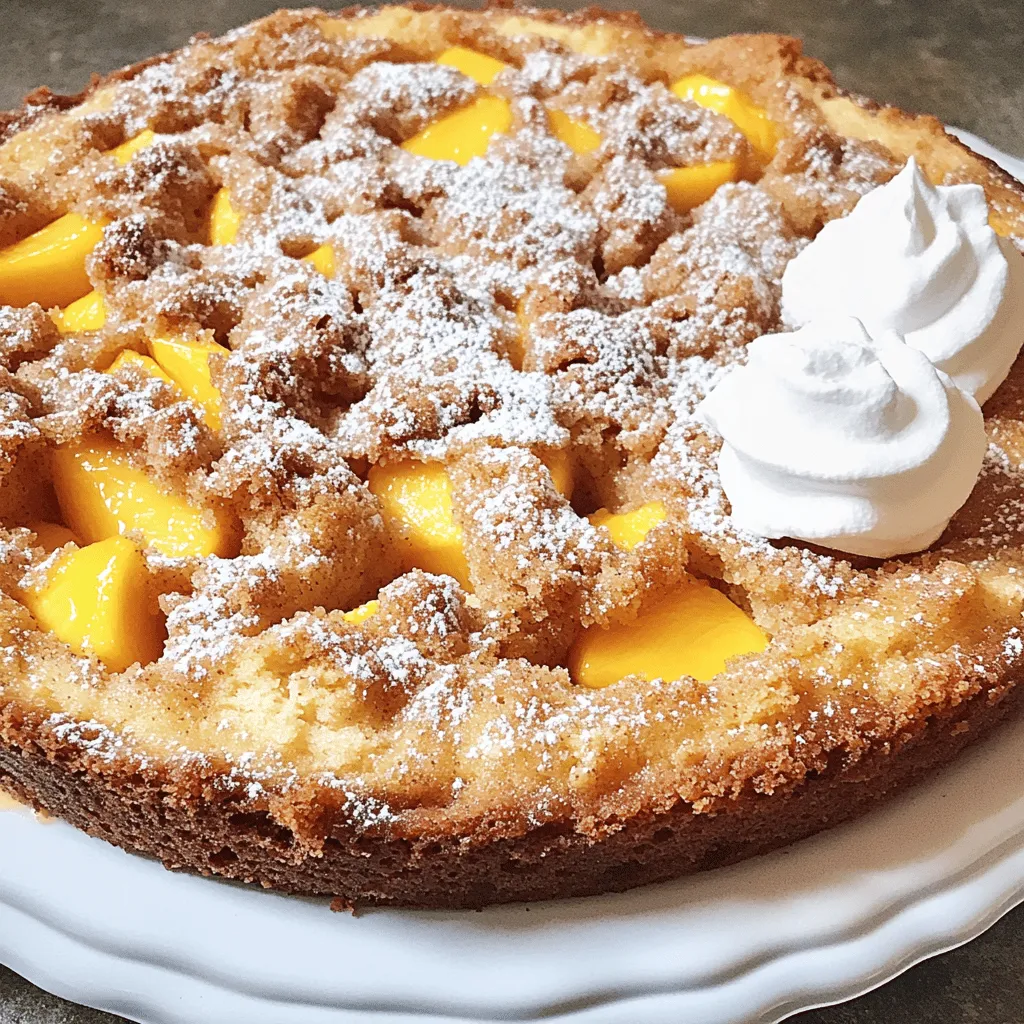
Peach Streusel Coffee Cake Delightful and Simple Recipe
If you love a good coffee cake, you’ll adore my Peach Streusel Coffee Cake recipe. It’s sweet, moist, and full Read Full Recipe -
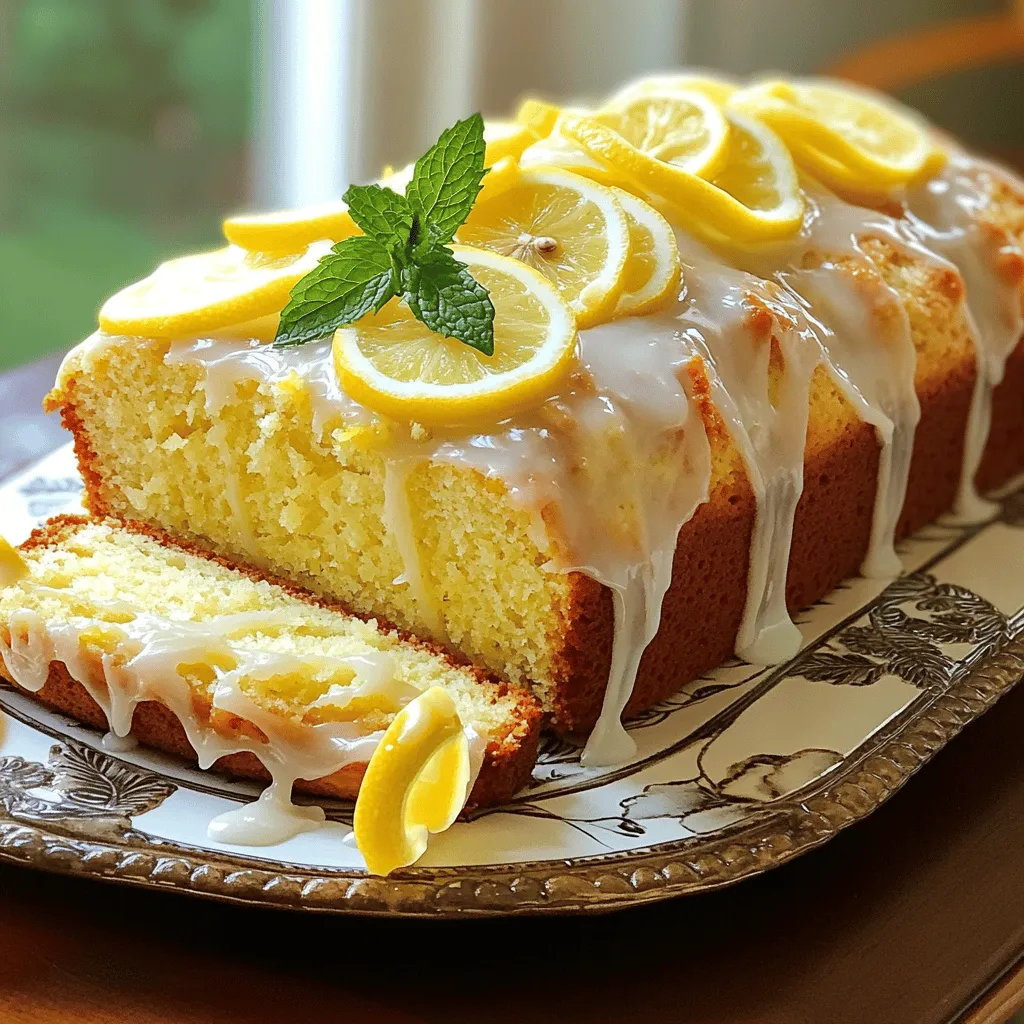
Easy Lemon Loaf Cake Simple and Tasty Recipe
If you love bright, citrusy treats, then this Easy Lemon Loaf Cake is for you! It’s simple to make and Read Full Recipe -
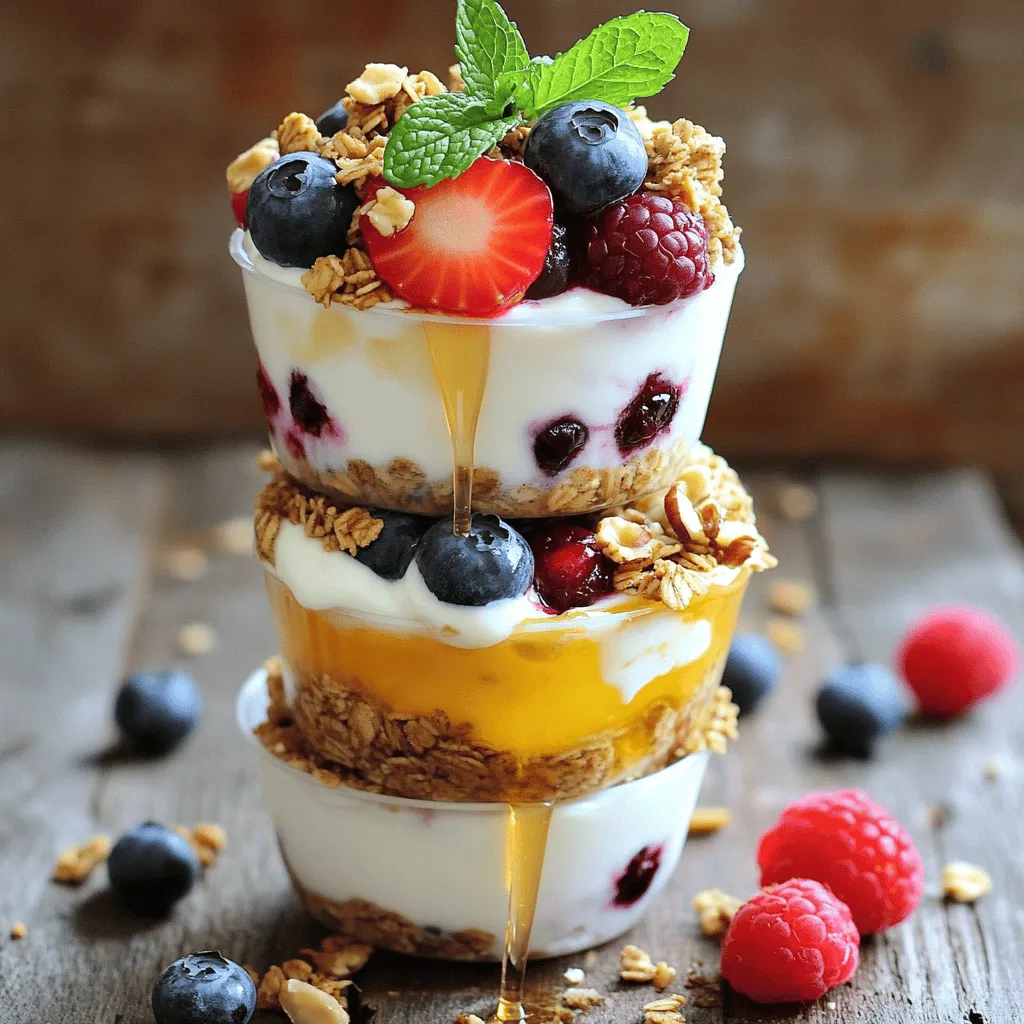
Frozen Yogurt Granola Cups Delightful and Healthy Treat
Looking for a cool and tasty treat? Frozen yogurt granola cups are the answer! These delightful snacks blend creamy yogurt Read Full Recipe -
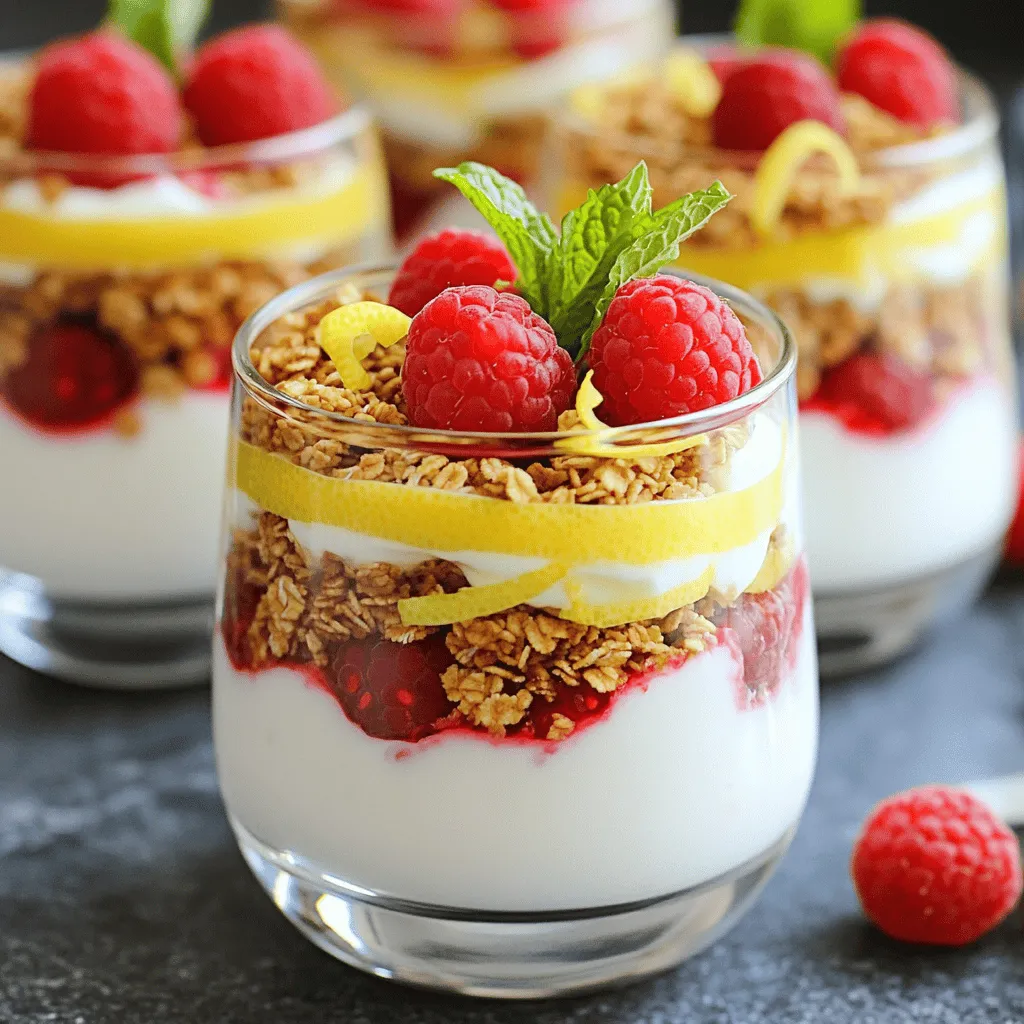
Raspberry Lemon Yogurt Parfait Tasty and Simple Treat
Looking for a quick, delicious treat? My Raspberry Lemon Yogurt Parfait is simple to make and bursting with flavor! This Read Full Recipe -
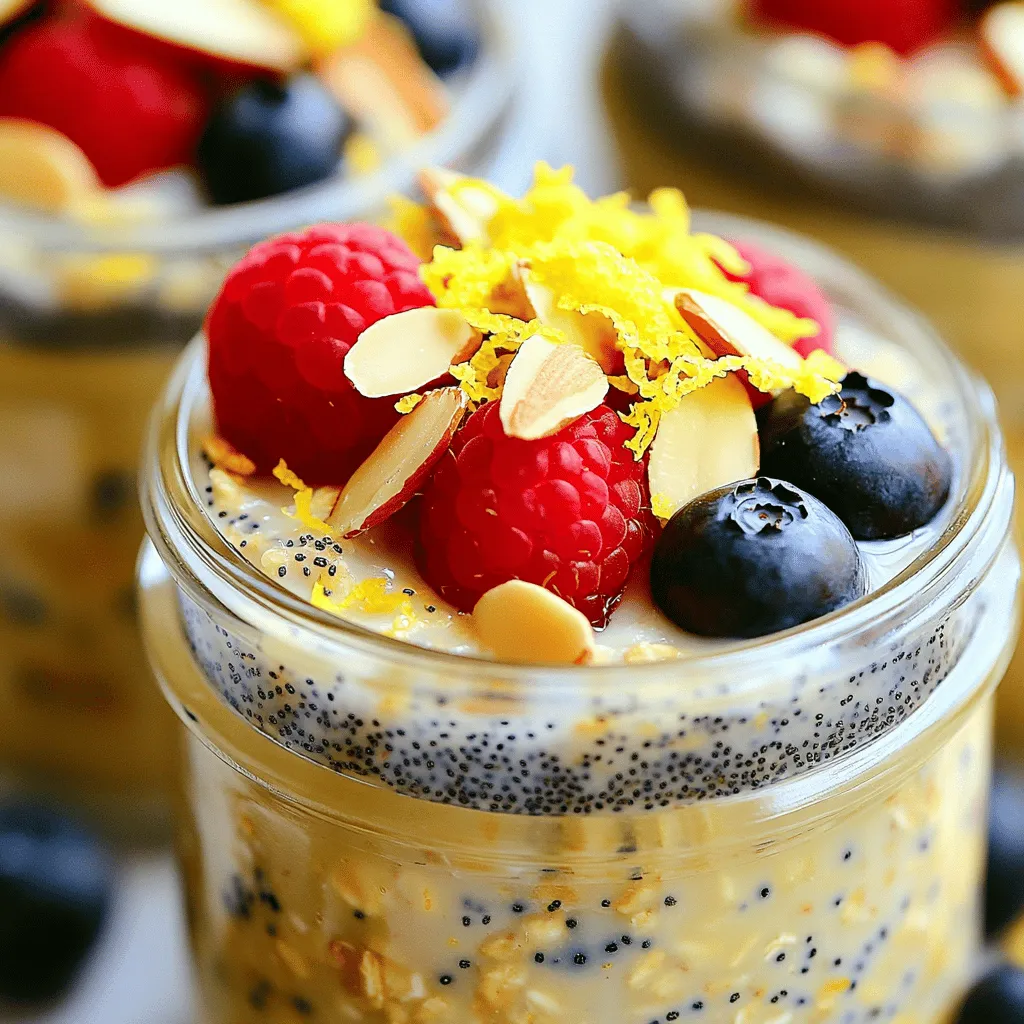
Lemon Poppyseed Overnight Oats Quick and Easy Recipe
Wake up to a burst of fresh flavor with my Lemon Poppyseed Overnight Oats recipe! This quick and easy breakfast Read Full Recipe -
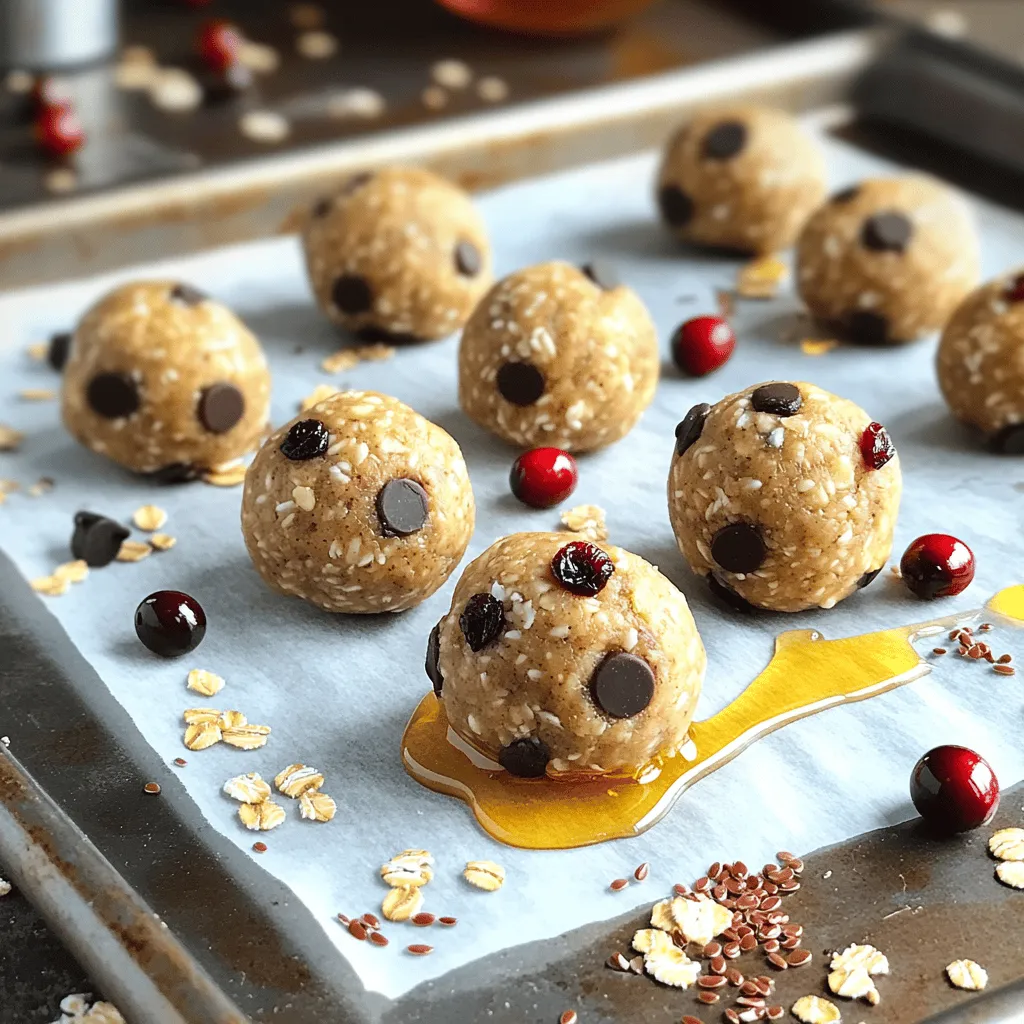
Peanut Butter Energy Balls Easy Healthy Snack Recipe
Looking for a tasty treat that’s also healthy? Peanut Butter Energy Balls are your answer! This easy snack recipe packs Read Full Recipe -
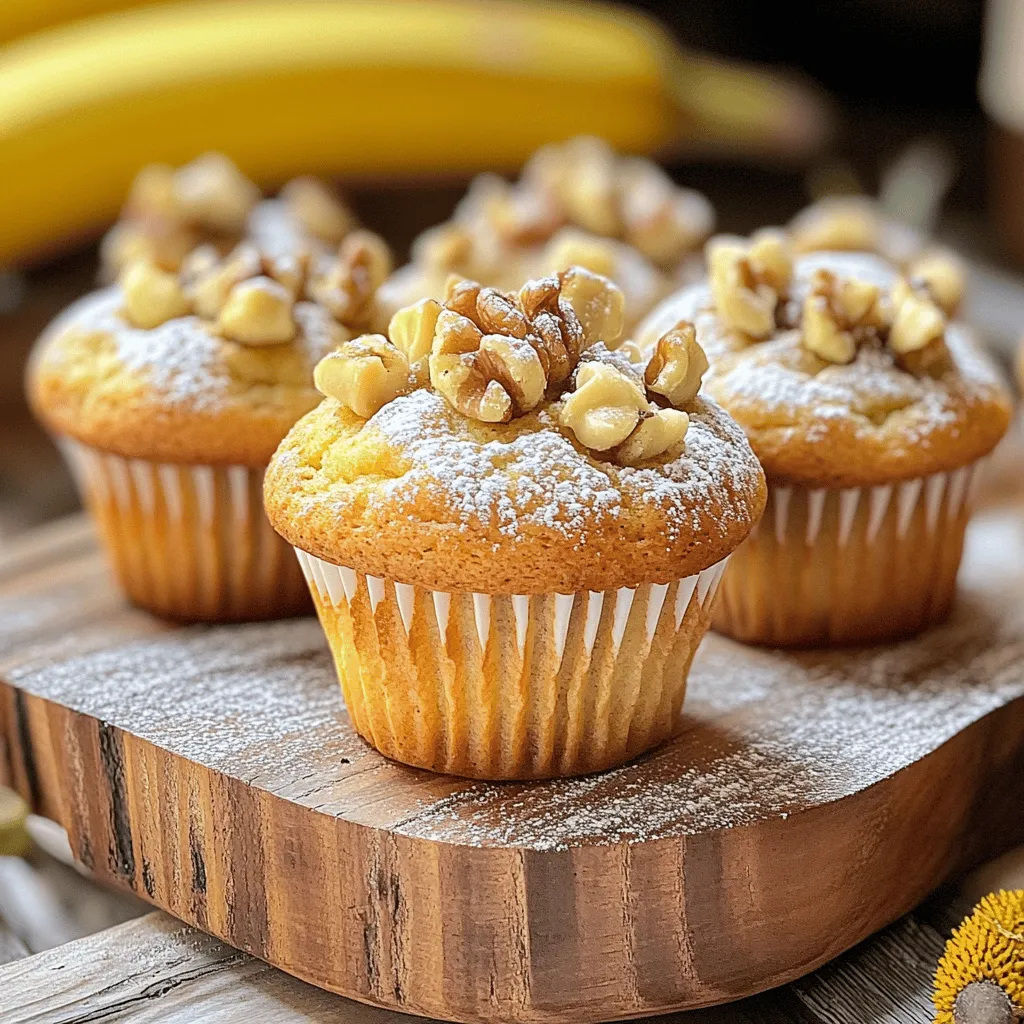
Banana Nut Muffins Delightfully Soft and Tasty Recipe
Are you ready to bake the softest, tastiest banana nut muffins ever? I’ll take you through a simple recipe that Read Full Recipe -
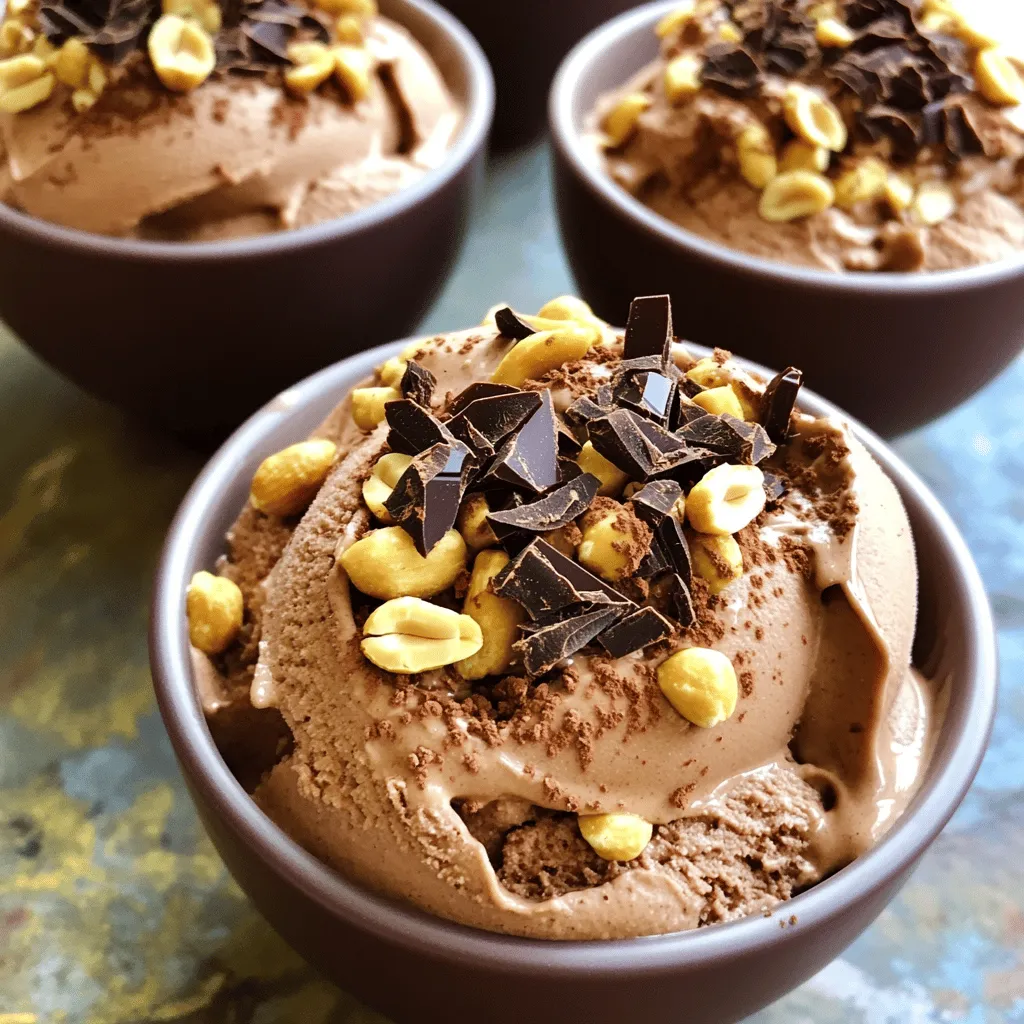
Chocolate Peanut Butter Nice Cream Easy and Tasty Treat
Craving a delicious treat that’s both easy and healthy? Chocolate Peanut Butter Nice Cream is your answer! This creamy dessert Read Full Recipe -
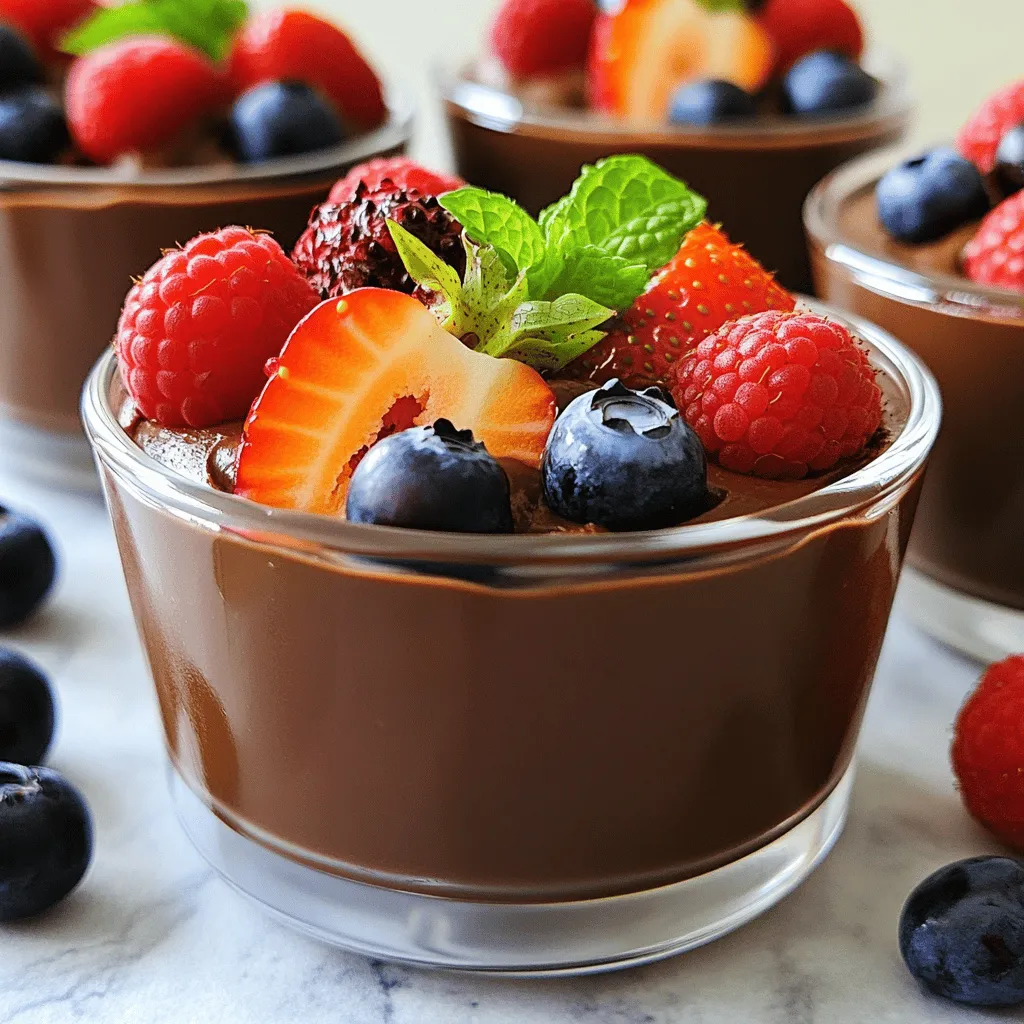
Vegan Chocolate Mousse Rich and Creamy Dessert Recipe
Craving a rich, creamy dessert that’s completely plant-based? Look no further! This Vegan Chocolate Mousse is simple to make and Read Full Recipe
My Latest Recipes

hey,
i’m !
I’m so happy you’re here!
Every dish I share is made with love and care. I hope they bring you the same comfort and joy they bring me. Let’s make memories, one recipe at a time.

![To make your hot honey chicken bowls, gather these ingredients: - 1 lb boneless, skinless chicken thighs - 2 tablespoons olive oil - 1 teaspoon paprika - 1 teaspoon garlic powder - 1 teaspoon onion powder - 1 teaspoon salt - 1/2 teaspoon black pepper - 1/4 teaspoon cayenne pepper (adjust to taste) - 1/3 cup hot honey (store-bought or homemade) - 2 cups cooked brown rice or quinoa - 1 cup corn kernels (fresh or canned) - 1 cup black beans, rinsed and drained - 1/2 cup diced bell pepper (red or yellow) - 1/4 cup chopped fresh cilantro - Juice of 1 lime - Sliced jalapeños (for garnish, optional) - Avocado slices (for garnish, optional) You will need a few essential tools to make this dish: - Large mixing bowl - Skillet or frying pan - Spatula or tongs - Measuring spoons and cups - Knife and cutting board - Serving bowls Choosing fresh ingredients makes a big difference. Here are my tips: - Chicken Thighs: Look for thighs that are pink and moist. Avoid any that look dull or slimy. - Vegetables: Choose bright bell peppers and firm corn. Fresh veggies add crunch and flavor. - Cilantro: Pick cilantro with bright green leaves. Avoid any with wilting or yellowing. - Hot Honey: If buying, check the label for natural ingredients. If making, use quality honey and your favorite hot sauce. Using fresh ingredients ensures your hot honey chicken bowls taste great! For the full recipe, check out the Hot Honey Chicken Bowls section above. Marinating the chicken adds great flavor. Start with a mixing bowl. Combine the olive oil, paprika, garlic powder, onion powder, salt, black pepper, and cayenne pepper. Mix well until smooth. Add the chicken thighs and coat them evenly. Cover the bowl and let it sit for at least 30 minutes. You can also refrigerate it for up to 2 hours. This step makes the chicken juicy and tasty. To cook the chicken, heat a large skillet over medium-high heat. Add the marinated chicken thighs to the skillet. Cook them for about 6-7 minutes on each side. Look for a golden brown color. The chicken is done when it reaches 165°F inside. In the last few minutes, drizzle the hot honey over the chicken. This creates a sweet glaze. Turn the chicken to coat it well in the hot honey. Now it’s time to prepare the bowl base. In a separate bowl, mix the cooked brown rice or quinoa with the corn, black beans, diced bell pepper, lime juice, and chopped cilantro. Stir everything together. Taste it and add salt if needed. This bowl base is colorful and nutritious. It pairs nicely with the glazed chicken. For the full recipe, check out the [Full Recipe]. To get the best flavor from hot honey, choose quality honey. Look for honey that has a kick from chili peppers. You can also make your own hot honey. Just mix regular honey with crushed red pepper flakes. Heat it gently to blend the flavors. Let it sit for a while to develop the heat. This will give your chicken an exciting taste. Cooking time is key for juicy chicken. Start by marinating your chicken for at least 30 minutes. This helps it absorb flavor. Heat your skillet on medium-high before adding the chicken. Cook each side for 6-7 minutes. Use a meat thermometer to check the chicken. It should reach an internal temperature of 165°F. This will ensure it's safe to eat and still juicy. Serving is as fun as cooking! Use deep bowls to give your meal a hearty look. Start with a base of brown rice or quinoa. Slice the chicken and place it on top. Add colorful veggies like bell peppers and corn. For a fresh touch, sprinkle chopped cilantro on top. A lime wedge adds zing and brightness. You can also drizzle extra hot honey over the chicken for added flavor. Enjoy your beautiful, tasty bowl! For the full recipe, check out the detailed instructions above. {{image_2}} You can make this dish vegetarian with ease. Replace the chicken with hearty tofu or tempeh. Both soak up flavors well. Press and cube the tofu for a firmer texture. Marinate as you would the chicken. Cook the tofu until golden brown for a nice crunch. You can also use chickpeas for a protein boost. They add a nice texture and flavor to the bowl. If you love heat, add more spice! You can increase the cayenne pepper in the marinade. For an extra kick, mix in some diced habanero or serrano peppers. Sliced jalapeños work great as a topping too. You can even drizzle on extra hot honey for a sweet and spicy finish. Adjust the heat level to match your taste. The base of your bowl is just as important. While brown rice and quinoa are great, you can mix it up. Try using farro or couscous for a different bite. Cauliflower rice is a low-carb option that adds a fresh twist. You can also use a mix of grains for varied textures. Each base brings its own flavor, so don’t be afraid to experiment. After enjoying your hot honey chicken bowls, you may have some leftovers. To keep them fresh, place the chicken and rice mixture in airtight containers. This method helps lock in moisture and flavor. Store them in the fridge for up to three days. Remember to let the food cool to room temperature before sealing. This prevents condensation, which can make your meal soggy. When it's time to reheat, you want to keep your meal tasty. Use a microwave or stovetop for best results. If using a microwave, cover the bowl with a damp paper towel. This helps keep the chicken moist. Heat for one to two minutes, checking halfway. If using the stovetop, warm it on low heat in a skillet. Stir gently to avoid drying out the chicken. Freezing is a great option if you want to save your hot honey chicken bowls for later. First, let the dish cool completely. Then, portion it into freezer-safe containers. You can freeze these for up to three months. When ready to eat, thaw in the fridge overnight. Reheat on the stove or in the microwave. Your meal will taste fresh and delicious, just like the first time. You can find the full recipe here. Hot honey is a sweet and spicy blend. It combines honey with chili peppers. You can buy it at stores or make it at home. To make it, heat honey in a pot. Add crushed red pepper flakes or fresh chili peppers. Let it simmer for a few minutes. This lets the flavors mix well. You can adjust the heat by adding more or less spice. Hot honey adds a unique kick to many dishes. It works great on pizza, wings, and even in drinks. Yes, you can use chicken breasts instead of thighs. Chicken breasts are leaner and cook faster. They may not be as juicy, but they still taste good. Just be careful not to overcook them. Cook them until they reach 165°F. This keeps them tender and safe to eat. You can follow the same steps in the recipe. The flavor from the hot honey will still shine through. Hot honey chicken bowls are tasty on their own. You can serve them with various sides to enhance the meal. Here are some ideas: - Steamed vegetables: Broccoli or green beans add color and nutrients. - Salad: A fresh garden salad can balance the heat. - Cornbread: This sweet bread pairs well with the spicy chicken. - Pickles: They add a nice crunch and tang. Feel free to mix and match your sides! They can add different flavors and textures to your meal. For the full recipe, check out the details above. This blog post covered everything you need for hot honey chicken bowls. We identified fresh ingredients and essential tools to get started. I shared steps for marinating and cooking the chicken to perfection. Flavor tips and serving ideas can enhance your dish even more. Explore variations for vegetarian options and spicy twists. Lastly, I included storage and reheating tips to keep your meals tasty. Now, you have everything to make delicious bowls that impress!](https://easycookingbite.com/wp-content/uploads/2025/05/22f192af-4576-475e-8f11-4f49ace0afe7-300x300.webp)
. Enjoy cooking! - Set the Instant Pot to 'Sauté' and heat 2 tablespoons of olive oil. - Add 1 medium onion, finely chopped, and 3 cloves of minced garlic. Sauté for 2-3 minutes. - Next, add 1 diced bell pepper and sauté for another 2 minutes. Stir it often. - Season 1 lb of boneless, skinless chicken thighs with smoked paprika, cumin, chili powder, salt, and pepper. - Push the veggies to the sides of the pot. Sear the chicken for 2-3 minutes on each side. - Add 2 cups of rinsed brown rice, 1 can of diced tomatoes (with juices), and 2 ½ cups of chicken broth. Stir well to mix everything. - Close the lid of the Instant Pot. Set to 'Manual' high pressure for 22 minutes. - After cooking, let the pressure release naturally for 10 minutes. Carefully switch the valve to 'Venting' for any leftover pressure. - Remove the chicken thighs. Shred them with two forks and return to the pot. Stir in 1 cup of frozen peas and let it sit for 5 minutes. - Taste and adjust seasoning if needed. For the full recipe, check out Instant Pot Zesty Chicken & Rice Delight. - Importance of rinsing rice: Rinsing rice removes excess starch. This helps keep your rice fluffy and prevents it from getting sticky. You want each grain to stand out. - Achieving perfect chicken texture: Use boneless chicken thighs for moist meat. They cook well and won’t dry out. Searing the chicken adds flavor and a nice texture. - Natural pressure release benefits: Allowing the pot to release pressure naturally helps keep the chicken tender. It also gives the flavors more time to blend together. Wait about 10 minutes before opening the lid. - Best garnishes for flavor enhancement: Fresh cilantro adds a bright taste to your dish. You can also use lime wedges for a zesty kick. A sprinkle of cheese can add creaminess, too. - Pairing options for complete meals: Serve with a simple salad or crusty bread. These sides balance the meal and add crunch. You can also pair it with a light soup for a cozy dinner. - Overcooking rice: Using too much liquid or cooking too long can make rice mushy. Stick to the recipe for the right balance. - Not seasoning enough: Don’t skip the spices! Seasoning adds depth to your dish. Taste before serving and adjust as needed for the best flavor. For the full recipe of this comforting dish, check the [Full Recipe]. {{image_2}} You can switch up your chicken cuts in this recipe. Chicken thighs offer great flavor, but you can also use chicken breasts. If you prefer leaner meat, breasts work well. Just remember that breasts may cook faster, so check for doneness. Adding more veggies can boost nutrition and taste. Try diced carrots, zucchini, or spinach. These additions not only add color but also provide vitamins. Just chop them small so they cook evenly with the rice. Spice blends can change the taste of your dish. You can use Italian herbs like oregano and basil for a Mediterranean twist. For a kick, add crushed red pepper flakes or curry powder. These spices will take your meal to a new level. You can also try different sauces or liquids. Swap chicken broth for vegetable broth for a lighter option. A splash of soy sauce can add a savory depth. If you want creaminess, mix in coconut milk instead of broth. These choices will keep your meal exciting! For the full recipe, check out Instant Pot Zesty Chicken & Rice Delight. After cooking, let your chicken and rice cool down. Place it in a clean, airtight container. This helps keep it fresh. You can store it in the fridge for up to four days. Always check for any off-smells before eating. If it smells fine, it should be good to eat! To freeze, use a freezer-safe container. Make sure to leave some space at the top. This allows for expansion when freezing. You can freeze the dish for up to three months. When ready to eat, thaw it in the fridge overnight. For reheating, place it in a pot on low heat. Stir often to warm it evenly. You can also use the microwave. Just cover it and heat in short bursts, stirring in between. To make Instant Pot Chicken and Rice, start by sautéing onions and garlic in olive oil. Add diced bell pepper and cook for a couple more minutes. Season chicken thighs with smoked paprika, cumin, and chili powder. Sear them in the pot until golden brown. Next, add rinsed brown rice and canned tomatoes with their juice. Pour in chicken broth and stir. Close the lid, set it to 'Manual' for 22 minutes, and let it cook. Afterward, let the pressure release naturally for 10 minutes. Shred the chicken, mix in frozen peas, and adjust the seasoning. This method keeps the rice fluffy and the chicken tender. Yes, you can use white rice instead of brown rice. White rice cooks faster than brown rice. If you use white rice, reduce the cooking time to about 10-12 minutes on high pressure. Make sure to adjust the broth quantity slightly, too. White rice will give you a softer texture, while brown rice offers a nuttier flavor. The total cooking time for this recipe is about 45 minutes. This includes 10 minutes for prep, 22 minutes for high-pressure cooking, and about 10 minutes for natural pressure release. The rest is for shredding chicken and warming the peas. This time is quick for a meal that tastes so good. Yes, you can add other vegetables to enhance the dish. Vegetables like carrots, green beans, or corn work well. Just chop them into small pieces and add them with the rice. Keep in mind that different veggies may change the cooking time slightly. You want everything to cook evenly and be tender. While canned tomatoes add great flavor, they are not strictly necessary. You can use fresh tomatoes if you prefer. Just chop them finely and add them to the pot. If you skip tomatoes altogether, consider adding more broth for moisture. This change can affect the dish's overall taste, so adjust your spices accordingly. This blog post covered all you need for Instant Pot Chicken and Rice. We explored ingredients, cooking steps, and essential tips to make it perfect. Remember to rinse your rice and season well. You can customize the dish with different veggies or spices. Store leftovers properly for the best taste later. Enjoy experimenting with this recipe. It’s simple, delicious, and great for any meal. Get cooking and have fun with it!](https://easycookingbite.com/wp-content/uploads/2025/06/5b90fd1d-8c48-490c-af77-330abd1de0e6-300x300.webp)
Pumpkin Spice Latte Cupcakes Delightful Fall Treat
Get ready to treat your taste buds! Pumpkin Spice Latte Cupcakes combine fall’s favorite flavors into one delightful bite. With moist pumpkin goodness and…
![- 1 cup all-purpose flour - 1/2 teaspoon baking powder - 1/2 teaspoon baking soda - 1/4 teaspoon salt - 1 tablespoon pumpkin spice blend - 1/2 cup unsalted butter, softened - 1 cup granulated sugar - 2 large eggs - 1/2 cup pure pumpkin puree - 1/2 cup brewed coffee, cooled - 1 teaspoon vanilla extract - 1/4 cup milk (or dairy-free alternative) - 1/2 cup cream cheese, softened - 1/4 cup butter, softened - 2 cups powdered sugar - 1 tablespoon brewed coffee - Additional pumpkin spice for garnish I love using fresh ingredients for my Pumpkin Spice Latte Cupcakes. The dry ingredients create a soft base. The flour, baking powder, and pumpkin spice blend add warmth and flavor. The baking soda helps the cupcakes rise, giving them a light texture. The wet ingredients are where the magic happens. Unsalted butter makes the cupcakes rich. Granulated sugar adds sweetness. Eggs provide structure and moisture. Pure pumpkin puree gives a cozy fall flavor. Brewed coffee enhances the taste, making it a true latte experience. Finally, vanilla extract and milk round out the mix for a creamy finish. For the frosting, I use cream cheese and butter, which create a rich and tangy topping. Powdered sugar adds sweetness, while a splash of brewed coffee brings out the latte flavor. Don't forget to sprinkle extra pumpkin spice on top for that perfect fall touch. You can find the full recipe [here]. Enjoy baking! 1. Preheat your oven to 350°F (175°C). Line a muffin tin with cupcake liners. 2. In a bowl, whisk together the all-purpose flour, baking powder, baking soda, salt, and pumpkin spice blend. Set this aside. 3. In another large bowl, cream the softened butter and granulated sugar until it looks light and fluffy. 4. Add the eggs one at a time. Mix well after each egg. Then, stir in the pumpkin puree, brewed coffee, and vanilla extract until they are well combined. 1. Gradually mix the dry ingredients into the wet ingredients. Be gentle to keep it light. 2. Alternate adding milk to the batter to reach a smooth consistency. 1. Divide the batter evenly among the cupcake liners. Fill each about two-thirds full. 2. Bake for 18-20 minutes. Check if a toothpick inserted in the center comes out clean. 3. Let the cupcakes cool in the pan for 5 minutes. Then, transfer them to a wire rack to cool completely before frosting. Once you have your cupcakes ready, you can move on to the frosting for your Pumpkin Spice Latte Cupcakes. For the full recipe, check out the details above! Using pumpkin puree and brewed coffee keeps these cupcakes moist and soft. Pumpkin puree adds a rich texture and a lovely flavor. Brewed coffee brings out the spices and enhances the pumpkin taste. It is important to avoid overmixing the batter. Mix just until the ingredients combine. This helps keep the cupcakes light and fluffy. For cream cheese frosting, start with softened cream cheese and butter. Beat them together until smooth. Gradually add powdered sugar for sweetness and brewed coffee for flavor. You can frost your cupcakes using a piping bag or a knife. A piping bag gives a pretty swirl, while a knife allows for a quick spread. Both methods work well, so choose what you like best. To make these cupcakes, you need some basic baking tools. A good muffin tin, cupcake liners, and mixing bowls are key. Measuring cups and spoons should be accurate for best results. Using the right tools helps ensure your cupcakes come out perfect every time. Remember to have fun while baking! For the complete recipe, refer to the Full Recipe section. {{image_2}} You can customize your Pumpkin Spice Latte Cupcakes to suit your taste. Here are two fun ideas: - Adding Chocolate or Caramel Drizzle: Drizzle melted chocolate or rich caramel on top of the frosting. This adds a sweet twist and makes the cupcakes even more decadent. - Incorporating Nuts or Chocolate Chips: Add chopped nuts like walnuts or pecans for a crunchy texture. You can also mix in chocolate chips for extra sweetness and a surprise in every bite. Not everyone can enjoy regular cupcakes. Here are ways to adapt this recipe: - Gluten-Free Options: Use a gluten-free all-purpose flour blend instead of regular flour. This keeps the cupcakes soft and tasty. - Vegan Substitutes for Eggs and Dairy: Replace eggs with flax eggs (1 tablespoon flaxseed meal and 2.5 tablespoons water). Use almond milk or coconut milk in place of regular milk and vegan butter for the frosting. Make your cupcakes look as good as they taste. Here are some creative suggestions: - Decorating with Seasonal Toppings: Top each cupcake with whipped cream and a sprinkle of pumpkin spice. You can also add candy corn or mini pumpkins for a festive touch. - Creative Serving Suggestions for Fall-Themed Gatherings: Serve your cupcakes on a wooden board with small pumpkins and autumn leaves. This fun display will impress your guests and fit the fall theme perfectly. To keep your pumpkin spice latte cupcakes fresh, use a few simple methods. For short-term storage, place them in an airtight container. This keeps moisture in and air out. Store at room temperature for up to three days. If you want to keep them longer, freezing is a great option. Wrap each cupcake in plastic wrap and place them in a freezer-safe bag. They can last up to three months in the freezer. If you have leftover frosting, store it in an airtight container. You can keep it in the fridge for up to a week. When you want to use it again, let it sit at room temperature for about 30 minutes. Then, mix it well before applying. If the frosting is too stiff, add a little milk or brewed coffee to loosen it up. These delicious cupcakes stay fresh for about three days at room temperature. After that, they start to lose taste and texture. Signs of spoilage include a dry texture or a sour smell. If you notice any of these signs, it’s best to toss them out. Enjoy these treats while they’re at their best! To make gluten-free Pumpkin Spice Latte Cupcakes, you can use a gluten-free flour blend. Look for blends that include xanthan gum. Just replace all-purpose flour with the gluten-free blend in the Full Recipe. The rest of the ingredients remain the same. This swap will help you keep the same texture. You can use pumpkin pie filling, but it will change the taste. Pumpkin pie filling has added spices and sugar. If you prefer a sweeter cupcake, this might work for you. Just remember to reduce the pumpkin spice in the recipe. Using pure pumpkin puree gives a more natural flavor. You can add nutmeg, cloves, or allspice for extra flavor. Each spice will bring its unique taste. Just add a pinch or two, based on your liking. This addition can make your cupcakes even more special. Experimenting with spices can lead to delightful surprises. Yes, you can make these cupcakes a day ahead. Just store them in an airtight container. If you plan to frost them, wait until the day of the party. This keeps the frosting fresh and beautiful. Your guests will love the taste. Store leftovers in an airtight container at room temperature. If your kitchen is warm, place them in the fridge. They will stay fresh for about three days. You can also freeze them for longer storage. Just remember to wrap them well before freezing. In this post, we covered how to make delicious Pumpkin Spice Latte Cupcakes. We started with the right ingredients and detailed each step from batter preparation to baking. I shared tips for keeping your cupcakes moist and creating perfect frosting. Don’t forget to explore fun variations and storage tips to enjoy later. With these guidelines, you can easily impress friends and family with your baking skills. Enjoy every bite of your pumpkin spice creations!](https://easycookingbite.com/wp-content/uploads/2025/05/8ecb6e3d-416f-454a-bf8c-ff8726831ded.webp)
