
Latest & Greatest
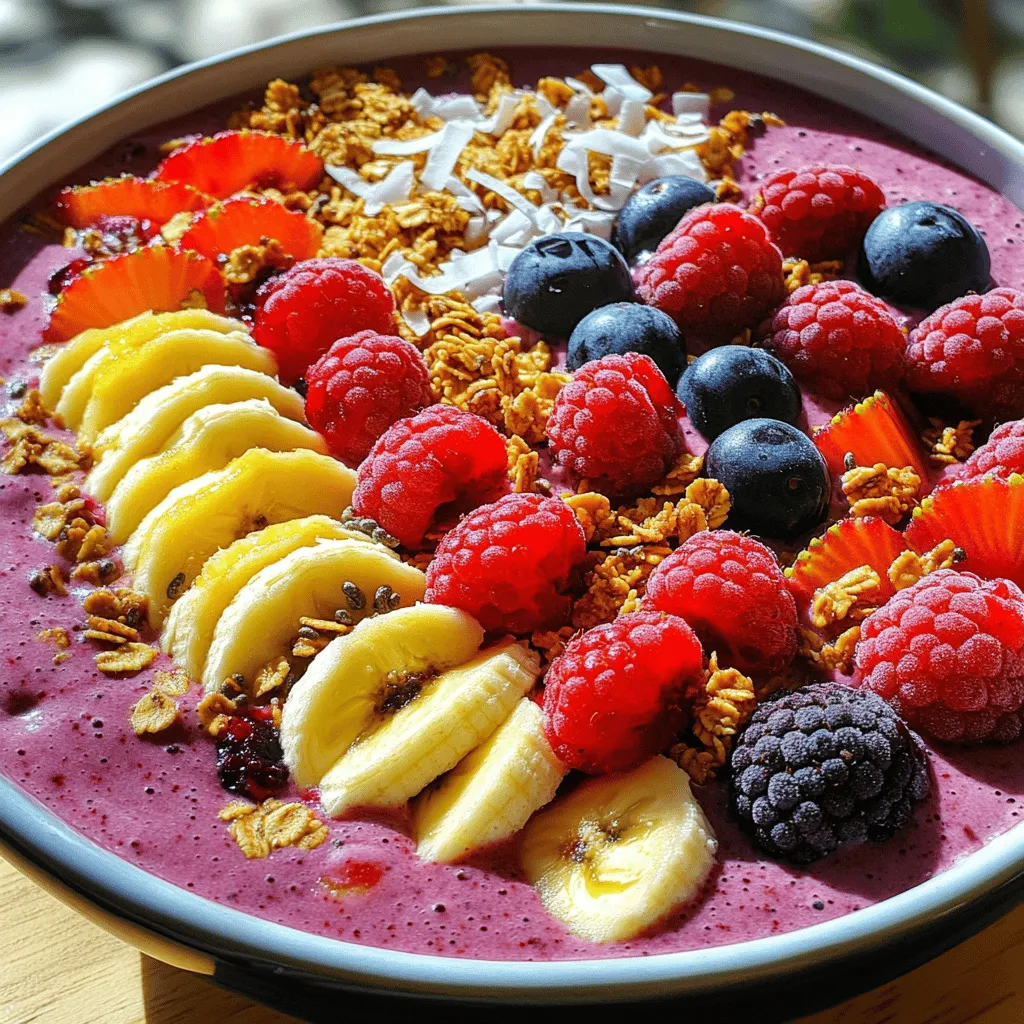
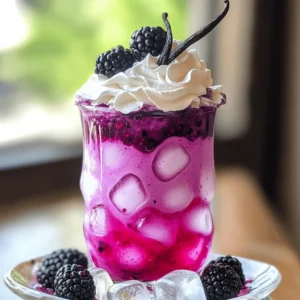
Berry Smoothie Bowl Delightful and Healthy Recipe
Are you ready to whip up a Berry Smoothie Bowl that’s both delightful and healthy? This recipe is packed with
Read more…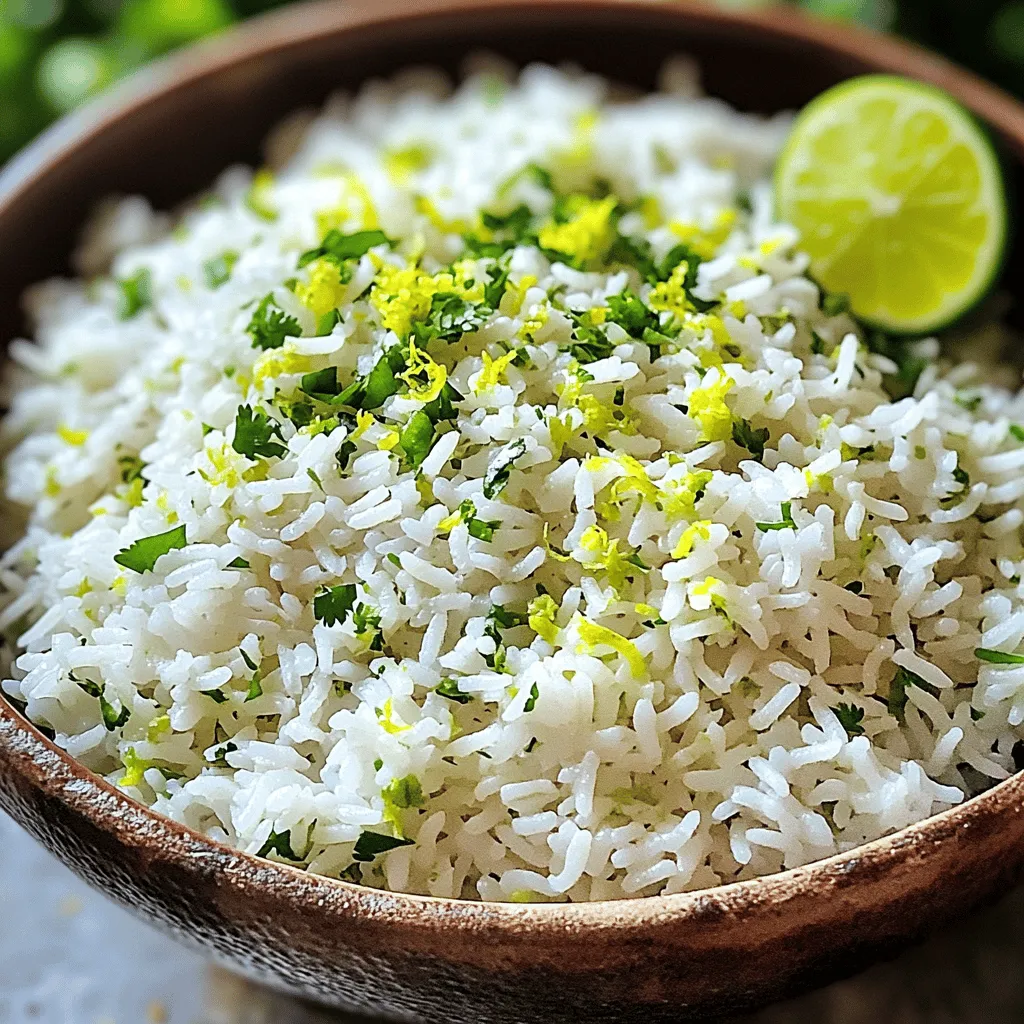
Zesty Cilantro Lime Rice Quick and Flavorful Dish
Are you ready to add a burst of flavor to your meals? My Zesty Cilantro Lime Rice recipe is quick,
Read more…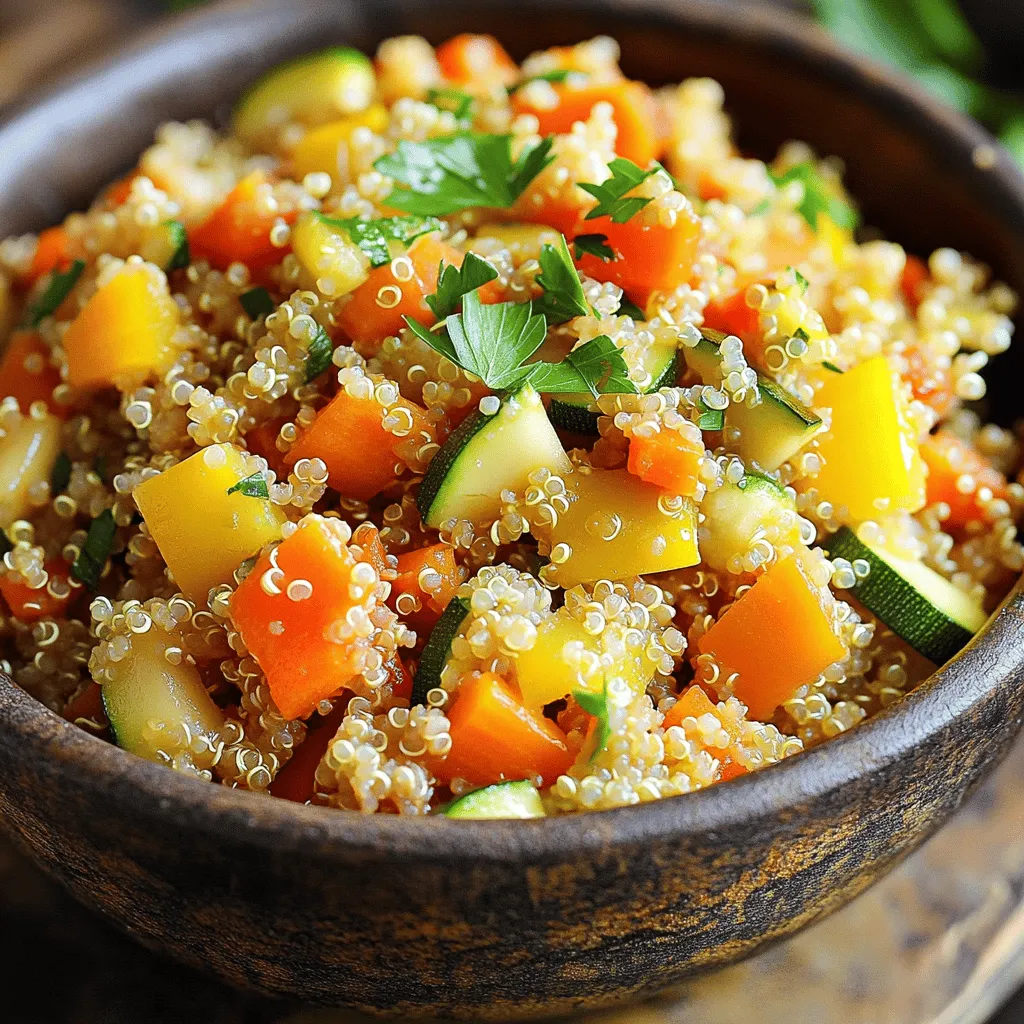
Quinoa Vegetable Pilaf Flavorful and Nutritious Dish
Welcome to a tasty journey with my Quinoa Vegetable Pilaf! This dish is not only packed with flavor but also
Read more…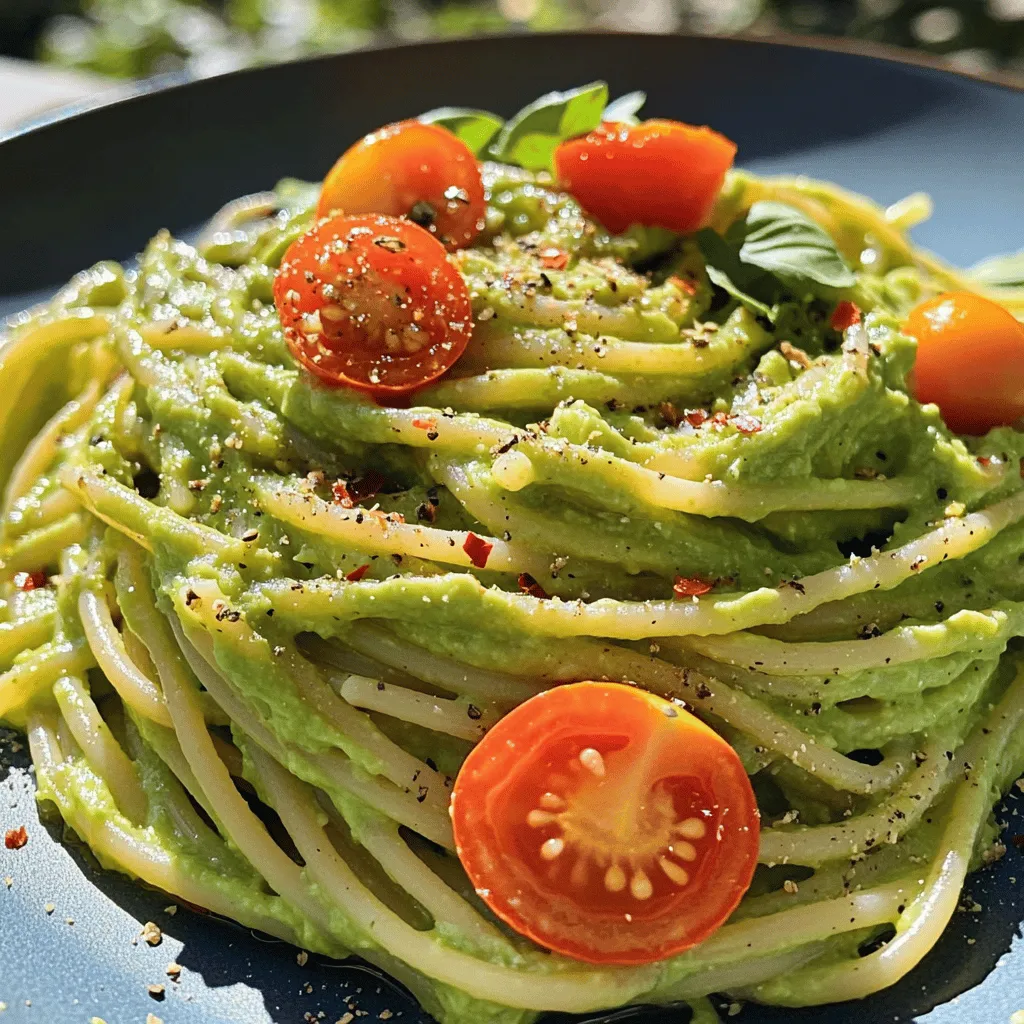
Creamy Avocado Pasta Simple and Delicious Meal
Are you ready to try a meal that’s creamy, delicious, and simple? This Creamy Avocado Pasta is perfect for busy
Read more…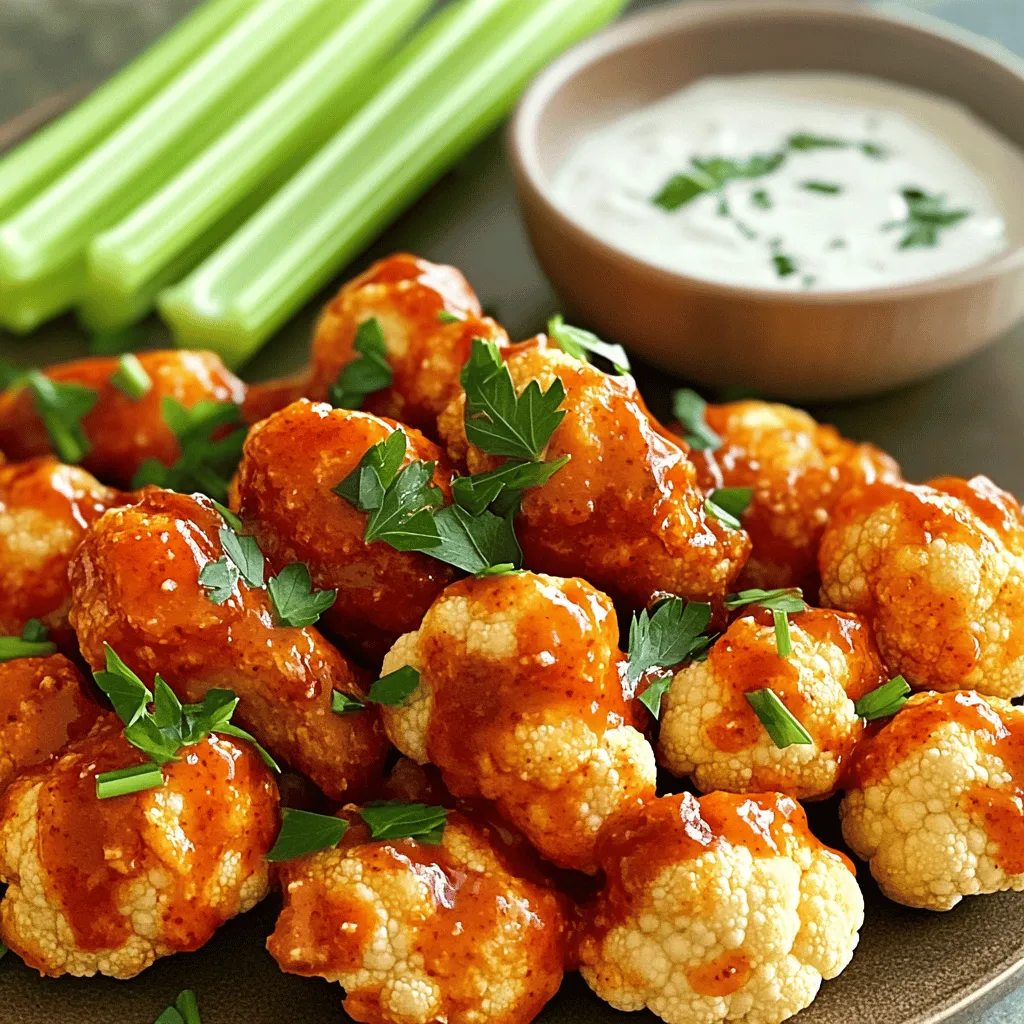
Vegan Cauliflower Buffalo Wings Flavorful and Easy Recipe
Are you ready to spice up your snack game with a healthy twist? These Vegan Cauliflower Buffalo Wings are not
Read more…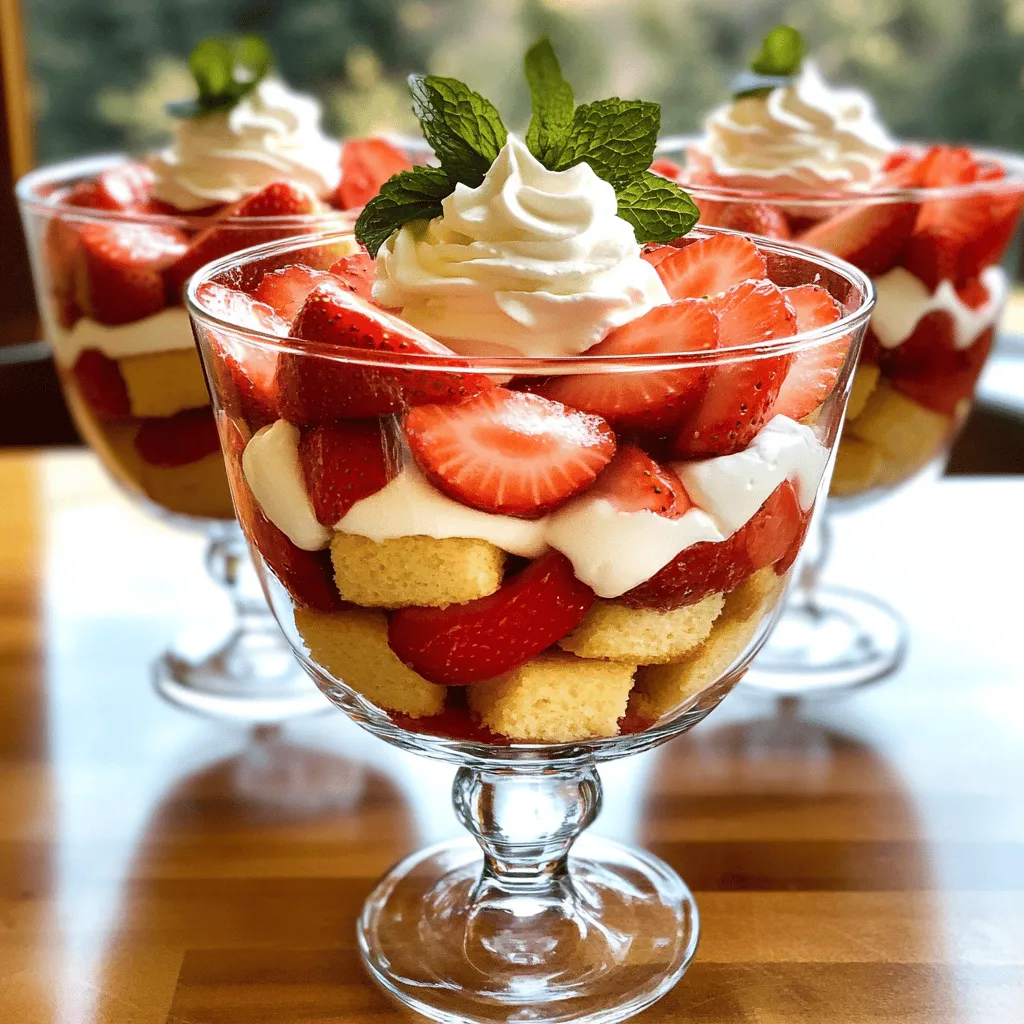
Strawberry Shortcake Trifle Delightful Layered Treat
Are you ready to impress your family and friends with a stunning dessert? This Strawberry Shortcake Trifle is a fun,
Read more…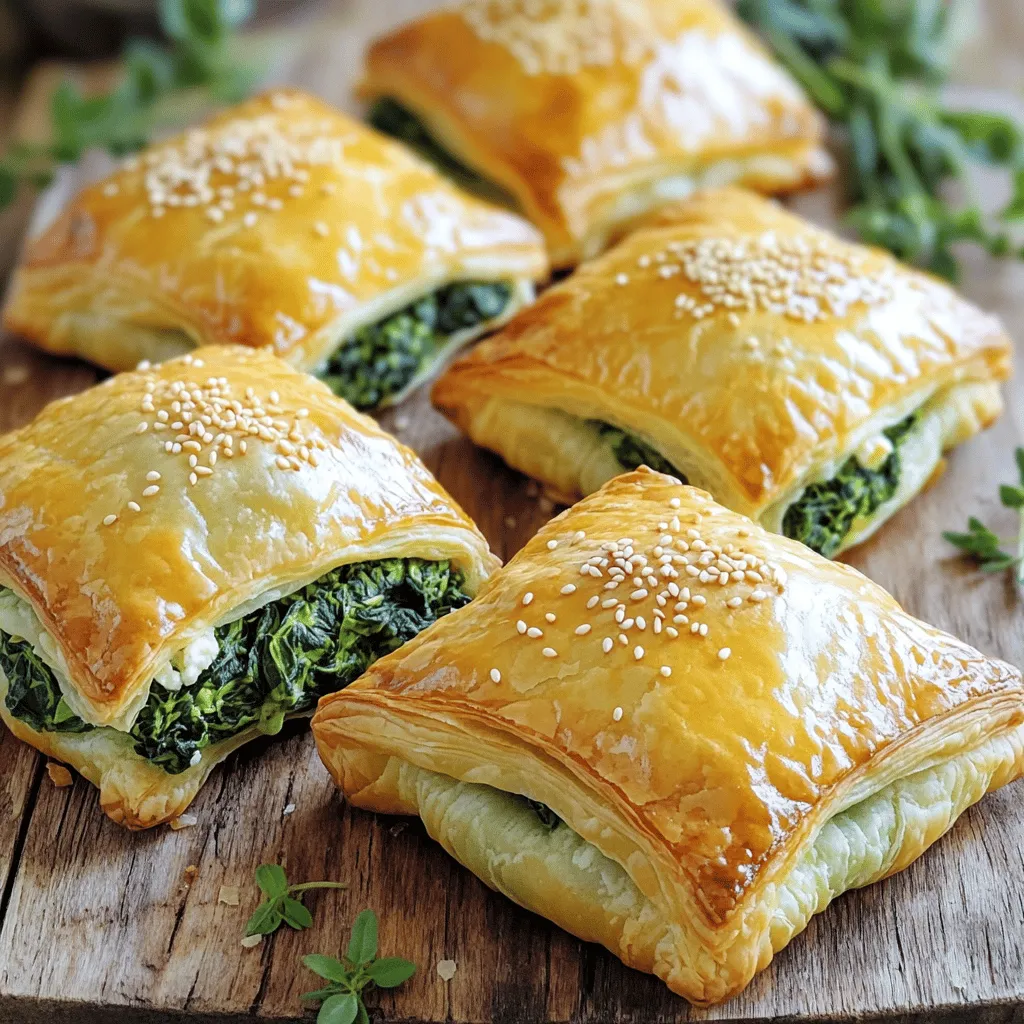
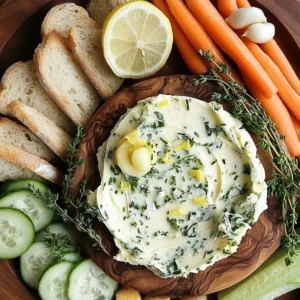
Savory Spinach and Feta Puff Pastry Delight
Looking for a delicious snack that’s easy to make? My Savory Spinach and Feta Puff Pastry Delight hits the spot!
Read more…
Dairy-Free Chocolate Avocado Mousse Velvety Treat
Craving a dessert that’s both delicious and dairy-free? You’ll love my Dairy-Free Chocolate Avocado Mousse! This velvety treat is not
Read more…browse recipes


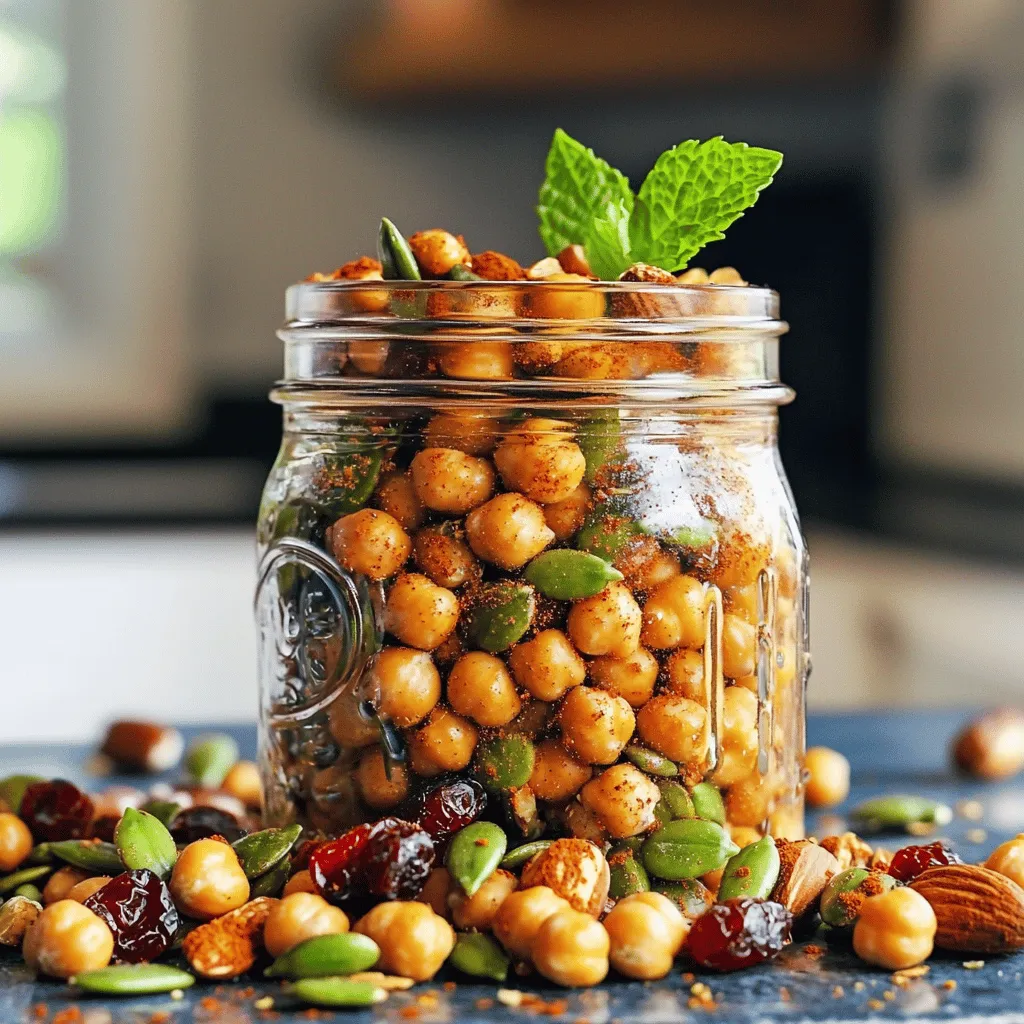
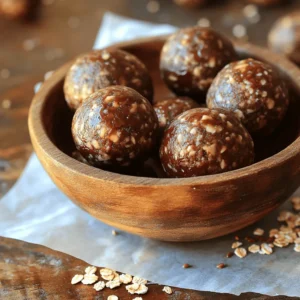
Crispy Roasted Chickpea Snack Mix for Healthy Crunch
Snack time just got a major upgrade! If you crave a crunchy treat that’s both tasty and healthy, look no further. My Crispy Roasted…
My Latest Drinks

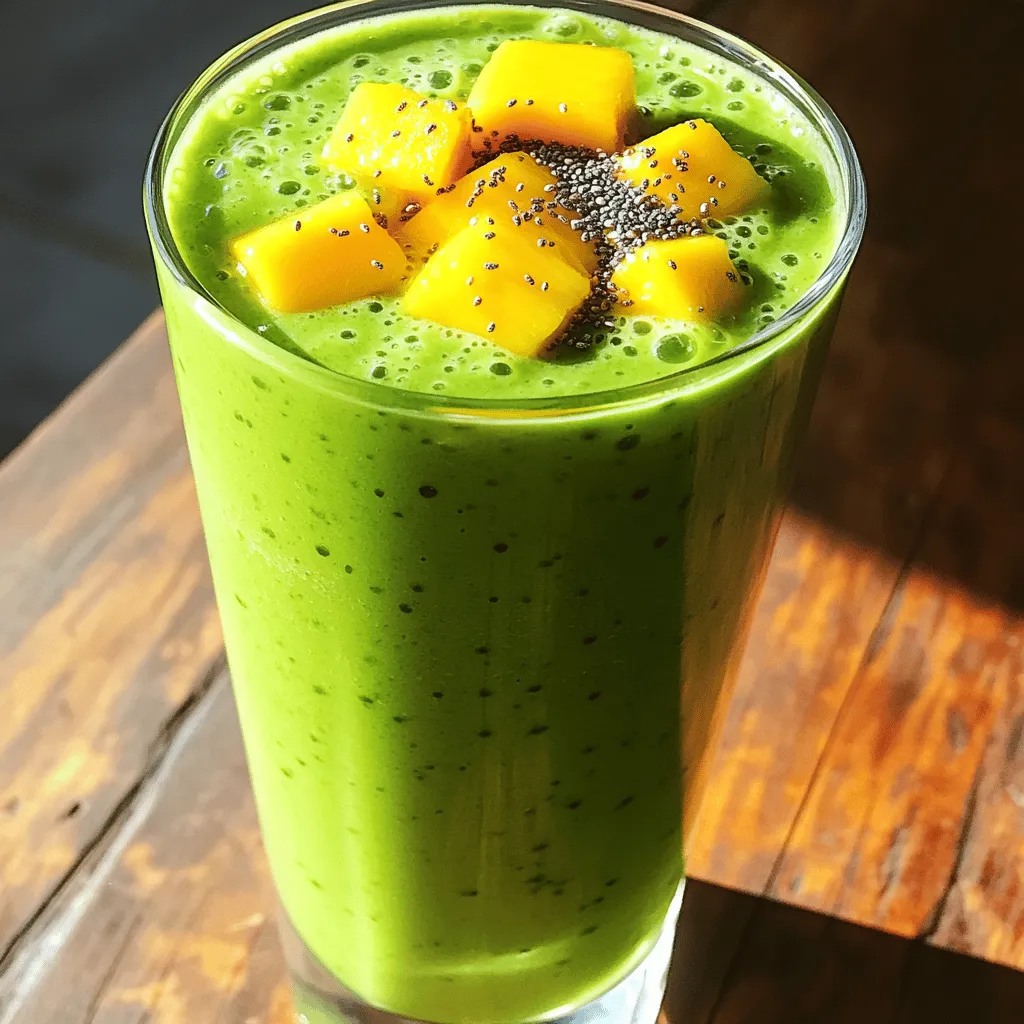
Tropical Green Smoothie Refreshing Health Boost Recipe
Looking for a refreshing drink that packs a health punch? My Tropical Green Smoothie is the perfect blend of fruits Read Full Recipe-
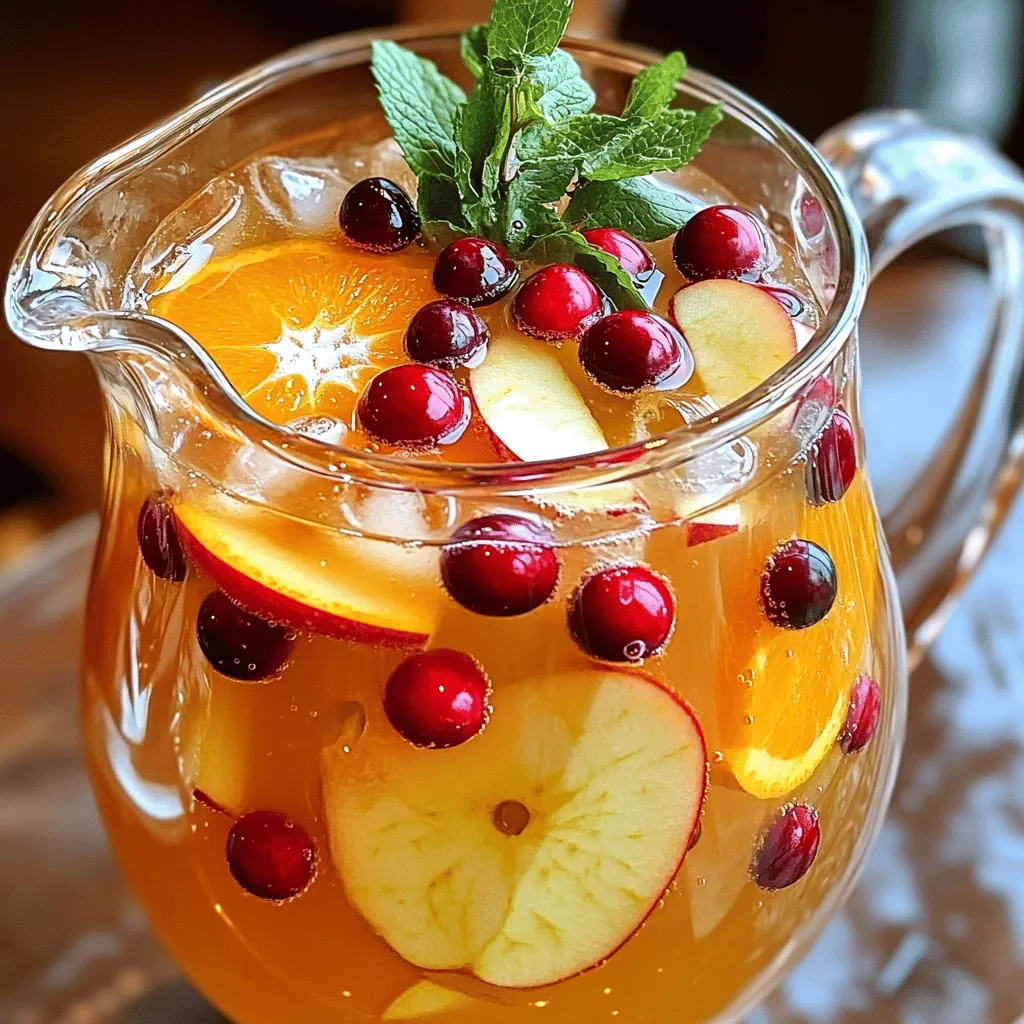
Apple Cider Harvest Punch Refreshing Fall Delight
Get ready for fall with my delicious Apple Cider Harvest Punch! This easy recipe blends fresh flavors that celebrate the Read Full Recipe -
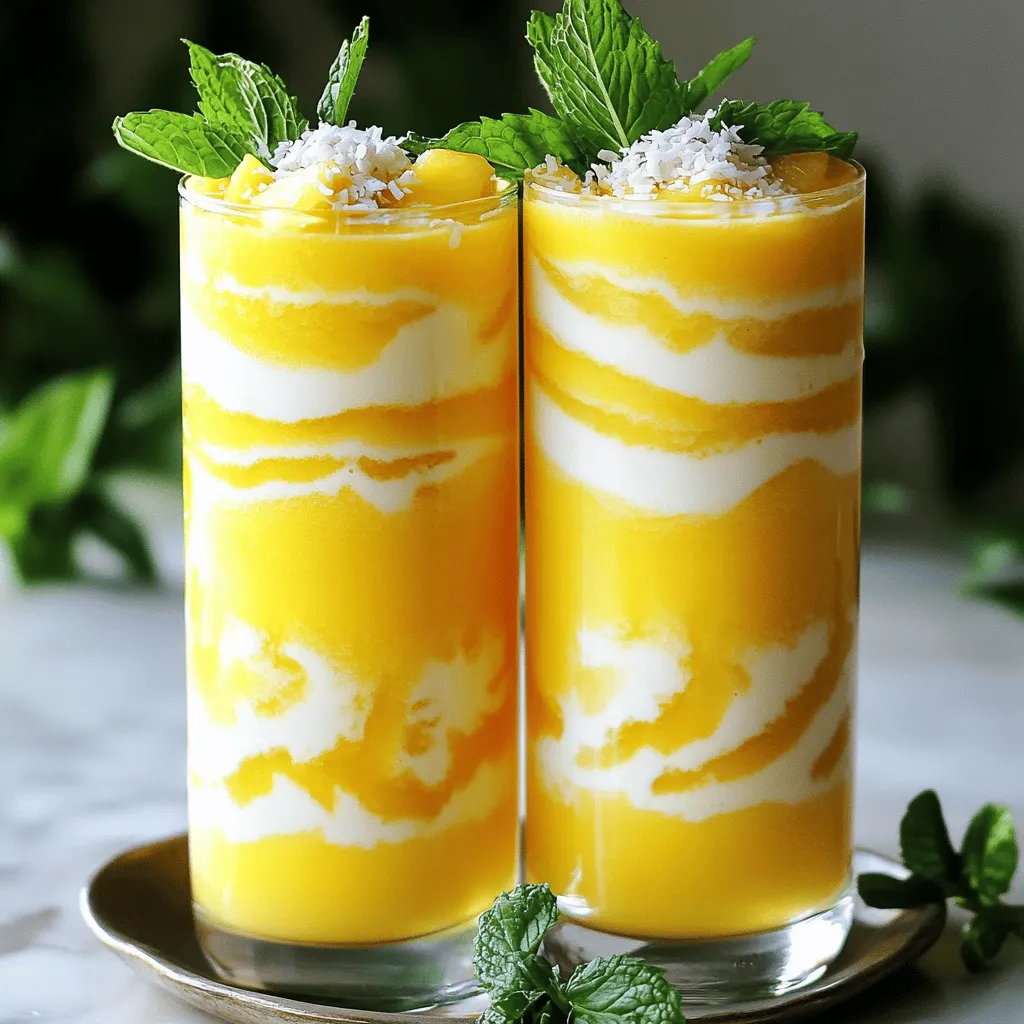
Pineapple Coconut Smoothie Creamy and Refreshing Drink
Are you craving a drink that’s both creamy and refreshing? Look no further than my Pineapple Coconut Smoothie! This easy-to-make Read Full Recipe -
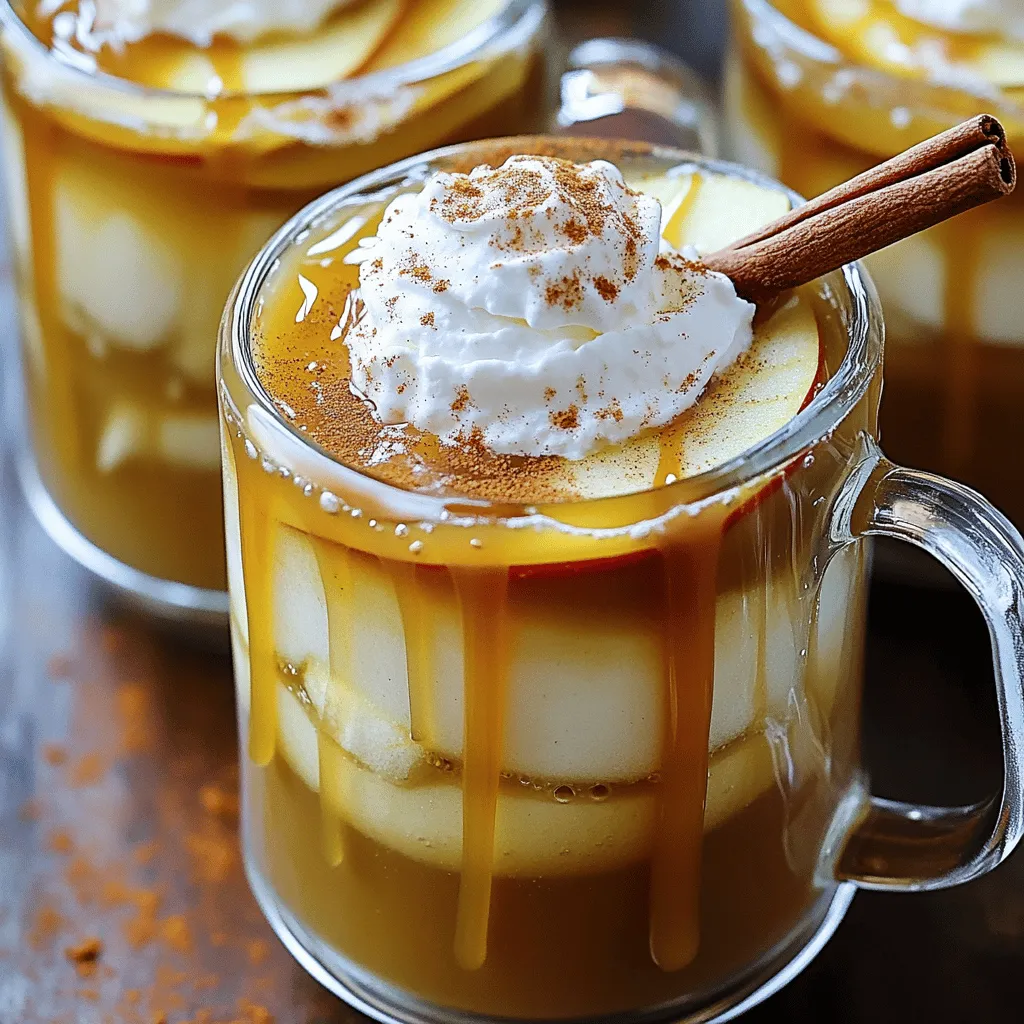
Delicious Caramel Apple Cider Cozy Fall Drink Recipe
Fall is here, and nothing says cozy like a warm cup of Caramel Apple Cider. This drink combines the sweet Read Full Recipe -
Instant Pot Apple Cider Quick and Flavorful Recipe
Looking for a quick and delicious way to make apple cider? The Instant Pot is your best friend! I’ll share Read Full Recipe -
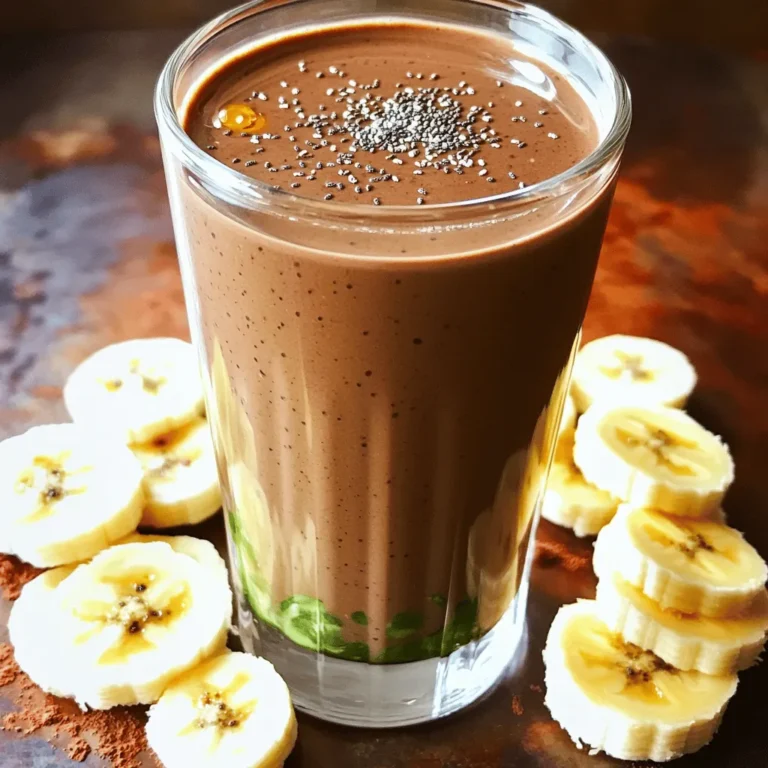
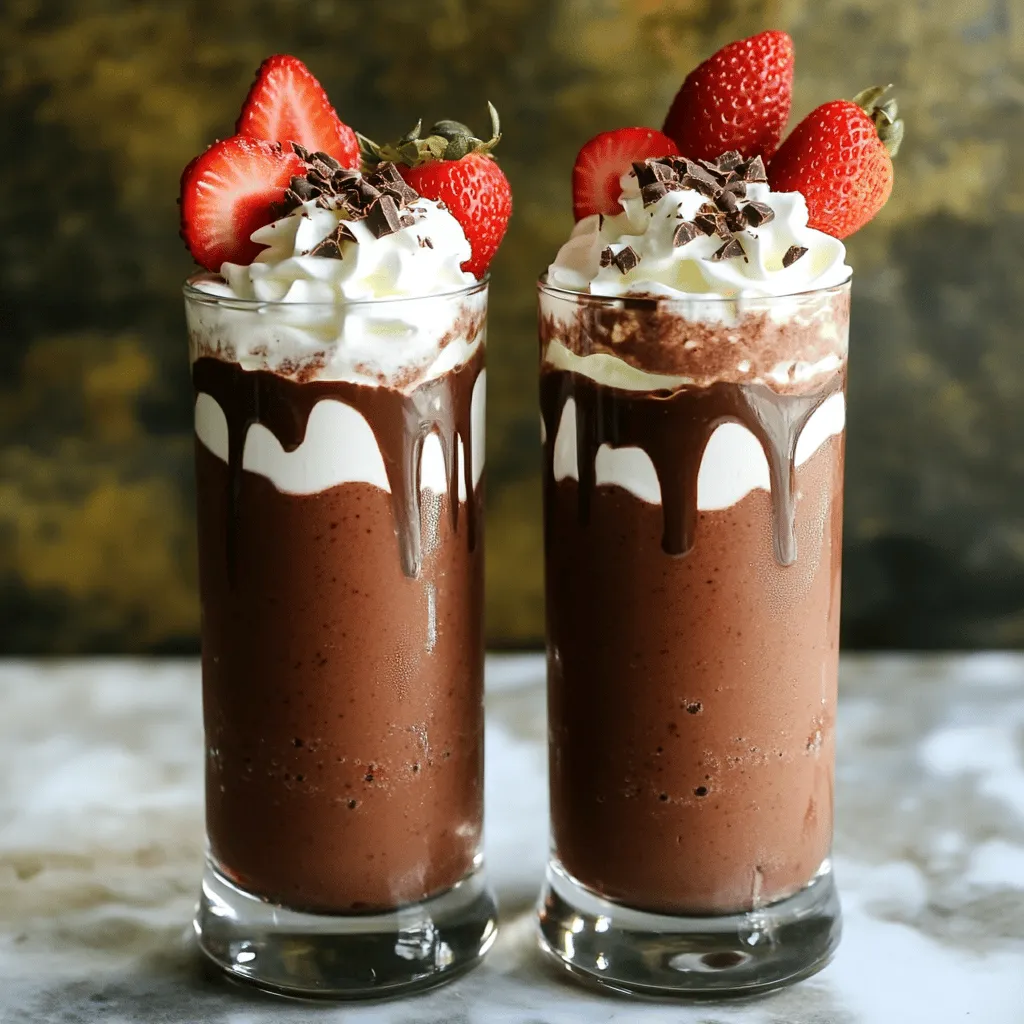
Chocolate Covered Strawberry Smoothie Delicious Treat
Craving something delicious and healthy? The Chocolate Covered Strawberry Smoothie is the perfect treat! With fresh strawberries, cocoa powder, and Read Full Recipe

My Latest Dinners
-
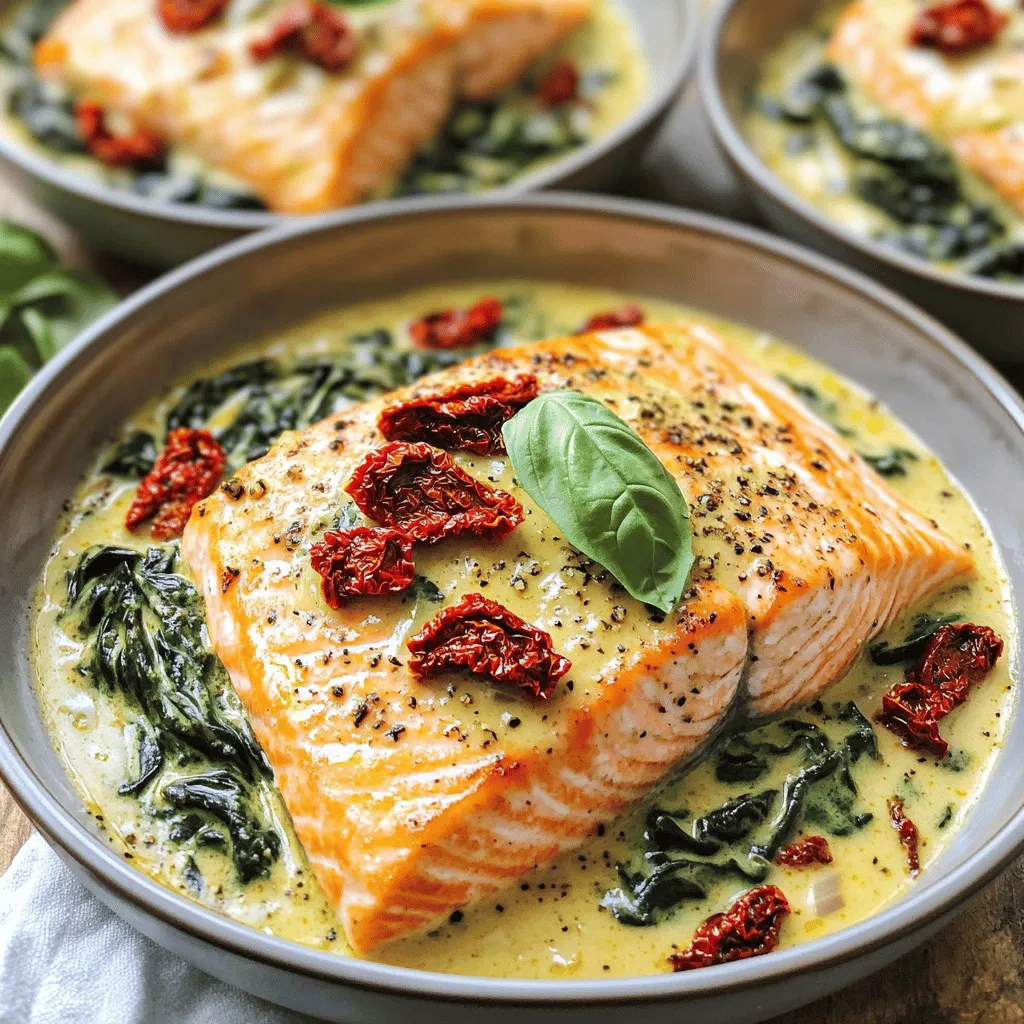
One-Skillet Tuscan Salmon Quick and Flavorful Meal
Looking for a quick and tasty meal? This One-Skillet Tuscan Salmon recipe checks all the boxes. With just a few Read Full Recipe -
Creamy Sun-Dried Tomato Gnocchi Simple and Tasty Dish
Are you ready to impress your taste buds with a bowl of Creamy Sun-Dried Tomato Gnocchi? This quick, simple dish Read Full Recipe -
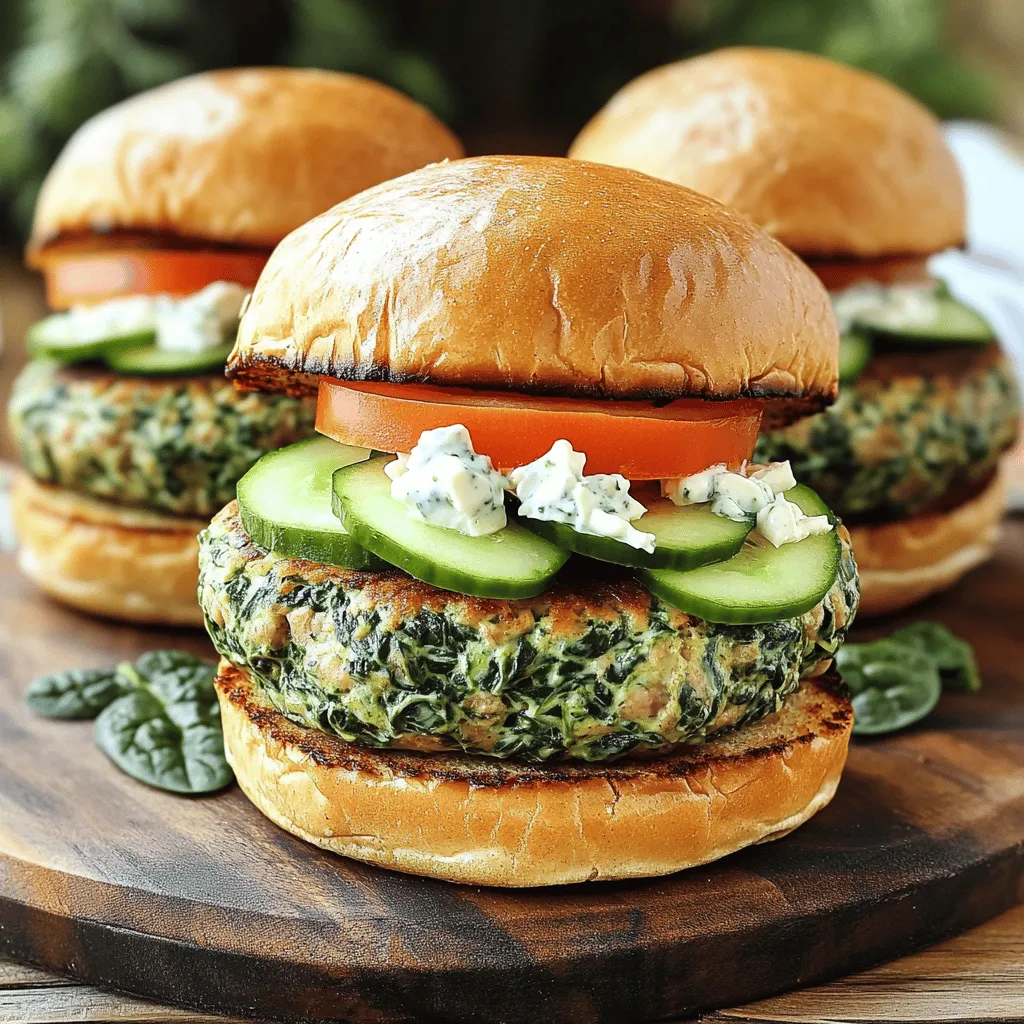
Greek Spinach Feta Turkey Burgers Flavorful Delight
Are you ready to take your burger game to the next level? These Greek Spinach Feta Turkey Burgers are packed Read Full Recipe -
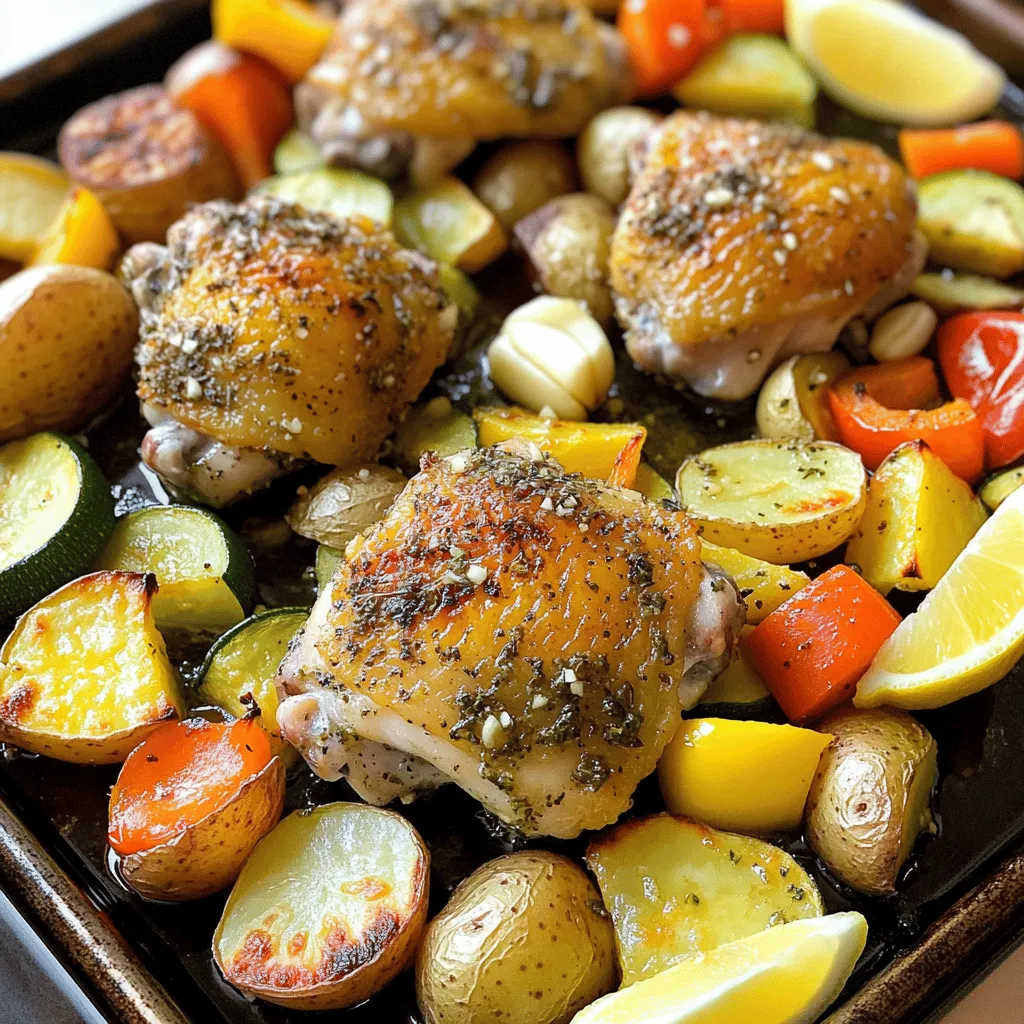
Garlic Herb Chicken Sheet Pan Dinner Packed with Flavor
Looking for a simple yet delicious dinner idea? This Garlic Herb Chicken Sheet Pan Dinner is packed with flavor and Read Full Recipe -
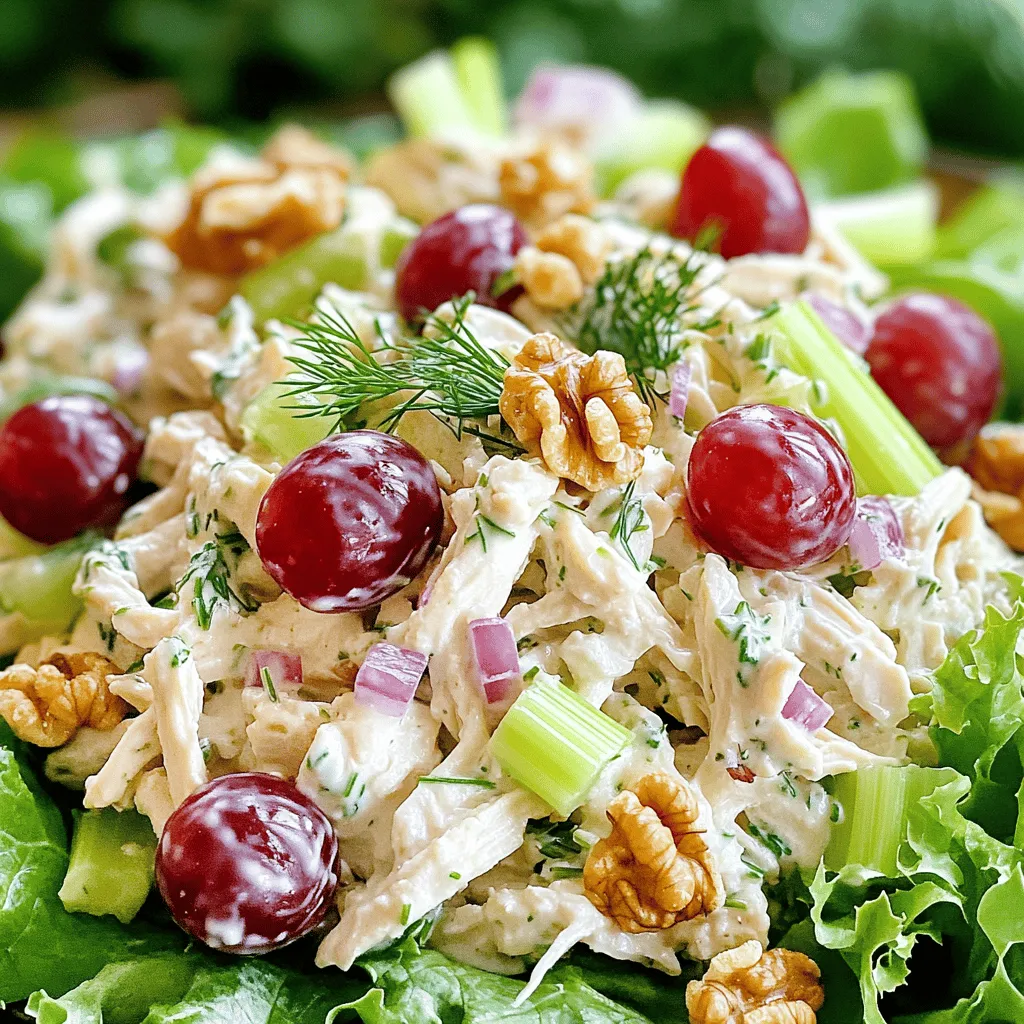
Greek Yogurt Chicken Salad Fresh and Flavorful Recipe
Looking for a fresh twist on a classic chicken salad? My Greek Yogurt Chicken Salad recipe is here to save Read Full Recipe -
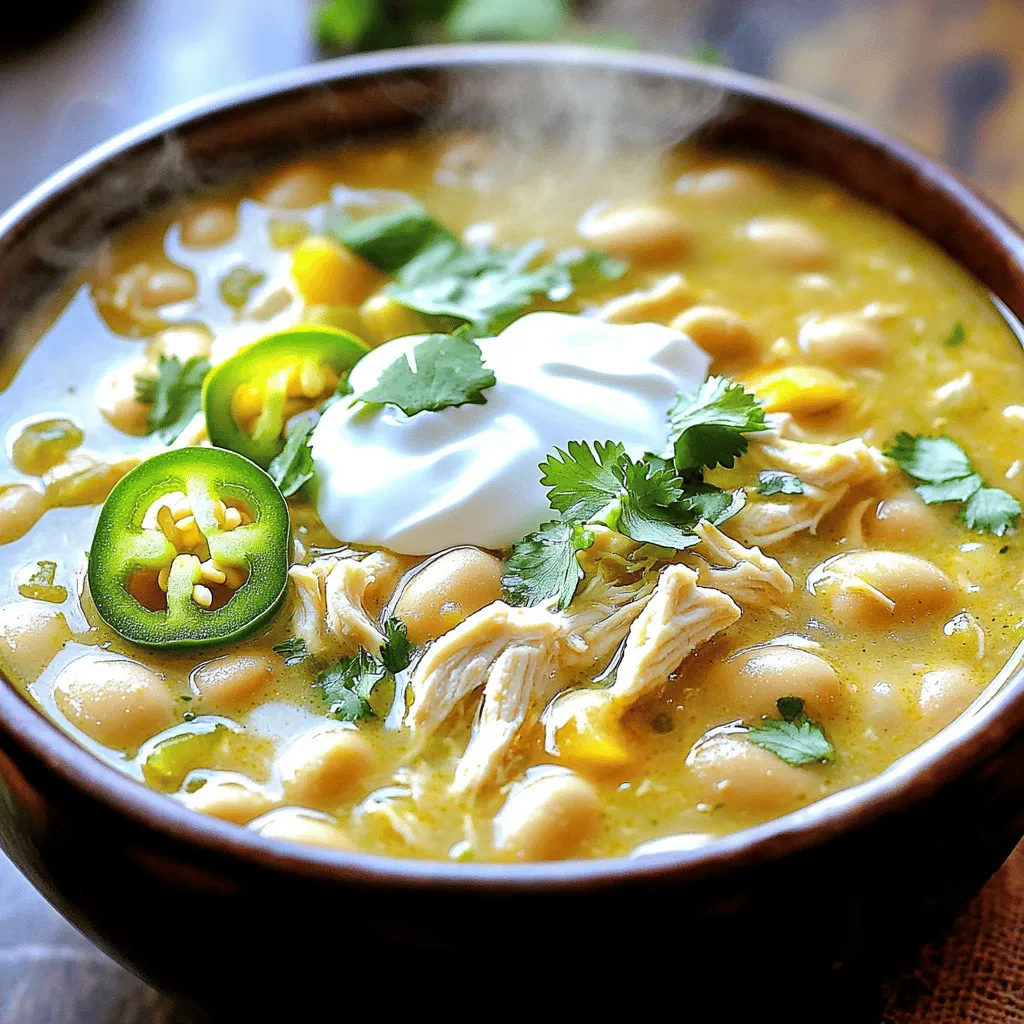
Slow Cooker White Chicken Chili Easy and Flavorful Recipe
Looking for a warm, comforting meal that’s easy to make? My Slow Cooker White Chicken Chili is just what you Read Full Recipe


hey,
i’m !
I’m so happy you’re here!
Every dish I share is made with love and care. I hope they bring you the same comfort and joy they bring me. Let’s make memories, one recipe at a time.


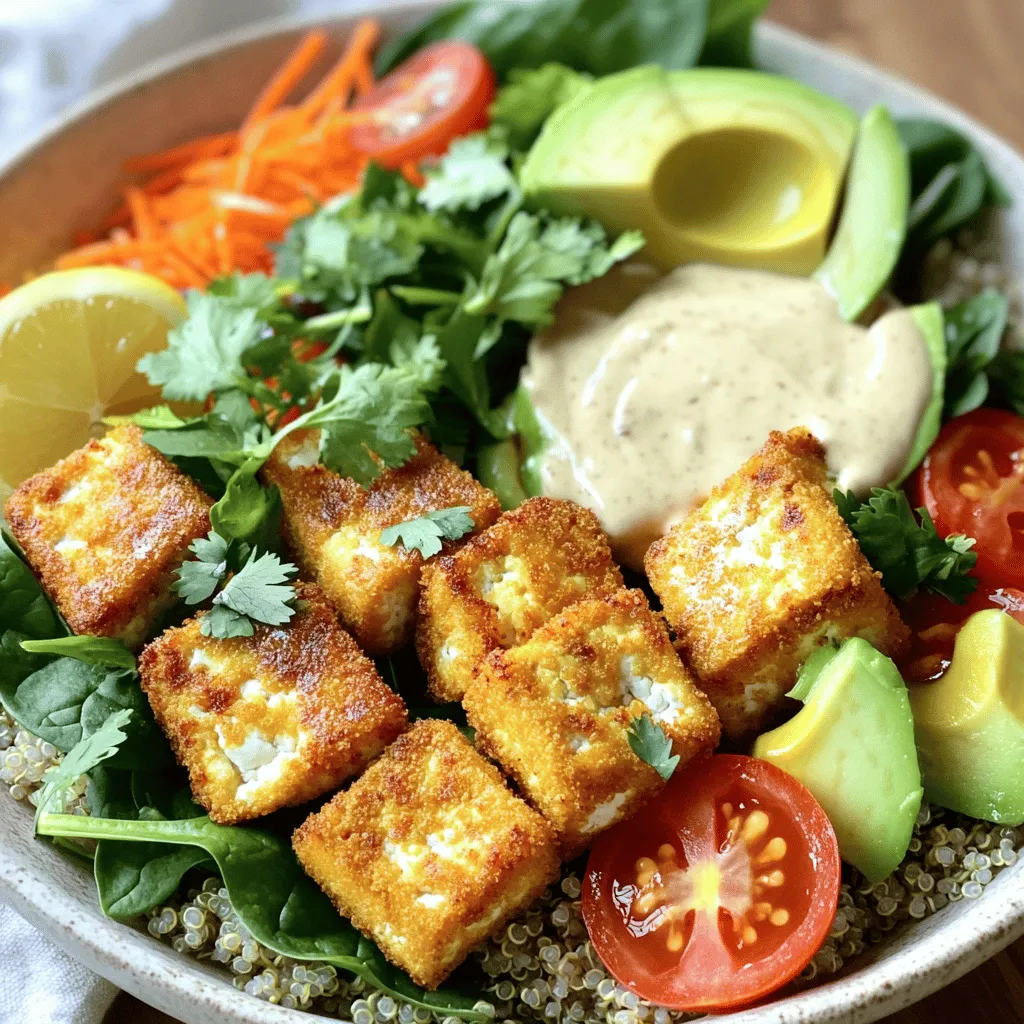
Crispy Tofu Buddha Bowl Healthy and Simple Recipe
Looking for a healthy and tasty meal? Try my Crispy Tofu Buddha Bowl! This simple recipe packs flavor and nutrition in every bite. With…