Latest & Greatest
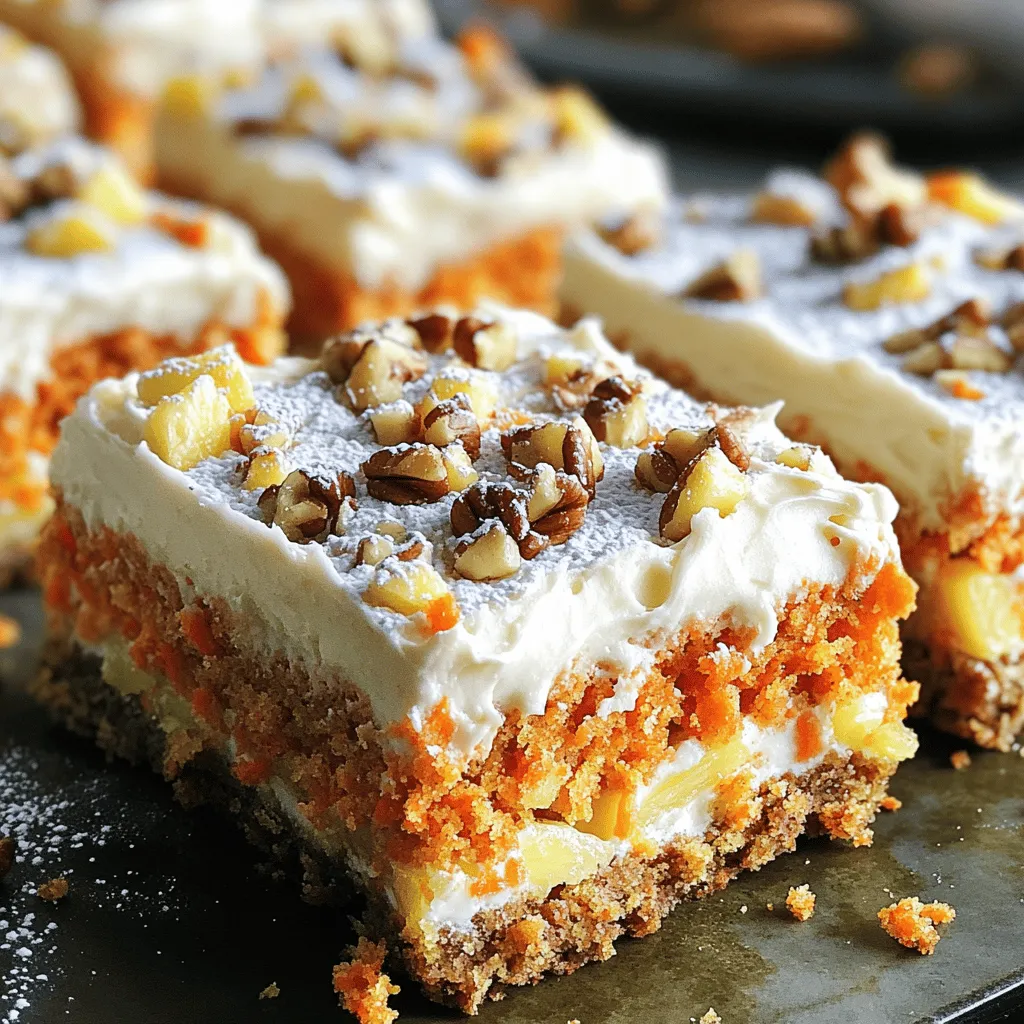
Decadent Carrot Cake Bars Delightful and Easy Treat
If you’re craving a sweet treat that’s easy to make, you’ve come to the right place! These decadent carrot cake
Read more…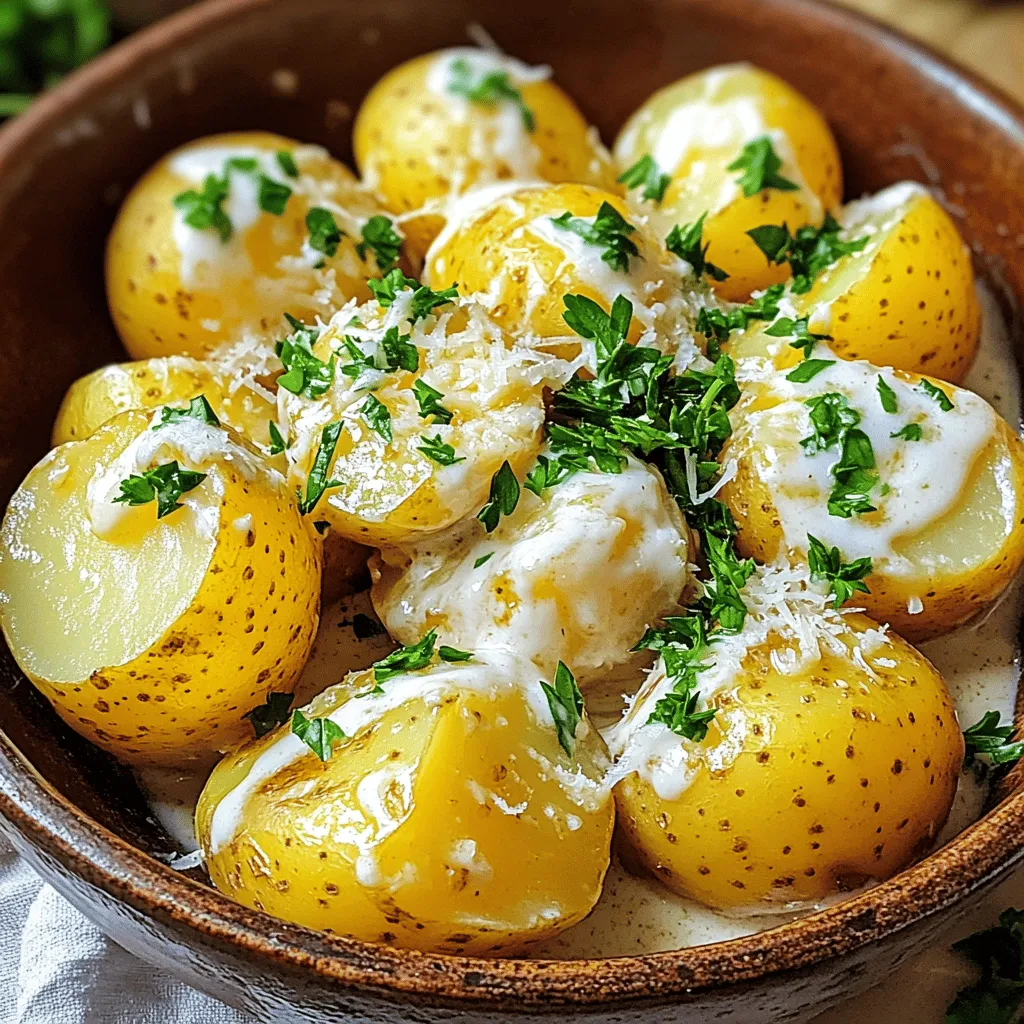
Easy Creamy Garlic Sauce Baby Potatoes Delight
Are you ready to elevate your potato game? In this article, I’ll show you how to make Easy Creamy Garlic
Read more…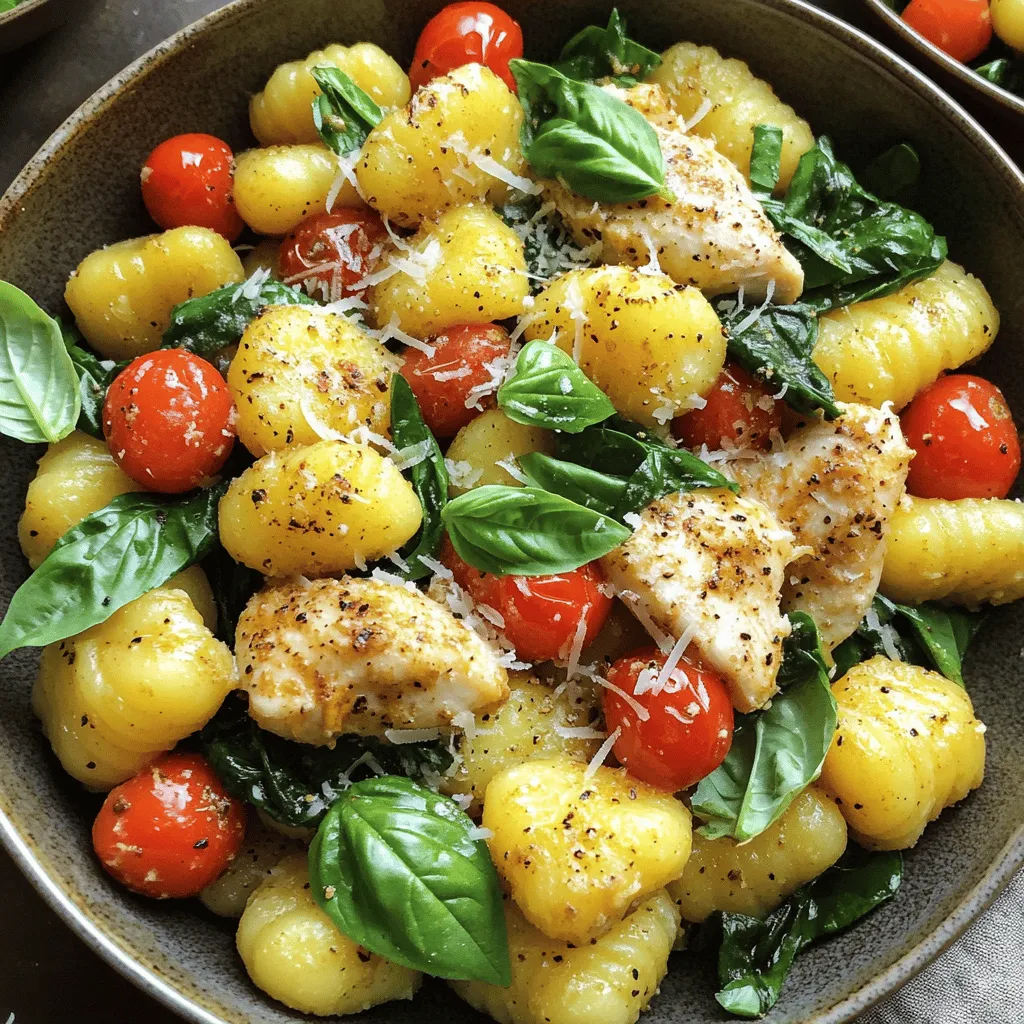
Garlic Chicken Gnocchi Skillet Tasty One-Pan Meal
Are you ready for a delicious one-pan meal that’s quick and easy? This Garlic Chicken Gnocchi Skillet packs amazing flavors
Read more…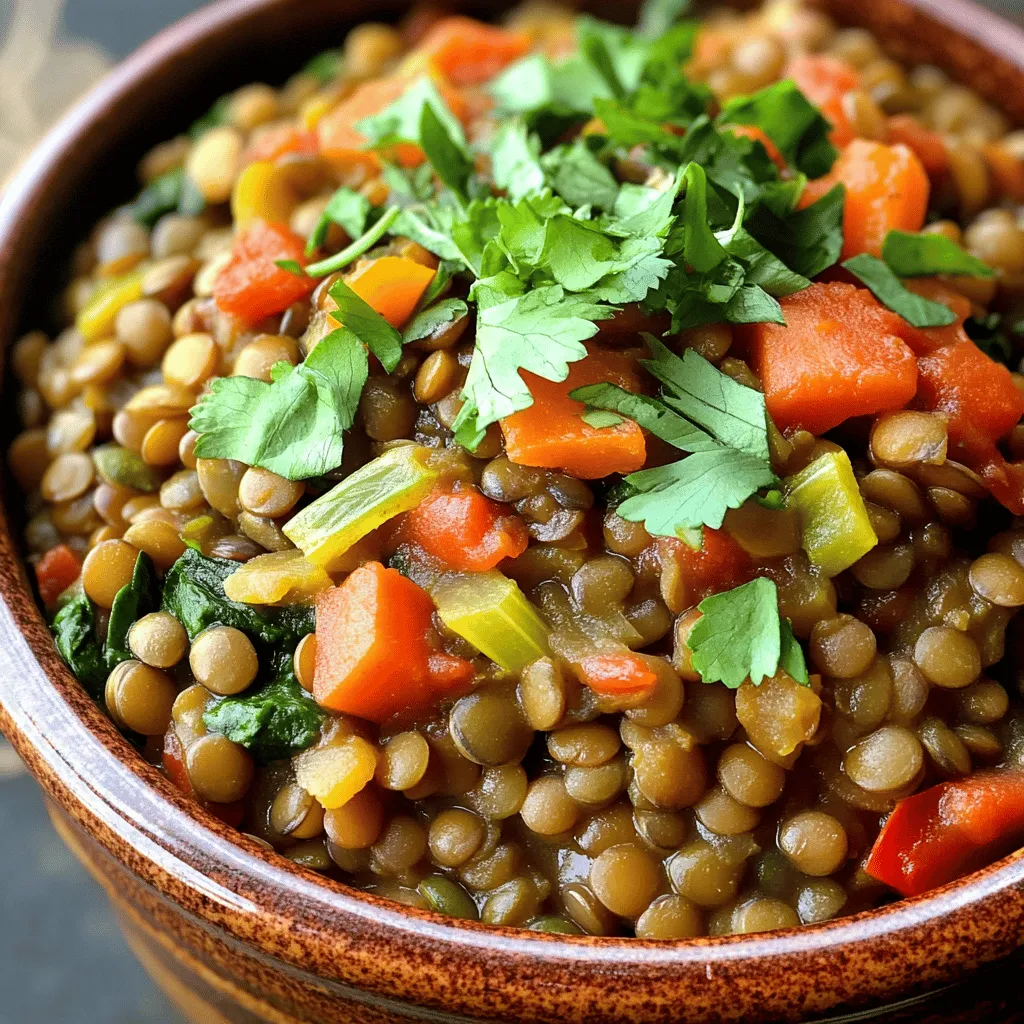
Moroccan Instant Pot Lentils Simple and Flavorful Dish
Are you ready to make a delicious and simple meal? This Moroccan Instant Pot Lentils recipe packs a punch with
Read more…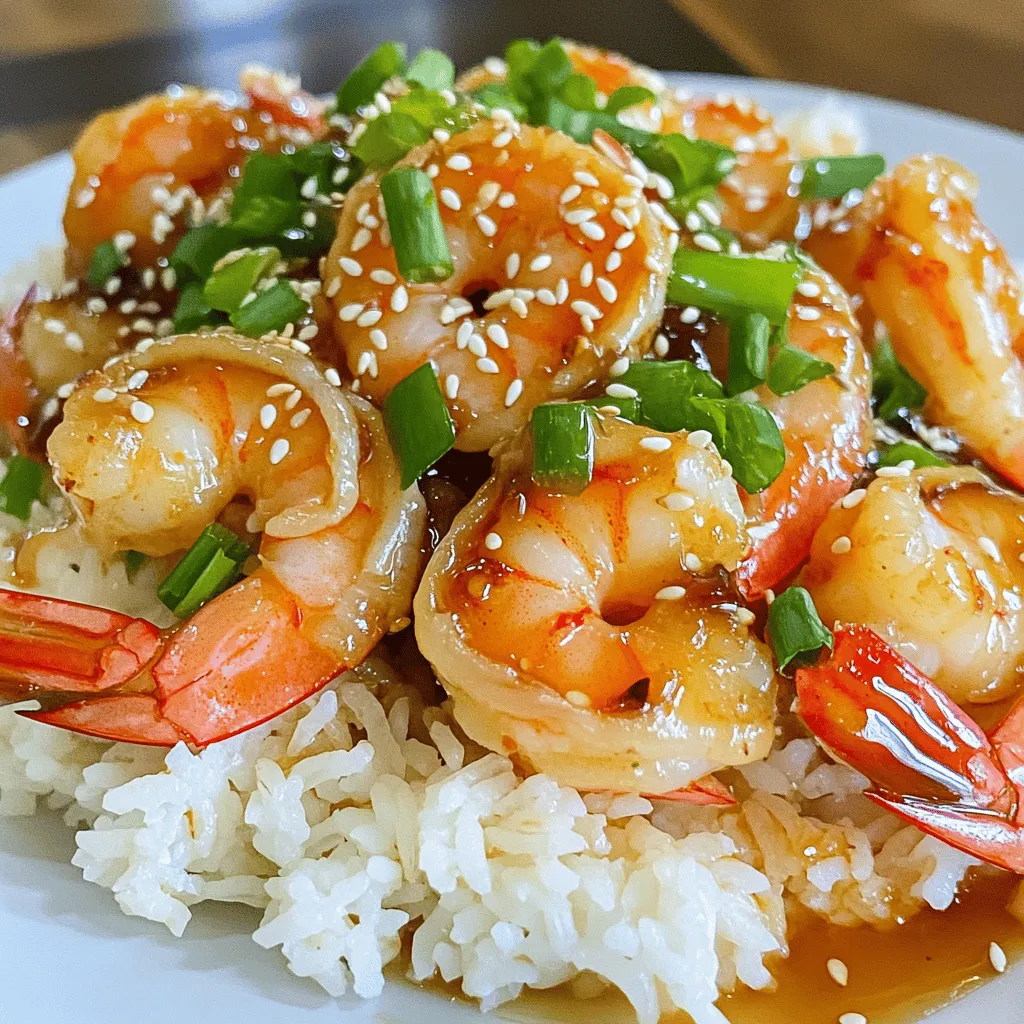
10 Minute Honey Garlic Shrimp Quick and Flavorful Dish
Are you in a rush but craving a tasty meal? Look no further! This 10 Minute Honey Garlic Shrimp recipe
Read more…
White Chocolate Strawberry Cookies Delightful and Simple
Do you love the sweet taste of strawberries mixed with rich white chocolate? If so, you’re in for a treat!
Read more…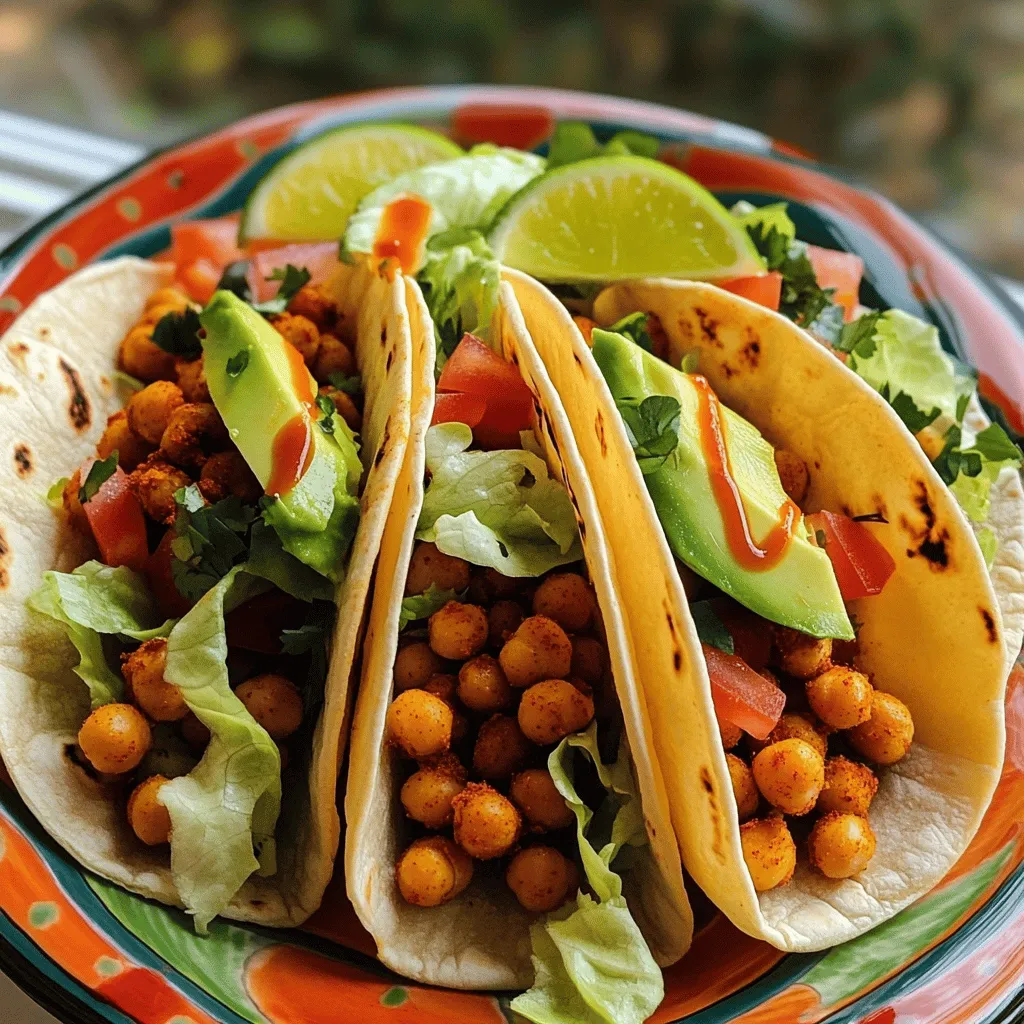
Cheap Meals to Make When You Are Broke Today
Are you tired of eating the same boring meals when money is tight? You’re not alone! I know how hard
Read more…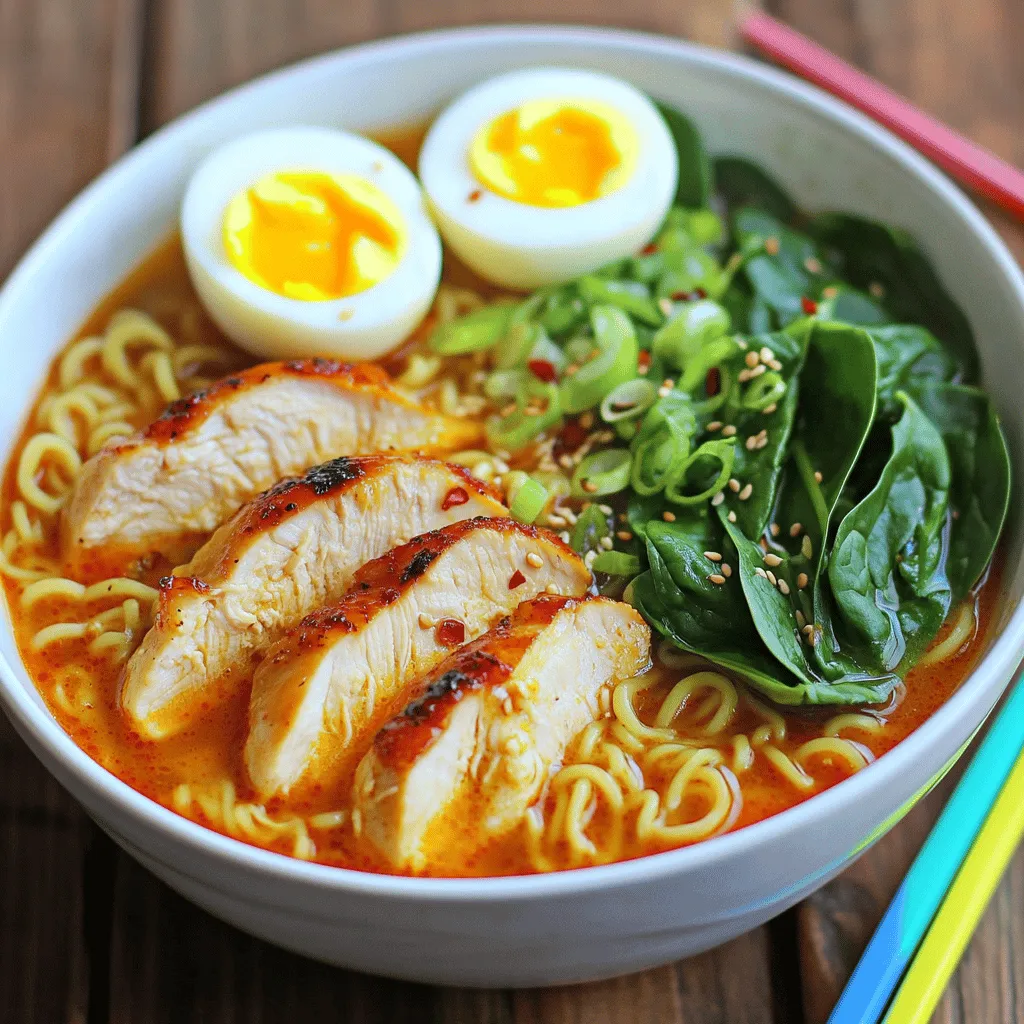
Fiery Chicken Ramen with Creamy Garlic Sauce Delight
Craving something bold and comforting? Let me guide you through making Fiery Chicken Ramen with Creamy Garlic Sauce. This dish
Read more…browse recipes


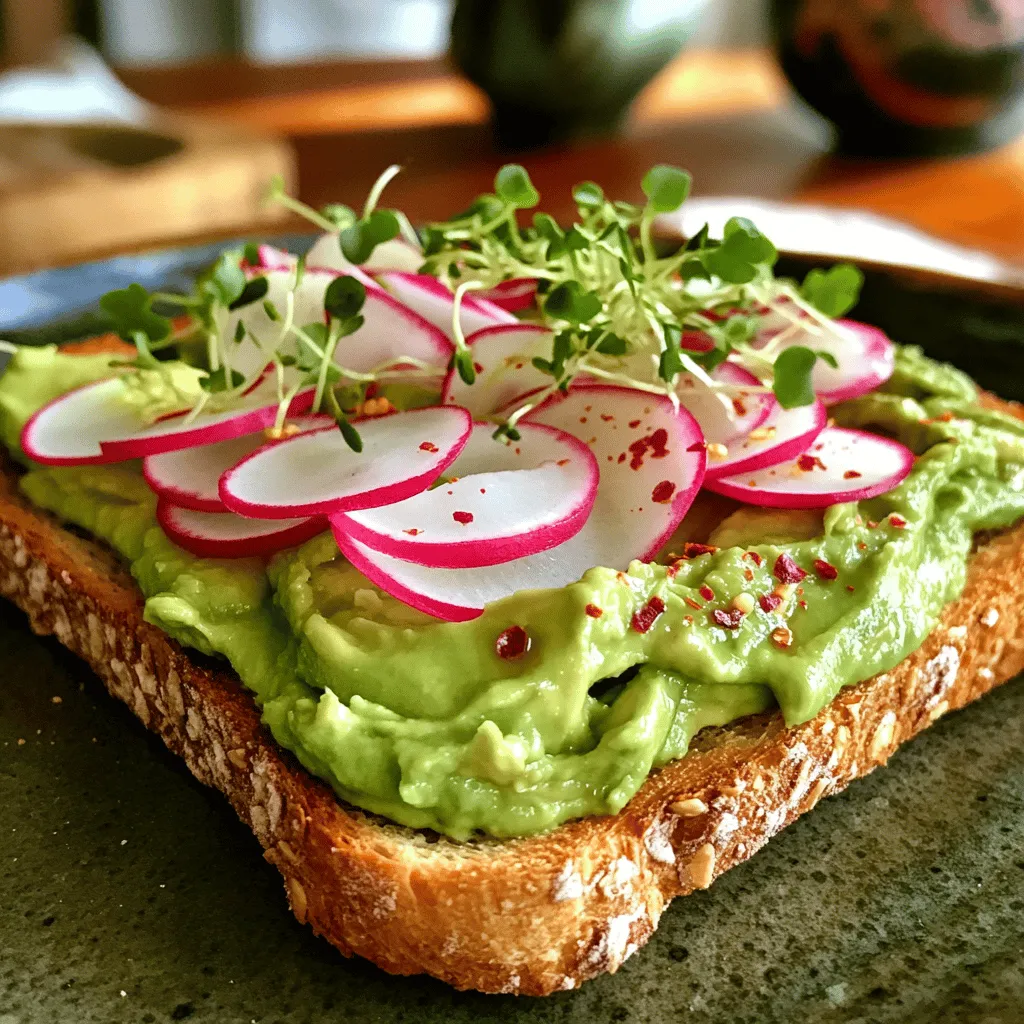
Avocado Toast with Radish Simple and Flavorful Meal
Avocado toast with radish is a quick and tasty meal you’ll love. It’s simple to make and packed with flavor. In this guide, I’ll…
My Latest Drinks

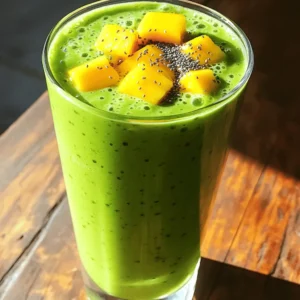
Tropical Green Smoothie Refreshing Health Boost Recipe
Looking for a refreshing drink that packs a health punch? My Tropical Green Smoothie is the perfect blend of fruits Read Full Recipe-
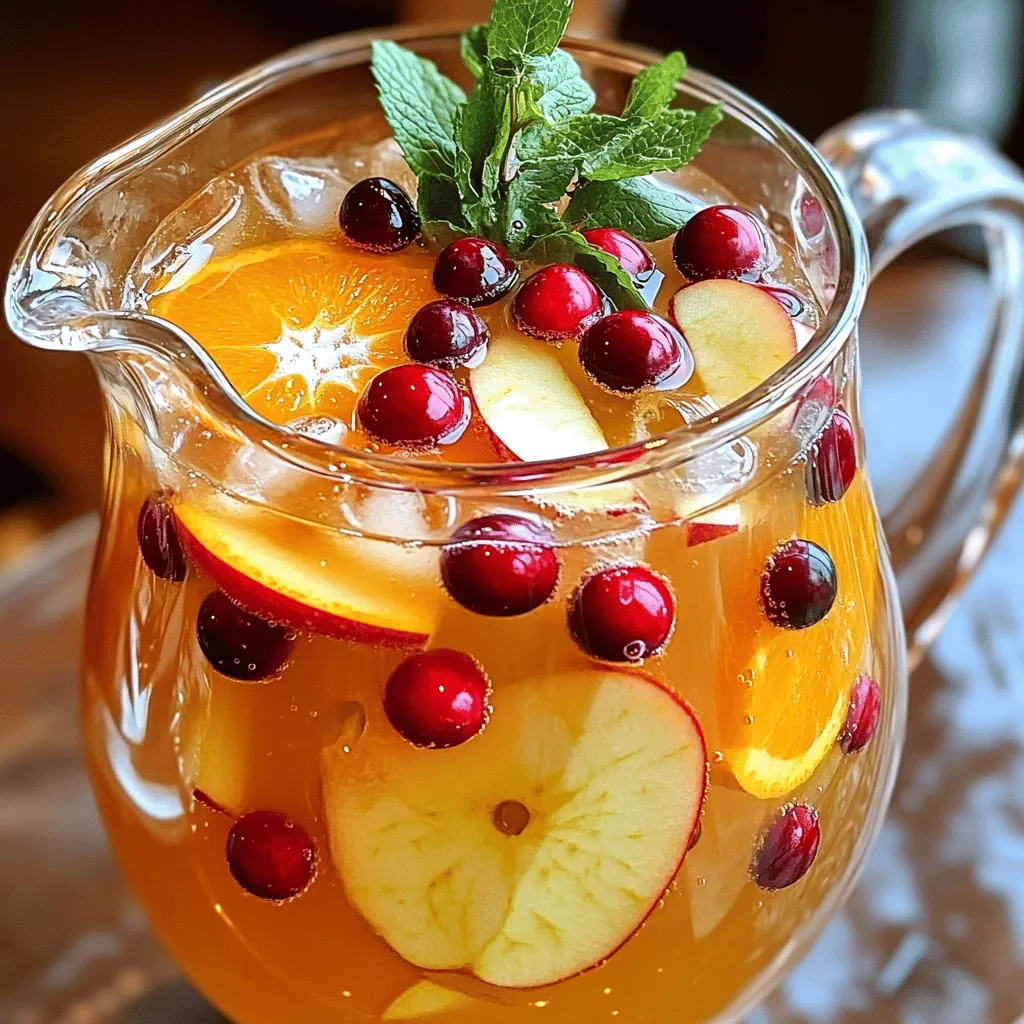
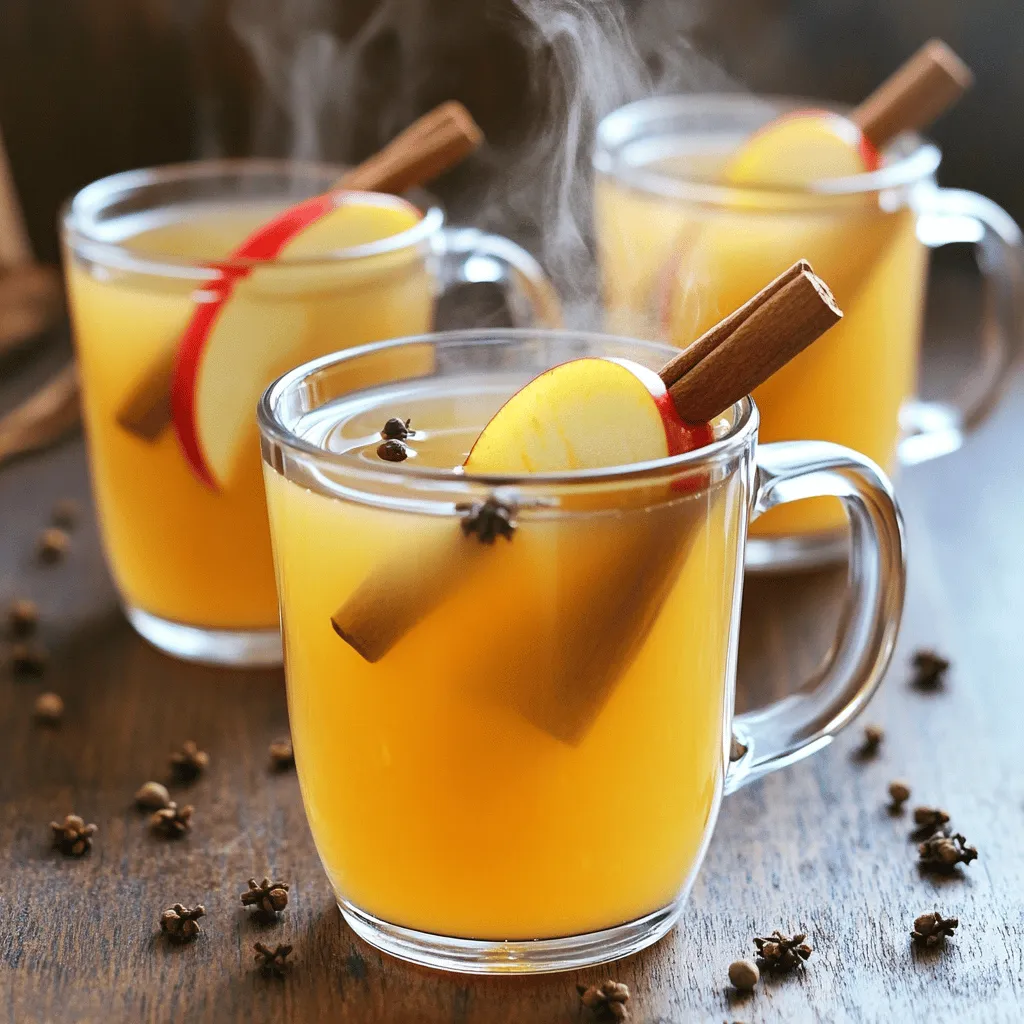
Apple Cider Harvest Punch Refreshing Fall Delight
Get ready for fall with my delicious Apple Cider Harvest Punch! This easy recipe blends fresh flavors that celebrate the Read Full Recipe -
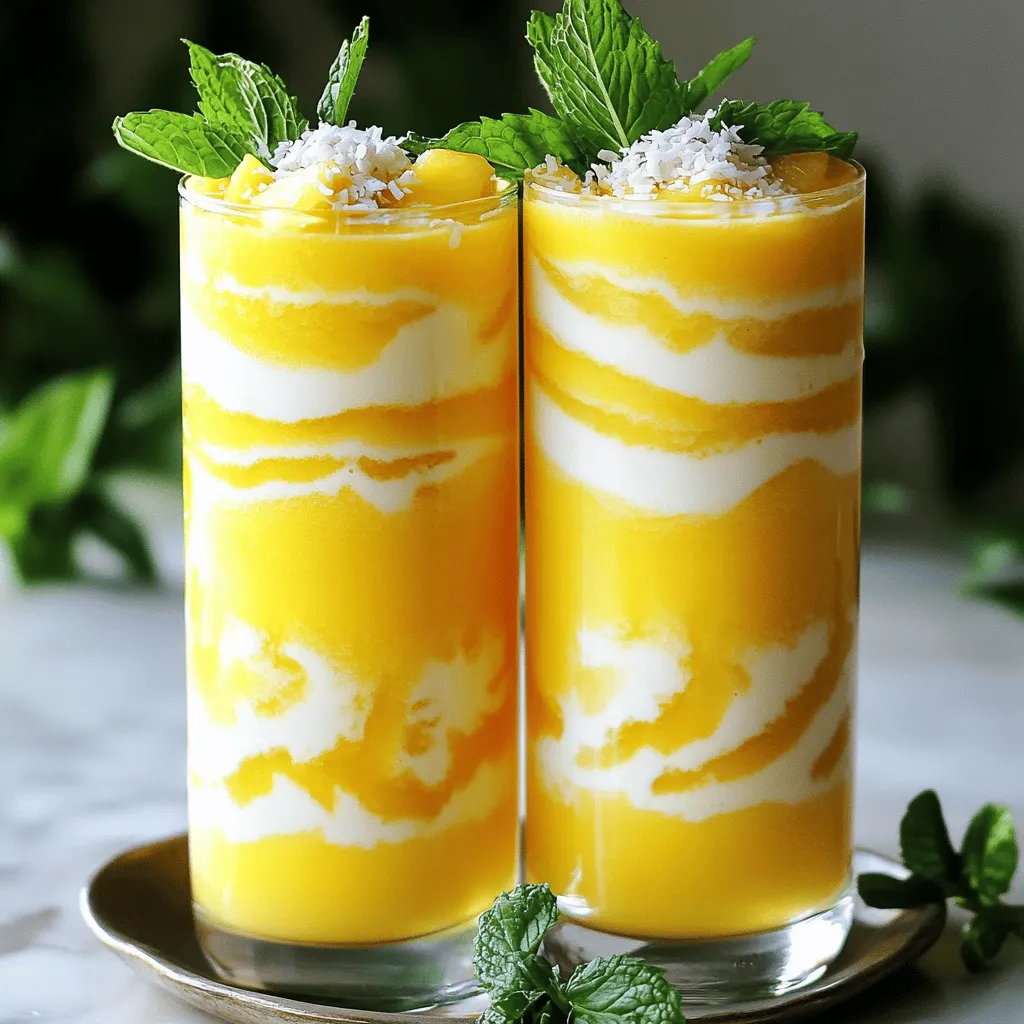
Pineapple Coconut Smoothie Creamy and Refreshing Drink
Are you craving a drink that’s both creamy and refreshing? Look no further than my Pineapple Coconut Smoothie! This easy-to-make Read Full Recipe -
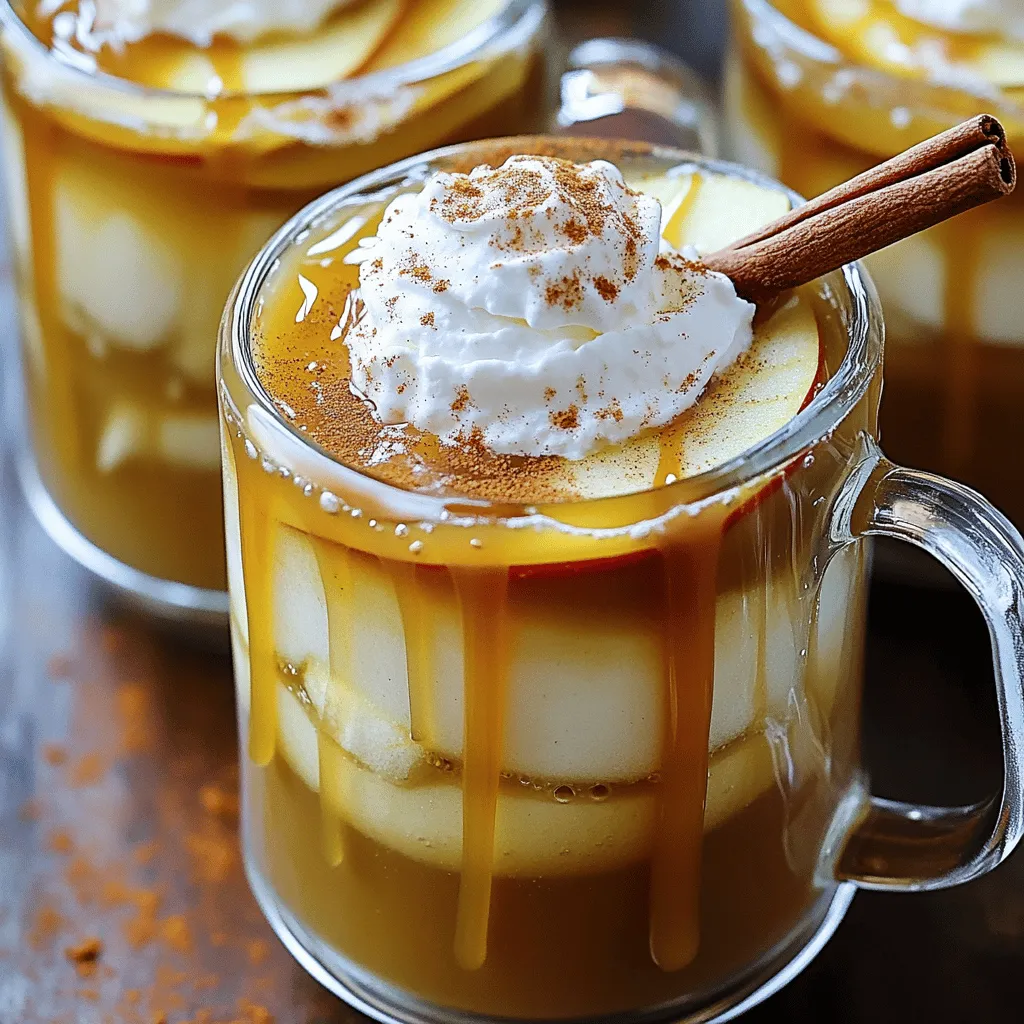
Delicious Caramel Apple Cider Cozy Fall Drink Recipe
Fall is here, and nothing says cozy like a warm cup of Caramel Apple Cider. This drink combines the sweet Read Full Recipe -
Instant Pot Apple Cider Quick and Flavorful Recipe
Looking for a quick and delicious way to make apple cider? The Instant Pot is your best friend! I’ll share Read Full Recipe -
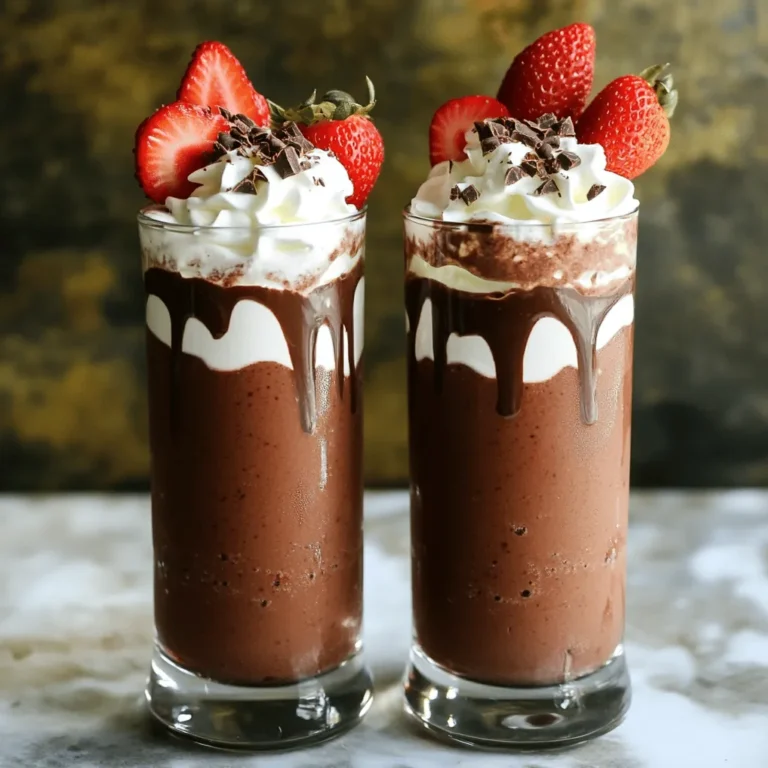
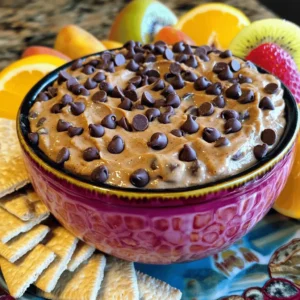
Chocolate Covered Strawberry Smoothie Delicious Treat
Craving something delicious and healthy? The Chocolate Covered Strawberry Smoothie is the perfect treat! With fresh strawberries, cocoa powder, and Read Full Recipe


My Latest Dinners
-
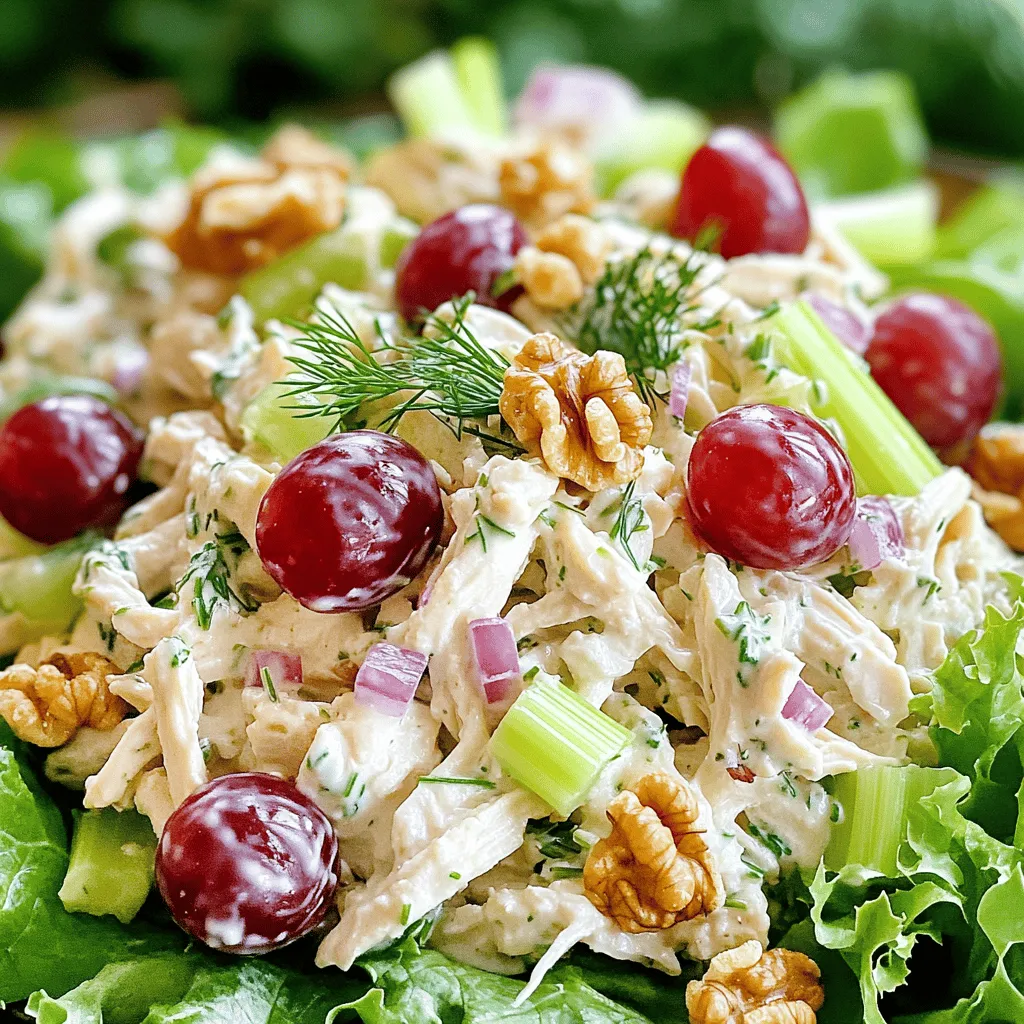
Greek Yogurt Chicken Salad Fresh and Flavorful Recipe
Looking for a fresh twist on a classic chicken salad? My Greek Yogurt Chicken Salad recipe is here to save Read Full Recipe -
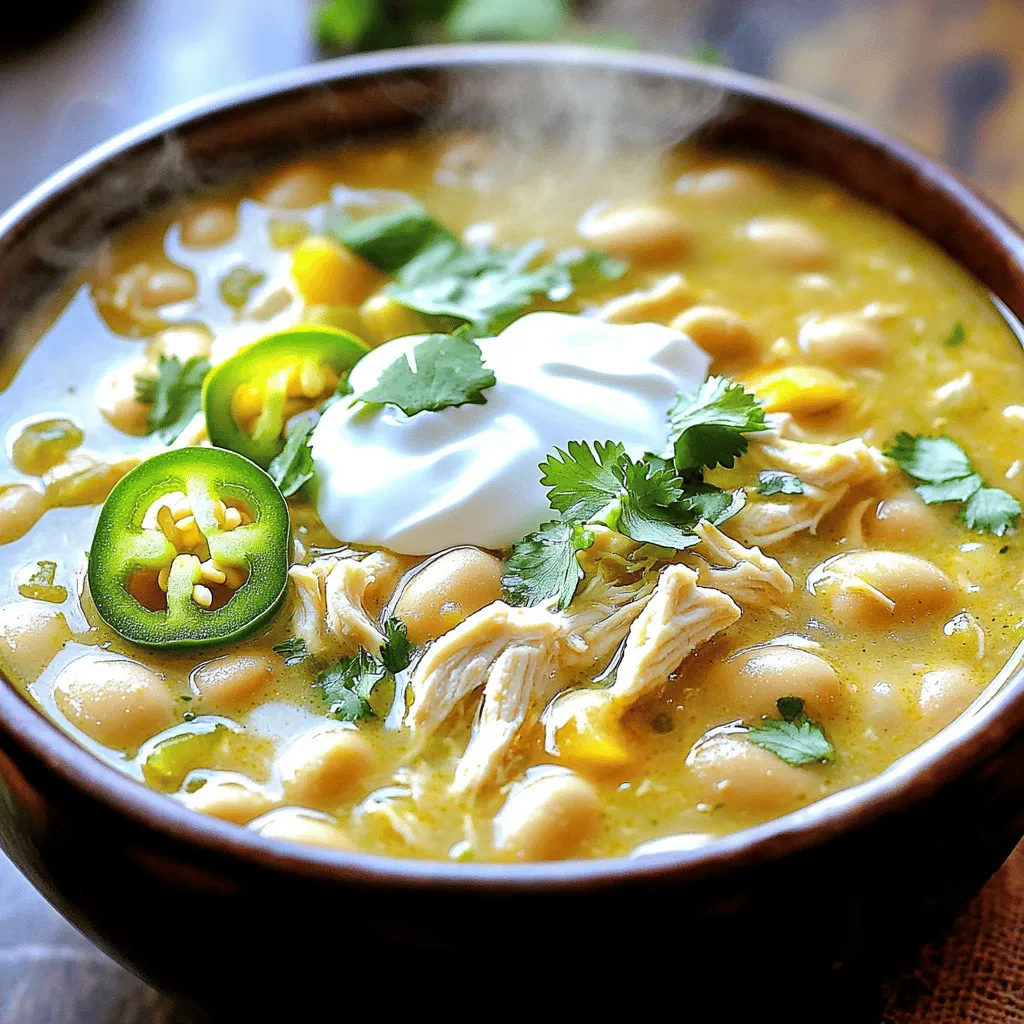
Slow Cooker White Chicken Chili Easy and Flavorful Recipe
Looking for a warm, comforting meal that’s easy to make? My Slow Cooker White Chicken Chili is just what you Read Full Recipe -
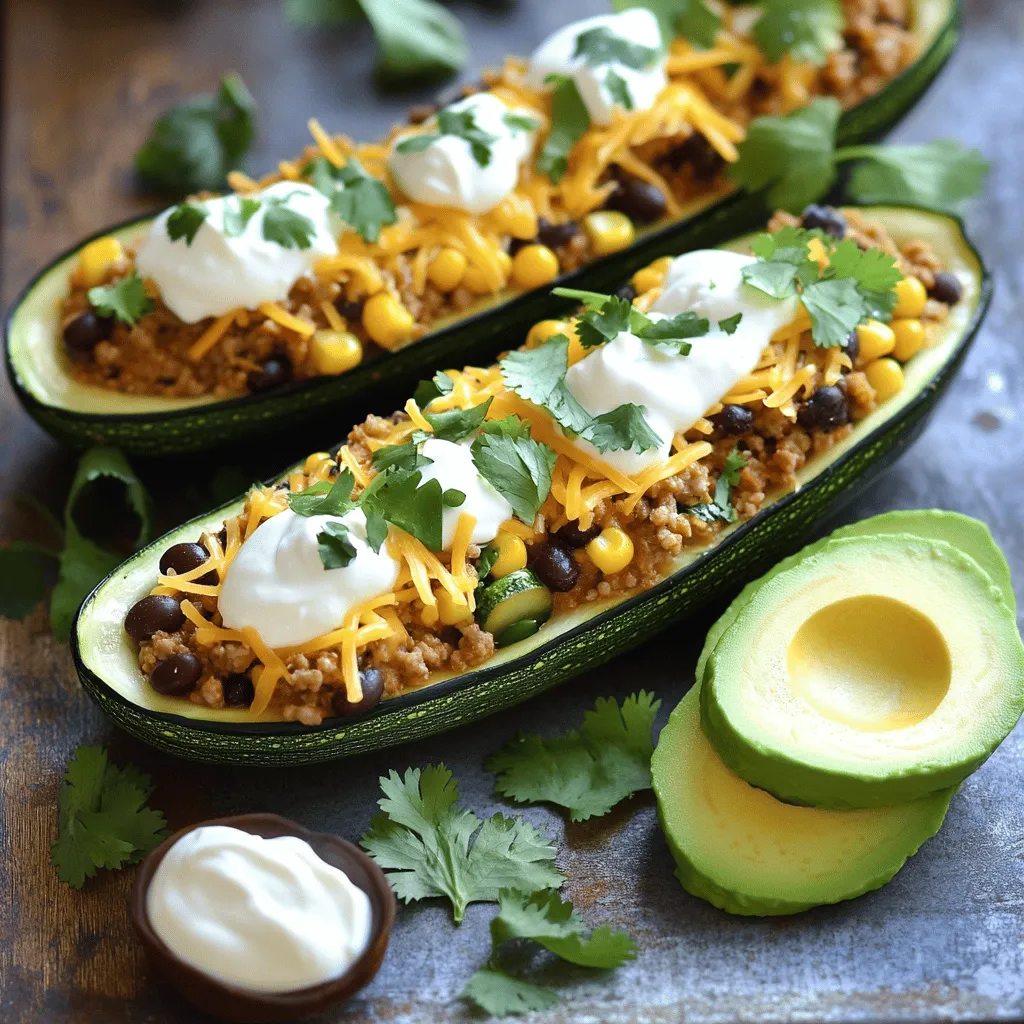
Taco Stuffed Zucchini Boats Flavorful and Simple Dish
Looking for a fun, flavorful dish that packs a punch? Taco Stuffed Zucchini Boats are the answer! This easy recipe Read Full Recipe -
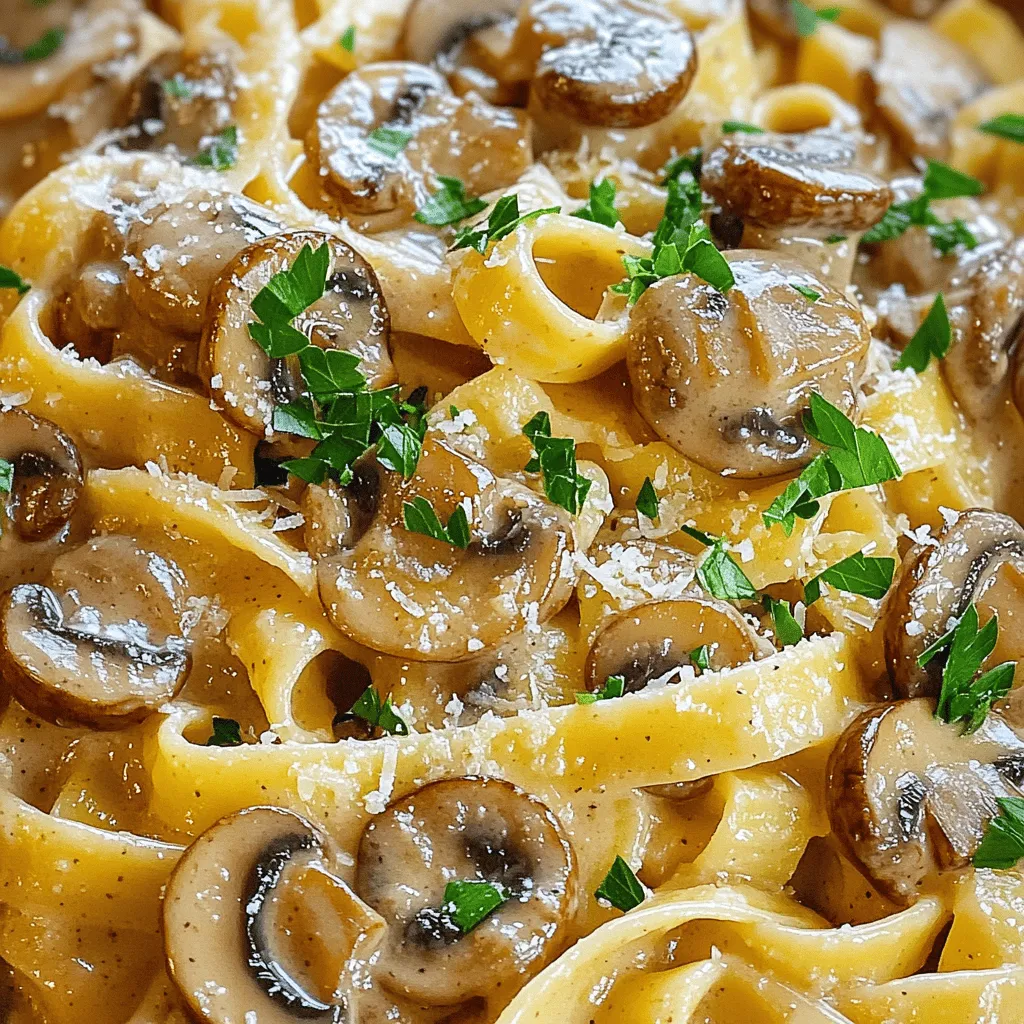
Creamy Mushroom Marsala Flavorful Dinner Delight
Are you ready to impress at dinner tonight? My Creamy Mushroom Marsala is a flavorful delight that will wow your Read Full Recipe -
Coconut Curry Chickpeas Flavorful and Easy Recipe
If you’re seeking a simple, tasty meal, look no further! My Coconut Curry Chickpeas recipe is a delightful blend of Read Full Recipe -
One-Pot Taco Rice Flavorful and Simple Dinner Delight
Looking for an easy and tasty dinner? Try my One-Pot Taco Rice! This simple dish combines savory flavors and requires Read Full Recipe


hey,
i’m !
I’m so happy you’re here!
Every dish I share is made with love and care. I hope they bring you the same comfort and joy they bring me. Let’s make memories, one recipe at a time.


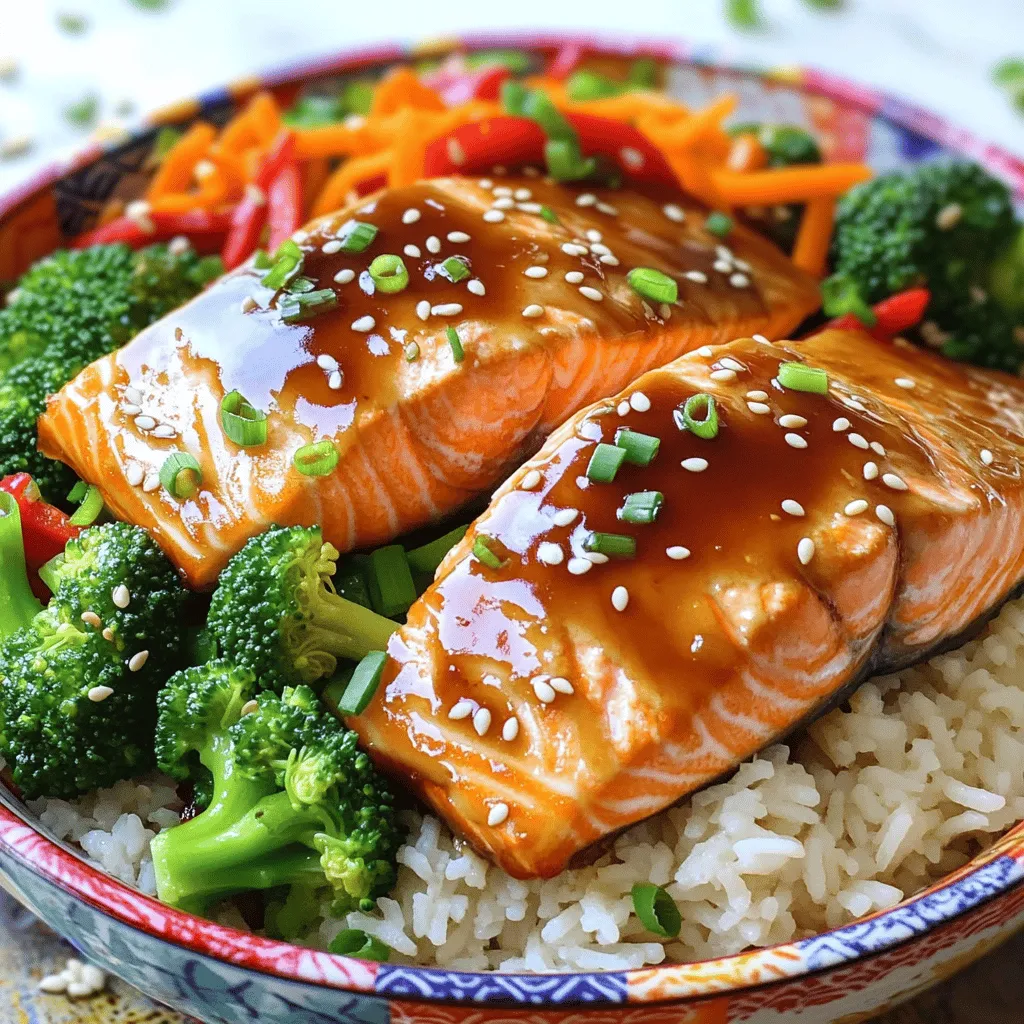
Teriyaki Salmon Bowls Flavorful and Easy Recipe
Are you craving a dish that’s both healthy and bursting with flavor? Teriyaki salmon bowls are your answer! In this recipe, you’ll learn how…