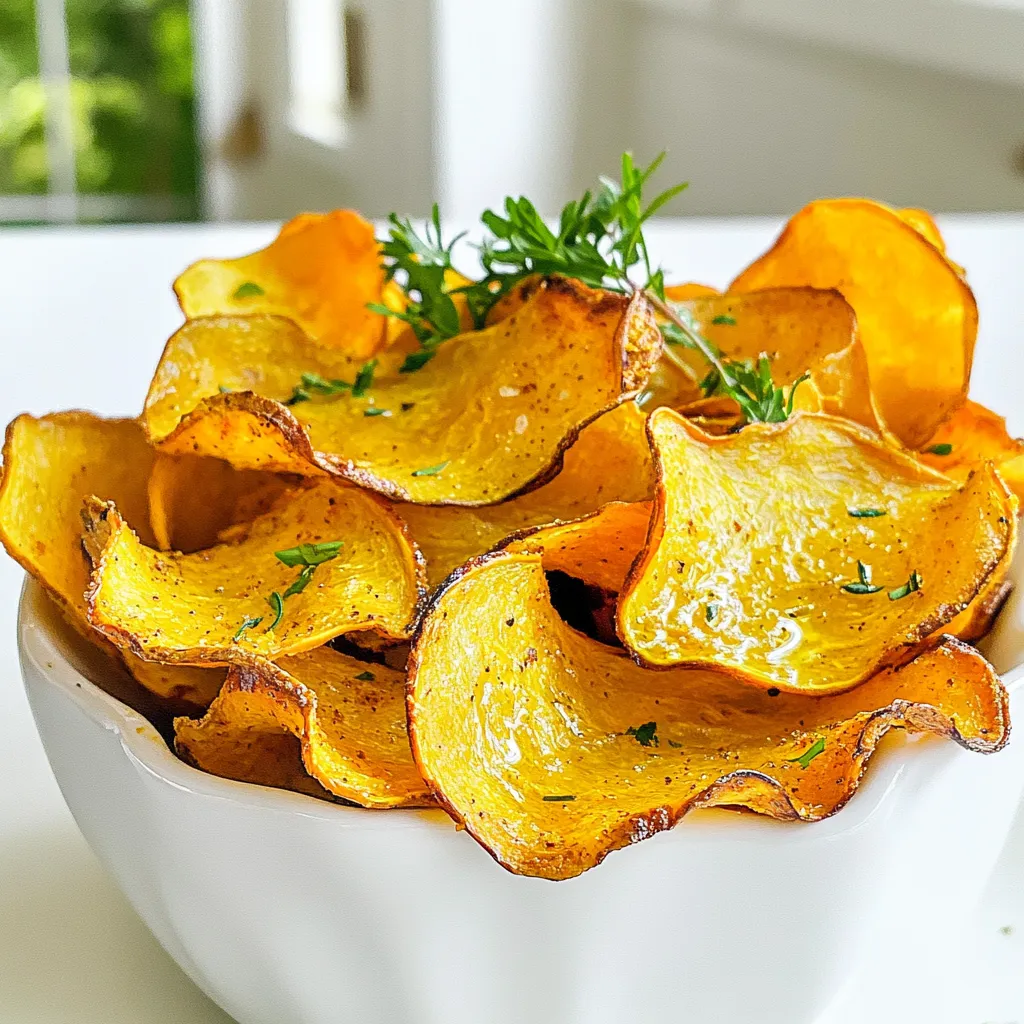
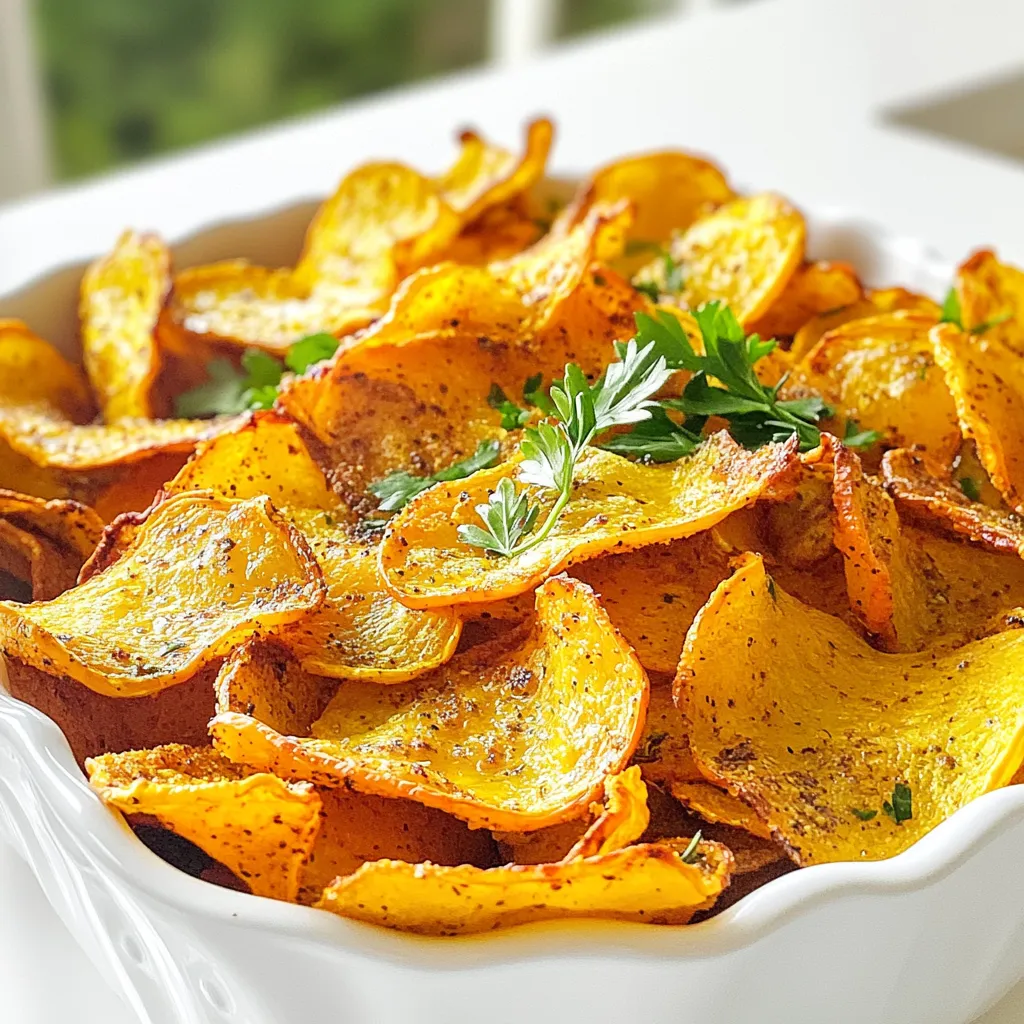
Craving a crispy snack that’s both healthy and delicious? Look no further! Roasted thin squash chips are the perfect answer. They’re easy to make, bursting with flavor, and will satisfy even the pickiest eater. Whether you want a nutritious treat for movie night or a crunchy side dish, I have you covered. Let’s dive into the simple steps to create these tasty chips that will change your snack game forever!
Ingredients
List of Ingredients
To make these tasty roasted thin squash chips, you will need:
– 2 medium-sized yellow summer squashes
– 2 teaspoons olive oil
– 1 teaspoon garlic powder
– 1 teaspoon smoked paprika
– ½ teaspoon sea salt
– ¼ teaspoon black pepper
– Fresh herbs (like thyme or rosemary) for garnish (optional)
Measurements and Substitutions
You can replace yellow summer squash with zucchini for a different taste. The olive oil gives flavor, but you can use avocado oil if you prefer. Garlic powder adds depth, while smoked paprika brings a nice warmth. If you want a kick, try adding cayenne pepper instead.
Special Ingredient Notes
Choosing fresh squashes is key. Look for ones that feel firm and have bright skin. Avoid squashes with soft spots or blemishes. Fresh herbs like thyme or rosemary make a wonderful touch at the end. They add color and extra flavor. If you don’t have fresh herbs, dried ones work too, just use less.
Step-by-Step Instructions
Preparation of Squash
First, wash the squashes well. This step removes dirt and bacteria. Next, trim the ends of each squash. Use a mandoline slicer or a sharp knife for slicing. Aim for even pieces about 1/8 inch thick. Thin slices ensure that the chips become crispy. If you cut them too thick, they may be chewy.
Seasoning and Coating
In a big bowl, add the sliced squashes. Drizzle in 2 teaspoons of olive oil. Then, sprinkle 1 teaspoon of garlic powder and 1 teaspoon of smoked paprika. Toss everything together to coat each slice. Add ½ teaspoon of sea salt and ¼ teaspoon of black pepper. Mix well so the flavors blend on every piece.
Baking Process
Now, line a baking sheet with parchment paper. This makes cleaning easy later. Place the squash slices in a single layer on the sheet. Avoid overlapping the slices to get them crisp. Preheat your oven to 225°F (110°C). Bake the chips for 1 to 1.5 hours. Keep an eye on them. They are ready when golden and crispy. Once done, take them out and let them cool for a few minutes. If you want, add fresh herbs for extra flavor. Enjoy your tasty, homemade squash chips!
Tips & Tricks
Achieving the Perfect Crisp
To make your squash chips super crispy, slice them thin. Aim for about 1/8 inch. A mandoline slicer works best for this. Make sure to arrange the slices on the baking sheet in a single layer. If they overlap, they won’t crisp up well. Baking at a low temperature, like 225°F, helps them dry out without burning. Keep an eye on them during baking. Each oven varies, so check for doneness after one hour.
Flavor Enhancement Suggestions
You can add fun flavors to your squash chips. Try adding a sprinkle of chili powder for heat. For a cheesy taste, mix in some nutritional yeast before baking. Fresh herbs like thyme or rosemary also add a great touch. Feel free to experiment with different spices. Just remember, less is more. Too many flavors can overwhelm the squash’s natural taste.
Common Mistakes to Avoid
One mistake is cutting the squash too thick. Thick slices will not get crispy. Another mistake is overcrowding the baking sheet. If you put too many slices together, they steam instead of bake. Lastly, don’t skip the olive oil. It helps with crisping and adds flavor. Following these tips will ensure you get delicious, crispy squash chips every time.
Variations
Different Seasoning Ideas
You can change the flavor of your squash chips easily. Here are some ideas:
– Cajun Spice: Add a mix of cayenne, onion powder, and paprika.
– Parmesan and Herb: Sprinkle fresh Parmesan and dried Italian herbs.
– Spicy Sriracha: Mix sriracha sauce with olive oil for a spicy kick.
– Sweet Cinnamon: Use cinnamon and a touch of brown sugar for a sweet treat.
Each mix gives the chips a new taste. Try to match the seasoning with what you enjoy.
Using Other Types of Squash
While yellow summer squash is great, you can use other squashes too. Here are some options:
– Zucchini: This is a popular choice. It tastes mild and works well.
– Butternut Squash: Slice it thin for a sweet and nutty flavor.
– Acorn Squash: Its unique taste adds a different twist.
Experimenting with different squashes can surprise your taste buds.
Alternative Cooking Methods
You don’t just have to bake these chips. Here are some other ways to cook them:
– Air Fryer: Cook at 375°F for 15-20 minutes for a fast and crispy snack.
– Dehydrator: Set it to 125°F and let them dry for several hours. This keeps the flavor.
– Pan-Frying: Use a bit of oil in a skillet for a quick fry. Just watch them closely!
Each method changes the texture and taste. Choose what works best for you.
Storage Info
Best Storage Practices
To keep your roasted thin squash chips fresh, store them in an airtight container. Use a glass or plastic container with a tight seal. Make sure the chips are completely cool before sealing. This helps to avoid moisture, which can make them soft. If you have a lot, you can layer the chips with parchment paper. This keeps them from sticking together.
Reheating Instructions
If you want to enjoy your chips crispy again, use your oven. Preheat it to 350°F (175°C). Spread the chips on a baking sheet. Heat them for about 5 to 10 minutes. Keep an eye on them to prevent burning. You can also use an air fryer for a faster option. Just set it to a medium heat for a few minutes. This will bring back their crunch.
Shelf Life of Roasted Chips
Properly stored, roasted squash chips will stay good for about 1 week. After that, they may lose their crunch. Check for any signs of moisture or softness before eating. If they lose their crispness, reheating can help. For the best taste, try to eat them within a few days. Enjoy your tasty snack while it’s fresh!
FAQs
Can I make roasted squash chips in advance?
Yes, you can make roasted squash chips ahead of time. Store them in an airtight container. Keep them in a cool, dry place for best results. They stay fresh for a few days. However, they may lose some crispness. To regain crispness, reheat them in the oven for a few minutes.
How do I know when the squash chips are done?
You will know the squash chips are done when they turn golden brown. They should also feel light and crispy. Check them around the 1-hour mark. If they need more time, keep an eye on them as they can burn quickly. Remove the chips from the oven when they look just right.
Are roasted squash chips healthy?
Yes, roasted squash chips are a healthy snack option. They are low in calories and high in nutrients. Squash is rich in vitamins A and C, which are good for your skin and eyes. Using olive oil adds healthy fats, making this snack even better! Enjoy them guilt-free!
In this post, we explored how to make delicious roasted squash chips. We covered the best ingredients and measurements, along with tips for perfect seasoning and baking. You learned about storing your chips and how to avoid common mistakes.
Remember, you can adapt the recipe with different squashes and seasonings. With practice, you’ll master this tasty snack. Enjoy your crunchy, healthy treat!