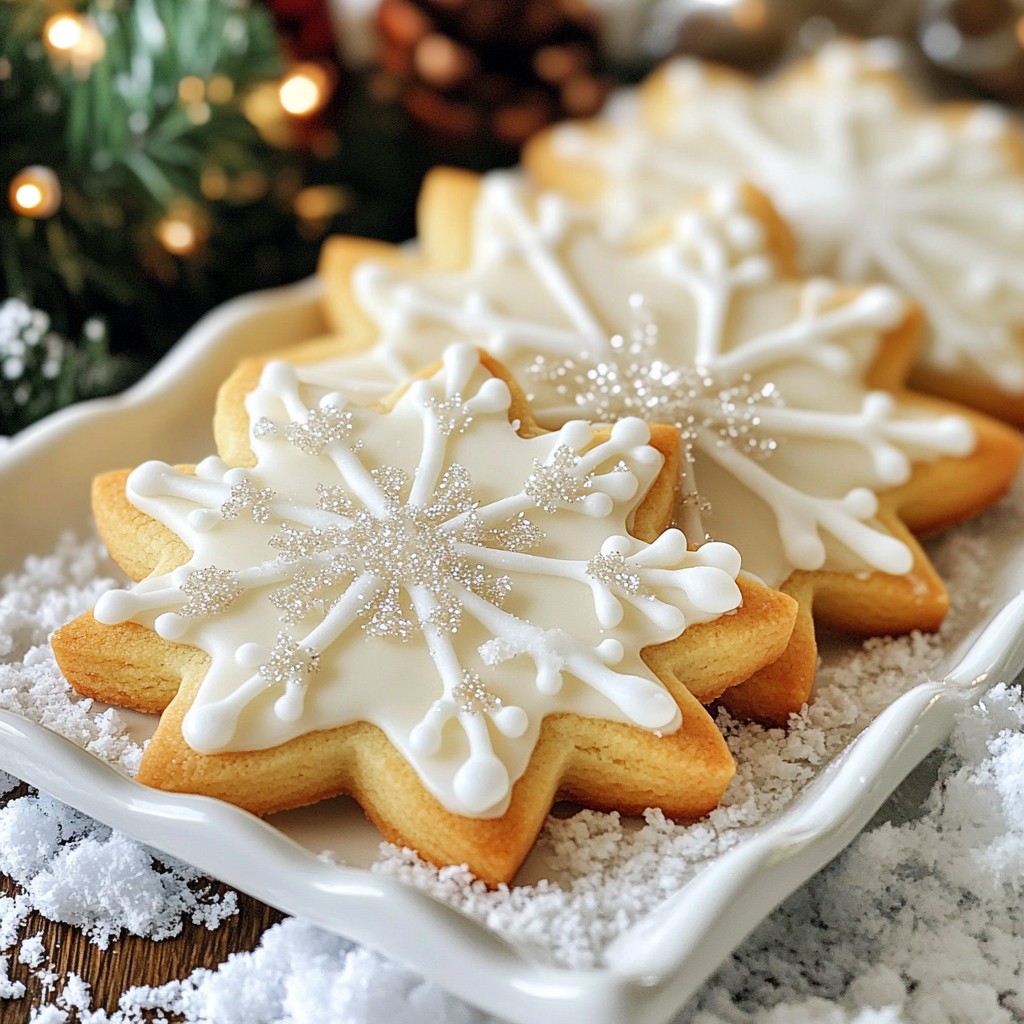
Want to impress your friends and family this holiday season? Discover how to make Snowflake Sugar Cookies that are as tasty as they are beautiful! In this guide, I will walk you through the ingredients, tools, and techniques to create these delightful treats. You’ll find tips for decorating, variations to try, and the best ways to store your cookies. Let's get baking and make your holidays even sweeter!
Why I Love This Recipe
- Festive Design: These snowflake cookies are not only delicious but also visually stunning, perfect for holiday gatherings!
- Versatile Flavors: The combination of vanilla and almond extracts gives these cookies a unique and delightful taste that appeals to everyone.
- Fun Decorating: Decorating with royal icing and edible glitter allows for creativity, making these cookies a fun activity for all ages!
- Make Ahead: The dough can be prepared in advance and refrigerated, making these cookies convenient for busy holiday schedules.
Ingredients
List of Ingredients
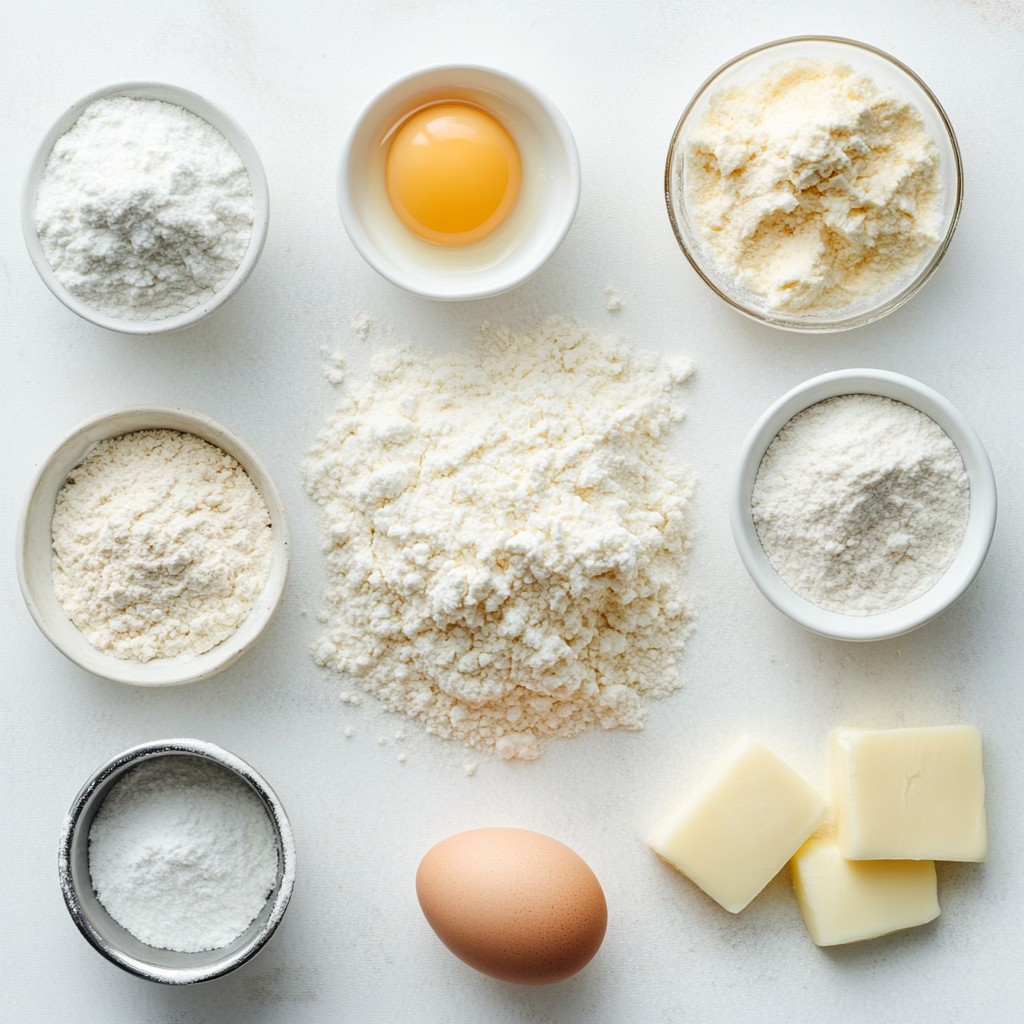
To make snowflake sugar cookies, gather these items:
- 2 ¾ cups all-purpose flour
- 1 teaspoon baking powder
- ½ teaspoon baking soda
- ¼ teaspoon salt
- 1 cup unsalted butter, softened
- 1 ½ cups granulated sugar
- 1 large egg
- 1 teaspoon vanilla extract
- 1 teaspoon almond extract
- Icing for decoration (royal icing preferred)
- Edible glitter or sprinkles (optional)
These ingredients create a smooth dough with a sweet, buttery flavor. You will love how the almond extract adds a lovely touch.
Optional Add-Ins
You can change up the flavor or look of your cookies. Try these ideas:
- Flavor extracts: Add lemon or orange extract for a citrus twist.
- Decorations: Use colored icing or themed sprinkles for a festive touch.
- Chocolate: Mix in mini chocolate chips for extra sweetness.
These add-ins can make your cookies stand out at any holiday gathering.
Recommended Tools
To make the process easier, use these kitchen tools:
- Mixing bowls
- Hand mixer or stand mixer
- Measuring cups and spoons
- Rolling pin
- Snowflake-shaped cookie cutter
- Parchment paper
- Baking sheets
- Wire rack for cooling cookies
Having the right tools helps you create beautiful cookies without stress. Enjoy the process and let your creativity shine!
Step-by-Step Instructions
Preparation Instructions
Start by preheating your oven to 350°F (175°C). This step is key for even baking. Next, line your baking sheets with parchment paper. This will help the cookies not stick.
Mixing the Dough
In a medium bowl, whisk 2 ¾ cups of all-purpose flour, 1 teaspoon of baking powder, ½ teaspoon of baking soda, and ¼ teaspoon of salt together. Set this bowl aside for later. In a large bowl, cream 1 cup of softened unsalted butter with 1 ½ cups of granulated sugar. Use a hand mixer or stand mixer for about 3 to 4 minutes until it’s light and fluffy. Then, add 1 large egg, 1 teaspoon of vanilla extract, and 1 teaspoon of almond extract. Beat these together until they blend well. Gradually mix in your dry flour mixture. Be careful not to overwork the dough; just mix until combined.
Cutting and Baking
Next, divide the dough into two discs. Wrap them in plastic wrap and chill them in the fridge for 30 minutes. This helps firm up the dough. After chilling, roll out one disc on a floured surface to about ¼ inch thick. Use a snowflake-shaped cookie cutter to cut out shapes. Place these on your prepared cookie sheets. Bake them in the oven for 8 to 10 minutes, until the edges are lightly golden. Once baked, let them cool on the sheet for 5 minutes before moving them to a wire rack. After they cool completely, decorate the cookies with icing and add some edible glitter or sprinkles for fun!
Tips & Tricks
Perfecting Your Cookies
To make smooth snowflake sugar cookies, follow these steps. First, use softened butter. It helps mix well with sugar. Cream them until light and fluffy. This takes about 3 to 4 minutes. Next, don’t rush adding flour. Mix it in gradually. This keeps the dough tender. Chill the dough for 30 minutes. This makes it easier to roll out. Aim for a thickness of about ¼ inch when rolling.
Icing Techniques
For beautiful icing, use royal icing. It dries hard and holds its shape. Start by outlining your snowflakes. Use a piping bag for control. Fill in the center with a thicker icing. This helps create a smooth surface. Let each layer dry before adding more details. For extra flair, sprinkle on edible glitter or sprinkles while the icing is wet.
Presentation Ideas
When it comes to displaying your cookies, think festive! Arrange them on a colorful platter. Add some faux snow using coconut flakes. This gives a wintery vibe. You can also use decorative boxes to gift them. Tie with a ribbon for a personal touch. Your snowflake cookies will shine at any holiday gathering!
Pro Tips
- Chill the Dough: Chilling the dough not only makes it easier to roll out but also helps the cookies maintain their shape while baking.
- Use Quality Butter: For the best flavor, use high-quality unsalted butter, which will make your cookies taste rich and delicious.
- Decorating Tips: When decorating with icing, use a piping bag for precision. Allow each layer of icing to dry before adding more for a more polished look.
- Storage Secrets: Store your cookies in an airtight container at room temperature for up to a week, or freeze them for longer-lasting freshness.
Variations
Flavor Variants
You can switch up the flavor of your snowflake sugar cookies. Try adding citrus zest for a fresh taste. Lemon or orange zest works great. You can also use peppermint extract for a fun holiday twist. Just replace one teaspoon of vanilla or almond extract with your choice.
Decorating Styles
Get creative with your cookie decorations! Use royal icing for a sleek finish. You can pipe different designs like snowflakes or swirls. If you want a sparkly touch, add edible glitter or colorful sprinkles. Consider using melted chocolate for drizzling patterns, too!
Dietary Adjustments
Want to make these cookies gluten-free? Just swap all-purpose flour for a gluten-free blend. For a vegan option, replace butter with coconut oil and use a flax egg instead of a real egg. These adjustments keep the cookies tasty while meeting dietary needs.
Storage Info
Storing Cookies
To keep your snowflake sugar cookies fresh, store them in an airtight container. This helps maintain their soft texture and prevents them from drying out. You can layer the cookies between sheets of parchment paper to avoid sticking. For best results, place them at room temperature. Avoid storing them near heat or moisture, as this can affect their quality.
Freezing Instructions
You can freeze unbaked dough or baked cookies. For unbaked dough, wrap it in plastic wrap and place it in a freezer bag. When you're ready to bake, let the dough thaw overnight in the fridge. For baked cookies, let them cool completely. Then, stack them in an airtight container with parchment paper between layers. They can last up to three months in the freezer.
Shelf Life
Snowflake sugar cookies can stay fresh at room temperature for about one week. After that, they may start to lose texture and flavor. Look for signs of spoilage, like a change in smell or appearance. If they become hard or stale, it’s best to toss them. Keeping them stored properly can help you enjoy these delightful treats longer!
FAQs
How can I ensure my cookies are perfectly shaped?
To keep your cookies in shape while baking, chill the dough first. After rolling out the dough, use a snowflake cookie cutter to create your shapes. Place them on parchment-lined sheets. Bake them at 350°F for 8-10 minutes. Make sure the edges turn lightly golden. Avoid overbaking to keep their shape intact.
Can I use a different icing than royal icing?
Yes, you can use other icing types! Buttercream icing is a great choice. It tastes rich and creamy. Alternatively, you can use fondant for a smooth finish. However, buttercream may not dry as hard as royal icing. Fondant can be tricky to work with, but it looks great on cookies.
How long do sugar cookies last after baking?
Sugar cookies stay fresh for about one week if stored properly. Keep them in an airtight container at room temperature. If you want them to last longer, you can freeze them. They can stay good for up to three months in the freezer. Just make sure to thaw them before decorating.
You now have all the details to make perfect snowflake cookies. We covered ingredients, optional add-ins, and the tools you'll need. I shared step-by-step instructions for preparation, mixing, cutting, and baking. You also learned tips for perfecting texture and icing. Plus, we explored fun variations and storage tips.
Don't forget to get creative with flavors and decorations. The best cookie is one made with joy. Happy baking!