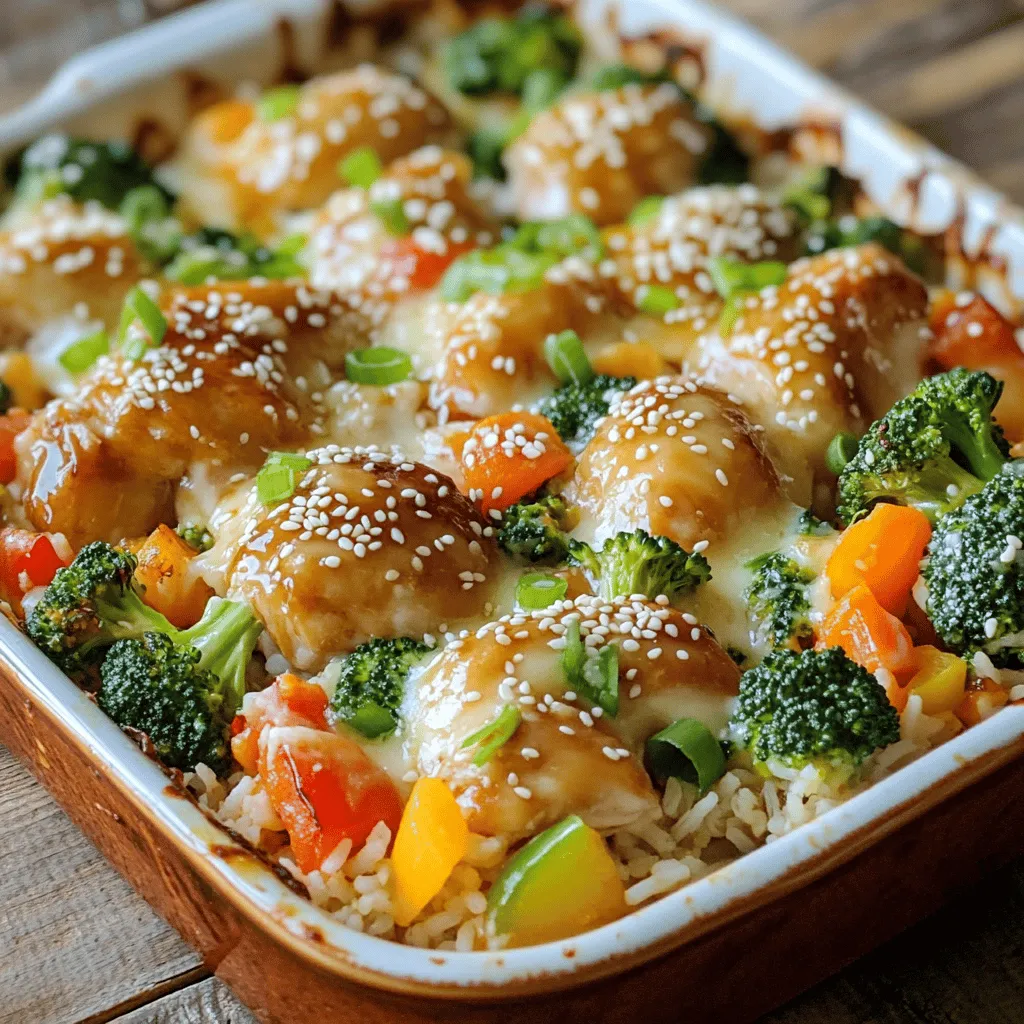
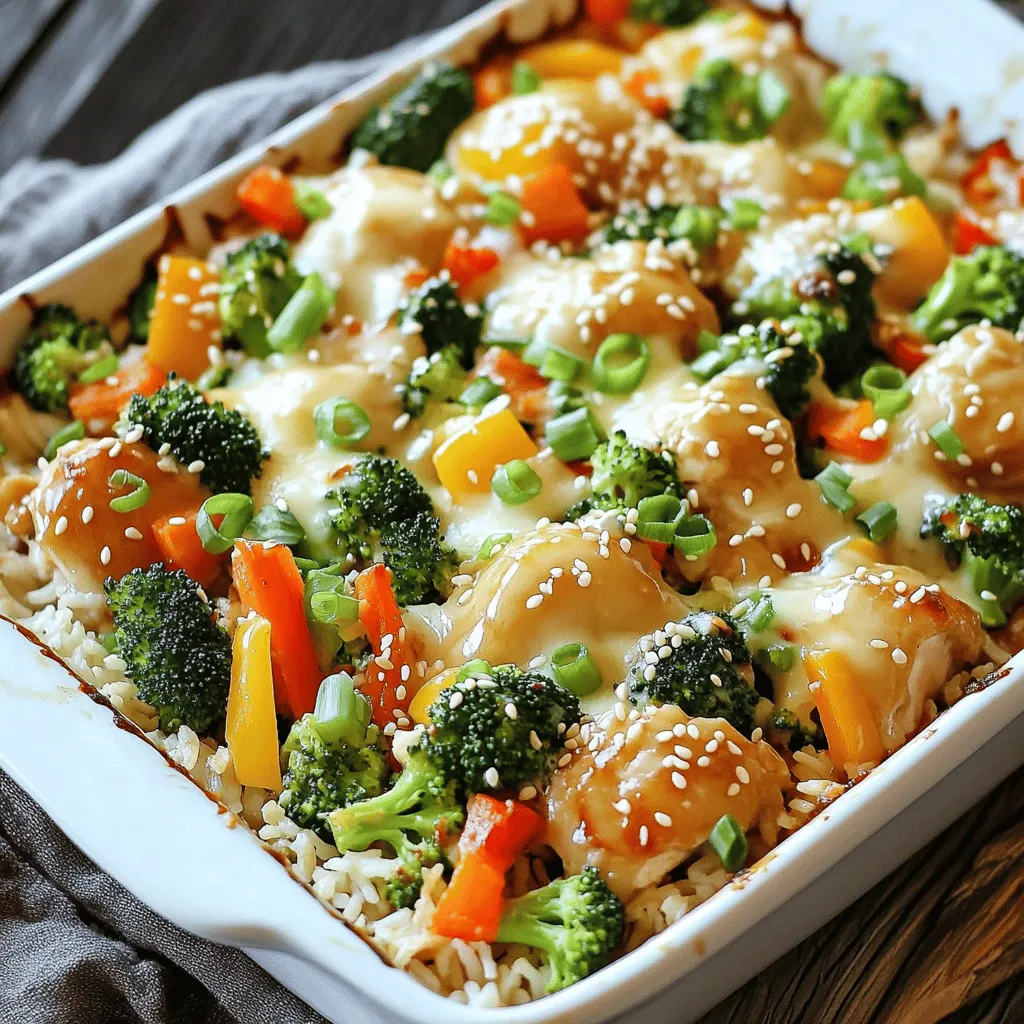
Weeknight dinners don’t have to be bland or boring. My Teriyaki Chicken Casserole combines juicy chicken, vibrant vegetables, and cheesy goodness in one dish. It’s easy to make and packed with flavor, perfect for busy nights. Plus, you can customize it to fit your taste! Let’s dive into this simple recipe that will delight your family and keep dinner stress-free. Get ready to impress with this tasty meal!
Ingredients
List of Ingredients
– 2 cups cooked white rice
– 1 pound boneless skinless chicken thighs, diced
– 1 cup broccoli florets
– 1 cup bell peppers, sliced
– 1 cup shredded carrots
– 1 cup low-sodium teriyaki sauce
– 1 cup shredded mozzarella cheese
– 2 green onions, chopped
– 1 tablespoon sesame seeds
– Salt and pepper to taste
– 1 tablespoon olive oil
When I create this teriyaki chicken casserole, I love how these ingredients come together. Each one adds flavor and texture. The rice serves as a hearty base. The chicken thighs bring a juicy, rich taste. Broccoli and bell peppers add crunch and color. Carrots give sweetness, while the teriyaki sauce ties it all together with a savory glaze.
Ingredient Substitutions
For a twist, you can use chicken breast instead of thighs. You might also try tofu for a vegetarian option. If you want to switch up the veggies, snap peas or zucchini work great too. These swaps keep the recipe exciting while still being simple.
Quality Tips
Fresh vegetables shine in this dish. They enhance flavor and texture. However, frozen veggies can save time and still taste good. Just make sure to use low-sodium teriyaki sauce. This helps control salt levels in your meal. A well-balanced dish is all about good choices.
Step-by-Step Instructions
Preparation Steps
– Preheat oven to 375°F (190°C).
– Prepare and measure all ingredients.
Cooking Steps
– In a large skillet, heat olive oil over medium heat.
– Add diced chicken, season with salt and pepper.
– Sauté chicken for about 5-7 minutes until browned.
– Stir in broccoli, bell peppers, and carrots.
– Cook the vegetables for 3-4 minutes until slightly tender.
– Pour in low-sodium teriyaki sauce and mix well.
– Let it simmer for 2-3 minutes to blend flavors.
Baking Steps
– In a large bowl, combine cooked rice with the chicken and vegetable mix.
– Stir in half of the shredded mozzarella cheese and half of the green onions.
– Transfer the mixture to a greased 9×13 inch casserole dish.
– Sprinkle the remaining mozzarella on top for extra cheesy goodness.
– Cover with aluminum foil and bake for 25 minutes.
– After 25 minutes, remove the foil and bake for another 10-15 minutes.
– Look for bubbly and golden cheese as a sign it’s ready.
– Let it sit for a few minutes before serving.
– Garnish with remaining green onions and sprinkle sesame seeds on top.
This Teriyaki Chicken Casserole is a great dish to serve for busy weeknights.
Tips & Tricks
Cooking Techniques
To cook chicken evenly, start with smaller pieces. Diced chicken cooks faster and more evenly. Use medium heat to avoid burning. Sauté until golden brown, about 5-7 minutes. This locks in flavor and keeps it juicy.
For perfect vegetable tenderness, add your veggies based on their cooking time. Broccoli and bell peppers take longer than shredded carrots. Cook broccoli and peppers first. Add carrots in the last few minutes of cooking. This way, they stay crisp and colorful.
Serving Suggestions
Serve your casserole hot, right from the oven. It tastes best when warm and cheesy. For extra fun, offer chopsticks alongside forks. This adds a playful touch to your meal.
Pair your casserole with simple sides. Steamed rice or a fresh salad complements it well. You can also serve it with pickled vegetables for a tangy crunch.
Make-Ahead Tips
To prepare in advance, cook the chicken and chop the veggies a day ahead. Store them in the fridge until you’re ready to mix. This saves time on busy weeknights.
For reheating, use the oven to keep the cheese melted. Cover the dish with foil to prevent drying out. Heat at 350°F (175°C) until warmed through, about 20-25 minutes. Enjoy your flavorful Teriyaki Chicken Casserole any night of the week!
Variations
Dietary Modifications
For those who need gluten-free options, swap the teriyaki sauce for a gluten-free brand. Use tamari or coconut aminos for great flavor. You can also use rice noodles instead of rice for a fun twist.
If you want a vegetarian or vegan version, replace chicken with tofu or tempeh. Make sure to press the tofu first to remove excess water. Use a plant-based teriyaki sauce to keep it vegan-friendly.
Flavor Additions
To add more depth to your teriyaki chicken casserole, consider introducing spices or herbs. Ginger, garlic, or even a dash of chili powder can enhance the flavor. A sprinkle of black sesame seeds can add a nice crunch and taste.
Adjusting the sweet and savory balance can also elevate your dish. If you like it sweeter, add a bit of honey or brown sugar. For extra savory notes, add soy sauce or a splash of rice vinegar.
Diverse Serving Styles
You can serve the casserole in two styles: individual portions or family-style. For individual servings, use ramekins or small bowls. This makes for a fun and easy meal, especially for kids.
For a family-style casserole, serve directly from the dish. Pair it with Asian-inspired side dishes like a simple cucumber salad or steamed edamame. This adds freshness and balances the rich flavors of the casserole.
Storage Info
Storing Leftovers
After you enjoy your teriyaki chicken casserole, let it cool first. This step helps avoid moisture buildup. Once cool, pack the leftovers in an airtight container. Glass or plastic containers work well. Make sure the lid seals tightly to keep air out.
Freezing Guidance
You can freeze your casserole before or after baking. If you freeze it before baking, cover it tightly. Use aluminum foil or plastic wrap. When ready to bake, thaw it overnight in the fridge. If you bake first, cool it completely before freezing. Thaw the baked casserole in the fridge before you reheat it.
Shelf Life
In the fridge, your casserole lasts about 3 to 4 days. If you freeze it, it can stay good for up to 3 months. Always check for signs of spoilage. If you see mold or an off smell, throw it away.
FAQs
How can I make Teriyaki Chicken Casserole spicy?
You can add hot sauce or red pepper flakes to your casserole. Start with a little, then taste. If you want more heat, add a bit more. This gives your dish a nice kick. You can also try using spicy teriyaki sauce. It adds flavor along with heat.
Can I cook Teriyaki Chicken Casserole in a slow cooker?
Yes, you can! Cooking in a slow cooker is a great idea. First, brown the chicken in a pan. Then, add all ingredients to the slow cooker. Cook on low for 4 to 6 hours or high for 2 to 3 hours. Just check that the chicken is fully cooked before serving.
What are the best toppings for Teriyaki Chicken Casserole?
Beyond sesame seeds and green onions, try these toppings:
– Crushed peanuts for crunch
– Chopped cilantro for freshness
– Sliced jalapeños for heat
– Avocado for creaminess
These toppings add flavor and make your dish look great. Feel free to mix and match for a fun twist!
This Teriyaki Chicken Casserole is simple and tasty. You learned about the key ingredients and how to prepare them. I shared tips for ingredient swaps and ways to make it healthy. The cooking steps will help you create a flavorful meal. Lastly, I provided storage info and answers to common questions.
Enjoy making this dish for busy nights or creating new flavors. Try your own ideas and share your results!