WANT TO SAVE THIS RECIPE?
If you’re looking for a quick and tasty side dish, you’ll love my Chili Lime Grilled Corn! This simple recipe packs a zesty punch that pairs perfectly with summer meals. With just a few fresh ingredients and easy steps, you can turn plain corn into a delicious treat. Join me as I guide you through making this crowd-pleaser that will have everyone asking for more!
Why I Love This Recipe
- Bold Flavors: This recipe combines the zesty taste of lime with the smokiness of paprika and the kick from chili powder, resulting in a flavor explosion with every bite.
- Quick and Easy: With a prep time of just 10 minutes, this grilled corn recipe is perfect for last-minute gatherings or weeknight dinners.
- Versatile Toppings: You can customize the dish with optional feta cheese and fresh cilantro, allowing you to tailor it to your taste preferences.
- Perfect for Grilling Season: This recipe is ideal for summer barbecues, bringing a fresh and vibrant side dish to any outdoor feast.
Ingredients
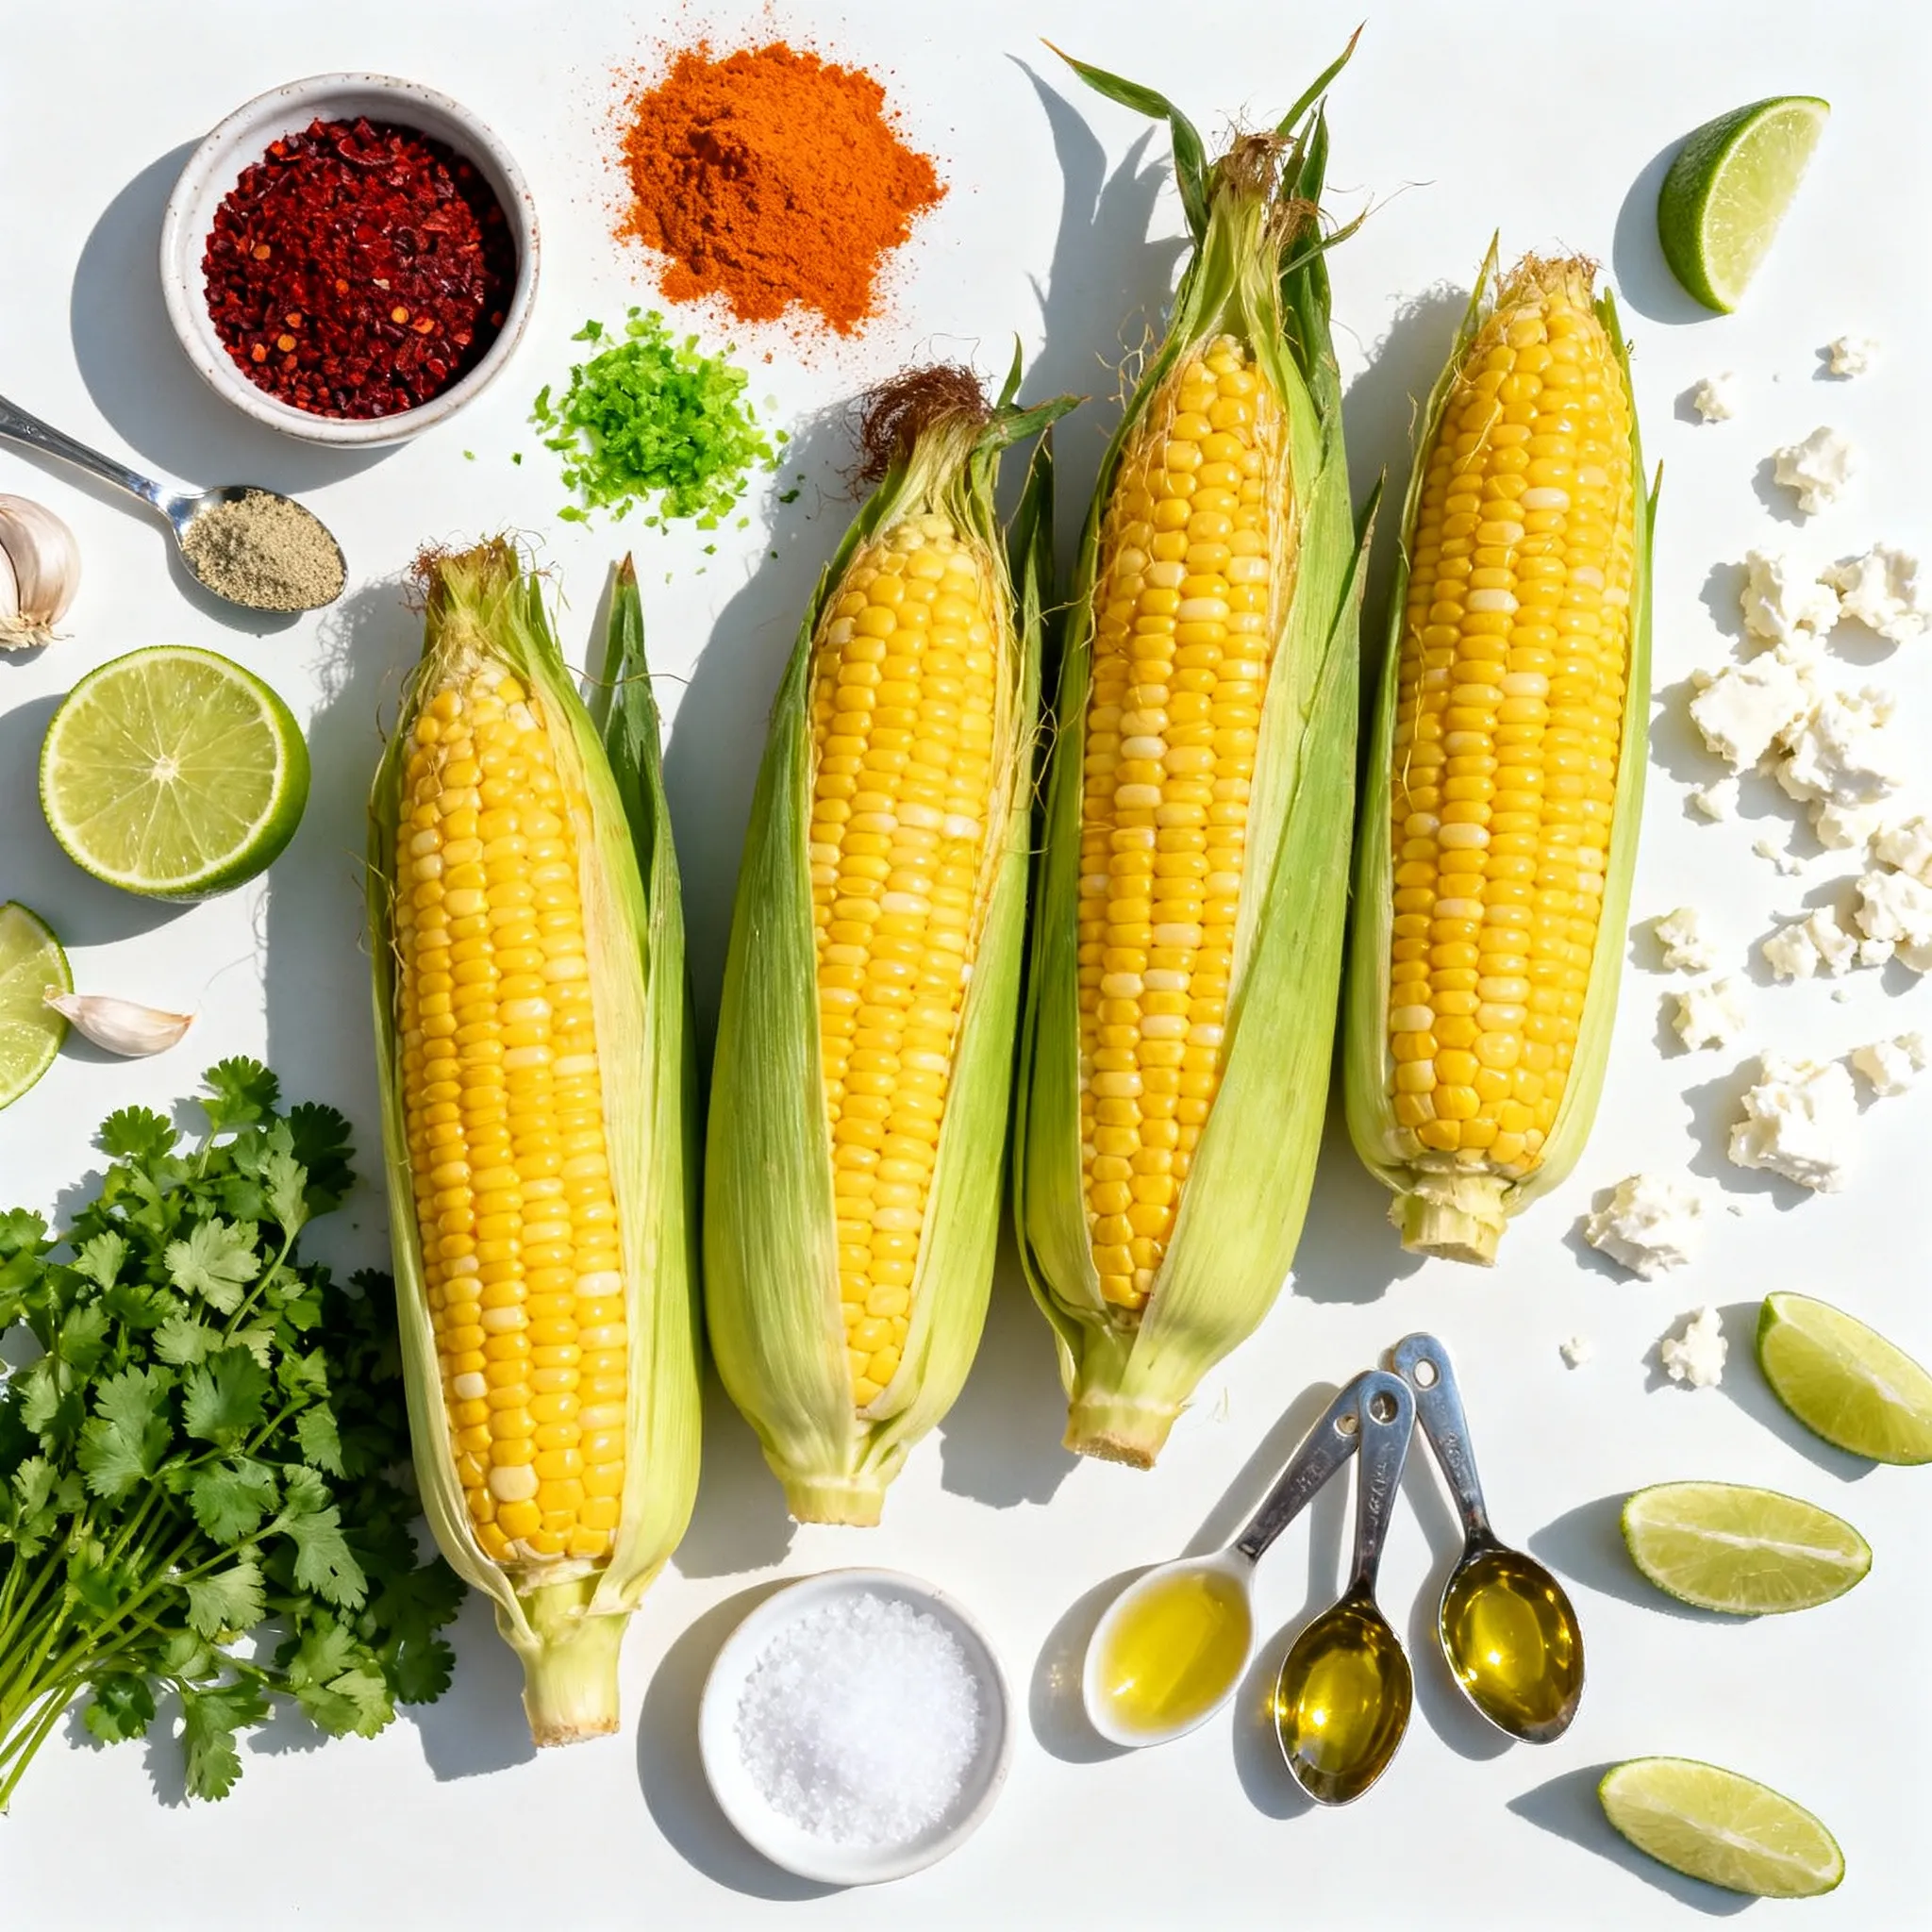
Fresh Ingredients Required
– 4 ears of fresh corn, husked
– 1 lime, zested and juiced
To make chili lime grilled corn, fresh corn is key. Choose ears that feel firm to your touch. Look for bright green husks. The lime adds a zesty kick, making the corn pop with flavor.
Seasonings and Oils
– 2 tablespoons chili powder
– 1 tablespoon smoked paprika
– 1 teaspoon garlic powder
– 3 tablespoons olive oil
– Salt to taste
For the seasoning mix, chili powder gives heat, while smoked paprika adds depth. Garlic powder boosts flavor without being overpowering. Olive oil helps blend everything and keeps the corn moist. Don’t forget to add salt to taste; it enhances all the flavors.
Optional Toppings
– Crumbled feta cheese
– Fresh cilantro, chopped
– Lime wedges for serving
Toppings can elevate your dish. Crumbled feta cheese adds creaminess. Fresh cilantro gives a burst of freshness. Serve with lime wedges for extra zing. All these toppings make the corn even more delicious and fun to eat!

Step-by-Step Instructions
Preparing the Grill
First, you need to preheat the grill. Set it to medium-high heat. This helps the corn cook evenly and get those nice grill marks.
Mixing the Chili Lime Paste
Next, grab a small bowl. Combine these ingredients:
– 2 tablespoons chili powder
– 1 tablespoon smoked paprika
– 1 teaspoon garlic powder
– Zest from 1 lime
– 3 tablespoons olive oil
– Salt to taste
Mix well until it forms a thick paste. This adds great flavor to your corn.
Grilling the Corn
Now, take your ears of corn and husk them. Remove all the silk strands. Brush the chili-lime mixture all over each ear of corn. Make sure to coat them well.
Place the corn directly on the grill grates. Grill for about 10-12 minutes. Turn the corn every few minutes. You want the kernels to be tender and slightly charred. Once done, take them off the grill and squeeze fresh lime juice over each ear. Enjoy!
Tips & Tricks
Perfecting the Grill Marks
To get that perfect char, start with a clean grill. A clean grill helps the corn cook evenly. Preheat the grill to medium-high heat. Place the corn directly on the grill grates. Turn the corn every few minutes. This helps to avoid burning while getting those nice grill marks. Look for a golden-brown color on the kernels. This means your corn is ready and has great flavor.
Enhancing Flavor
The chili-lime paste is tasty, but you can add more! Try using cumin or cayenne for extra heat. Fresh herbs like thyme or oregano can change the taste too. If you like smokiness, try adding more smoked paprika. Don’t forget about lime zest; it gives a fresh kick. Feel free to mix and match spices based on your taste.
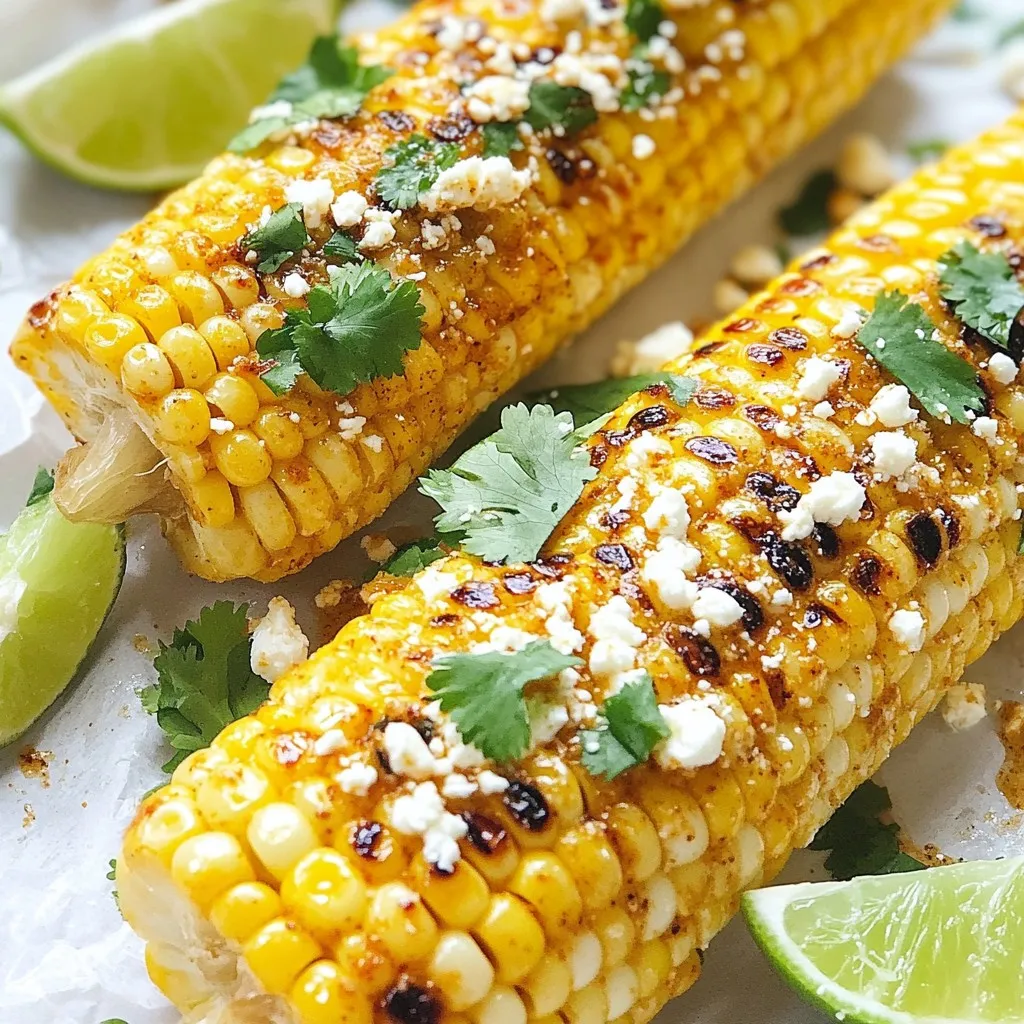
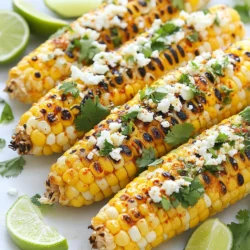
Serving Suggestions
Serving your chili-lime grilled corn can be fun! Place the corn on a large platter for a family-style meal. Squeeze fresh lime juice over each ear for a zesty finish. Sprinkle crumbled feta cheese on top for a salty bite. Add chopped cilantro for a pop of color. Serve with lime wedges on the side for extra zing. This simple presentation makes your dish look great and taste even better!
Pro Tips
- Choose Fresh Corn: For the best flavor, select ears of corn that are bright green, with tightly wrapped husks and moist silk. Fresh corn is sweet and tender, making it perfect for grilling.
- Customize the Spice Level: If you prefer a milder version, reduce the amount of chili powder or opt for a mild variant. For extra heat, add cayenne pepper or red pepper flakes to the chili-lime mix.
- Grill Technique: To prevent the corn from charring too quickly, you can soak the husked ears in water for about 15 minutes before grilling. This will add moisture and help achieve a perfect char.
- Serving Suggestions: For a fun twist, try serving the corn with a variety of toppings such as avocado, lime crema, or a sprinkle of chili flakes for an extra kick.

Variations
Different Spice Blends
You can change the spice mix for fun new flavors. Try using cumin for a warm taste. Paprika adds a smoky flavor. If you want heat, add cayenne pepper. For a fresh twist, use fresh herbs like basil or mint. Mix and match to find your favorite blend!
Vegetarian and Dairy-Free Options
To make this dish dairy-free, skip the feta cheese. You can still enjoy a rich flavor. Instead, use avocado or a sprinkle of nutritional yeast. Both add creaminess without dairy. This way, everyone can enjoy this corn dish, even those with dairy allergies.
Grilling Alternatives
Don’t have a grill? No problem! You can roast the corn in the oven. Preheat to 400°F. Wrap the corn in foil and bake for 20 minutes. You can also use a stovetop grill pan. Just heat it over medium heat and cook the corn for 10-12 minutes, turning often. You’ll get that nice char even indoors!
Storage Info
Storing Leftovers
To store leftover grilled corn, let it cool first. Wrap each ear tightly in plastic wrap. Place the wrapped corn in an airtight container. This keeps the corn fresh for up to three days in the fridge. You can also use aluminum foil if you prefer. Just make sure it is sealed well.
Reheating Instructions
To reheat the corn without losing its great taste, try using the grill or stovetop. Heat your grill to medium. Place the corn on the grill for about 5 minutes. Turn it until warm. If using the stovetop, add a little olive oil to a pan. Heat the corn over medium heat, turning often. This keeps the corn juicy and tasty.
Freezing Tips
Yes, you can freeze grilled corn! First, let it cool down. Then, remove the husks and wrap each ear in plastic wrap. Place the wrapped corn in a freezer bag. Be sure to squeeze out as much air as possible. This will keep the corn fresh for up to six months in the freezer. When ready to eat, thaw it in the fridge overnight before reheating.
FAQs
Can I use frozen corn instead of fresh corn?
Yes, you can use frozen corn. However, fresh corn gives better flavor and texture. Frozen corn might be softer after grilling. If using frozen corn, thaw it first. Pat it dry to reduce moisture. This step helps achieve a good char. Cook it for shorter time, about 5-7 minutes. Watch closely to avoid mushiness.
How do I know when the corn is done?
You can tell corn is done when it is tender and slightly charred. Look for deep golden brown spots on the kernels. They should be juicy and soft but not mushy. Use tongs to turn the corn every few minutes. This ensures even cooking. If you hear popping sounds, it’s a good sign!
Can I make the chili lime mixture in advance?
Yes, you can prepare the chili lime mixture ahead of time. Mix the chili powder, smoked paprika, garlic powder, lime zest, olive oil, and salt. Store it in an airtight container in the fridge. It will keep well for about a week. Stir well before using, as it may separate. This saves time on grilling day!
Grilling corn is simple and rewarding. We covered the best ingredients, seasonings, and optional toppings. I shared step-by-step instructions and helpful tips for perfect grill marks and flavor. You can try variations for different tastes and learned how to store leftovers.
Enjoy your grilled corn! It’s a tasty treat for any meal or gatherin
Chili Lime Grilled Corn
Deliciously grilled corn on the cob coated with a spicy chili-lime mixture.
Prep Time 10 minutes mins
Cook Time 15 minutes mins
Total Time 25 minutes mins
Course Side Dish
Cuisine Mexican
Servings 4
Calories 150 kcal
- 4 ears fresh corn, husked
- 2 tablespoons chili powder
- 1 tablespoon smoked paprika
- 1 teaspoon garlic powder
- 1 lime zested and juiced
- 3 tablespoons olive oil
- to taste salt salt
- optional crumbled feta cheese (for topping)
- for garnish fresh cilantro, chopped
- for serving lime wedges
Preheat your grill to medium-high heat.
In a small bowl, combine the chili powder, smoked paprika, garlic powder, lime zest, olive oil, and salt. Mix well to form a paste.
Husk the corn and remove any silk strands. Brush the chili-lime mix all over each ear of corn, ensuring they are well coated.
Place the corn directly on the grill grates. Grill the corn for about 10-12 minutes, turning every few minutes until the kernels are tender and slightly charred.
Once done, remove the corn from the grill and squeeze fresh lime juice over each ear.
(Optional) Sprinkle crumbled feta cheese on top for added flavor.
Garnish with freshly chopped cilantro and serve immediately with lime wedges on the side.
Optional to add feta cheese for extra flavor.
Keyword chili lime, corn, grilled, vegetarian
WANT TO SAVE THIS RECIPE?