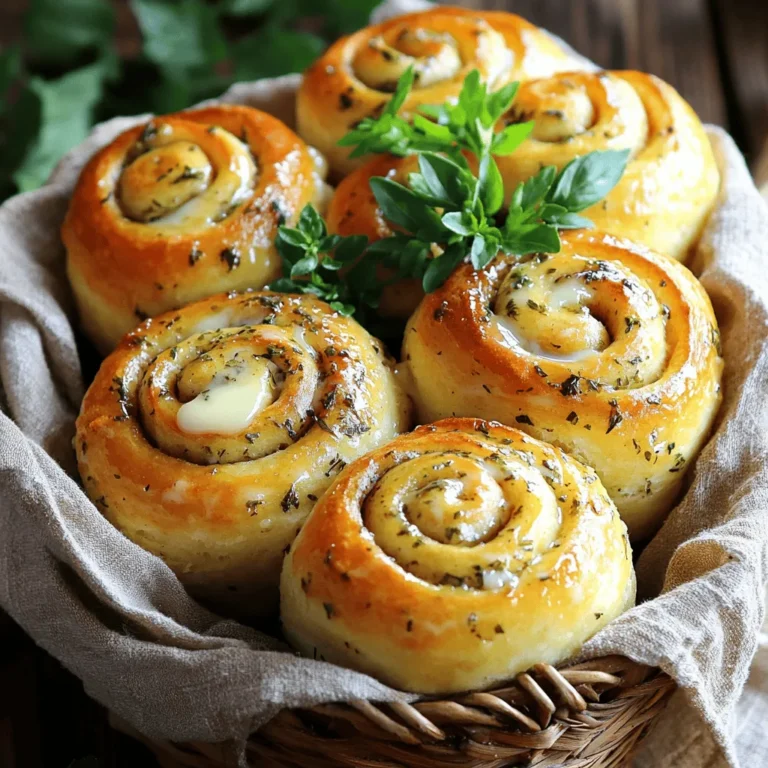
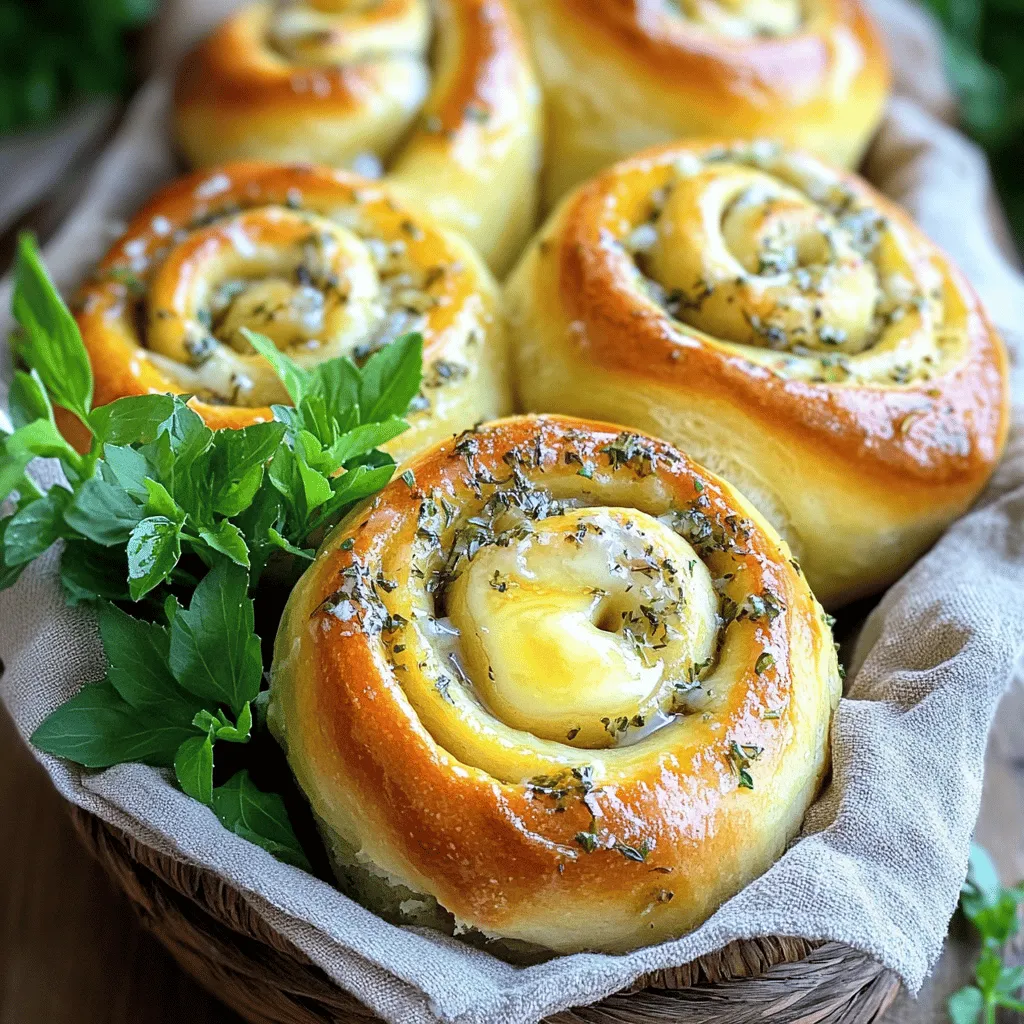
Welcome to your new favorite recipe: Herb & Garlic Swirl Rolls! These rolls are light, fluffy, and packed with flavor. Imagine biting into a warm swirl of garlic and herbs that fills your kitchen with a delicious aroma. Whether you’re hosting a dinner party or just craving a tasty snack, these rolls are perfect. Let’s dive into the easy steps to create this delightful treat that will wow your friends and family!
Ingredients
List of Main Ingredients
– 3 cups all-purpose flour
– 1 packet (2 ¼ teaspoons) active dry yeast
– 1 teaspoon sugar
Additional Ingredients
– 1 teaspoon salt
– 1 cup warm water (about 110°F or 43°C)
– ¼ cup olive oil
Flavor Enhancers
– 4 cloves garlic, minced
– 2 tablespoons fresh parsley, chopped
– 2 tablespoons fresh basil, chopped
– 1 tablespoon fresh rosemary, chopped
– ½ teaspoon black pepper
– 1 tablespoon melted butter (for brushing)
Gather these ingredients to create your herb and garlic swirl rolls. The blend of fresh herbs and garlic gives these rolls a wonderful aroma and taste. The warm water helps the yeast activate, giving the dough its rise.
Step-by-Step Instructions
Activating the Yeast
To make the rolls rise, we start by activating the yeast. Mix warm water, sugar, and yeast in a small bowl. Let it sit for about 5-10 minutes. You want it to get frothy. This means your yeast is alive and ready to work.
Making the Dough
Next, we make the dough. In a large bowl, combine the flour and salt. Make a well in the center. Pour in the activated yeast mixture and olive oil. Stir until a shaggy dough forms. This dough will be the base for your rolls.
Kneading Process
Now it’s time to knead the dough. Transfer it to a floured surface. Knead for about 8-10 minutes. You want it to be smooth and elastic. After that, place it in a greased bowl. Cover it with a clean cloth and let it rise in a warm place. This should take about 1 hour until it doubles in size.
Preparing the Filling
While the dough rises, prepare the filling. In a small bowl, mix the minced garlic with chopped herbs and black pepper. This mixture will add great flavor to your rolls. Use fresh herbs for the best taste.
Rolling and Cutting the Dough
Once your dough has risen, punch it down. Transfer it to a floured surface and roll it out into a rectangle about ¼-inch thick. Spread the herb and garlic mixture evenly over the surface of the dough. Starting from one long side, tightly roll the dough into a log. Pinch the seam to seal it. Use a sharp knife or kitchen string to cut the log into 12 equal pieces.
Final Rising and Baking
Place the rolls in a greased baking dish with the cut side up. Cover and let them rise for another 30 minutes until puffy. While the rolls rise, preheat your oven to 375°F (190°C). Brush the tops of the rolls with melted butter. Bake them for 25-30 minutes or until golden brown.Enjoy your warm, fluffy Herb & Garlic Swirl Rolls!
Tips & Tricks
Perfecting Texture
To get the best fluffy texture, knead the dough well. Knead it for 8-10 minutes. This helps develop gluten. Gluten gives the rolls their light and airy feel. After kneading, let the dough rise in a warm place. Cover it with a clean cloth. This will keep moisture in and help it rise. Wait until the dough doubles in size, which takes about one hour.
Flavor Variations
You can change up the herbs to fit your taste. Try adding thyme or dill for a different twist. You can also use dried herbs if fresh ones are not available. Experiment with spices like paprika or chili flakes for some heat. These changes can make each batch unique and fun to try.
Serving Suggestions
Serve your Herb & Garlic Swirl Rolls warm. They are great on their own or with a dip. Olive oil mixed with balsamic vinegar is a perfect choice. You can also pair them with soups or salads. For a fun touch, garnish with extra fresh herbs on top. This makes for a lovely presentation. Enjoy these rolls fresh from the oven for the best taste!
Variations
Cheese-Stuffed Rolls
You can make these rolls even better by adding cheese. Cheese adds a creamy and rich taste that blends well with the herbs. Try mozzarella for a gooey melt or cheddar for sharp flavor. Simply spread the cheese over the herb mixture before rolling the dough. This small change makes a big difference!
Gluten-Free Option
If you need a gluten-free version, you can use gluten-free flour. Look for a blend that contains xanthan gum for the best texture. Brands like Bob’s Red Mill offer good options. Just replace the all-purpose flour with the gluten-free flour in the same amount. The result is still fluffy and tasty!
Herb & Garlic Vegan Version
To create a vegan version, swap the butter for plant-based margarine. You can also use almond milk or oat milk instead of regular milk if needed. This keeps the rolls soft and flavorful without any animal products. Enjoy your vegan Herb & Garlic Swirl Rolls just like the original.
Storage Info
Short-Term Storage
To store your Herb & Garlic Swirl Rolls at room temperature, place them in an airtight container. This keeps them soft and moist. You can also wrap them in plastic wrap. Make sure to eat them within two days for the best taste and texture.
Long-Term Storage
If you have leftovers, freezing is a great option. Let the rolls cool completely before freezing. Place them in a freezer-safe bag or container. They can last for up to three months. To reheat, thaw them in the fridge overnight. Then, warm them in the oven at 350°F (175°C) for about 10 minutes.
How to Keep Rolls Fresh
To keep your rolls fresh longer, try these simple tips:
– Store them in a cool, dry place.
– Avoid placing them near direct sunlight.
– If you notice any moisture, add a paper towel inside the container. This helps absorb excess moisture and keeps the rolls from getting soggy.
These steps ensure your Herb & Garlic Swirl Rolls stay delicious and fluffy.
FAQs
Can I use instant yeast instead of active dry yeast?
Yes, you can use instant yeast. You can simply replace active dry yeast with instant yeast in a 1:1 ratio. There’s no need to activate instant yeast in water first. Just add it directly to your dry ingredients. This saves time and makes the process easier.
What can I serve with Herb & Garlic Swirl Rolls?
These rolls pair well with many dishes. Here are some great options:
– Olive oil and balsamic vinegar for dipping
– A warm bowl of soup, like tomato or minestrone
– A fresh salad with vinaigrette
– A hearty stew to soak up flavors
How do I know when the rolls are finished baking?
Look for these signs to know your rolls are done:
– They should be golden brown on top
– The tops will feel firm and slightly spring back when touched
– When you tap the bottom, it sounds hollow.
These signs ensure the rolls are cooked through and fluffy.
Can I make the dough ahead of time?
Yes, you can make the dough in advance. After kneading, let it rise once, then punch it down. Wrap it tightly and store it in the fridge for up to 24 hours. When ready, let it come to room temperature before rolling out and adding the filling. This method makes it easy to enjoy fresh rolls anytime!
In this blog post, we explored the joy of making Herb & Garlic Swirl Rolls. From selecting the right ingredients to the step-by-step process, you now have the tools to create delicious rolls. Remember to play with flavors and variations, whether adding cheese or going gluten-free. Proper storage ensures your rolls stay fresh. With these tips and tricks, you’ll impress everyone with your baking skills. Enjoy making and sharing these tasty rolls!

