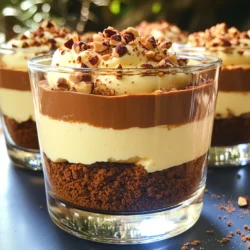
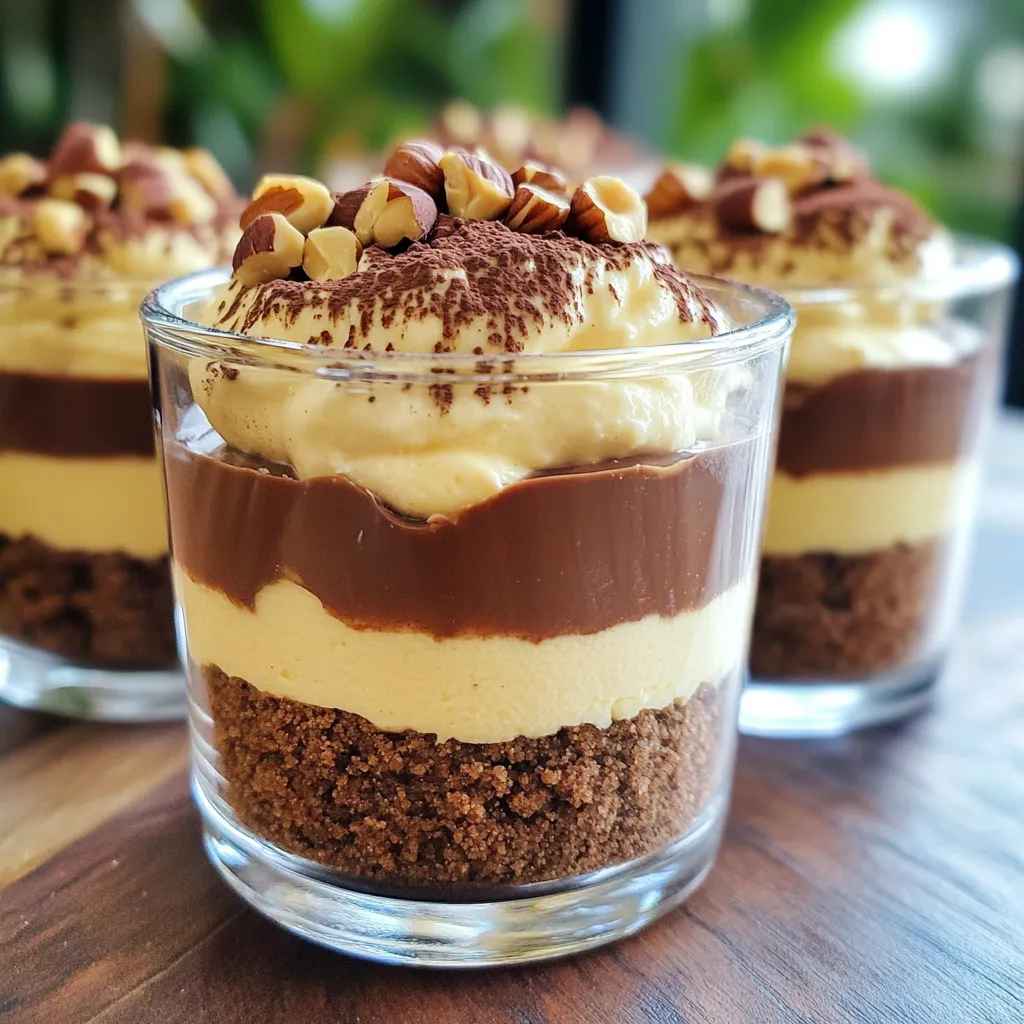
Are you ready to indulge in a sweet treat that requires no baking? These No-Bake Chocolate Hazelnut Cheesecake Cups are a game-changer. With a rich, creamy filling and a crunchy chocolate crust, they are perfect for any occasion. I’ll guide you through each simple step to make this delightful dessert. Grab your ingredients, and let’s create something delicious together!
Ingredients
Main Ingredients
– 1 cup crushed chocolate graham crackers
– 1/4 cup unsalted butter, melted
– 1 cup cream cheese, softened
– 1/2 cup powdered sugar
– 1/2 cup hazelnut spread (like Nutella)
– 1 teaspoon vanilla extract
– 1 cup heavy whipping cream
– 1/4 cup chopped hazelnuts (for garnish)
– 2 tablespoons cocoa powder (for dusting)
For this recipe, I love using chocolate graham crackers. They give a rich, sweet base. The melted butter helps bind the crust so it holds together well. Cream cheese makes the filling creamy and smooth.
Next, hazelnut spread adds that delicious nutty flavor. I always use Nutella, but any hazelnut spread works. The powdered sugar adds sweetness to the cheesecake. Vanilla extract enhances all the flavors and gives a warm note.
Heavy whipping cream is key for a light and fluffy texture. Whip it until stiff peaks form. Finally, chopped hazelnuts on top make it look pretty and add a nice crunch. Dusting with cocoa powder gives a chocolatey finish.
Optional Ingredients
– Additional toppings (e.g., chocolate shavings, whipped cream)
– Variations in nut types for crust (e.g., almond, pecan)
If you want to get fancy, add some chocolate shavings or a dollop of whipped cream on top. You can also switch up the nuts. Almonds or pecans make a great crust if you want a different flavor.
Step-by-Step Instructions
Prepare the Crust
First, mix the crushed chocolate graham crackers with melted butter in a medium bowl. Make sure the mixture is well combined. Then, take your serving cups and divide this mixture evenly among them. Press down firmly to create a solid crust at the bottom of each cup.
Make the Cheesecake Filling
Next, in a large mixing bowl, beat the softened cream cheese and powdered sugar together. You want the mixture to be smooth. Once it is, add the hazelnut spread and vanilla extract. Beat everything together until it is fluffy and fully mixed.
Whip the Heavy Cream
Now, take another bowl and whip the heavy cream. You will know it’s ready when stiff peaks form. This step is key for a rich texture. After whipping, gently fold the whipped cream into the hazelnut cream cheese mixture. Be careful not to deflate the whipped cream; you want to keep it light and airy.
Assemble and Chill
Spoon the hazelnut cheesecake mixture into the cups on top of the crust layer. Fill them to the top and smooth the surface for a nice finish. To achieve the best flavor, refrigerate the cups for at least 4 hours or overnight. Before serving, sprinkle chopped hazelnuts on top and dust with cocoa powder for that extra touch.
Tips & Tricks
Tips for Perfect Cheesecake Cups
– Ensure cream cheese is at room temperature: This step is key. Soft cream cheese blends well and makes your mix smooth. If it’s cold, you may get lumps.
– Best methods for whipping cream: Use a chilled bowl and beaters. This helps whip the cream faster. Don’t rush it; look for stiff peaks. This keeps your cheesecake light and airy.
Presentation Tips
– Garnishing with hazelnuts and cocoa powder: Top each cup with chopped hazelnuts for crunch. A light dusting of cocoa powder adds a rich look. It also enhances the chocolate flavor.
– Serving suggestions: Pair your cheesecake cups with fresh berries. They add a pop of color and a nice tartness. You can also serve with a dollop of whipped cream for extra creaminess.
Variations
Flavor Variations
You can play with flavors in your cheesecake cups. Adding a few drops of flavored extracts can change everything. For a nutty twist, try almond extract. It pairs well with hazelnut. If you want a fruity note, orange extract is a great option.
You can also mix in other nut butters. Peanut butter adds a fun flavor twist. Just make sure you adjust the amount of hazelnut spread. This way, the taste stays balanced. You can experiment until you find your favorite mix!
Dietary Adaptations
If you need a gluten-free option, use gluten-free chocolate graham crackers for the crust. They work just as well and keep the flavor.
For those who follow a vegan diet, you can swap out the dairy. Use vegan cream cheese and coconut cream instead of heavy cream. This will keep your cheesecake rich and creamy without any animal products. Just remember to check labels carefully when shopping!
Storage Info
Best Practices for Storage
To store leftovers in the refrigerator, cover the cheesecake cups tightly with plastic wrap. This keeps them fresh and prevents odors from other foods. You can also use an airtight container if you prefer. Just make sure the lids fit well.
If you want to freeze cheesecake cups, use a freezer-safe container. Before freezing, wrap each cup in plastic wrap. This helps avoid freezer burn. When ready to enjoy, thaw them in the fridge overnight.
Shelf Life
The cheesecake cups last about 3 to 5 days in the fridge. After that, they may lose texture and flavor. Always check for any signs of spoilage before eating. If you see any mold or notice an off smell, it’s best to discard them.
FAQs
Common Questions About No-Bake Cheesecake
Can I use low-fat cream cheese?
Yes, you can use low-fat cream cheese. It will change the texture a bit. The taste will still be good, but it might be less creamy.
How do I know when the cheesecake is set?
The cheesecake cups are set when they feel firm to the touch. After chilling for at least four hours, they should hold their shape when you scoop them out.
Can I make these cheesecake cups ahead of time?
Absolutely! These cheesecake cups are great for prep. You can make them a day or two before serving. Just keep them covered in the fridge until you’re ready to enjoy them.
What can I substitute for hazelnut spread?
If you don’t have hazelnut spread, you can use almond or peanut butter instead. They will give a different flavor but still taste amazing in the cheesecake cups.
This blog post covered how to make delicious no-bake cheesecake cups. You learned about the key ingredients, step-by-step instructions, and helpful tips for great results.
In summary, these cheesecake cups are easy to make and fun to enjoy. Experiment with flavors and toppings to make them your own. With the right care, you can store them for later. Enjoy making this treat!