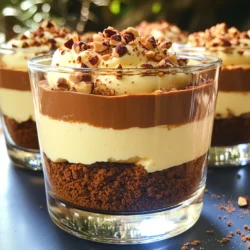
No-Bake Chocolate Hazelnut Cheesecake Cups
Indulge in the ultimate dessert with these No-Bake Chocolate Hazelnut Cheesecake Cups! This easy recipe brings together chocolate graham cracker crust and a creamy hazelnut cheese filling that's simply irresistible. Perfect for any occasion, these delightful cups are topped with crunchy hazelnuts and a dusting of cocoa powder. Click through for the full recipe and treat yourself to a chocolatey bliss that’s ready in no time!