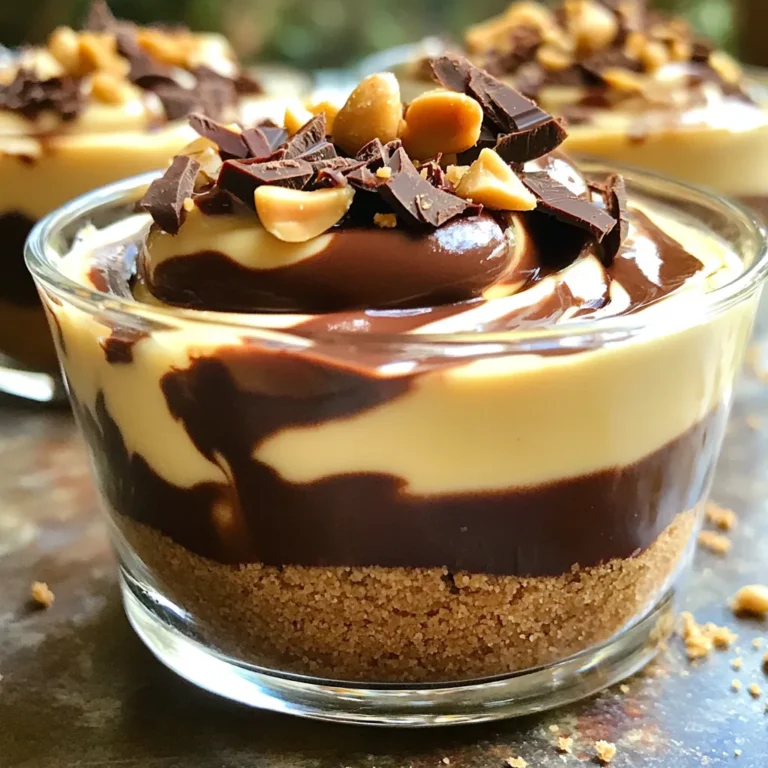
Are you ready for a dessert that combines smooth chocolate and rich peanut butter? These No-Bake Chocolate Peanut Butter Cheesecake Cups are a treat you can whip up in no time. Perfect for any occasion, they’re easy to make and taste incredible. Let’s dive into the simple ingredients and steps that will help you create this delightful dessert, impressing your friends and family without turning on the oven!
Ingredients
Essential Ingredients for No-Bake Chocolate Peanut Butter Cheesecake Cups
To make my no-bake chocolate peanut butter cheesecake cups, you need these key ingredients:
– 1 cup graham cracker crumbs
– 4 tablespoons unsalted butter, melted
– 1 cup cream cheese, softened
– 1/2 cup creamy peanut butter
– 1/2 cup powdered sugar
– 1 teaspoon vanilla extract
– 1 cup whipped cream (store-bought or homemade)
– 1/2 cup semi-sweet chocolate chips, melted
– Extra chocolate shavings and crushed peanuts for garnish
Each ingredient plays a big role. The graham cracker crumbs create a tasty base. Cream cheese gives the cups their creamy texture. Peanut butter adds rich flavor and depth.
Alternative Ingredients to Customize Your Dessert
You can switch out some ingredients if needed. Here are a few ideas:
– Use almond butter or cashew butter instead of peanut butter for a different taste.
– Swap the graham crackers for crushed cookies like Oreos or digestive biscuits for a new twist.
– For a dairy-free option, look for vegan cream cheese and whipped cream.
– Try adding a pinch of sea salt to enhance the flavors.
These options let you create a dessert that fits your taste and any dietary needs.
Tips for Choosing High-Quality Ingredients
Selecting the right ingredients makes a big difference. Here are some tips:
– Choose fresh cream cheese. It should be smooth and not grainy.
– Grab high-quality peanut butter that contains just peanuts and salt. This gives the best flavor.
– Look for pure vanilla extract instead of imitation. It adds a lovely aroma.
– Use real chocolate chips for the best melting and taste.
By picking great ingredients, you ensure your no-bake cheesecake cups taste amazing.
Step-by-Step Instructions
Preparing the Graham Cracker Crust
First, grab a mixing bowl. Add 1 cup of graham cracker crumbs and 4 tablespoons of melted butter. Stir until the crumbs feel sandy. This mix forms the base. Next, take serving cups or glasses. Spoon about 2 tablespoons of the mixture into each cup. Press down firmly to create a solid crust. Set the cups aside while you prepare the filling.
Making the Peanut Butter Cheesecake Filling
In another bowl, beat together 1 cup of softened cream cheese, 1/2 cup of creamy peanut butter, 1/2 cup of powdered sugar, and 1 teaspoon of vanilla extract. Mix until it becomes smooth and creamy. This mix should be rich and tasty. Now, gently fold in 1 cup of whipped cream. This step adds lightness to the filling. Make sure everything is combined well without losing air.
Assembling and Garnishing the Cheesecake Cups
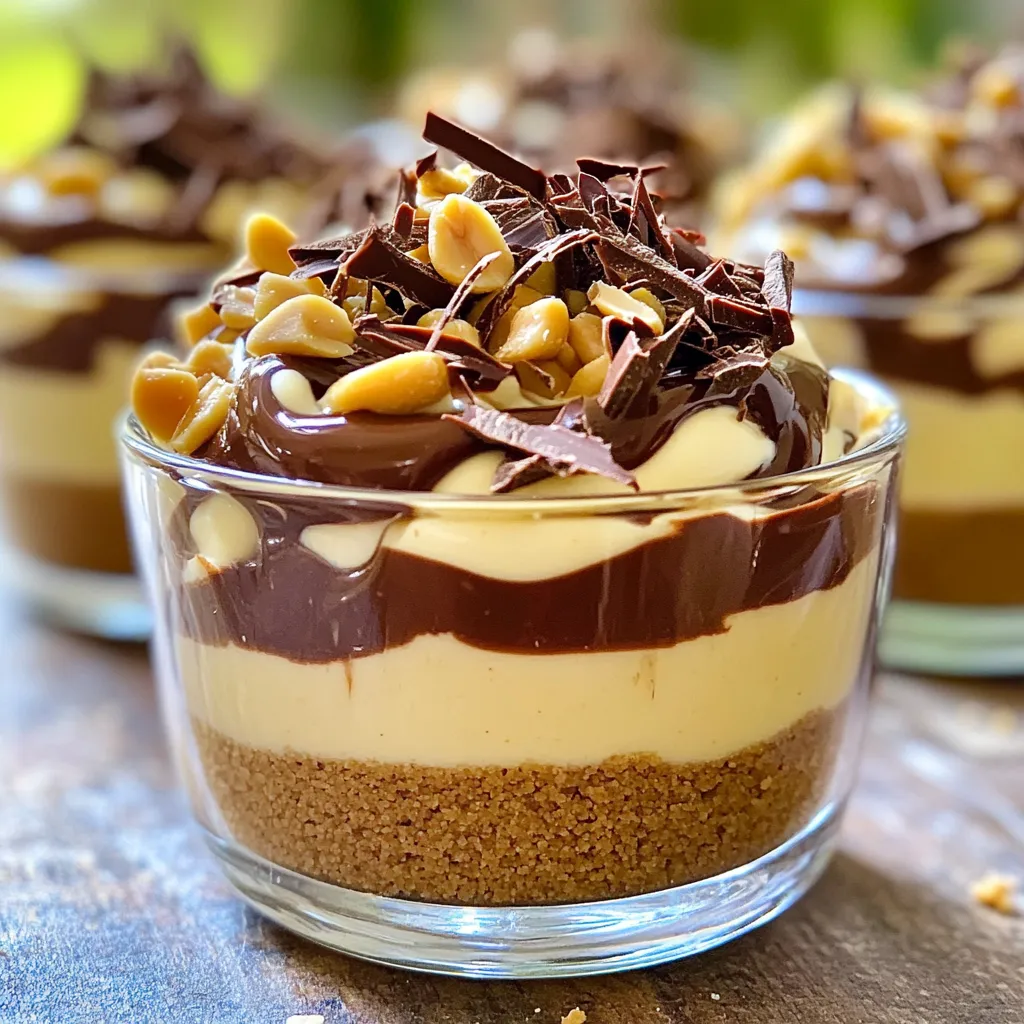
Now, take your cups with the crust. Spoon the peanut butter cheesecake filling into each cup, filling them about 3/4 full. Drizzle melted chocolate over the top in a fun pattern. You can swirl the chocolate into the filling if you want more flavor. If you have time, let the cups chill in the fridge for at least 1 hour. They taste great right away, too! Before serving, add chocolate shavings and crushed peanuts on top for extra crunch and flair.
Tips & Tricks
How to Achieve the Perfect Cheesecake Texture
To get the best cheesecake texture, make sure the cream cheese is soft. Let it sit out for about 30 minutes before mixing. This step helps you avoid lumps. Mix the peanut butter, powdered sugar, and cream cheese well until smooth. Folding in the whipped cream gently adds air and lightness. This makes your cheesecake fluffy and creamy.
Common Mistakes to Avoid When Making No-Bake Desserts
One common mistake is not measuring ingredients correctly. Always use measuring cups for accuracy. Another mistake is skipping the chilling time. This step helps the cheesecake set and hold its shape. Don’t forget to press the graham cracker crust firmly. A loose crust can fall apart when you serve it. Lastly, avoid overmixing the whipped cream. This can lead to a dense texture.
Suggestions for Serving and Presentation
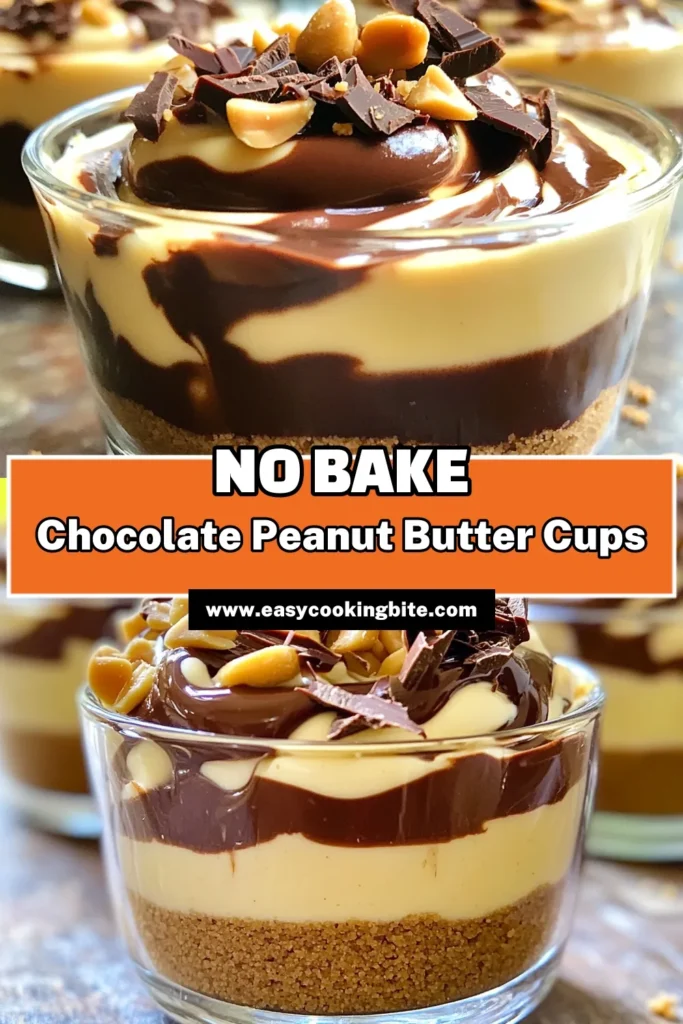
For a fun presentation, use clear cups so guests can see the layers. Drizzling melted chocolate on top adds a nice touch. Finish with chocolate shavings and crushed peanuts for crunch. You can also place a few whole peanuts on top for a pop of color. Serve these cups with spoons for easy enjoyment. They are perfect for parties or family gatherings.
Variations
Substitute Options for Allergy-Friendly Treats
You can make these cheesecake cups allergy-friendly with simple swaps. For a nut-free option, use sunbutter instead of peanut butter. If dairy is a concern, try using dairy-free cream cheese and whipped cream. For the crust, gluten-free graham crackers work well. Always check labels to ensure the products are safe for your needs.
Flavor Variations to Try
Experiment with flavors to keep things exciting. Add a dash of cinnamon or a splash of coffee to the cheesecake filling for a unique twist. You can also swap the peanut butter for almond butter for a different nutty taste. For a fruity flair, mix in some pureed berries or banana. Each change can create a fun new treat.
Additional Toppings and Garnishes
Dress up your cheesecake cups with fun toppings. Crushed cookies or nuts add a nice crunch. Fresh berries provide a pop of color and flavor. A drizzle of caramel or a sprinkle of sea salt can boost the taste. You can also add whipped cream on top for extra creaminess. Each garnish can make your dessert feel special.
Storage Info
Best Practices for Storing No-Bake Cheesecake Cups
To keep your cheesecake cups fresh, cover them tightly. Use plastic wrap or a lid. This will stop air from getting in. Store them in the fridge. It helps keep the taste and texture just right. If you have extras, stack them carefully to avoid spills.
How Long Do They Last in the Fridge?
These no-bake cheesecake cups can last for about 5 days in the fridge. However, they taste best within the first 3 days. The creamy texture stays nice and smooth for this time. After a few days, they can become a bit soggy due to the graham crust.
Freezing Options and Tips
You can freeze these cheesecake cups if you want to save some for later. Just cover them well with plastic wrap or foil. They can last in the freezer for up to 2 months. To enjoy, thaw them in the fridge overnight. This way, they will keep their creamy goodness. Avoid refreezing once they have been thawed.
FAQs
Can I use different types of nut butters?
Yes, you can use other nut butters! Almond butter or cashew butter work well. These nut butters can add a different taste. Just make sure they are creamy. This will keep the texture smooth and enjoyable.
How can I make these cheesecake cups gluten-free?
To make these cups gluten-free, swap the graham crackers. Use gluten-free graham cracker crumbs or crushed nuts. Almond flour is a great choice too. Just check the labels to ensure they are gluten-free. This way, everyone can enjoy the dessert without worry.
What can I substitute for whipped cream?
If you don’t have whipped cream, use Greek yogurt. It gives a nice creaminess and tang. You can also use coconut cream for a dairy-free option. Just whip it until fluffy for the best results. This keeps your cheesecake cups light and tasty!
In this article, we explored making no-bake chocolate peanut butter cheesecake cups. You learned about the essential ingredients and how to customize them. I shared tips for the perfect texture and ways to avoid common mistakes. We also covered storage options and answered key FAQs.
Creating this dessert can be simple and fun. Enjoy your cheesecake cups and share them with others. Happy baking!

