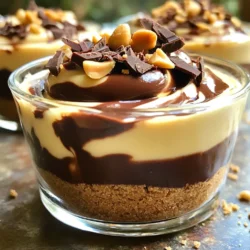
No-Bake Chocolate Peanut Butter Cheesecake Cups
Indulge in these delightful No-Bake Chocolate Peanut Butter Cheesecake Cups that are sure to satisfy your sweet tooth! Made with a creamy peanut butter filling and a crunchy graham cracker base, these easy-to-make treats require just 30 minutes of prep. Perfect for any occasion, they can be enjoyed immediately or chilled for extra flavor. Click through to explore the full recipe and impress your friends with this delicious dessert!