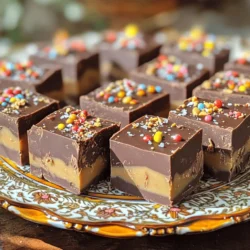
No Bake Chocolate Peanut Butter Fudge
Indulge in the rich flavors of No Bake Chocolate Peanut Butter Fudge with this easy recipe! Combining creamy peanut butter and smooth chocolate, you’ll have a delightful treat ready in just 15 minutes (plus chilling time). Perfect for parties or a sweet snack, this fudge can also be customized with your favorite toppings. Click through to discover how to make the best no bake fudge and impress everyone with this delicious dessert!